
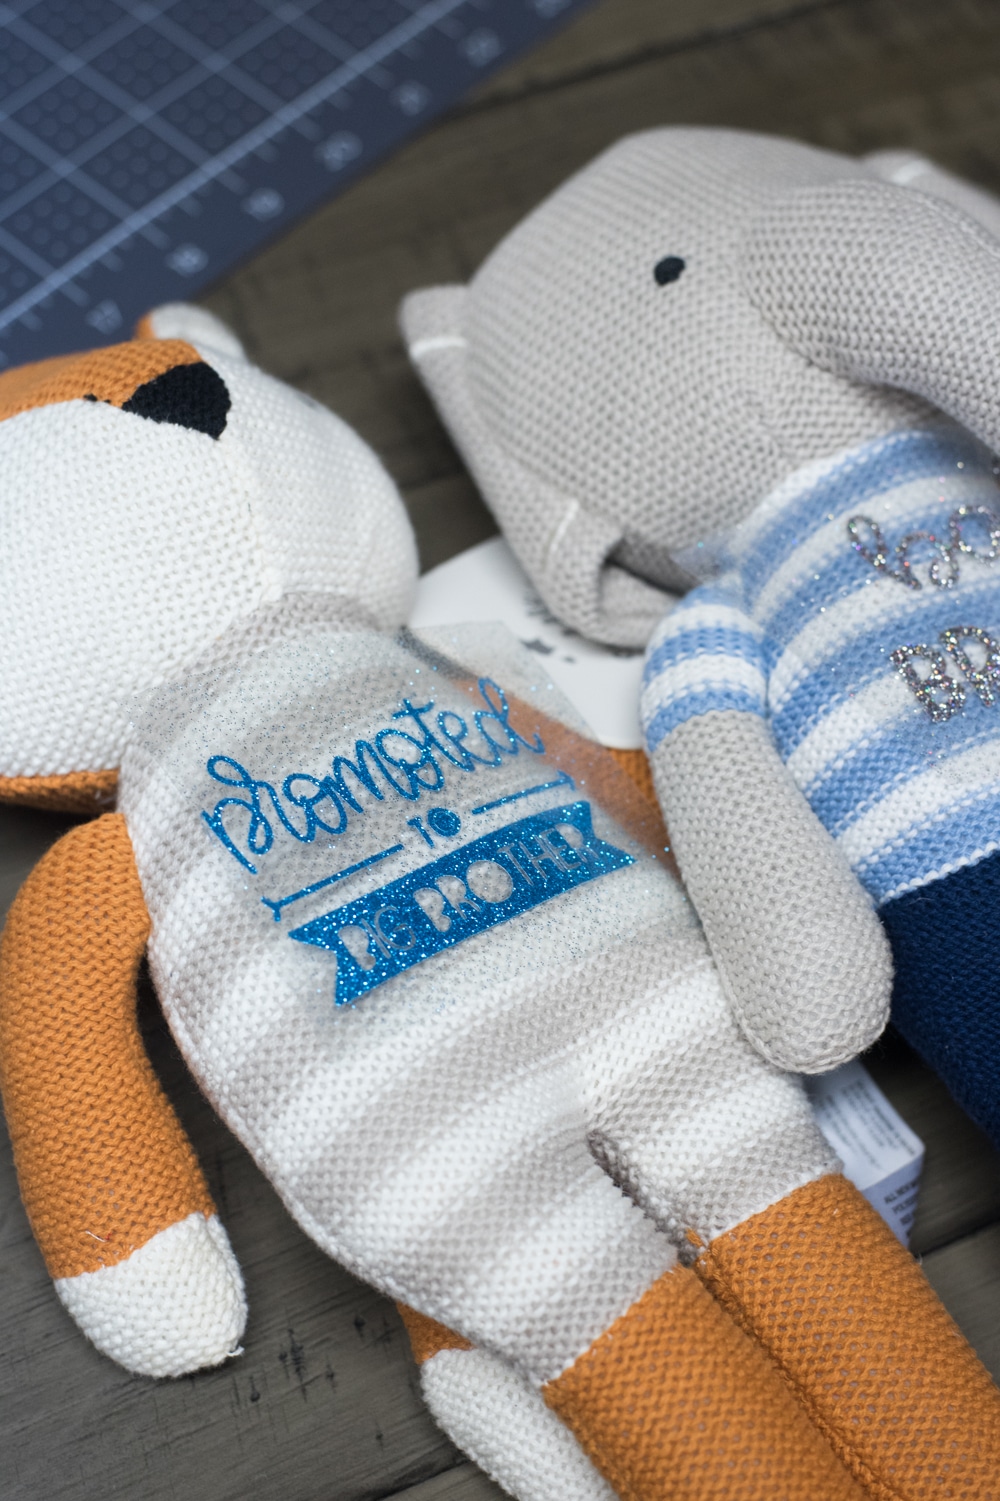
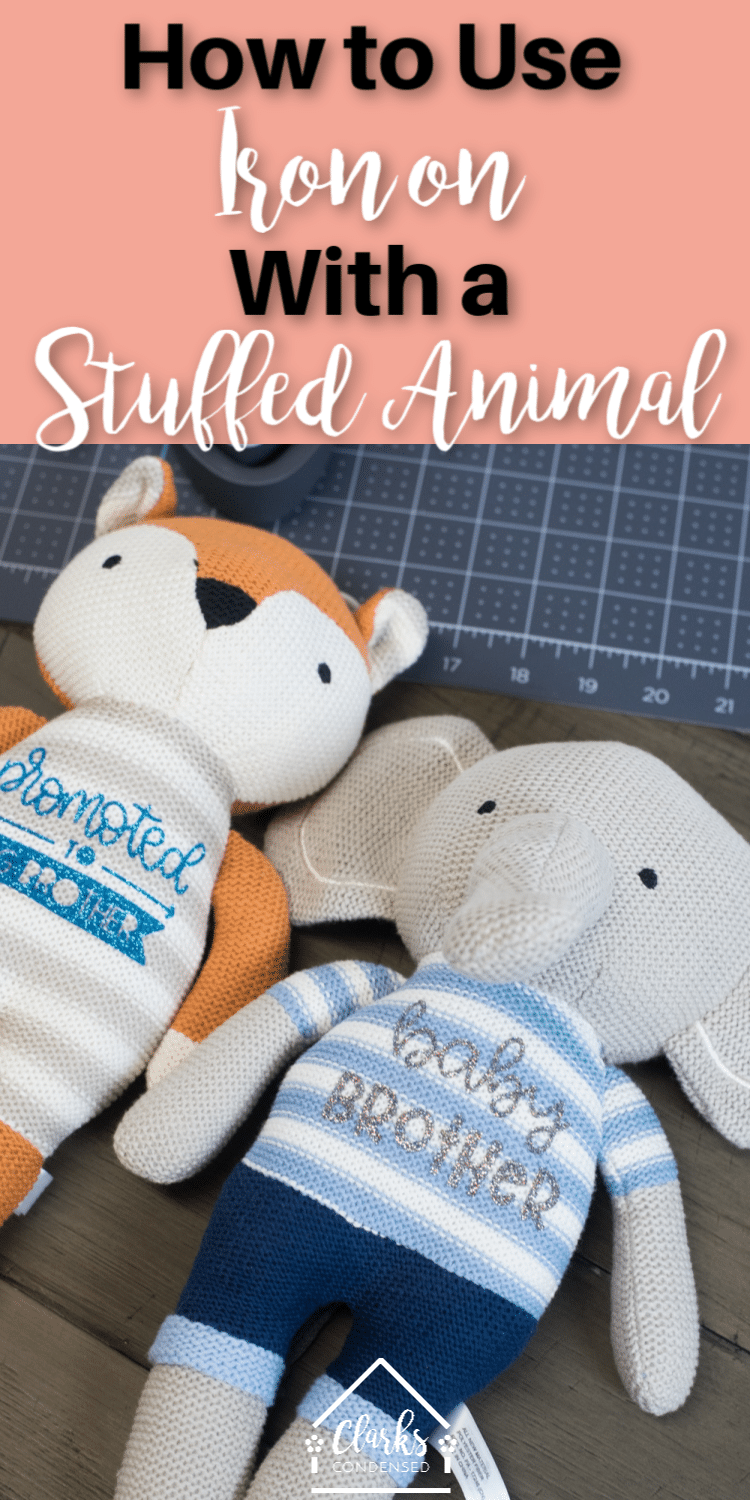
How to Apply Iron-on Vinyl to a Stuffed Animal
Customize your favorite stuffed animals with iron-on! Here are a few tips for how to use vinyl on stuffed animals!
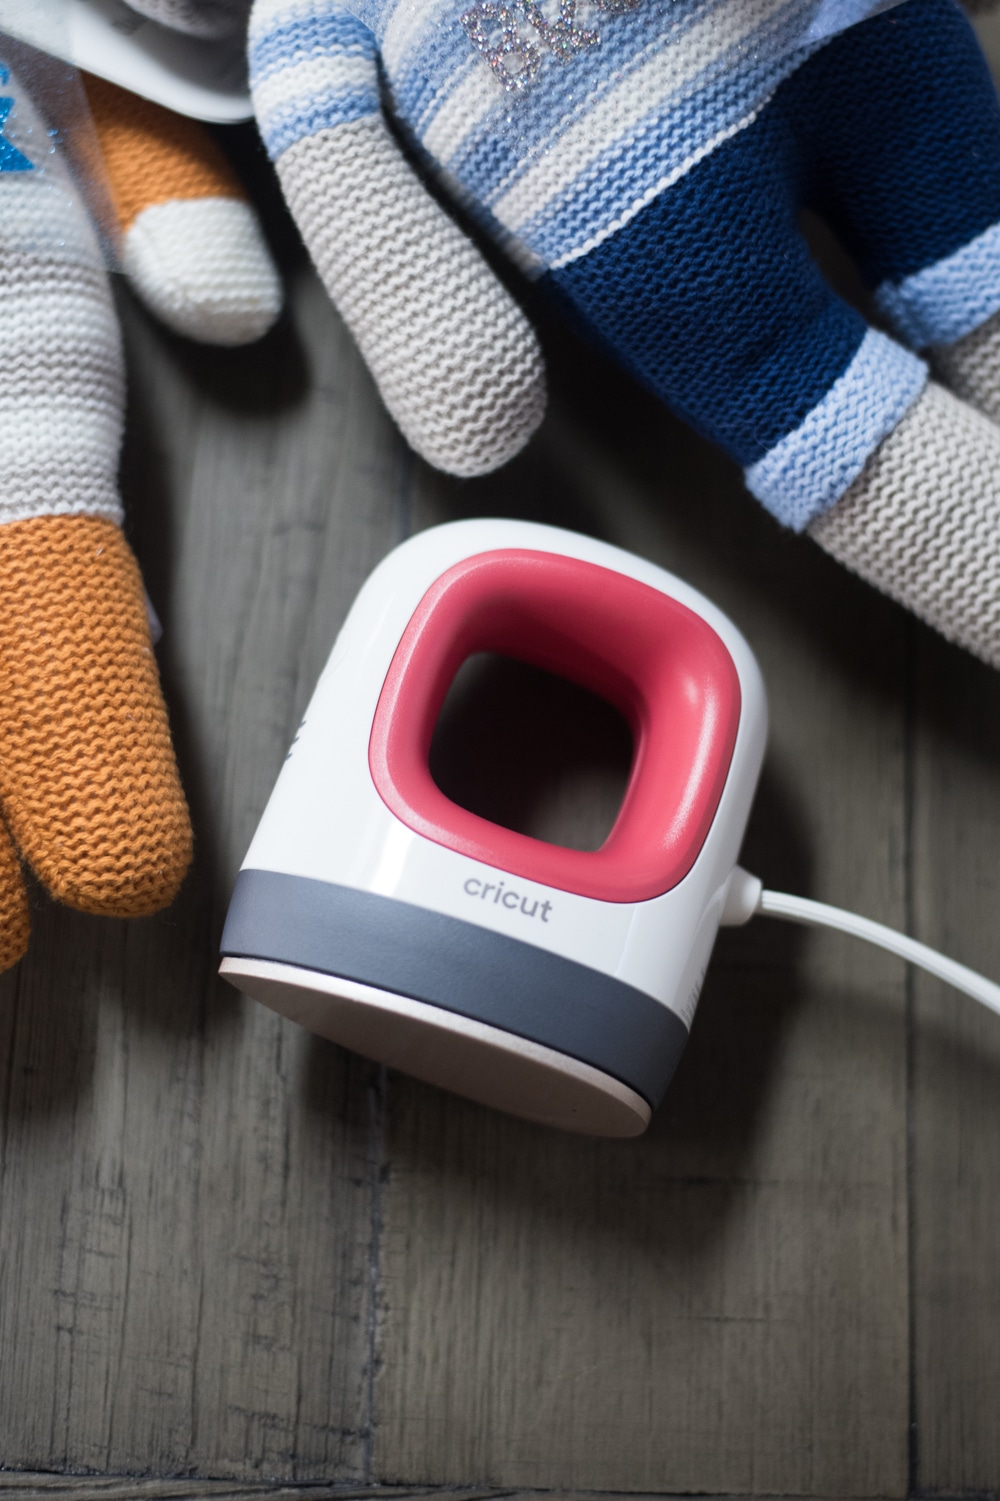
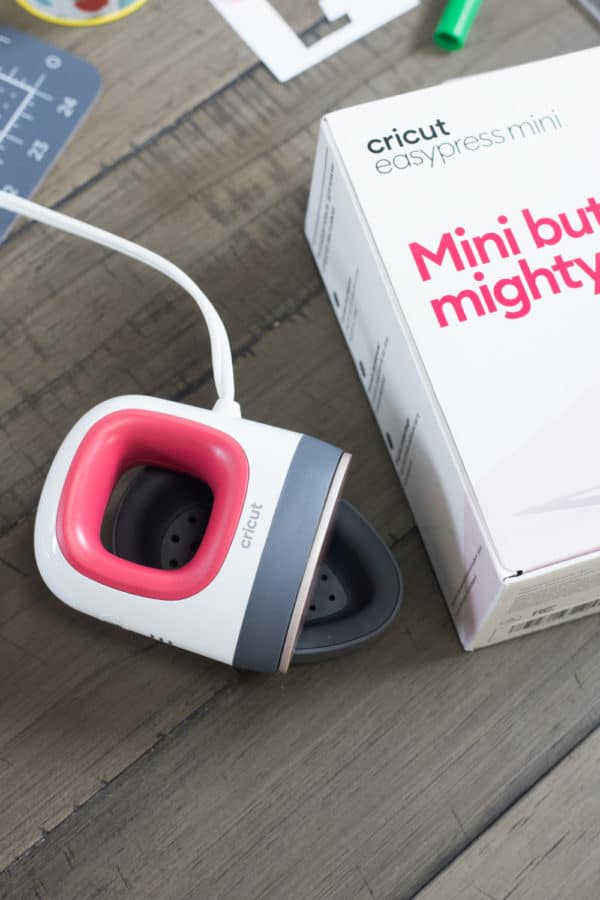
It’s here! The release of the Cricut EasyPress mini.
To celebrate the launch of this fun heat-press, I’ve partnered with my friends at Cricut to share a cute project that is made SO much easier with the EasyPress Mini.
Over the past few years, I’ve been intrigued by people adding HTV on stuffed animals, and I recently thought it would be fun to try out myself.
As soon as I heard about the EasyPress Mini, I knew it would be a perfect time – especially because I wanted to make some stuffed animals to give my big boys once the baby arrives in a few weeks (or less!).
(Fun fact – in the middle of writing this post, I actually went into labor. So our baby boy Andrew is here!).
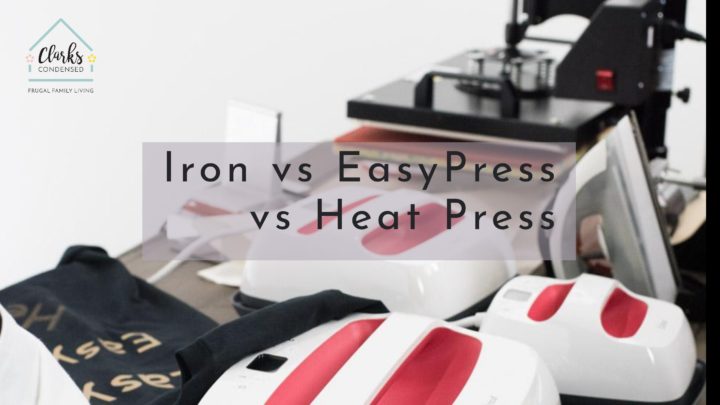
I already wrote a lot about the EasyPress Mini here, so make sure you read that post for more details on this amazing little machine!
So today I am going to share how to make vinyl stuffed animals. This is such a simple project – and it’s definitely made easier with the EasyPress Mini (though don’t worry, I’ll give you some tips for using a regular iron, too!)
[the_ad id=”93378″]
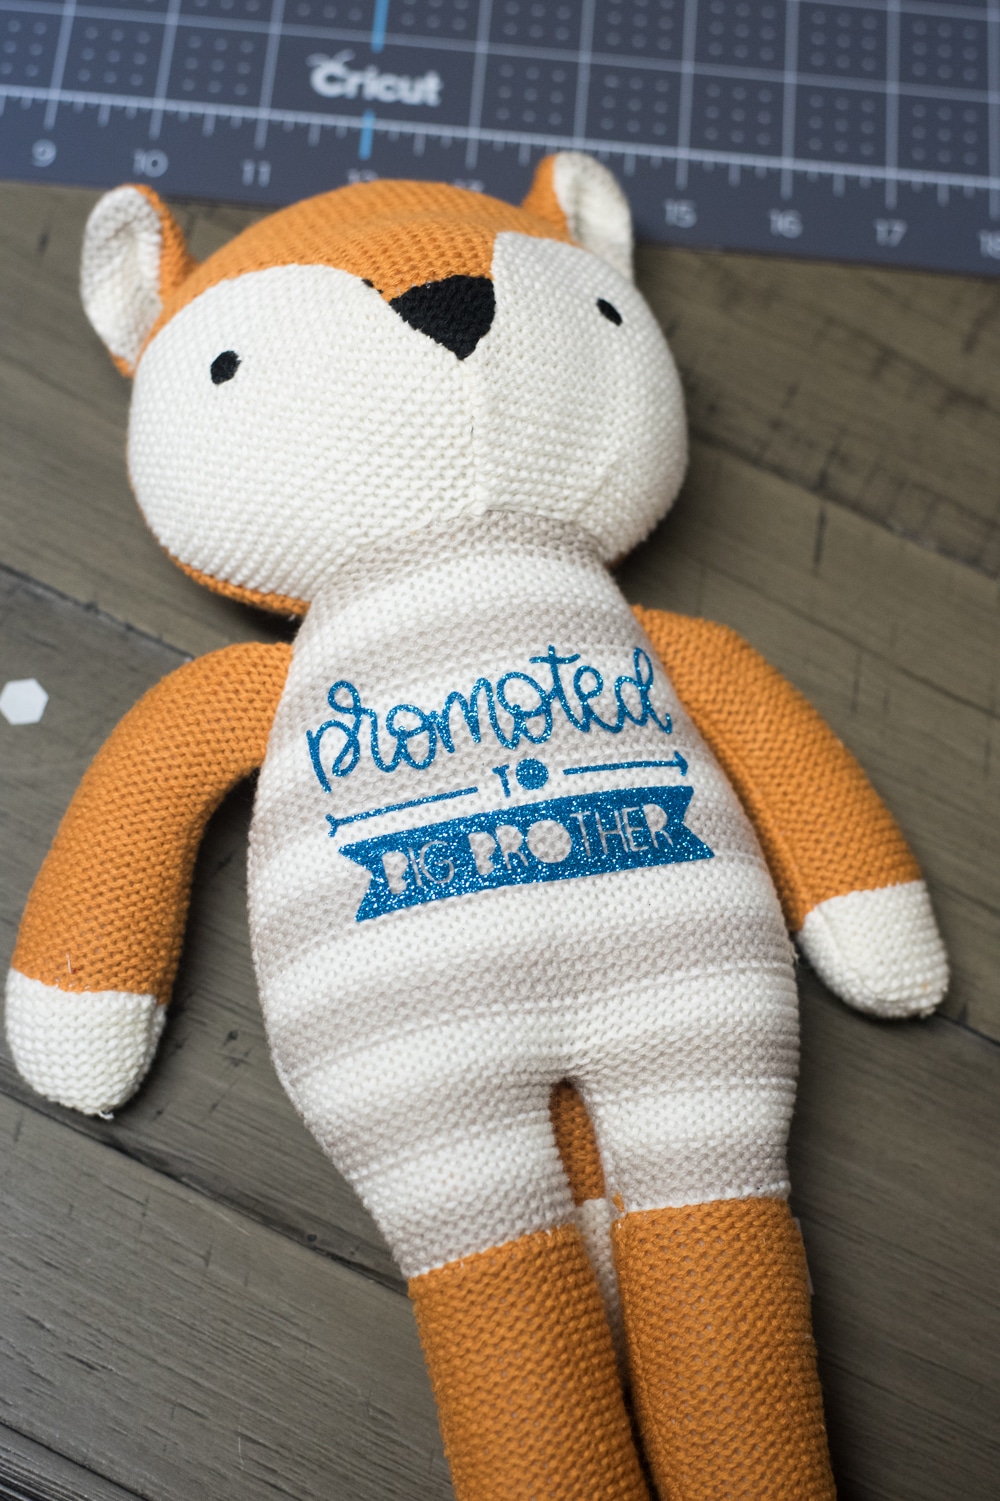
If you want the Design Space file for the brother designs pictured here, click here.
Blank Stuffed Animals for Vinyl
First off all – what types of stuffed animals can you use iron-on vinyl with?
I asked this in my Cricut group, and I saw a lot of people share different ideas – and I came to the conclusion that you can really use just about any stuffed animal!
With that said, I think that it’s best if the surface you are put the iron-on vinyl on to is a little more smooth than fluffy or fuzzy – just for a smoother finish.
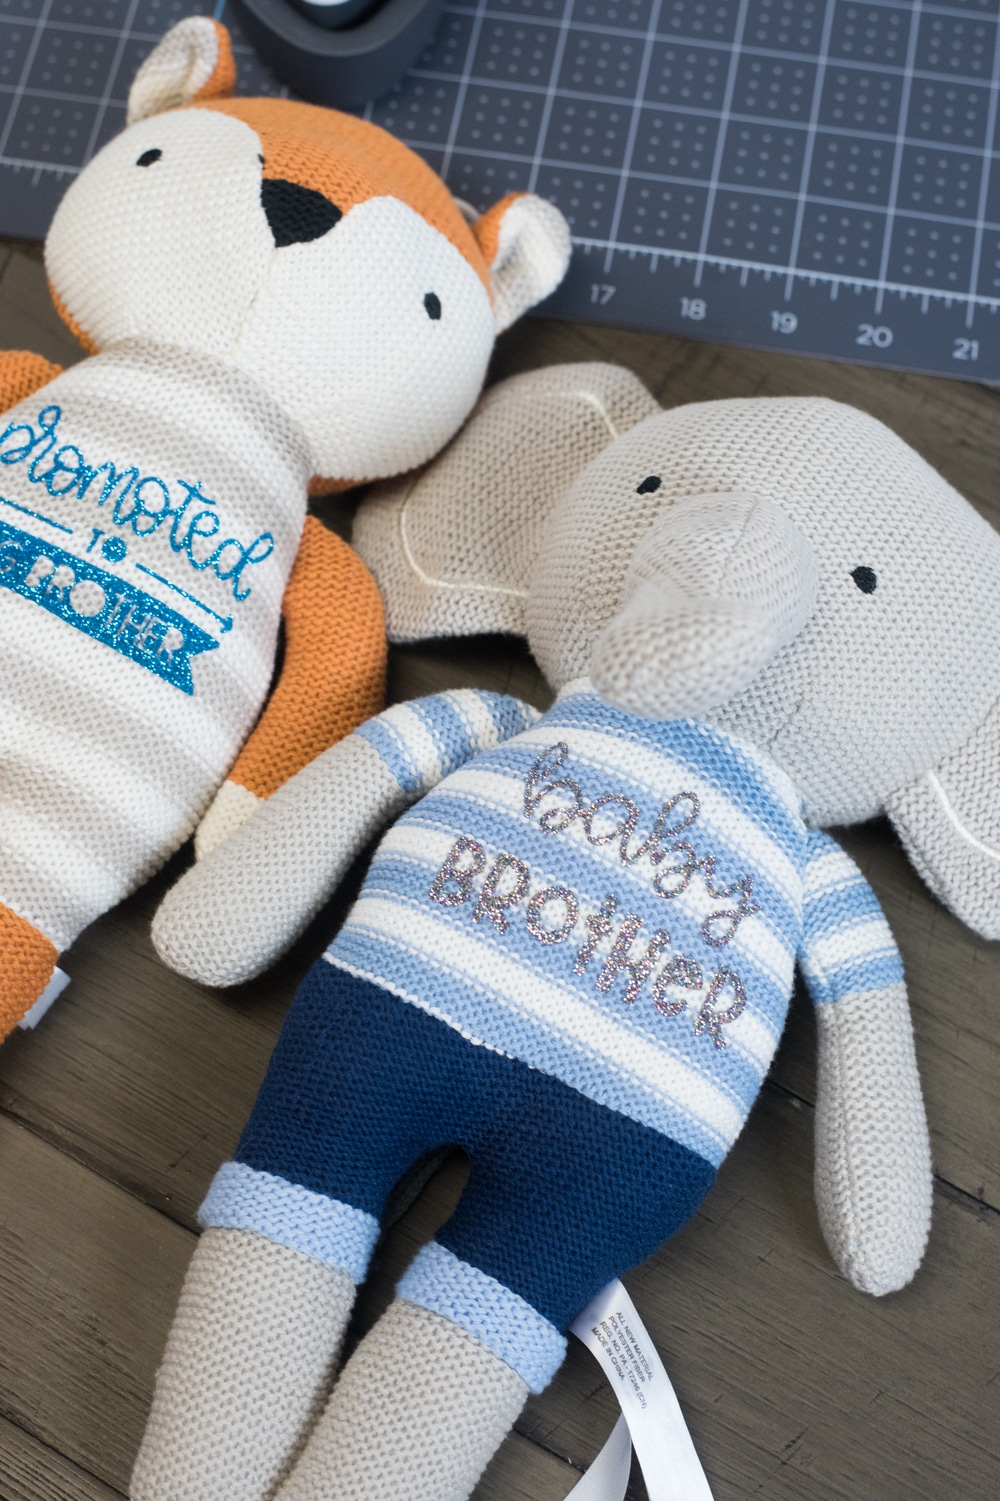
Personally, I LOVE knit stuffed animals, and that’s what I ended up using for this project. I ordered several from this listing on Amazon, and they were really cute. I have been very impressed with the quality, and the iron-on vinyl would on it flawlessly.
I would make sure that the surface area is a minimum of about 3″ wide. I got a raccoon, but it’s suspenders made the belly area smaller, and I just couldn’t get the design to cut very well – so I ended up ordering another stuffed animal for my son.
You can scour garage sales, look on Amazon for different stuffed animals (there are so many!), or even head to the Dollar Tree. I know a lot of people have had luck with stuffed animals they have found there (here is some of their online selection – I personally would probably go in-store, especially for seasonal offerings).
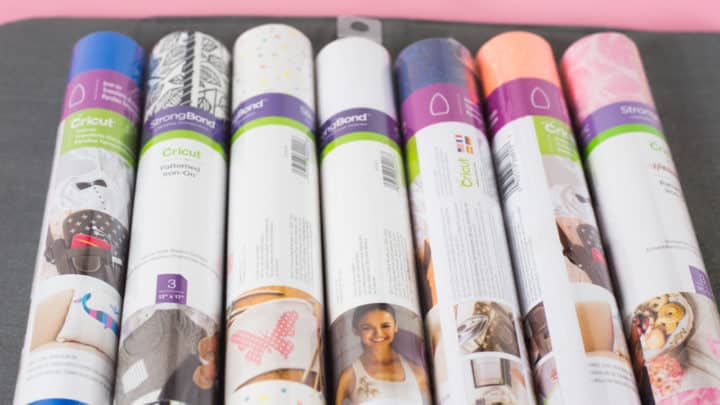
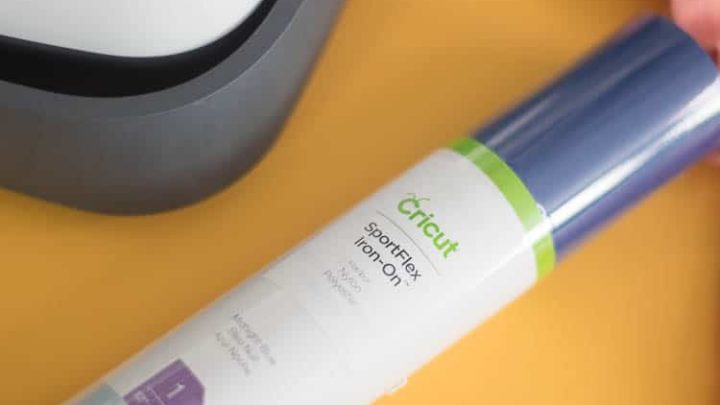
What type of iron-on should I use?
You can really use any kind – it’s just all about using the right settings.
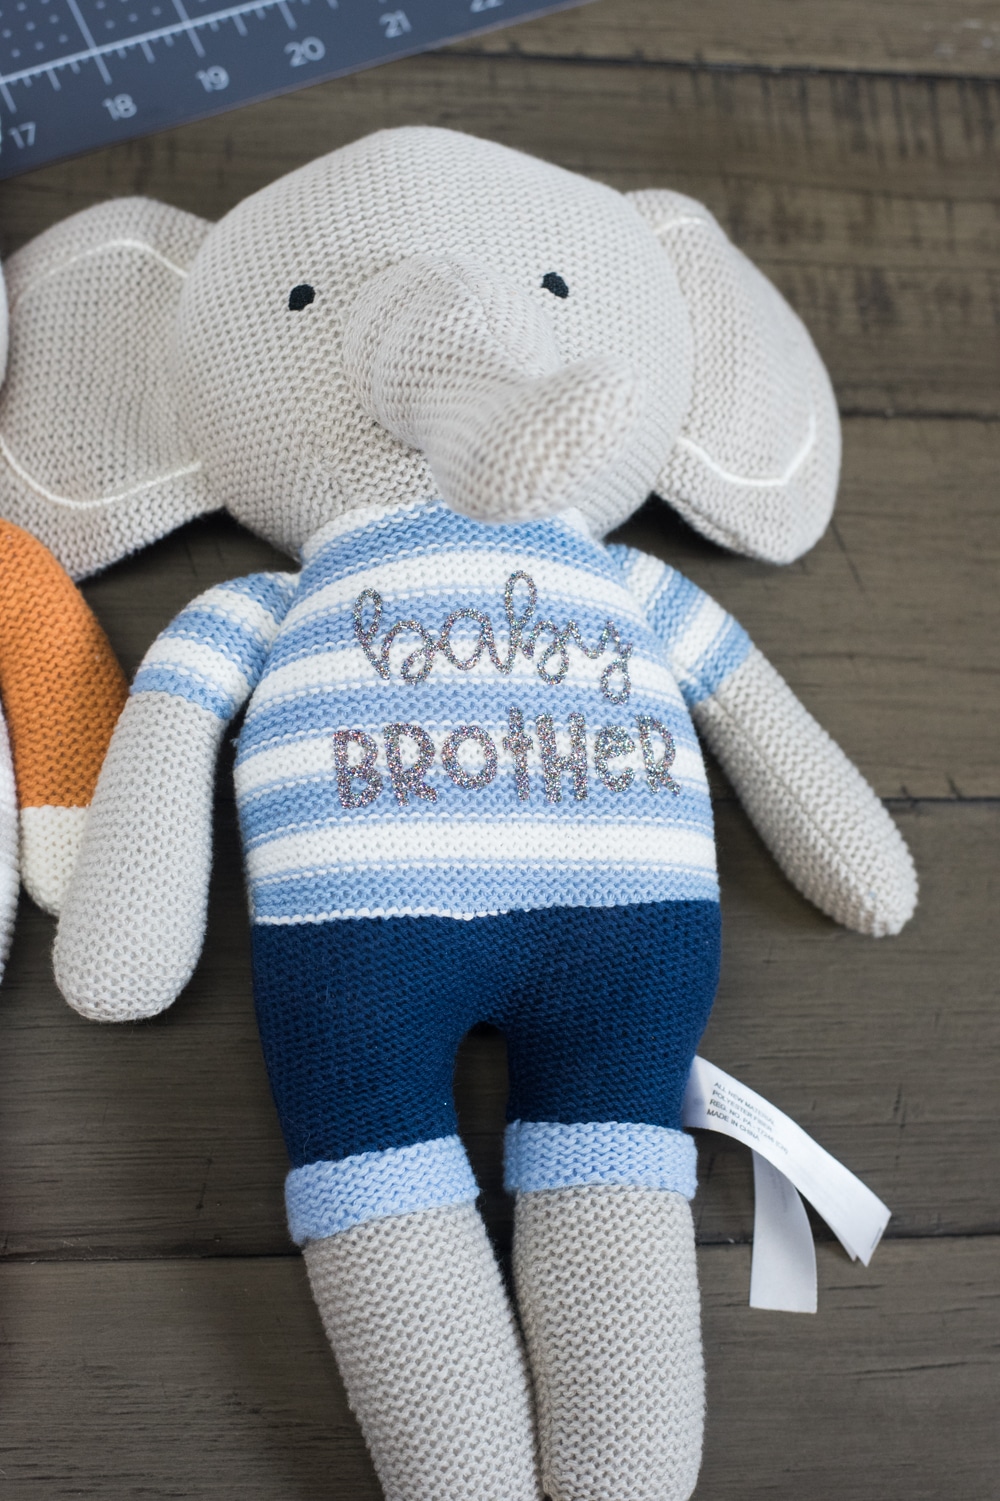
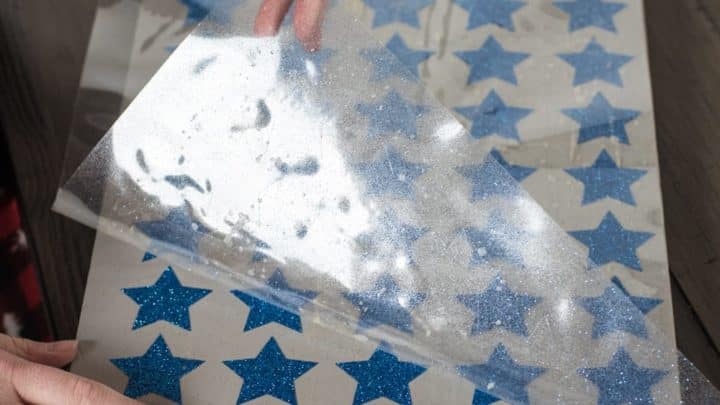
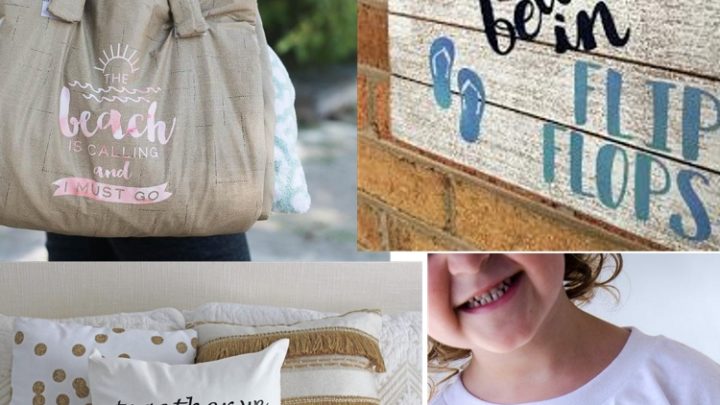
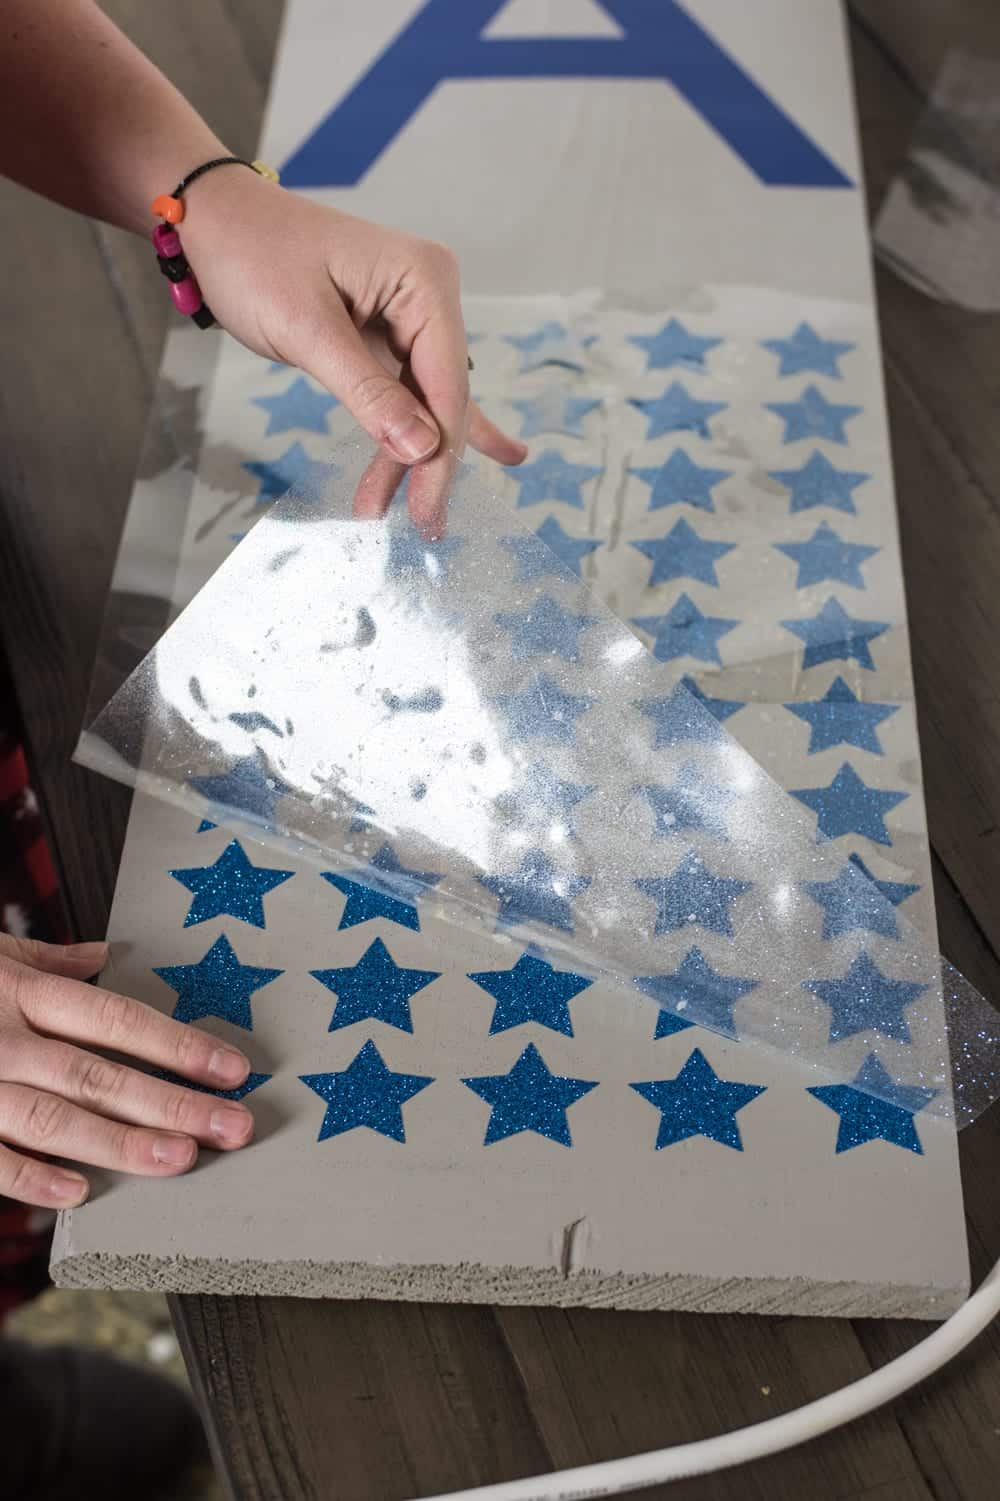
I used glitter iron-on, just because I love glitter anything. Cricut has such a nice variety, too. My favorite is the multi-color one, which is what I used on the Elephant.
Here are all the different kinds of iron-on that Cricut has on their website. I think the holographic would be especially fun!
How to apply HTV to Stuffed Animal
It’s really quite easy. First off, I will share how to use the EasyPress Mini.
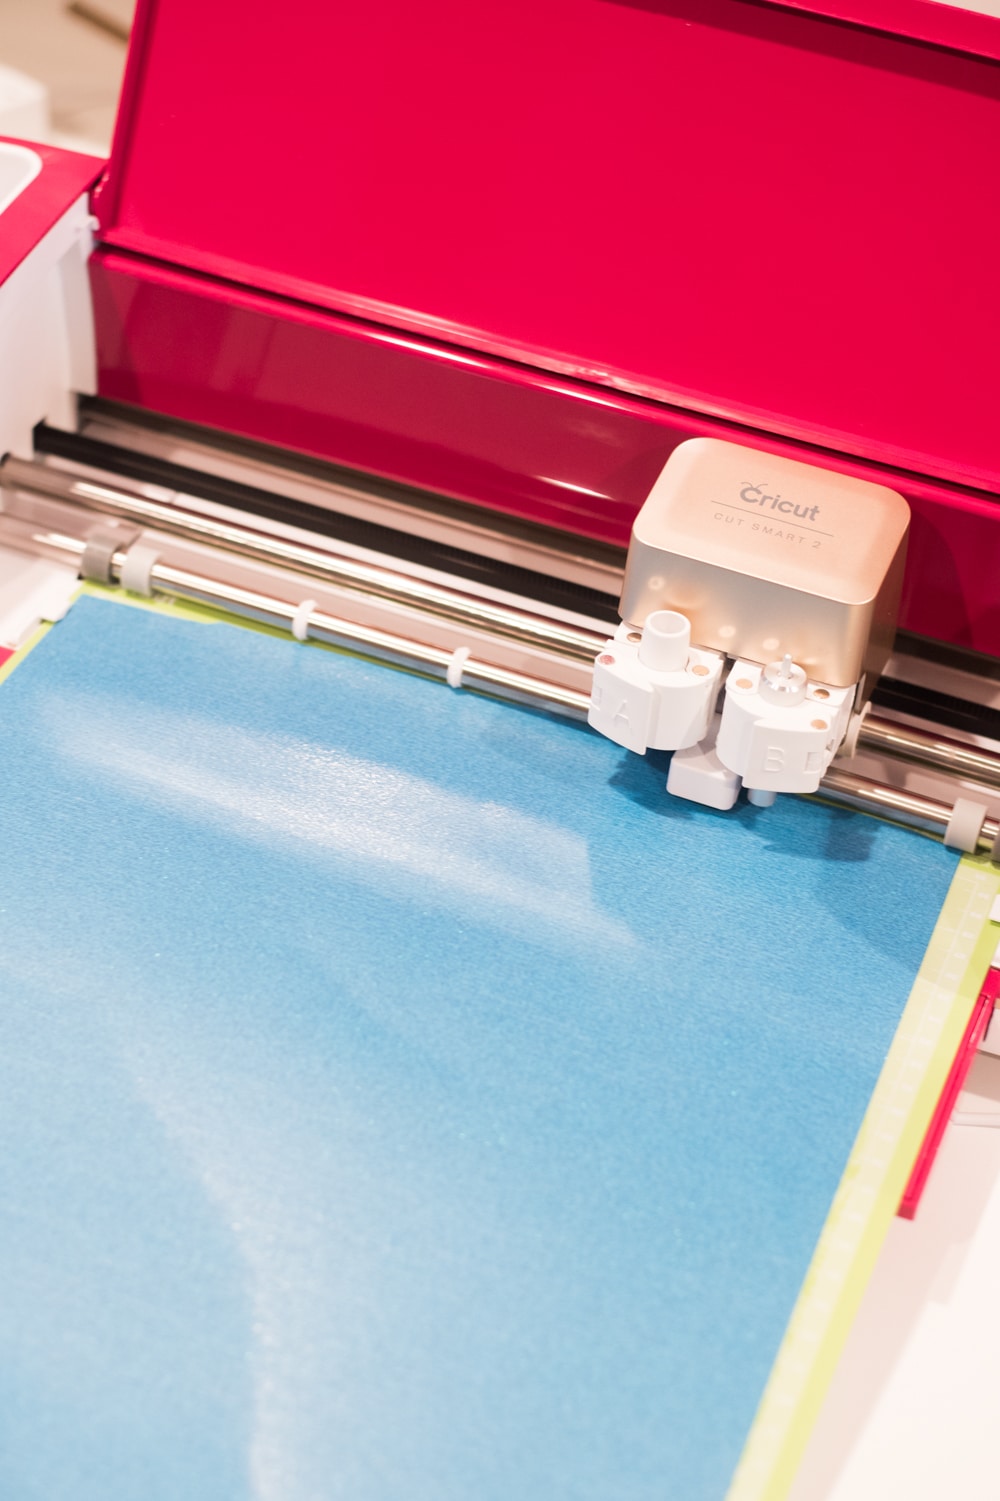
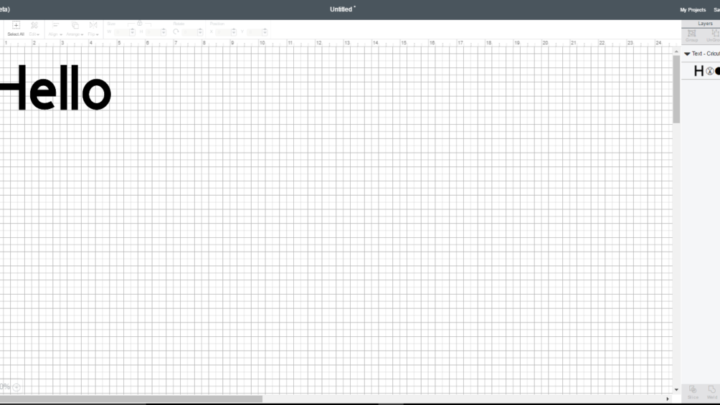
First, you’ll need to cut out your design using your Cricut or another personal cutting machine. Don’t forget to mirror (I forget probably 50% of the time. Oops!).
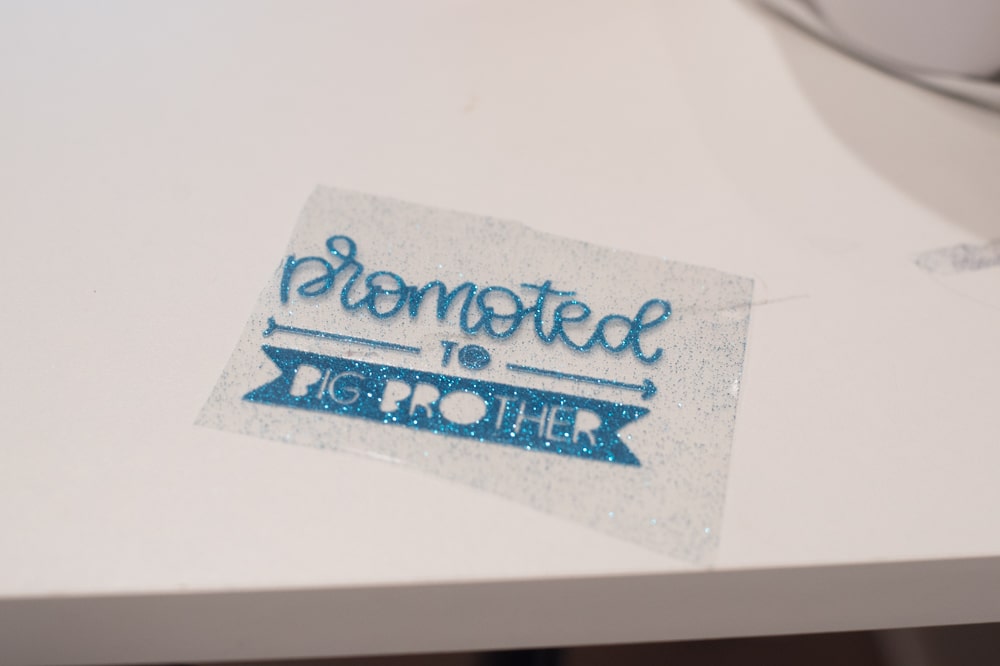
Once you’ve cut out your design, weed out the excess material. Trim the design down to as small as you can get it.
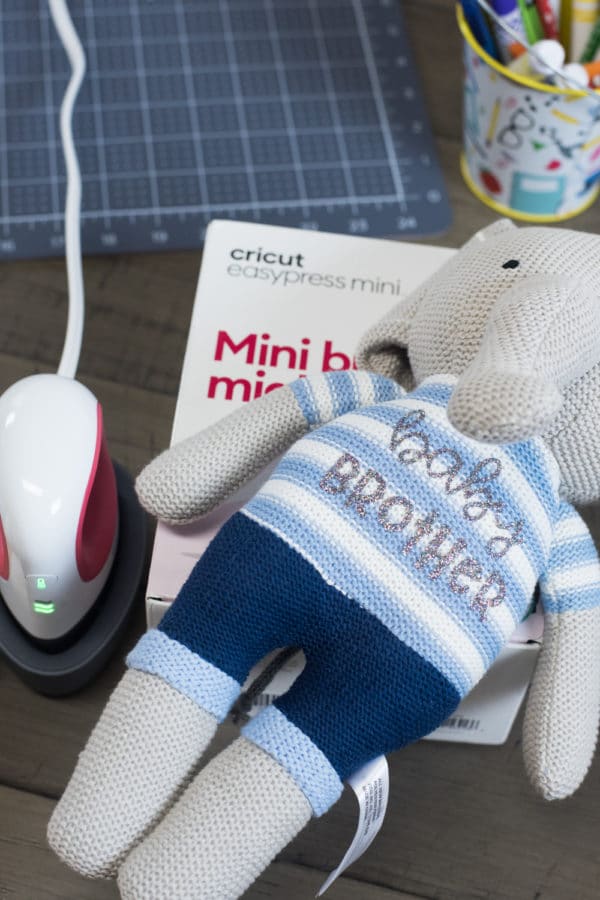
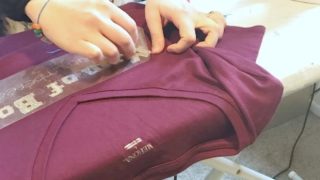
Place your design firmly on the stuffed animal where you want to iron it on.
Plugin the EasyPress Mini. You will select your settings according to what the Cricut EasyPress Heat Guide says. For instance, for glitter iron-on 100% cotton (which these stuffed animals are), you will use setting two (medium) for 25 seconds.

Follow the instructions for the pressing time and peeling settings according to the guide above.
Enjoy!
If you are using a traditional iron, you will follow the same instructions as above until you get to the EasyPRess Mini. At this point, you will heat your iron to the correct setting according to what material you are ironing on to.
Press firmly for about 30-45 seconds per area using your iron.
Enjoy!


This is amazing! I never would’ve even thought to do something like this!
I tried to get to the SVG files and it asked me to update Design Space, which I already did a few days ago. Then it would do nothing and could not get out of that screen. How can I get these files?
Hmm I’m not sure! I am sorry it’s not working 🙁