Easy Cricut Halloween Sign
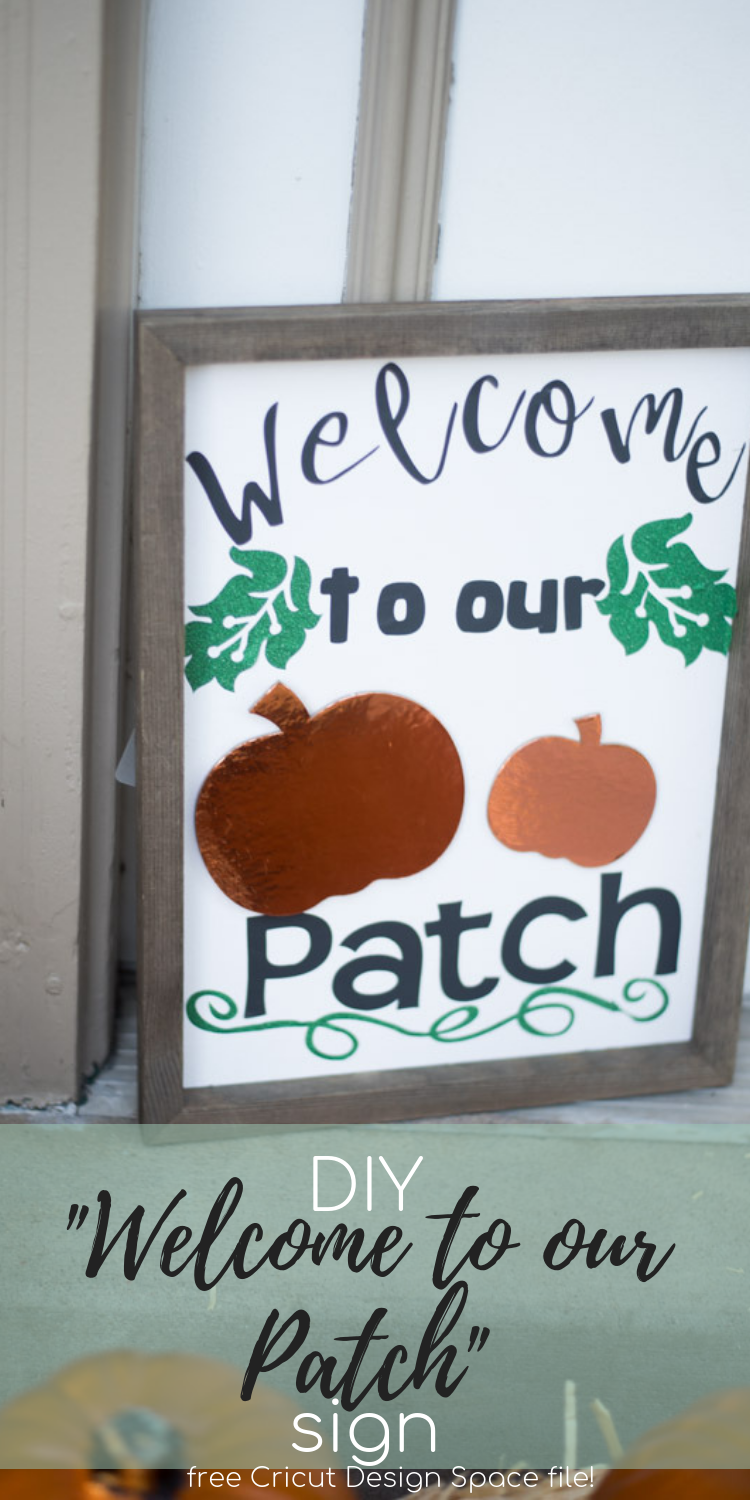
Make your own “Welcome to our Patch” sign using this easy tutorial and your Cricut!

DIY Halloween Sign
It is officially fall!
I don’t know about where you live, but it seems like as soon as September 21st came around, we finally saw a shift into lower temperatures.
We were hitting the high 90s the week before…and I don’t love heat. I’ve been loving the cooler mornings and evenings, and the fact that I can go outside during the day without feeling like I’m about to get heat stroke!
I think fall is my favorite time of year – mainly because of the weather. Here in Colorado, we don’t tend to get snow very much until January, so it’s nice to just be able to enjoy cooler temperatures.
But most of all, I love this time of year because it’s Halloween! Halloween has always been one of my favorite holidays since I was little, and I just get so excited about getting out all our decorations – and accumulating new ones over the years.
Jack seems to have inherited my love for all things holiday related – and Halloween is no exception. He has loved looking through all of our decorations.
Though we seem to vary in one big way – what kind of Halloween decorations are the best.
He LOVES anything creepy, scary, and spooky.
Me? I like cute and happy. Pumpkins, scarecrows, smiling spiders…you know, the works.
We recently got a few new decorations at Target, and let’s just say it took about an hour and a half for us to decide. In the end, we got some less expensive ones that fulfilled both requirements.
But this craft I made recently is all about the cute – and I was pretty proud of how it turned out!
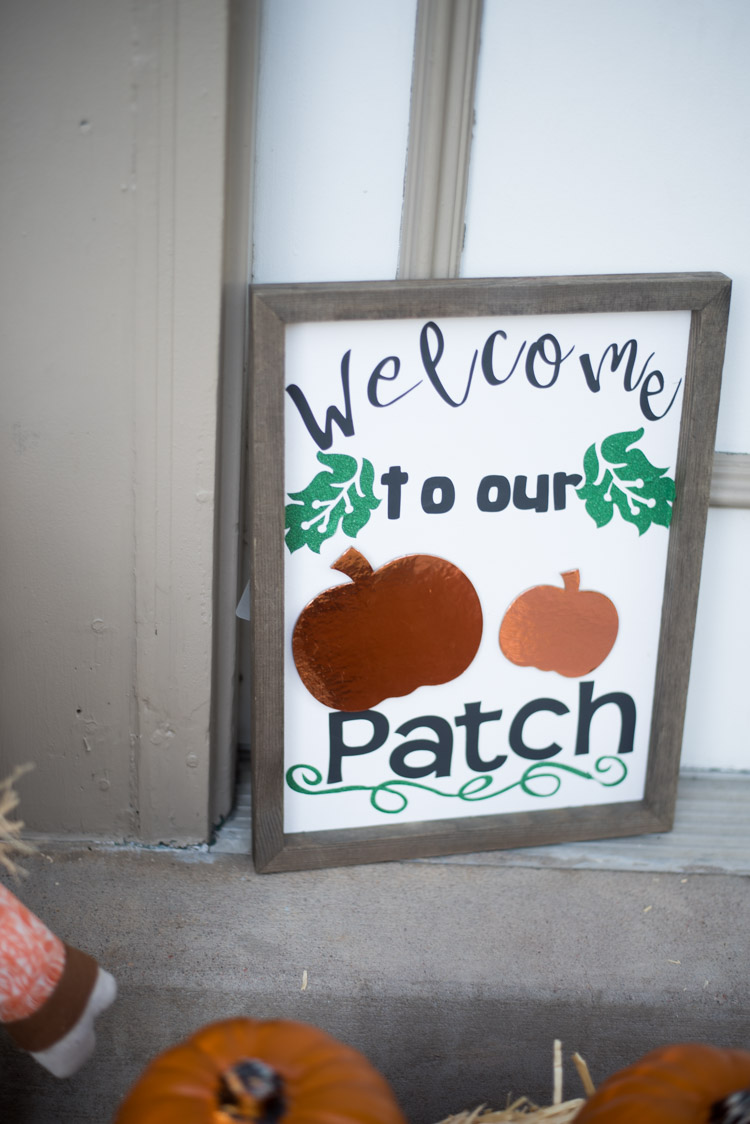
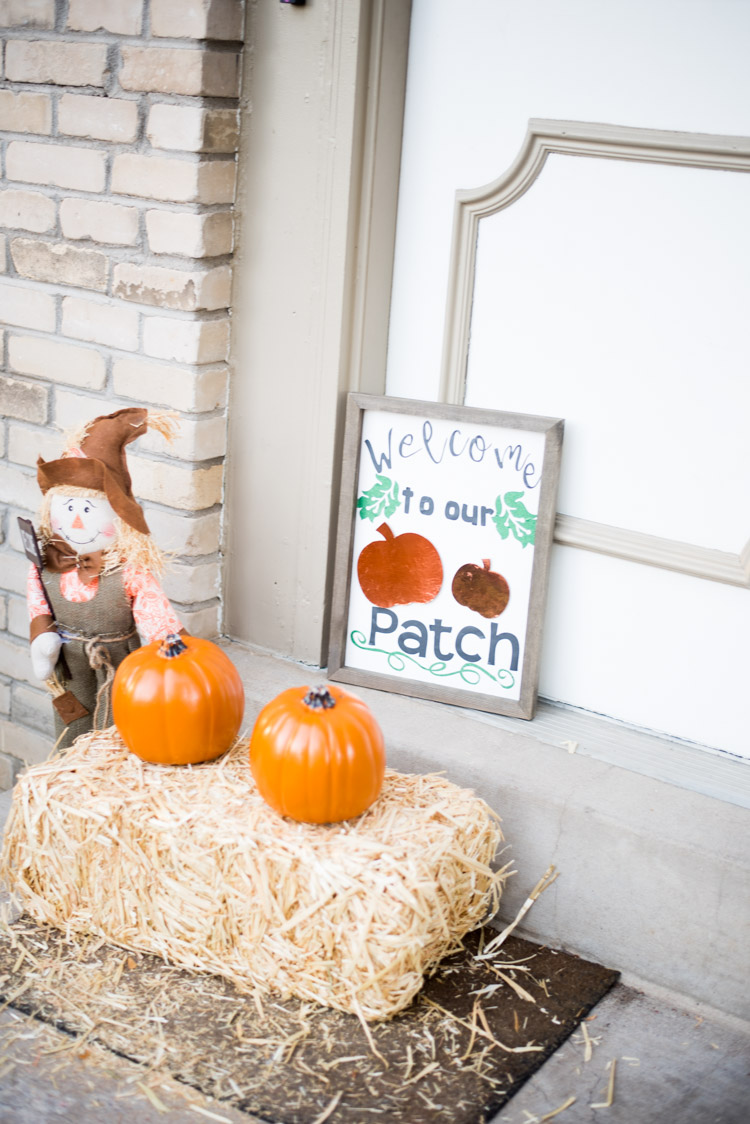
I have seen “Welcome to Our Patch” signs before, and I decided that I would try my hand at making one as well. However, I wanted to make it a little bit different by having part of it be somewhat 3D.
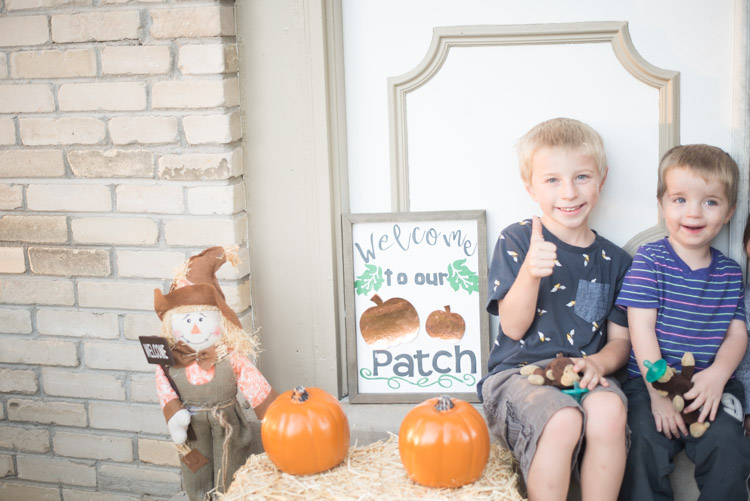
If you have never used Cricut’s chipboard…it’s my FAVORITE. It’s super thick and sturdy, but it cuts like butter with the Cricut Knife Blade.
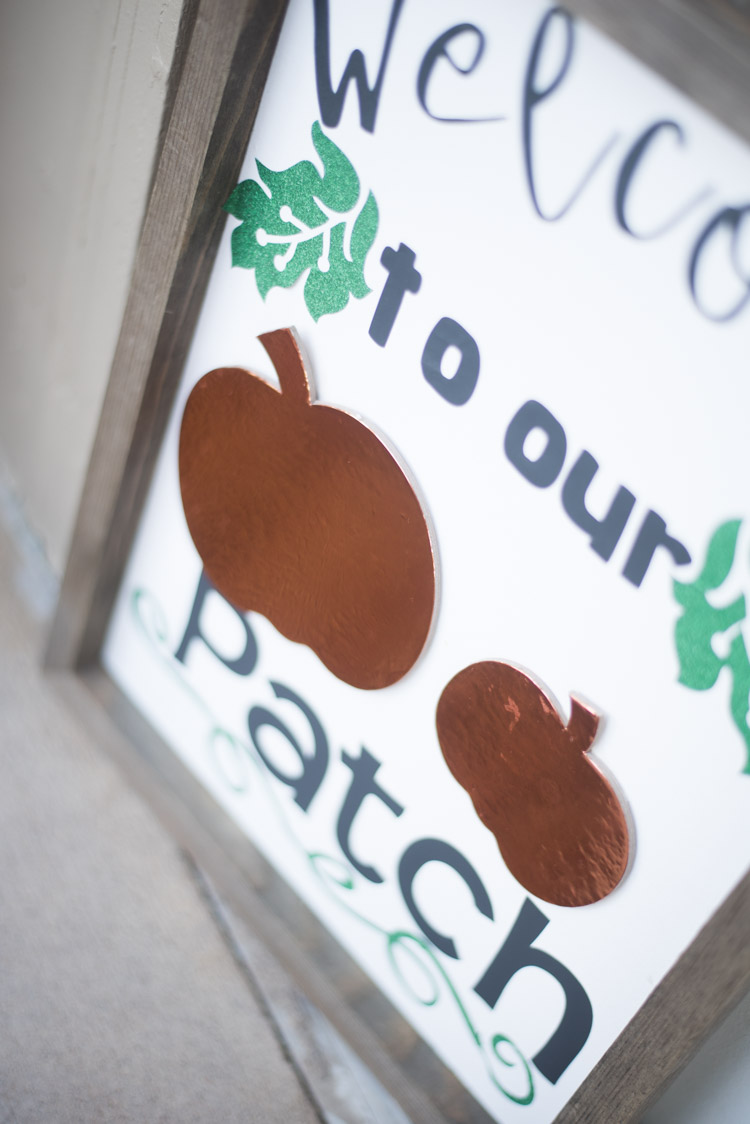
It’s perfect for making 3D elements for projects – and I love how the pumpkins turned out in this.
I originally had planned to use orange glittery vinyl for the pumpkins, but I realized a little bit too late that I only had iron-on in orange. On the EasyPress interactive guide on the Cricut website, it actually does have instructions for using your EasyPress to iron on to chipboard…but I decided to play it safe, and I ended up using some adhesive foil in orange….which still looked cute!
I did find that it seemed to want to cut the chipboard for too long – it originally had it in there for 20 cuts, but I took it out at 15, and I think it would have been fine after 10.
I used some wood glue to put it on the board (that I got at Joann’s), and it’s worked really well. WE have it sitting on our front porch, and everyone that comes over says how cute it is!
You can get this design for free in Design Space – just resize it for the size of your sign!
[the_ad id=”93378″]
Materials:
Adhesive Vinyl or Foil in black, orange, and green (I use vinyl for the words, leaves, and vines. I used foil for the pumpkins)
Painter’s tape or masking tape
StandardGrip Mat (green)
StrongGrip Mat (purple)
Wood glue
Some kind of sign to put it on – JoAnn’s has a huge variety of blanks. That’s where I got mine!
Directions:
Open this file in Design Space. Resize to fit your frame size.
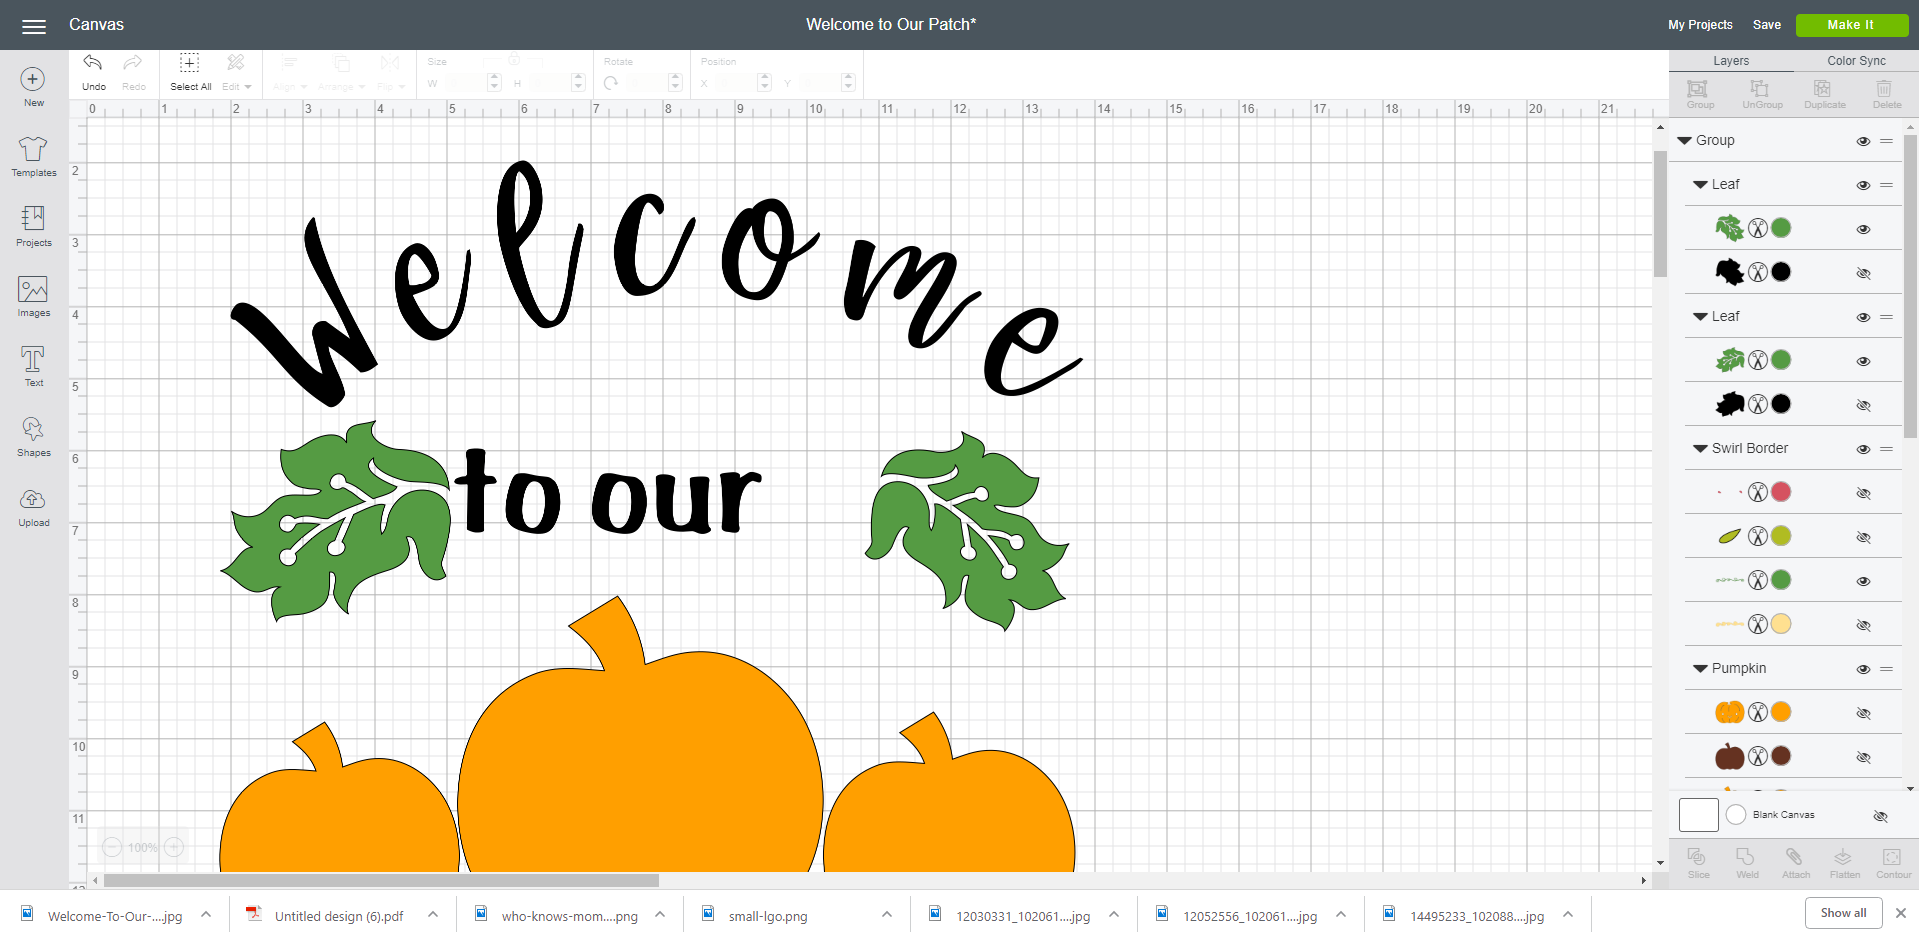
Send the file to cut and make sure everything is arranged on the mats like you want. I rearranged some of them when I was in the mat preview area so I could use less vinyl and a smaller mat.
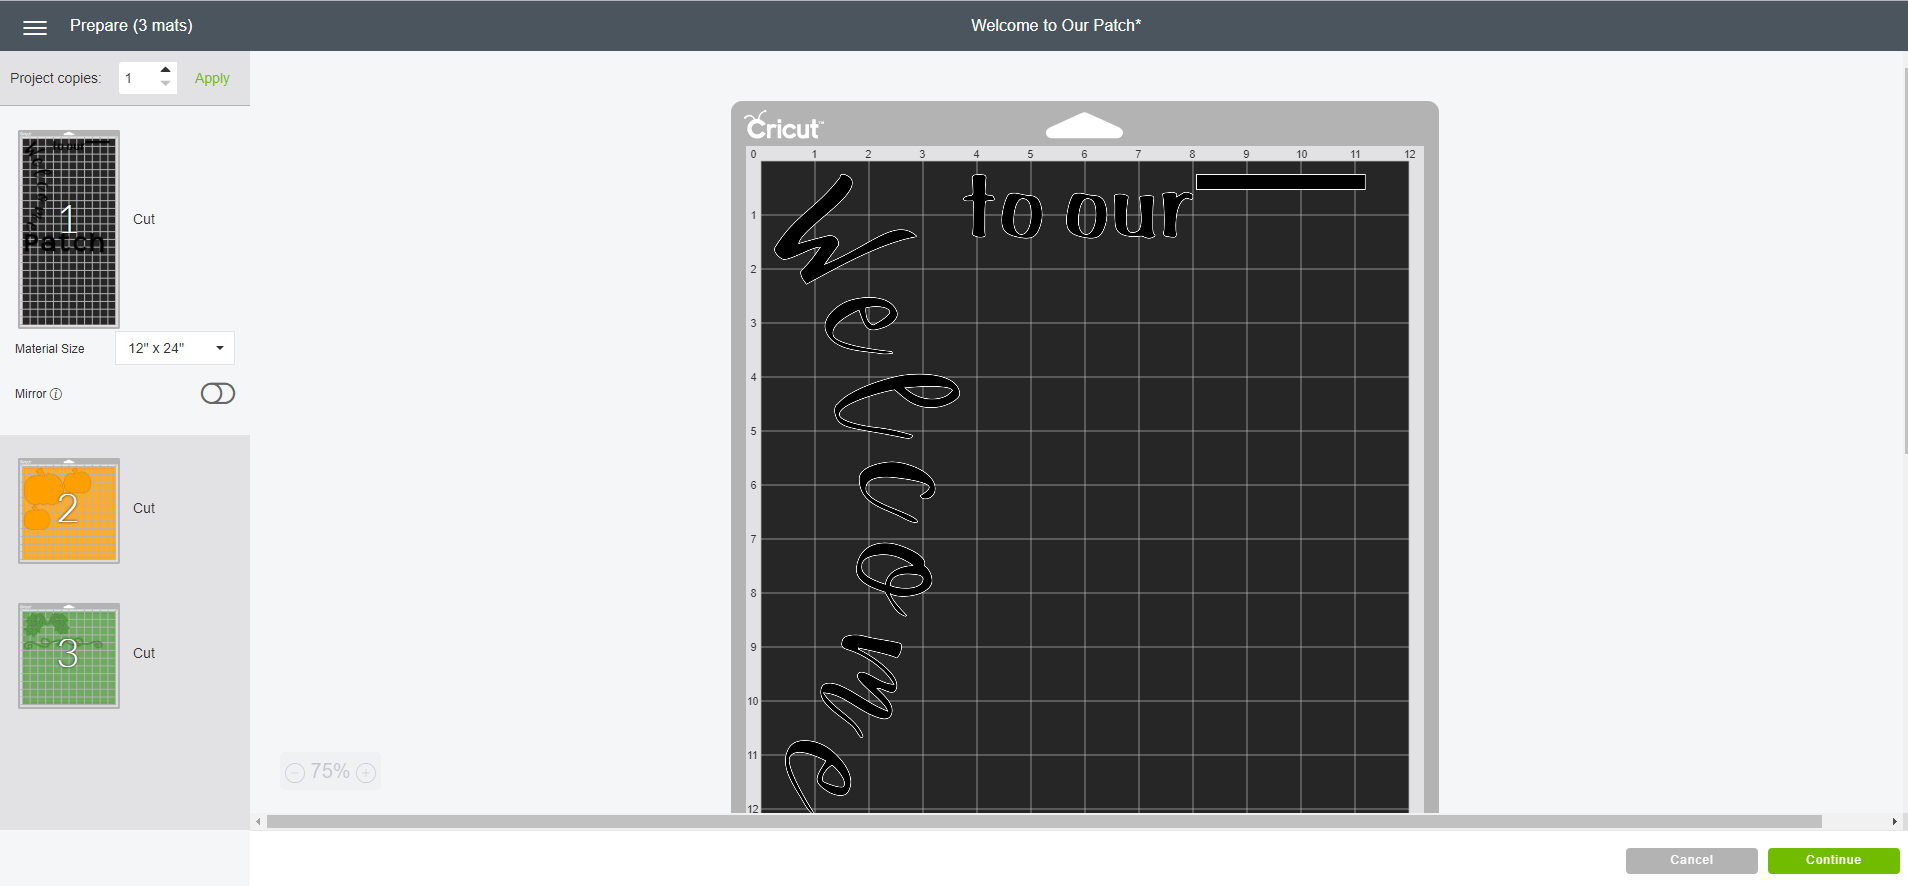
Adjust your settings for each material you are cutting with. Always double check before you start!
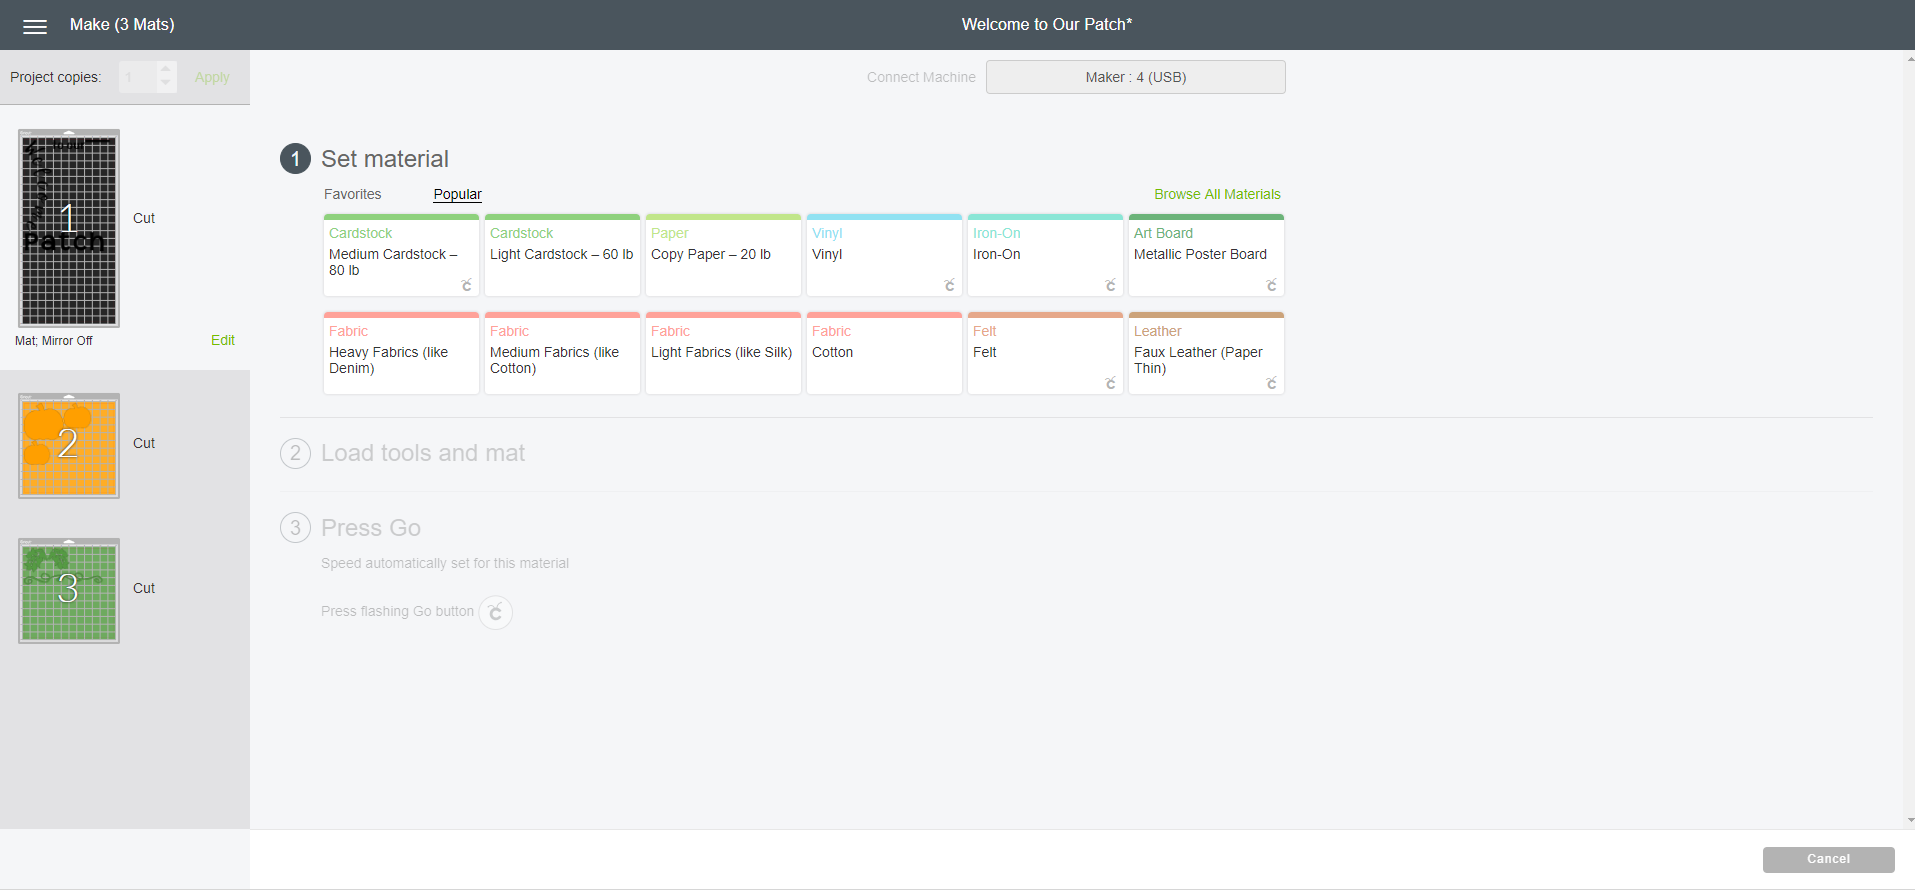
Cut your materials out! When you cut with the chipboard, make sure you use the purple StrongGrip cutting mat and tape the edges of the chipboard to the mat.
After everything is cut out, weed out the excess material on the vinyl and/or foil.
Now arrange your materials on the frame or canvas that you are using.
Glue the chipboard pumpkins on with wood glue. Let dry.
Enjoy! Be sure to tag us on Instagram (@clarkscondensed) if you make this project!
Other Cricut Posts You May Enjoy:
- Cricut Halloween: Projects, Decorations, and Other Spooky Ideas
- 19 Amazing Cricut Halloween Costume Ideas
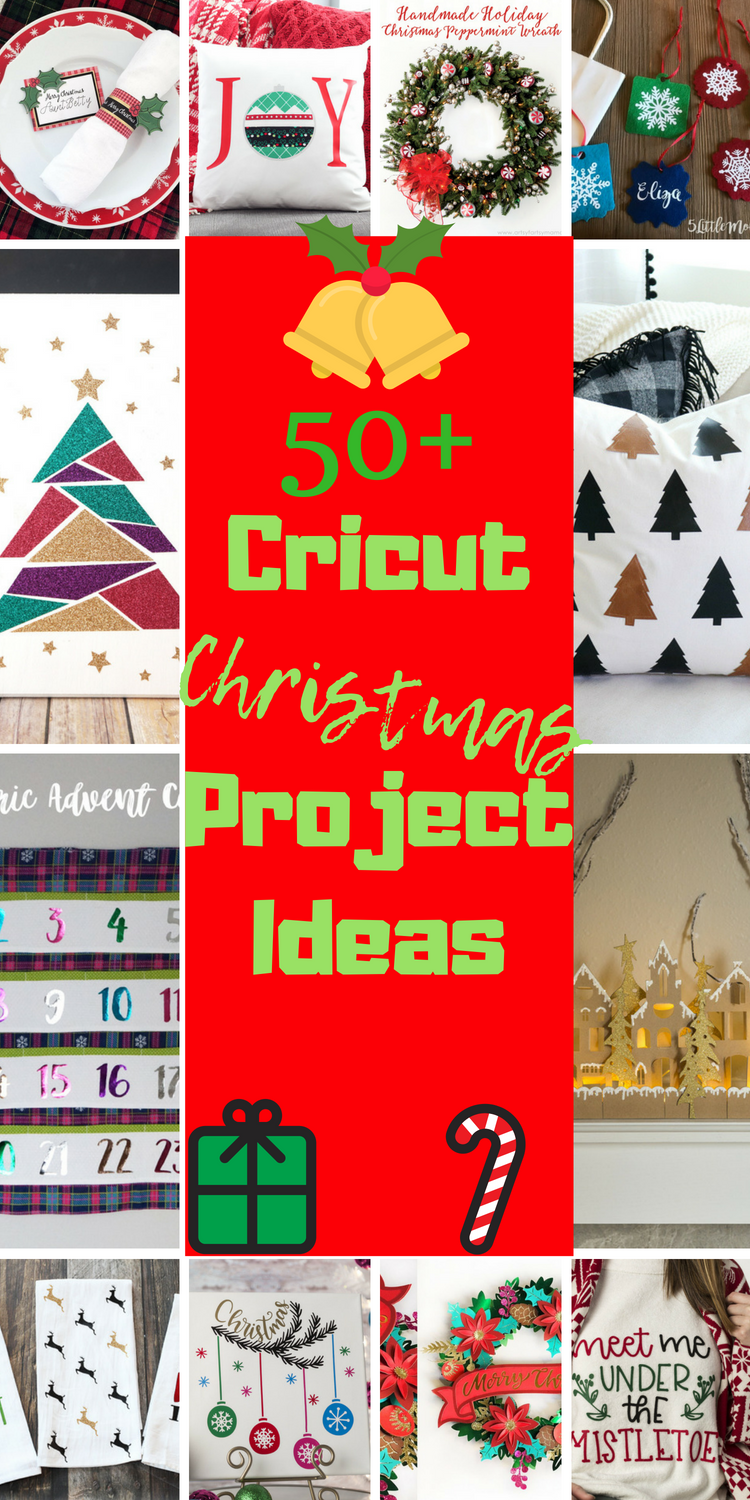
- 50+ Cricut Christmas Projects: Easy and Jolly Ideas!