
How to Use Different Types of Iron On Materials
Make your projects even more YOU by using different kinds of iron-on materials together – here are the best tips for success!
It’s no secret that I absolutely LOVE iron-on projects.
While I have tons of rolls of regular adhesive vinyl waiting to be used, iron-on vinyl is what I keep re-ordering because I can never have enough!
The fun thing about iron-on vinyl is that there are so many options and things
In the past, I’ve talked A LOT about how to use iron-on materials.
From plain, ol HTV to iron on foil to layering and specific kinds of iron-on, such as patterned and SportFlex.
But what if you want to use multiple kinds of iron-on…is it possible? Or are you just setting yourself up for disaster.
Fortunately, it’s the first of those two choices. You can ABSOLUTELY use two different kinds of iron-on!
I’ve already talked about how to layer iron on vinyl in the past, but today will be all about using multiple types of iron on…even if you aren’t layering!
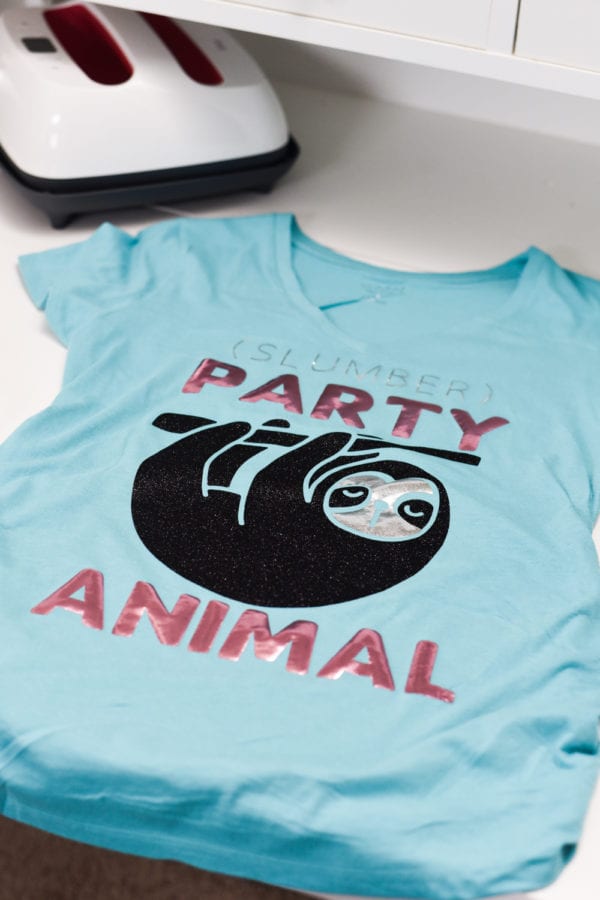
A few weeks ago, a few of my friends and I were getting ready for SNAP Conference in Salt Lake City. We decided to make matching sloth shirts for the craft slumber party, and we had lots of Marco Polos going back and forth about using the different kinds of materials we wanted to use.
After that conversation, I figured that I might as well write a post on the topic – because, surely, we aren’t the only ones using multiple types of iron-on!
For your reference, here are the Design Space files for the two designs I have pictured in this post:
- Slumber Party Sloth (created by Amber from Amber Simmons)
- I’m So Crafty – I Make People (see my post on this here)
If you aren’t sure about the best heat source for your iron on projects, be sure to check out this post – Cricut EasyPress 2 vs Heat Press vs Iron
Table of contents
Types of Iron On Materials
First off, I wanted to talk about the different types of iron-on. I mentioned these in my post about Iron on vinyl FAQs, but I figure a refresher is always helpful!
Cricut calls these materials Iron-on, though they are often referred to as HTV or Heat Transfer Vinyl.
(These are based off the options available on Cricut.com. Other retailers will have different names and even styles available. We really love the HTV/Iron-on that Expressions Vinyl offers as well).
[the_ad id=”93378″]
- Everyday – This is the standard colors that Cricut offers
- Glitter
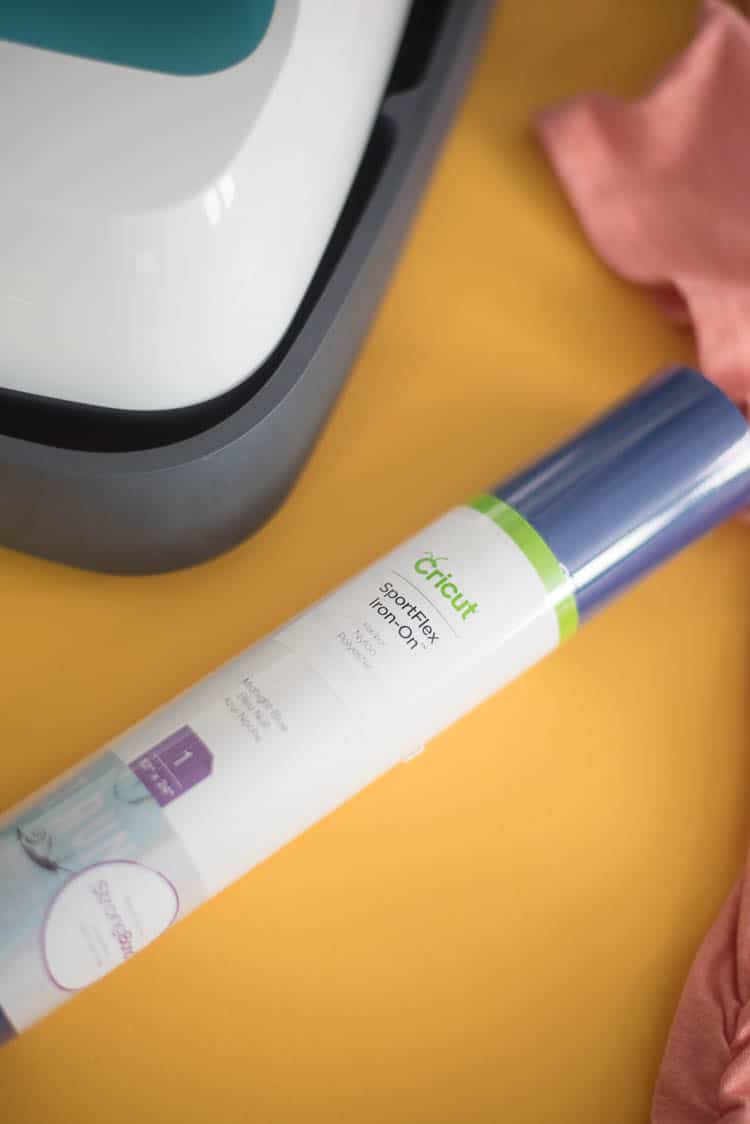
- SportFlex – Perfect for jerseys, swimming suits, yoga pants and more (make sure to read this post on how to use SportFlex Iron on).
- Patterned – One of my favorite kinds of iron-on. It’s just so pretty – but it’s definitely different from other kinds of iron-on, so this post on how to use patterned iron on might be helpful.
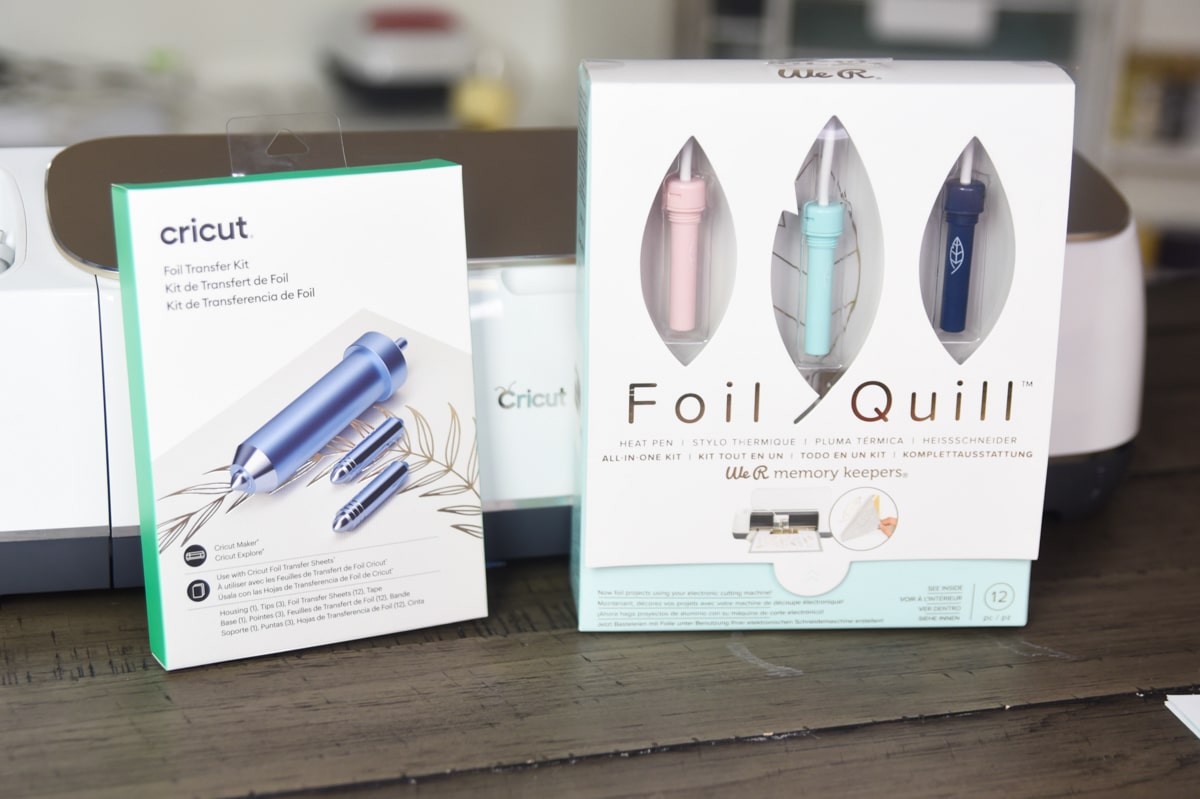
- Foil – I really love how foil looks as an iron-on material. It can be a little tricky to work with, so make sure you read this post on how to use iron-on foil.
- Mesh – This is a version of Everyday Iron-on, but it has holes in it. Really fun!
- Holographic
- Designs
Pay Attention to Specific Instructions
First, before you get started if you are using an EasyPress or EasyPress 2, head over to the EasyPress Interactive Chart. This will be essential in following the advice below.
Make note of the temperatures, times, and whether the material you are working with is cold, warm, or hot peel.
If you don’t have an EasyPress, you might still want to look at that chart to get an idea on how long you will need to press your material and hot your iron should be.
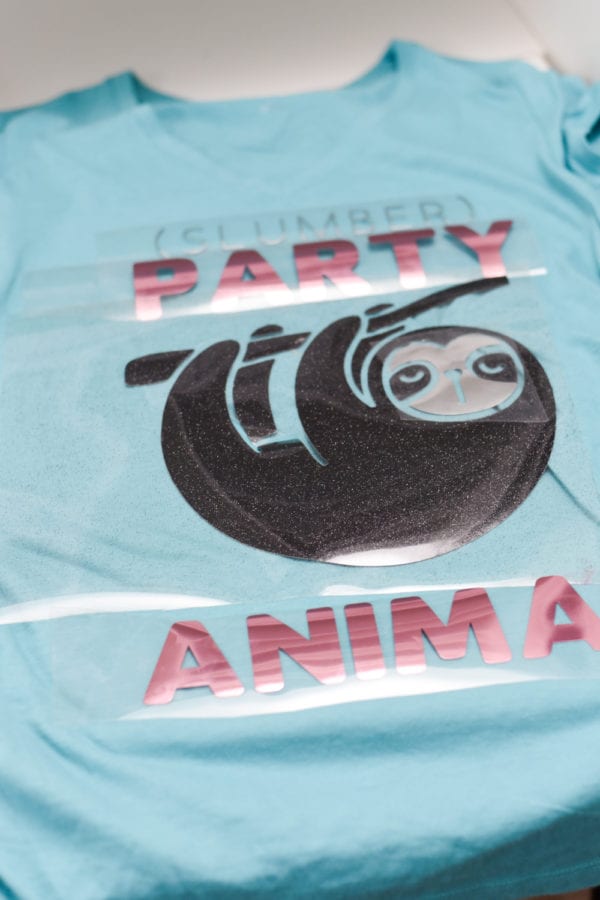
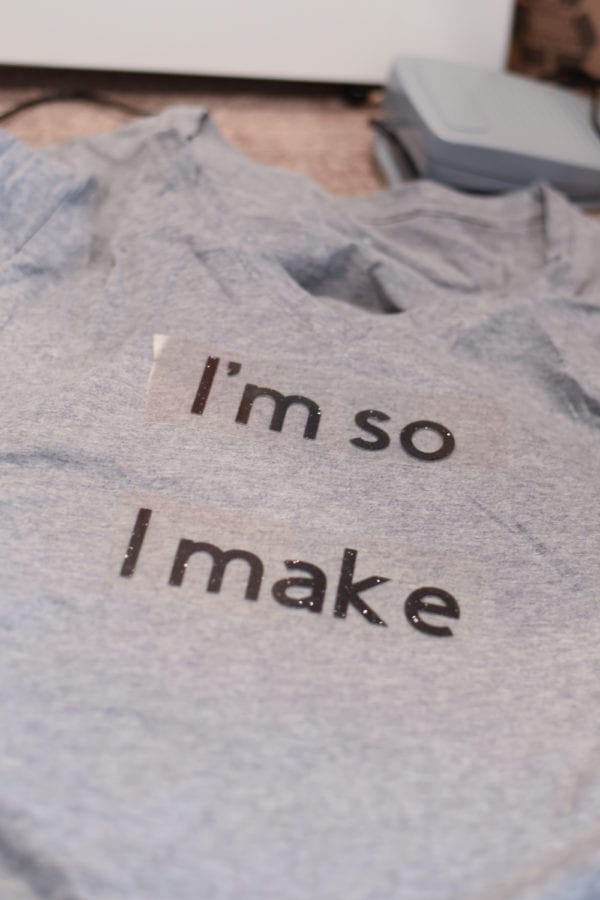
Lay Out Your Design
Lay out your materials on your shirt before you get started. You will have to take pieces off to do the different types of iron on, and it’s helpful to get an idea of exactly where you want them.
If you are worried you won’t get them in the exact right spots, you can even mark using a washable fabric pen or chalk so you don’t lose your spot.
Start with the hottest layer
The material that has the highest temperature threshold will be able to withstand more presses when you are putting other materials on without warping.
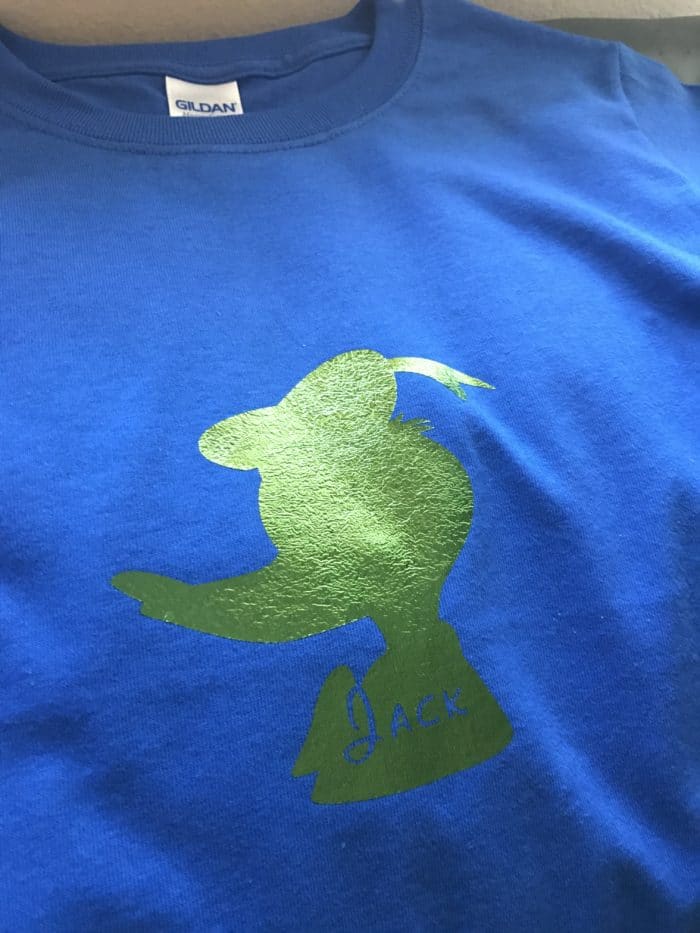
If you use a higher temperature on a material that requires one that is lower, it will likely crinkle and wrinkles, which is never fun. Here’s an example of how this will look:
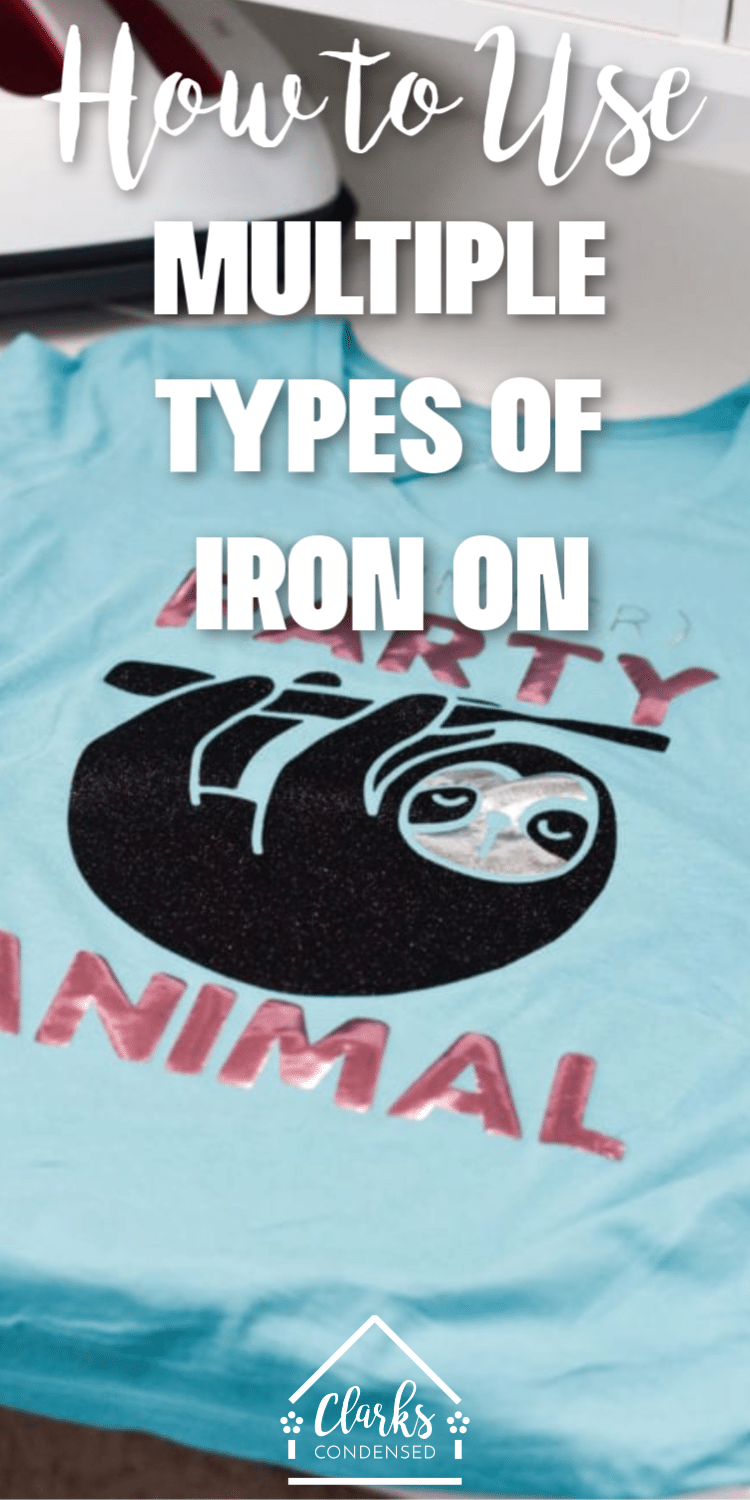
So for the sloth shirt I pictured above, I used Glitter Iron-on and two colors of foil iron-on.
According to the EasyPress Interactive Guide, I needed to use a temperature of 330 degrees for 30 seconds.
The foil needed to be at 295 degrees for 30 seconds.
Big difference, right?
So I started with the glitter iron-on, and I ended with the the foil iron-on, and it turned out perfectly. No crinkles to be found!
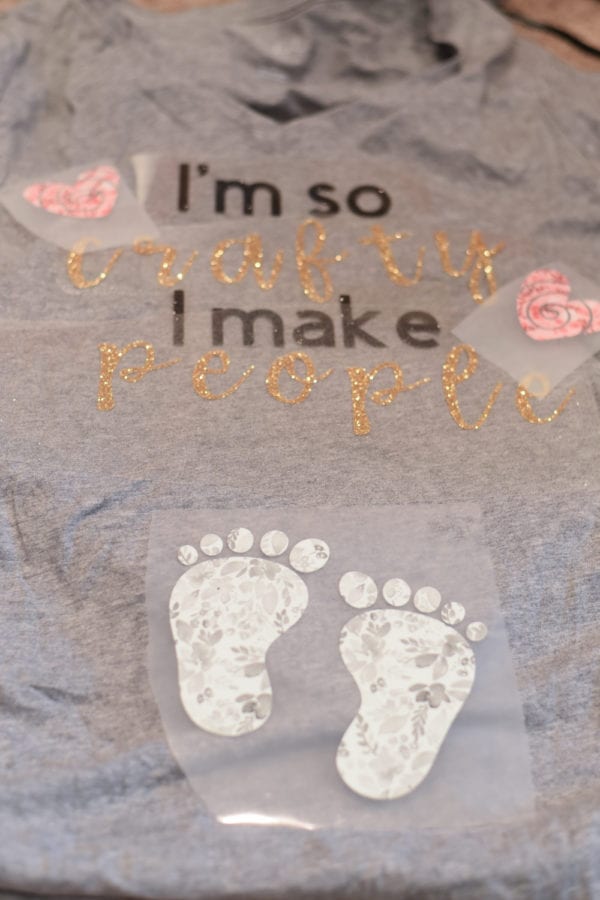
Try to use just two different kinds of materials
Can you use more than two kinds of iron on? Sure – I certainly have, like in this maternity shirt:
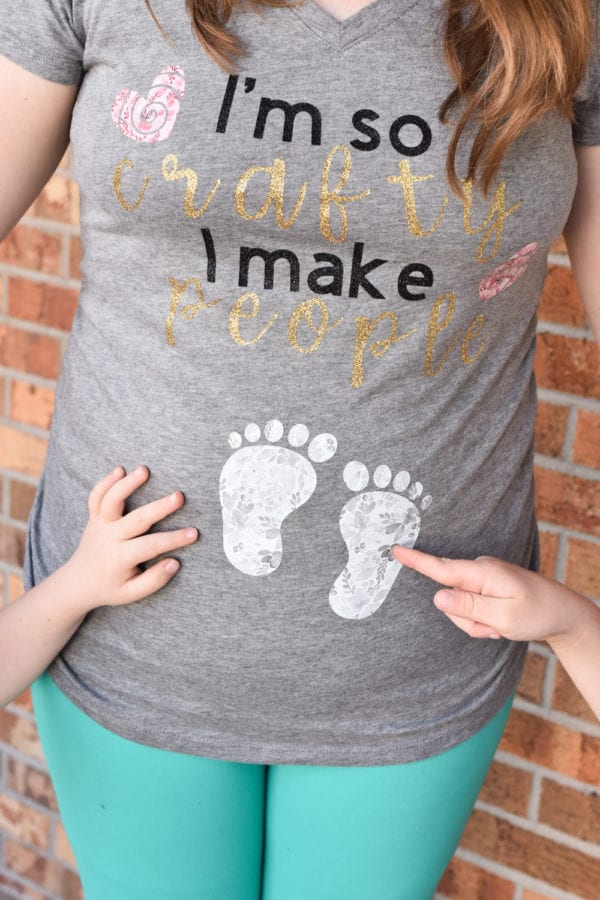
However, it does make it more complicated, especially if the time/temperatures vary a lot and you have to put the EasyPress or Iron on the material multiple times.
Press as Much As You Can at a Time
The less presses that you can do, the better. Try and put as many pieces of the same vinyl or foil onto your project at the same time.
This isn’t always possible – especially if the plastic backing overlaps, which can mess with things.
I hope that this was helpful. Please let me know if you have any additional questions – I would love to answer them!
Other Posts You May Enjoy:
- Cricut Design Space FAQ
- My Must-Have Cricut Supplies: What I Can’t Live Without
- Is Cricut Access Worth it?
This is awesome! I had no idea you could do this! I did layer on the Sport Flex when I did my runDisney shirt, but it would have been fun to do some glitter HTV, too!