
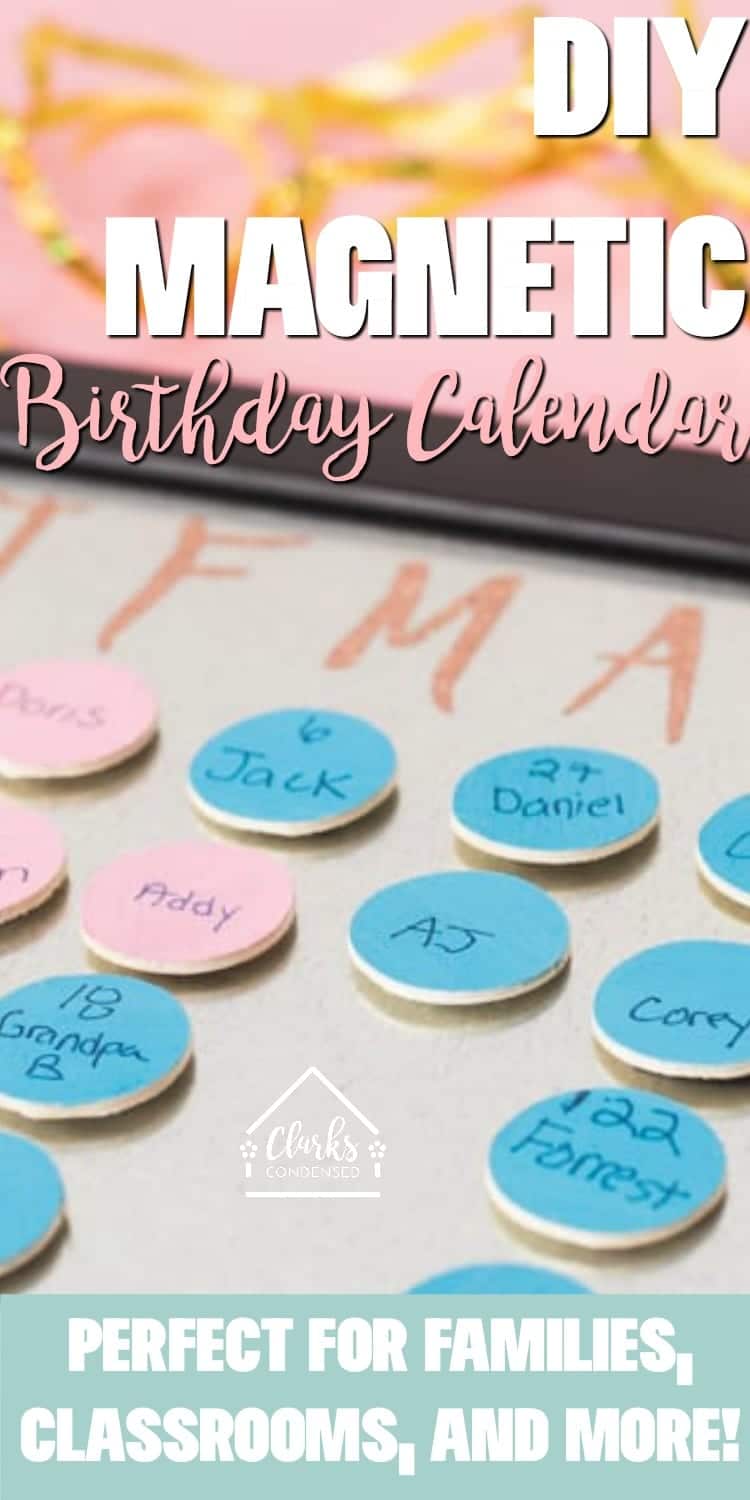
DIY Magnetic Family Birthday Calendar – Easy to Update!
Never forget a special day again with this DIY Magnetic family birthday calendar. It’s super easy to update!
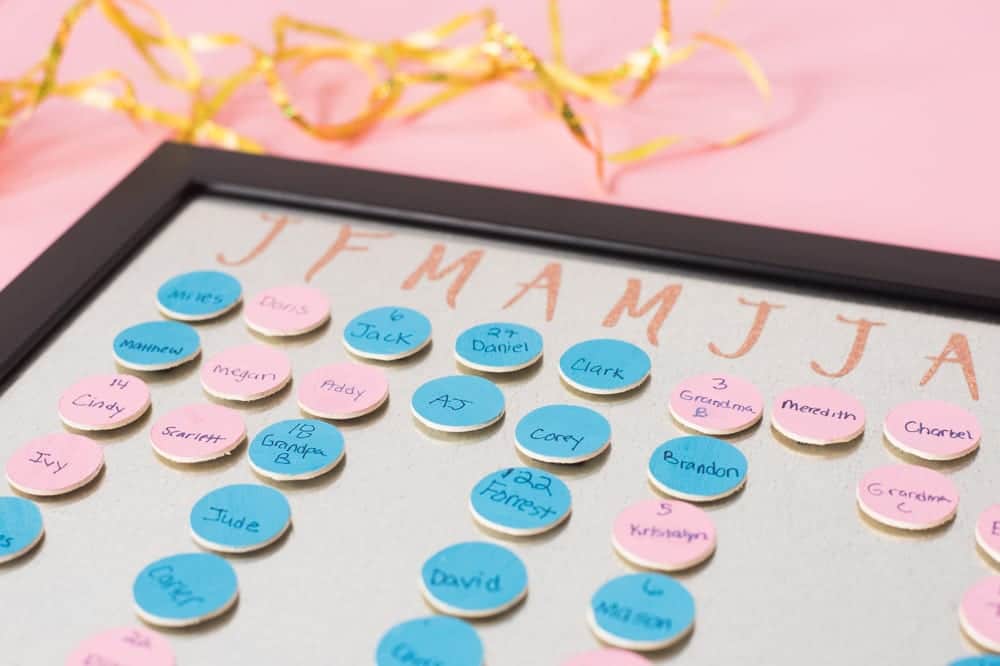
Wooden Birthday Calendar
The Christmas before Jack was born, I decided to make all of the Christmas presents we were given.
Some of this was out of necessity – two full-time college students, awaiting and preparing for the arrival of a new baby, working part-time jobs…not necessarily the recipe for rolling in the dough.
However, I also needed something to keep my mind busy. I was really struggling with prenatal depression at the time, and crafting was one of the few things that I really enjoyed doing at the time.
These were the days when Pinterest was probably invite only (and I didn’t have an invitation!), so I don’t even remember where I saw this idea. But I wanted to make a wooden birthday calendar for my mom.
Forrest and I worked FOREVER on it – we burned the words and months onto it that we wanted, we stained it…So fun.
It turned out great, but we quickly realized it was not easy to add any additional birthdays onto it. Kind of a problem when you have a family that was growing at the rate ours was!
Although my mom loves it, and it’s still in her kitchen, it hasn’t been super functional as our family has gained many new members since then.
For Christmas a few years ago, my mom’s sister gave her a magnetic birthday chart, and I LOVED it. The magnets seemed a lot easier to update than the wooden birthday calendar. I love that she included extra little magnets as well for when more people are added to the family. If you want to learn how to make magnets with Cricut, then, I got you covered. Check out my guide.
I decided to make one of these for Forrest’s parents for Christmas this year. It took a little bit of trial and error figuring out the best way to put it together, but in the end, it turned out great.
Because I love how it turned out, I decided to make another one for myself. I feel like, at this point, I’m a pro at making them and have a few helpful tips.
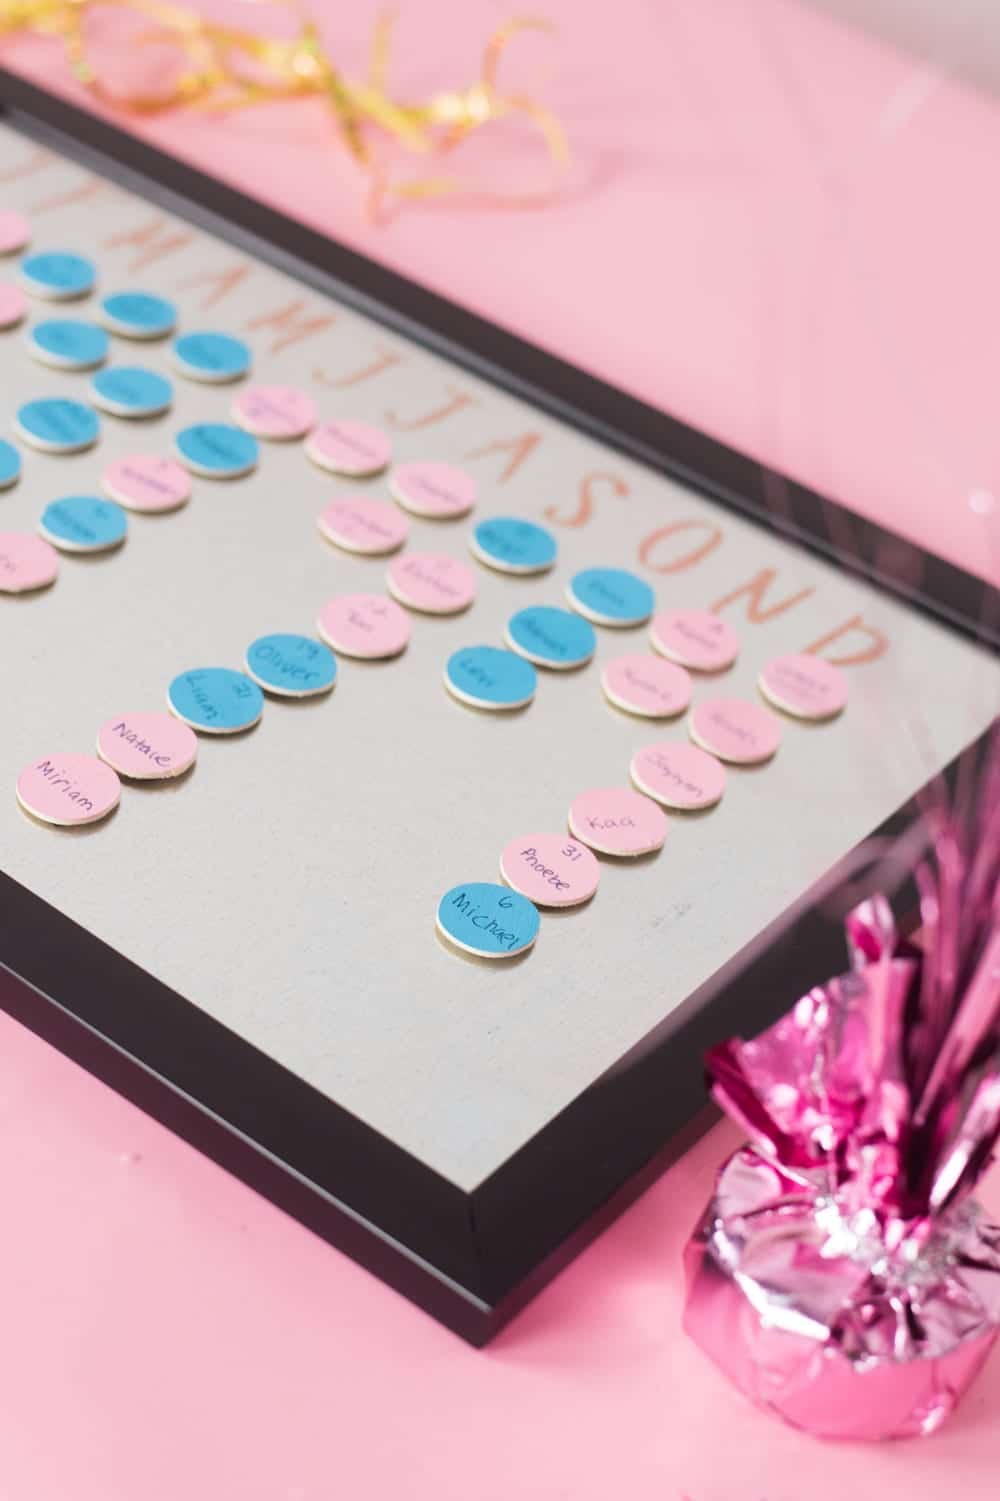
It’s also kind of fun to see the distribution of birthdates spread out on the calendar. Apparently, September is the most popular month for our families (which makes sense – September is the most popular birth month across the world!)
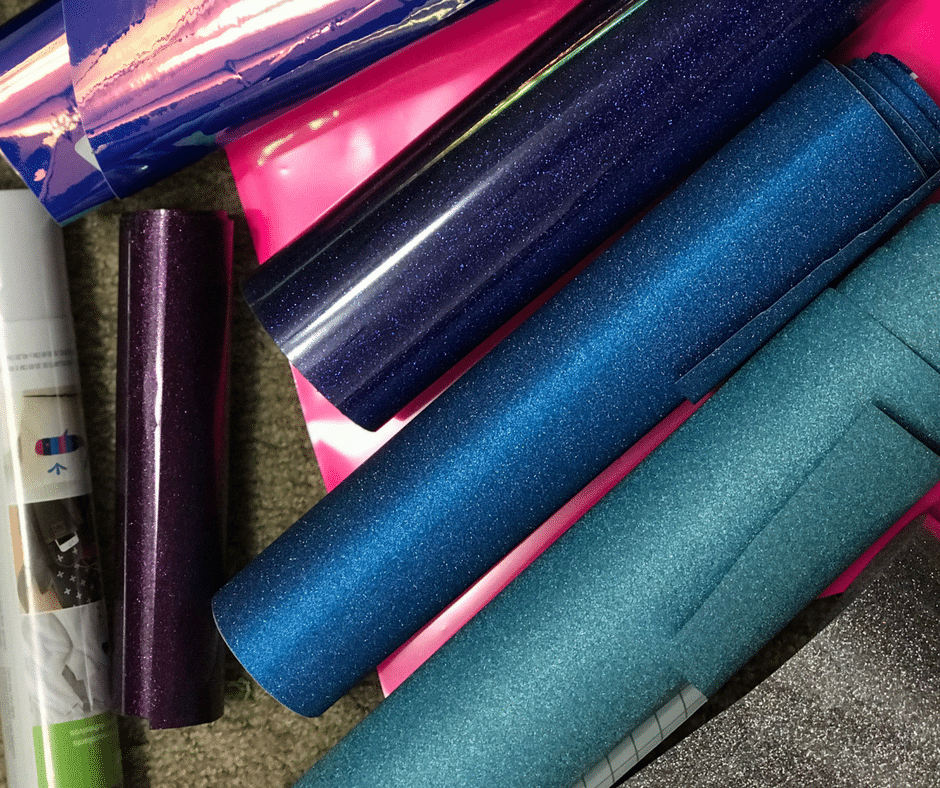
This project has various materials, but I didn’t have any trouble finding them at local stores. I really like how glitter vinyl looks on it.
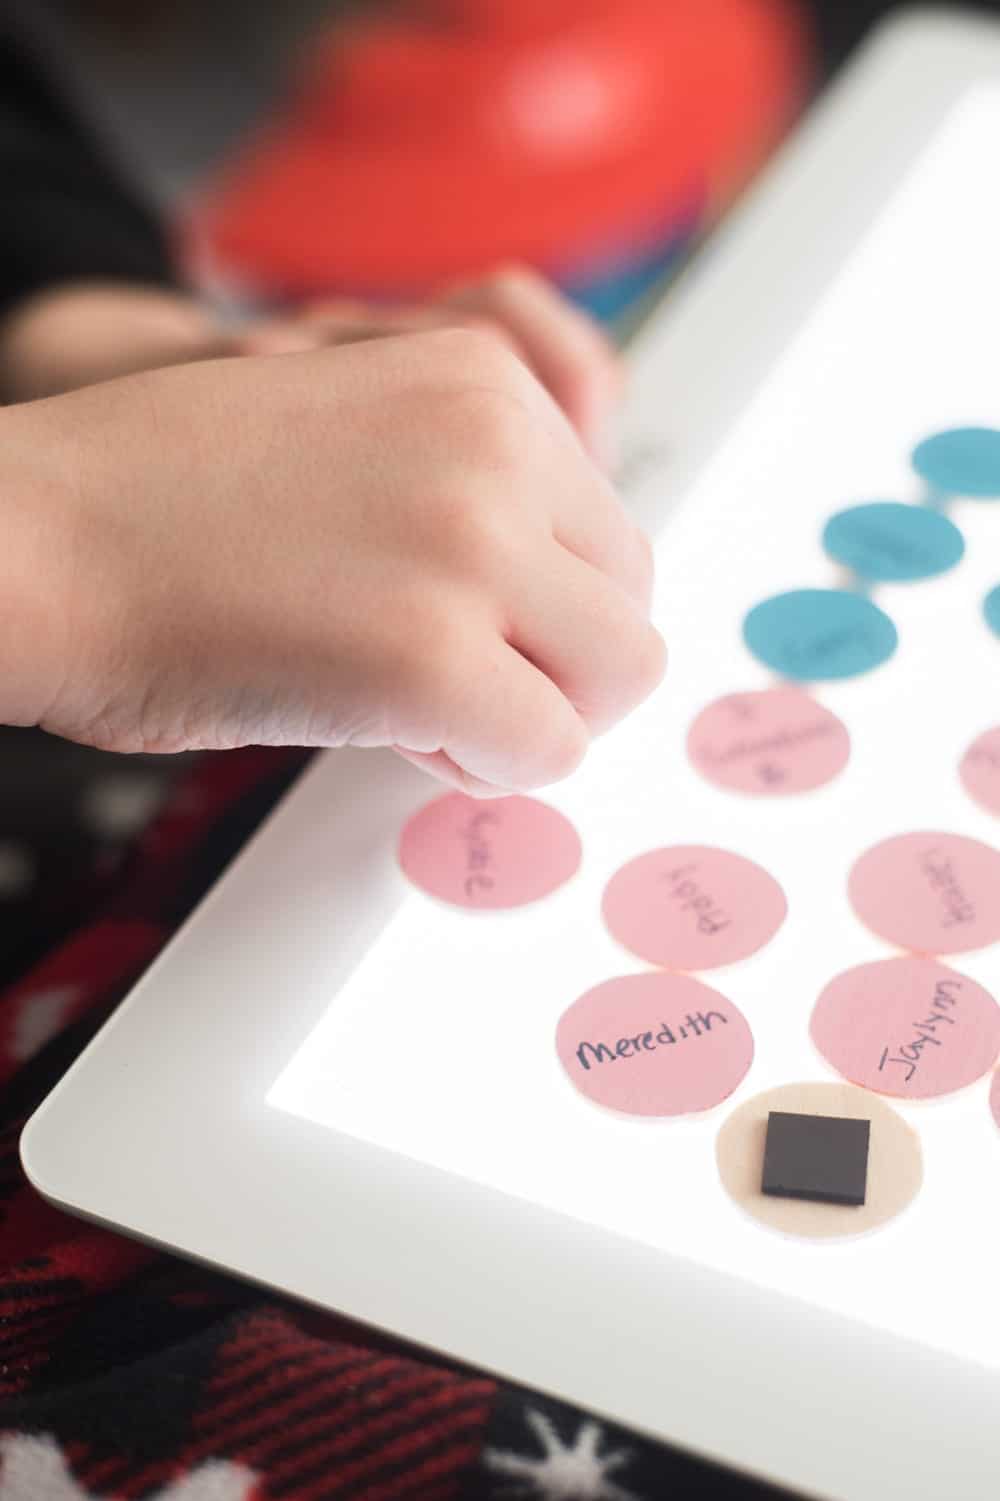
Have I ever mentioned how much I hate weeding? It’s SO much easier with my BrightPad. I’ve written about the BrightPad in the past, but it’s a tool that does make weeding easier.
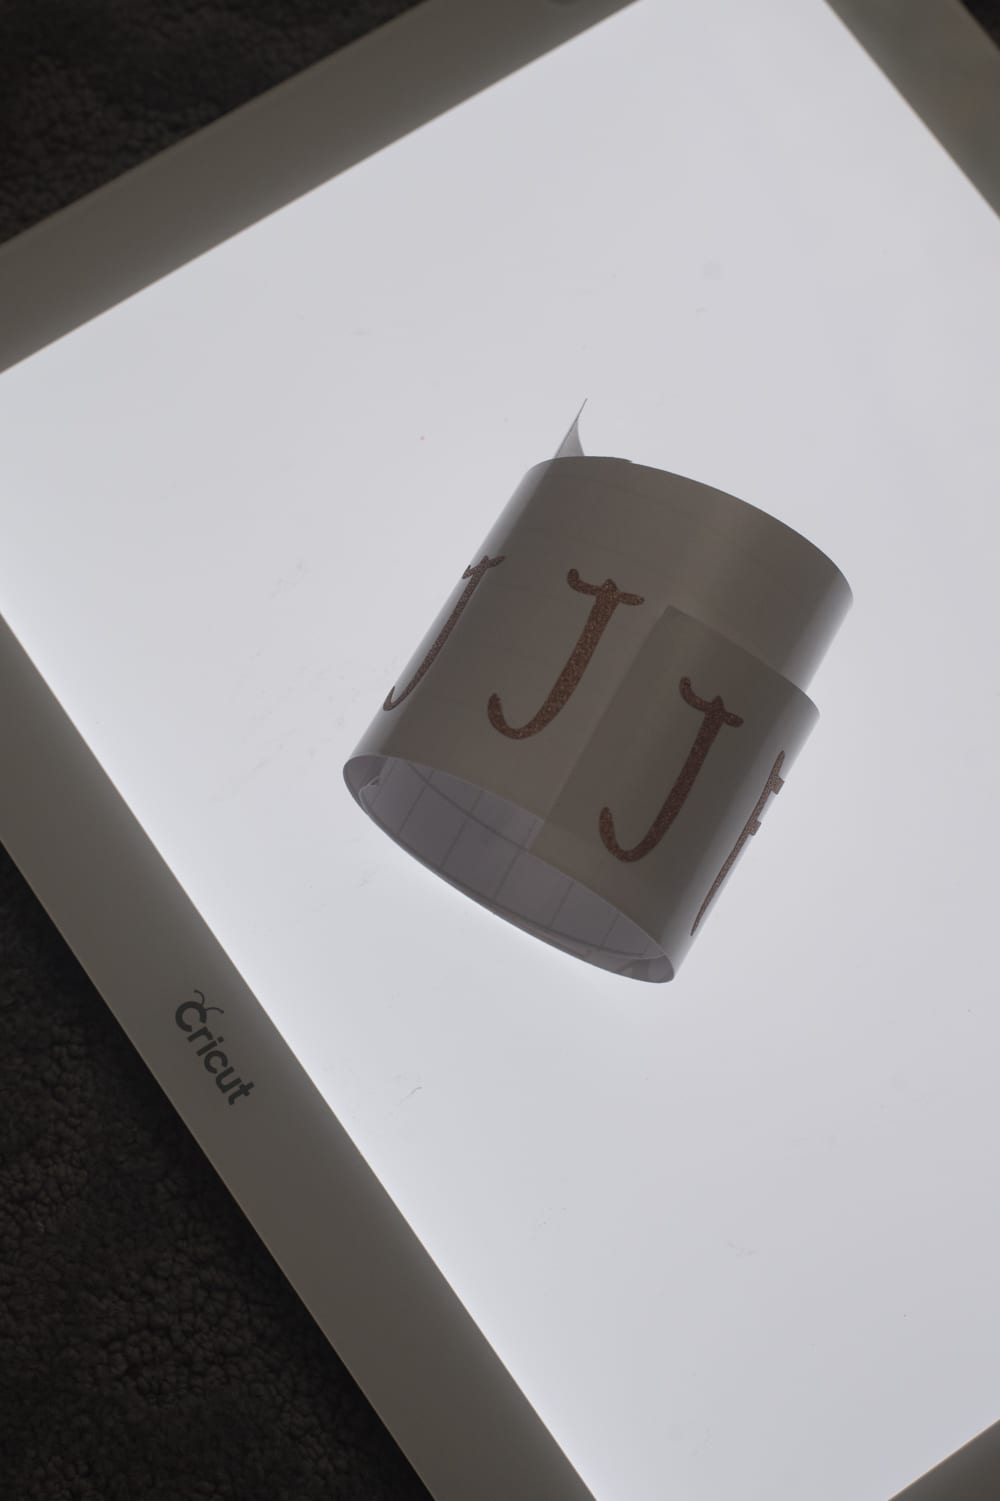
It’s really helpful with vinyl where the lines are trickier to see – which is usually the case with glitter vinyl. These are often on sale through Cricut.com, so I would definitely keep your eyes open for a deal.
Next week I’ll be sharing some different ways to use the BrightPad beyond just weeding. You should know that I’m a big fan of products that are multi-use. So be sure to stay tuned for that!
For this project, it was helpful for me to keep everything in one place as I wrote names on the the little pieces, as well as placed magnets!
Where to Find Metal
So when I first started working on this project, I looked around for magnetic frames or magnetic boards…and they were all SO pricey!
I went to Home Depot instead and was able to find a 12×18 sheet for just $5, and it worked perfectly. They had different sized sheets as well, but I felt this was a perfect size.
The exact name of the one I got was “Sheet Metal Zinc Plated 12 in x 26 ga x 18 in by Everbilt”. This is the closest one I can find to that, but there may be more selection when you go into the store.
Tips for Success
The first time I made this, I ended up painting the pieces afterward. It wasn’t hard, but it wasn’t my favorite thing to do. Not a big painter here.
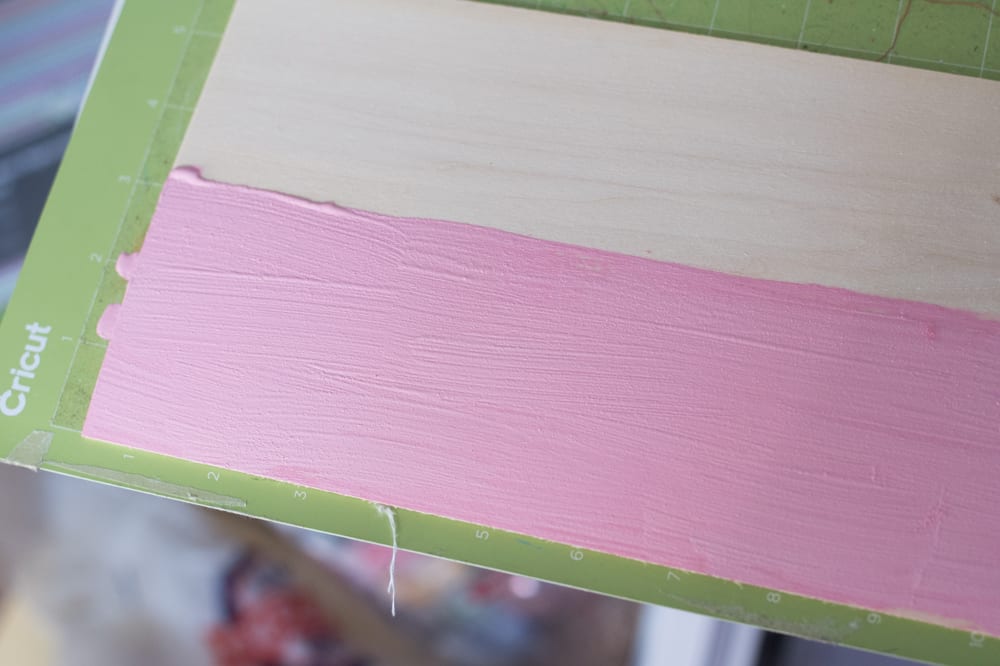
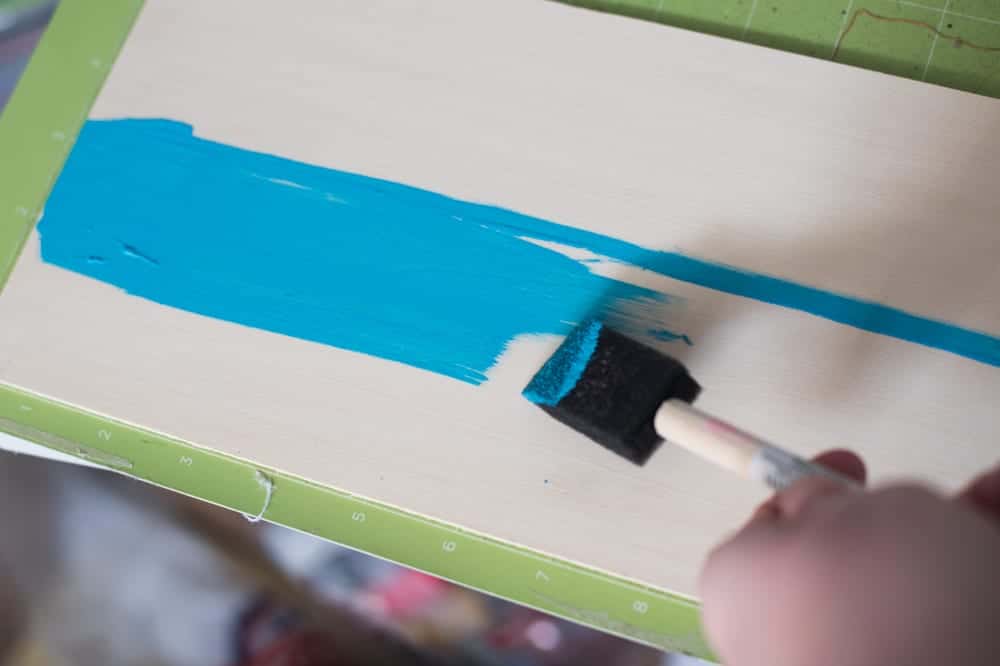
So I decided to try and paint the basswood I was using before I cut it. This took a little bit of measuring to make sure I didn’t pain more than necessary, but it went off without a hitch.
Because I had less red hearts to cut out, I just used some of the extra from the pink when I went to cut those out:
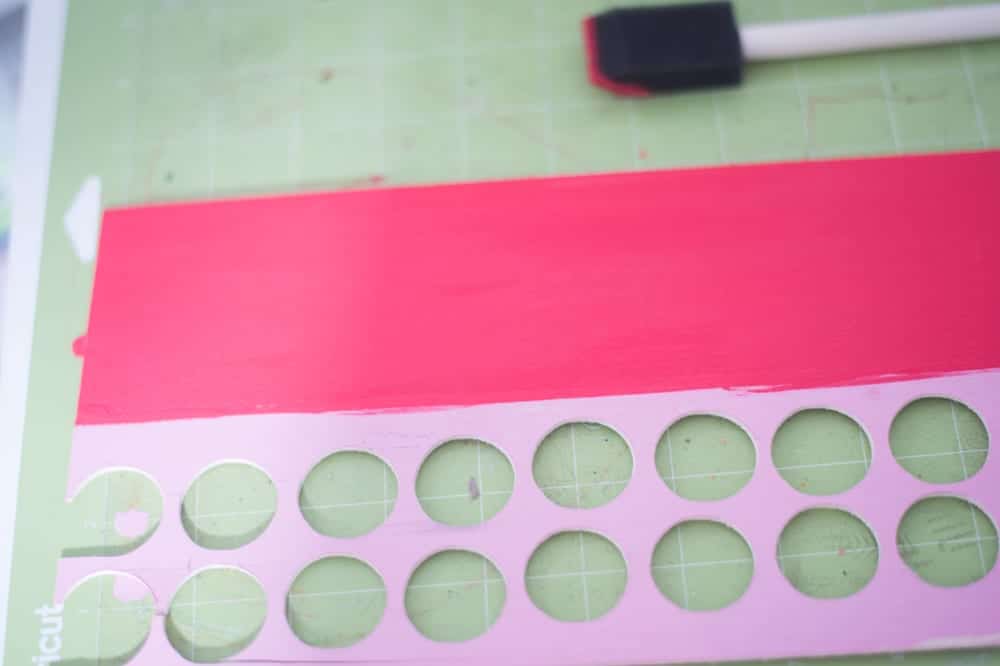
This would have worked perfectly, but…I got lazy and didn’t tape down the basswood for this last cut properly. Don’t be like me – always tape it down on all four sides! I ended up just foregoing the hearts for anniversaries when they didn’t cut right! Another job for another day.
I suggest buying a roll of sticky-backed magnets that you can cut yourself. It’s definitely the most cost-effective option!
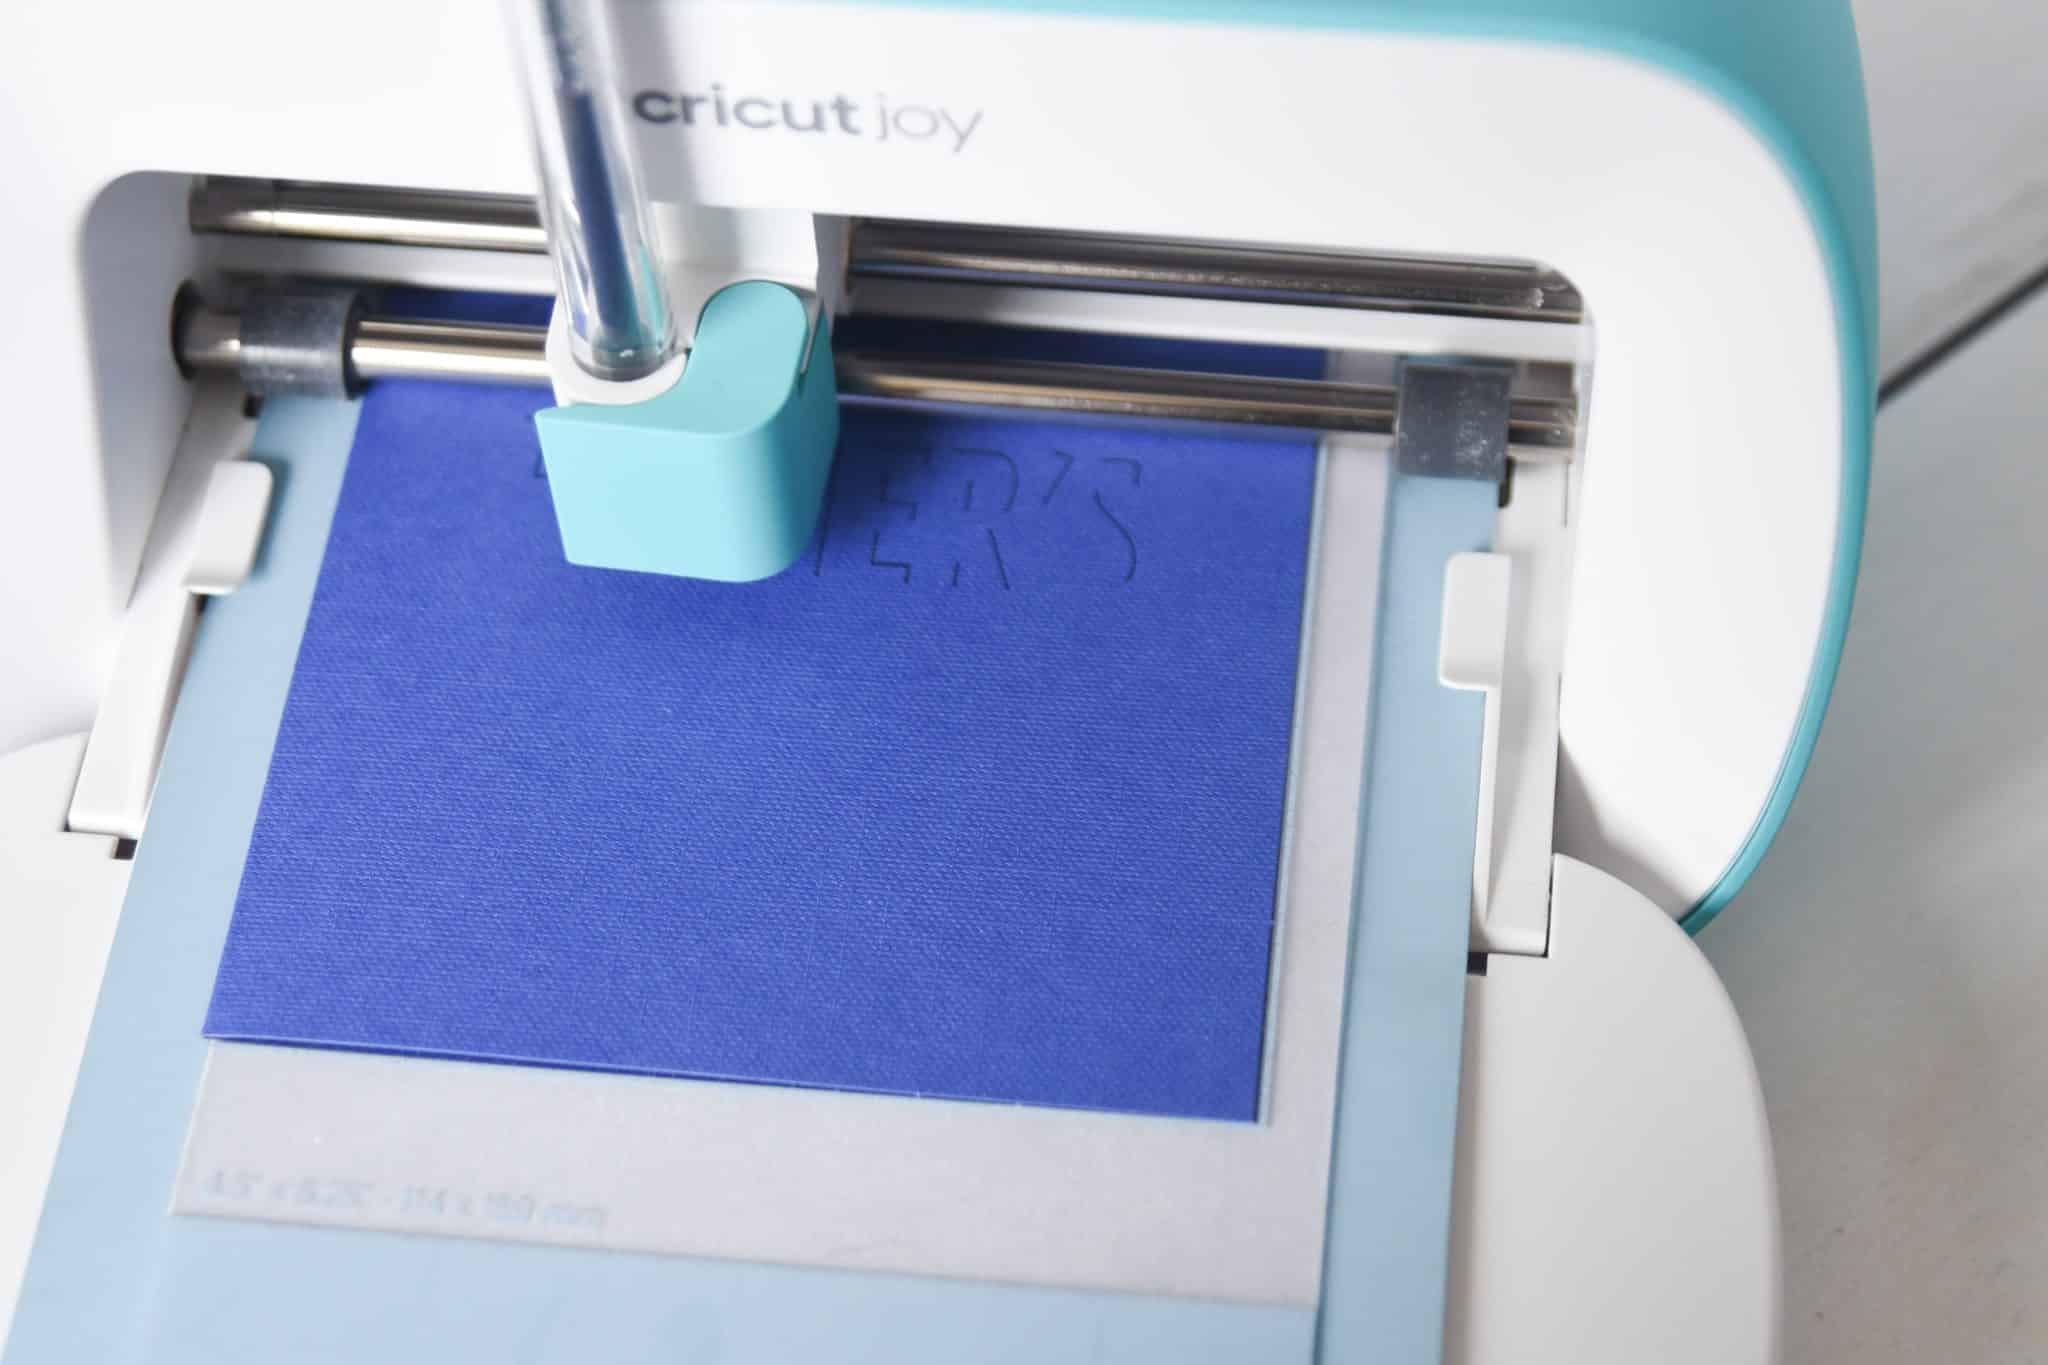
Finally, I always debate what the best way to write the names is. I could have typed them all in Design Space, and then used a pen…but I decided just to write them myself. I just used a .8 tip black Cricut pen, which worked great.
DIY Birthday Calendars
Materials:
If you don’t have a Cricut machine, you can purchase wooden circles and hearts from your local craft store or online.
12×18 Metal Sheet (for a smaller board that is easier to find a frame for, there are square sheets)
12×18 Picture Frame – the only place I could find near me that had a 12×18 picture frame was Target. This is the one I got.
Basswood – I like the strips from Joann’s. I think they are like five inches wide?
Vinyl
Magnetic Strips with Adhesive Backing
Permanent Marker/Pen – I used a .8 Cricut Pen that you can get in this set.
Cricut Maker
if you have a Cricut Explore Air 1/2, you can check out this tutorial on how to cut wood with these machines to attempt this project!
Instructions:
Open up this Design Space file.
If you need more or less hearts or circles, unattach each colored section, and then ungroup them. You can easily duplicate each one to create or delete as many as you need.
Paint each piece of basswood for the colors you want for those corresponding pieces from Design Space. Let them dry.
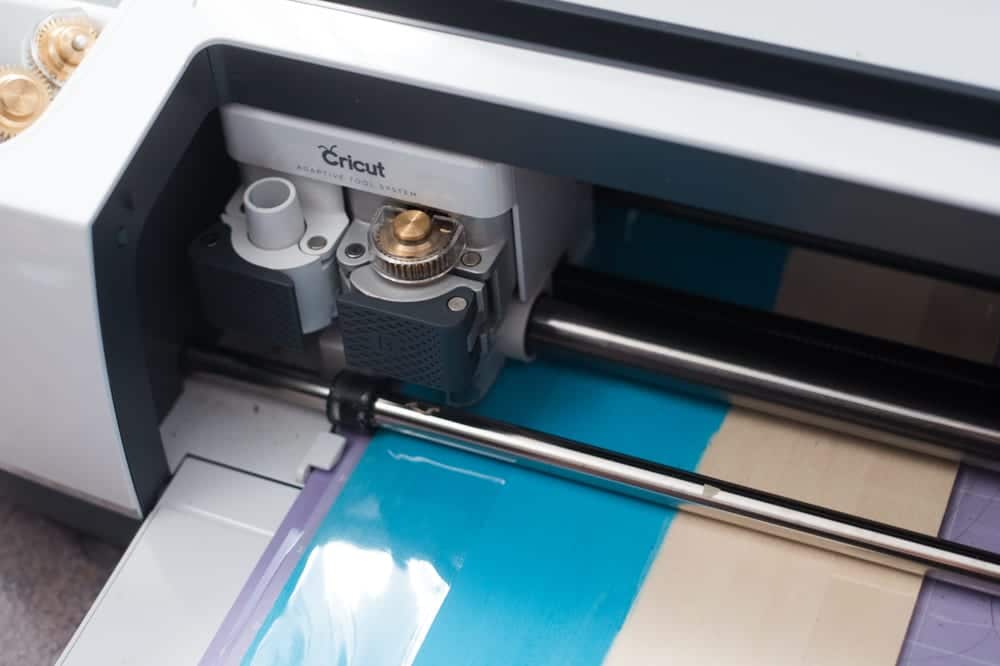
Press make it and change the settings for each material you are cutting. Remember to secure your basswood to your purple mat.
Once you’ve cut out the vinyl, weed out the excess.
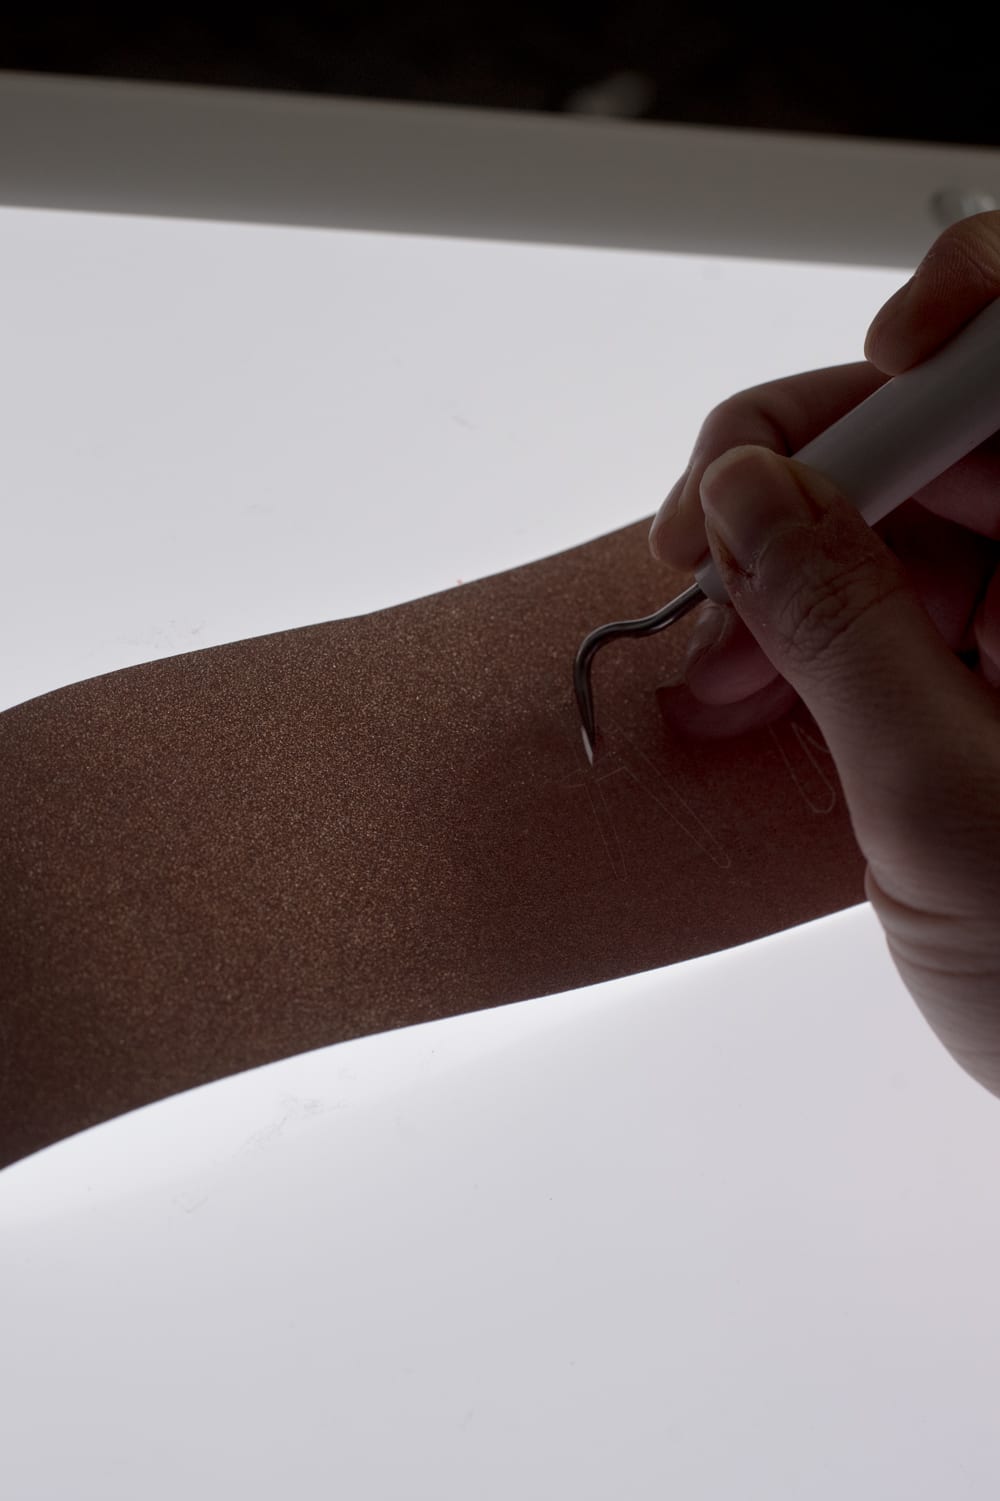
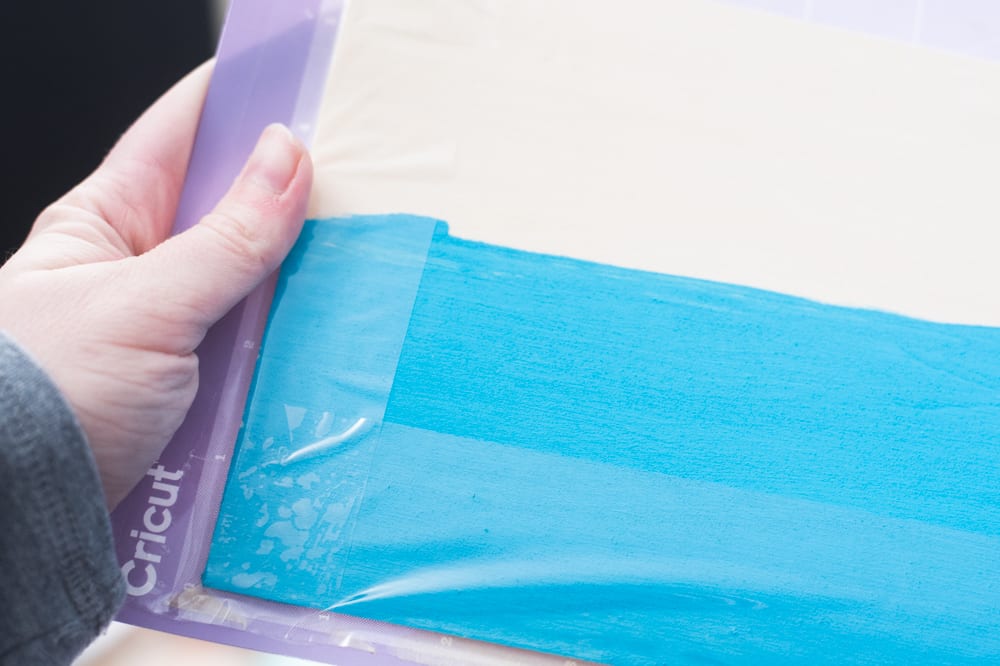
Put transfer tape onto your vinyl – make sure to use the StrongGrip transfer tape if you have glitter vinyl.
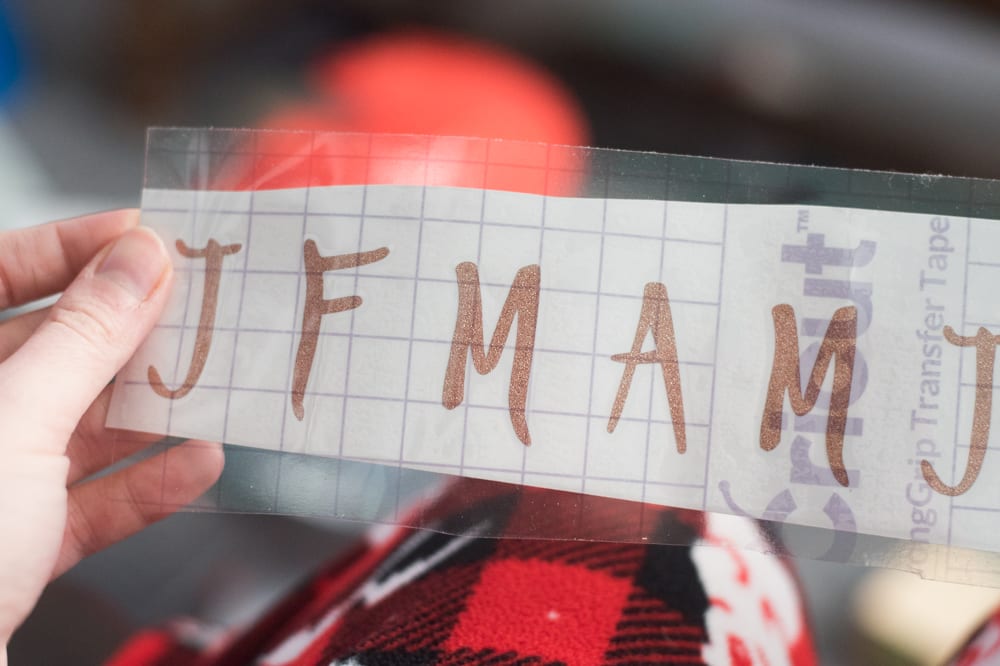
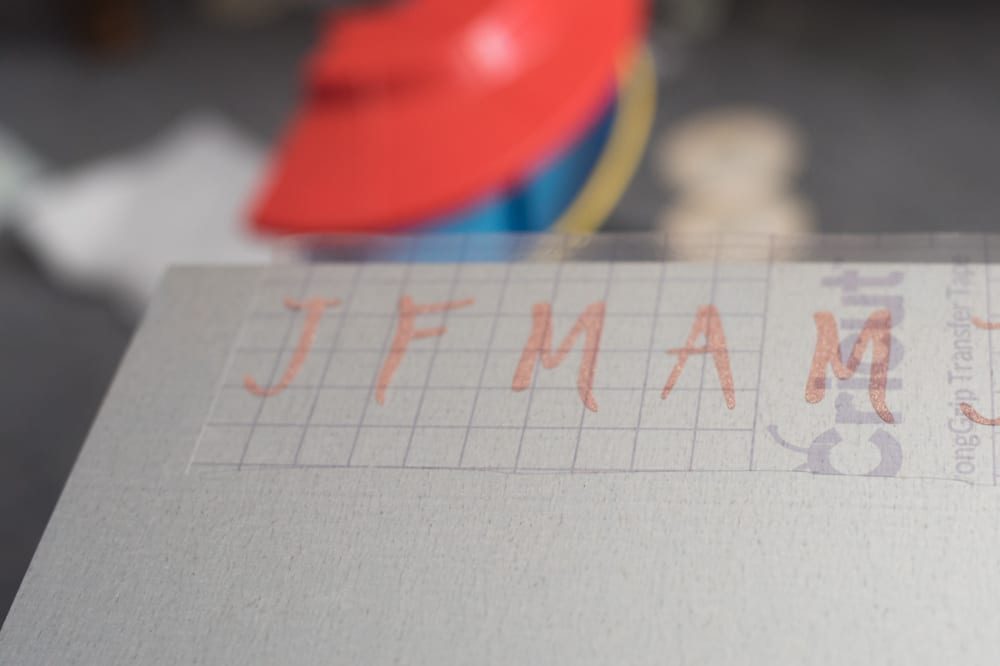
Place firmly onto your metal sheet exactly where you want the months to go – try and center it as much as possible! Remove transfer tape when ready.
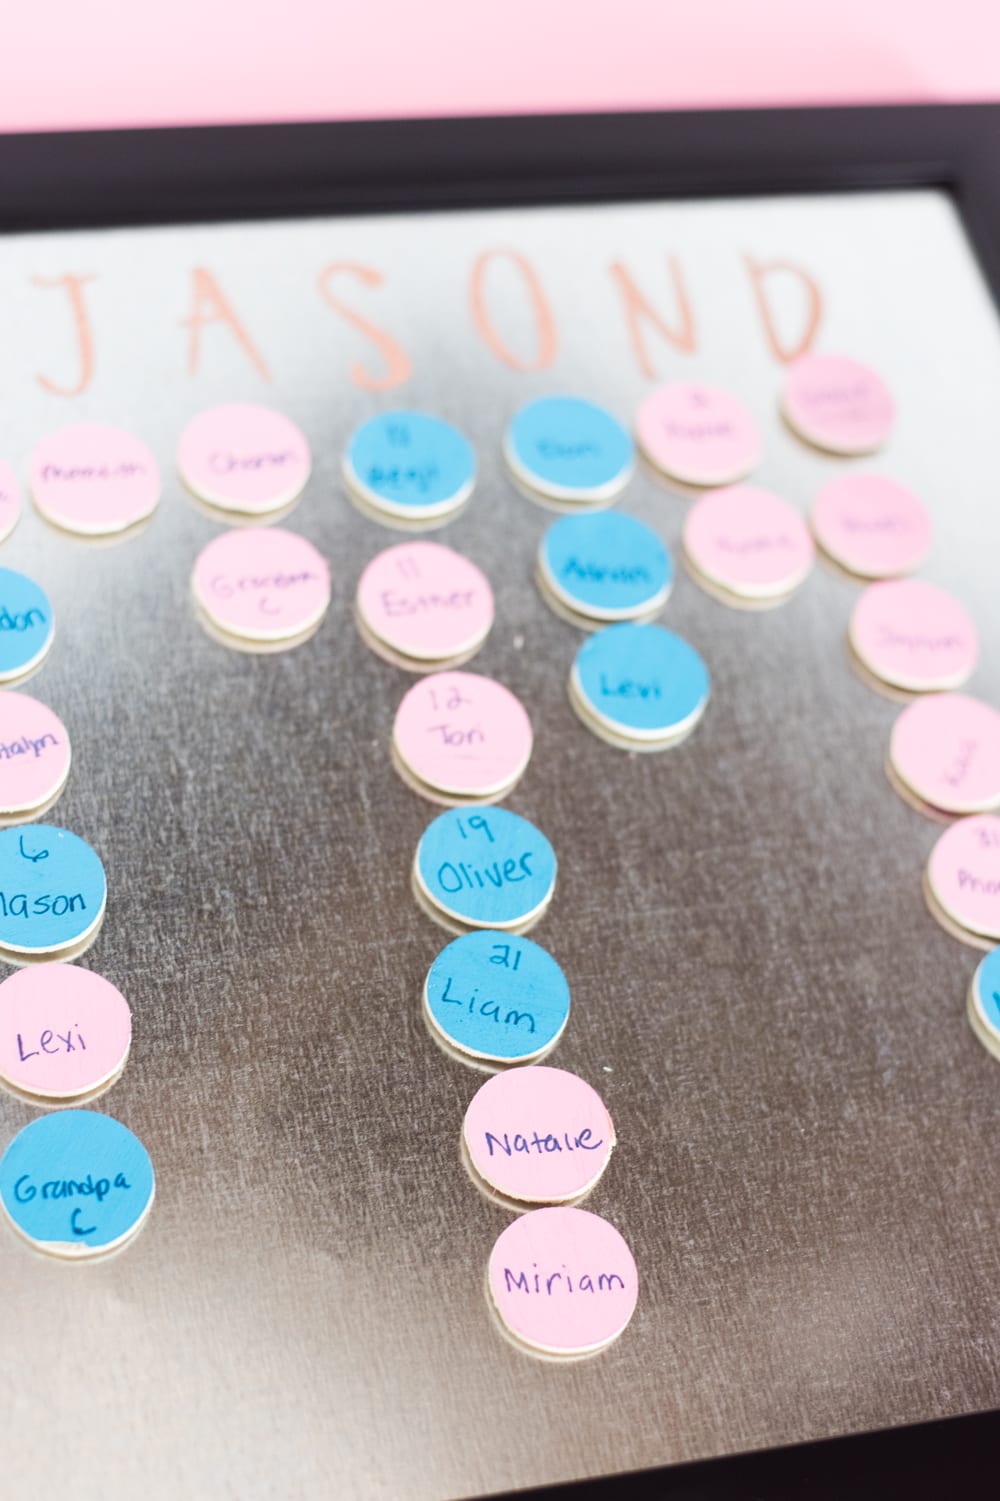
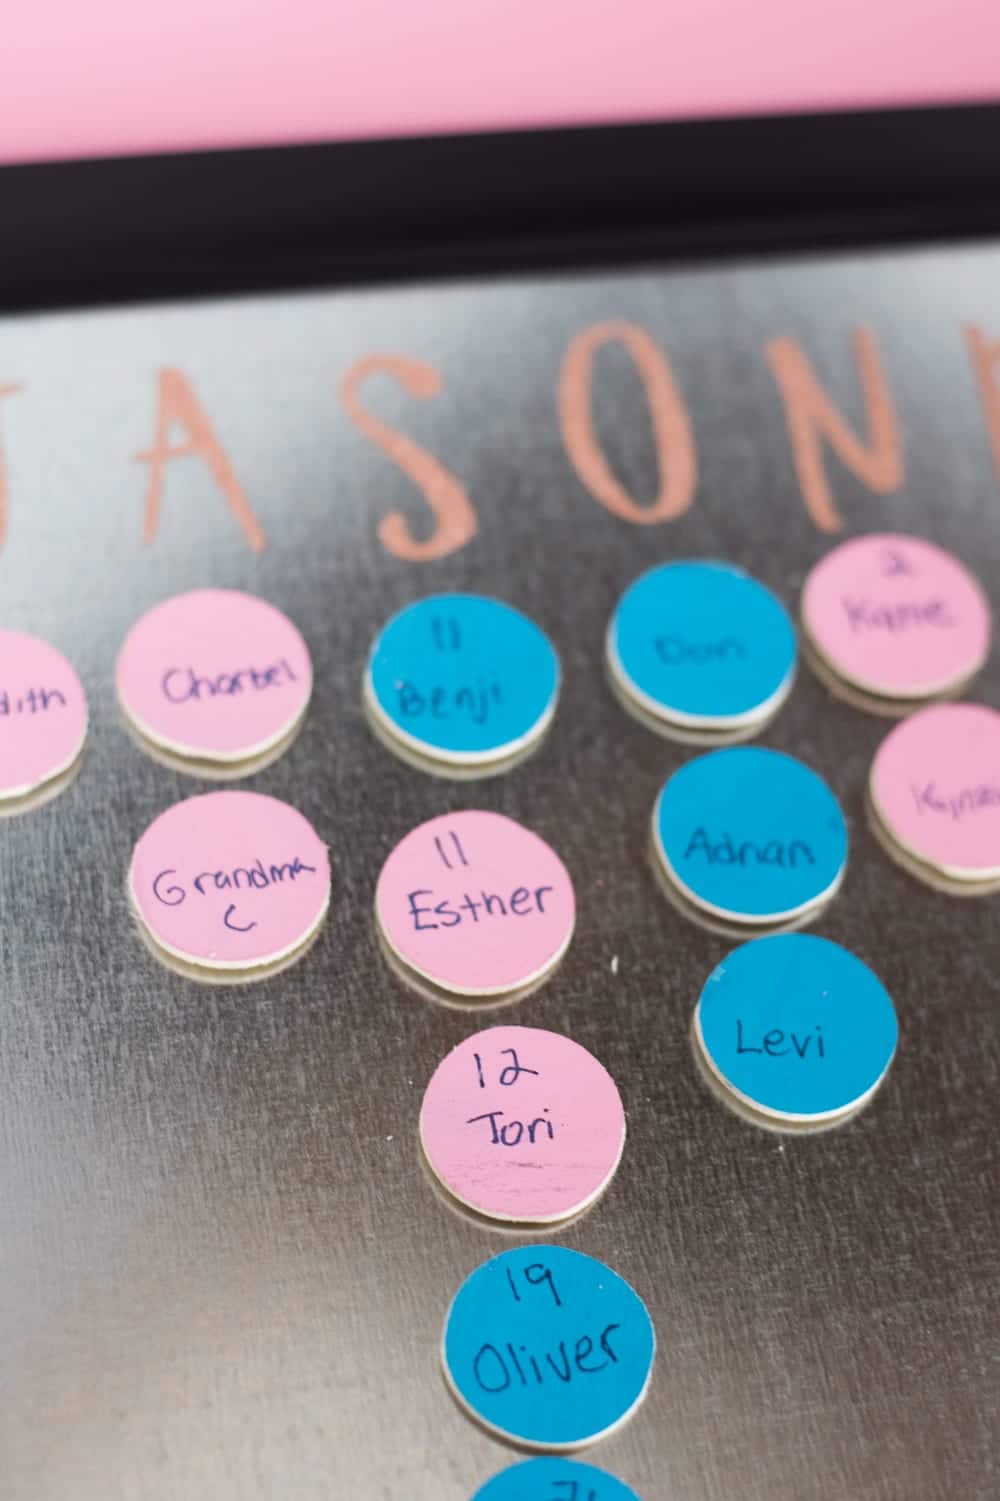
Write the names and birthdates onto each piece and then add a magnet to the back.
Before placing the pieces onto the magnetic board, remove the glass from the frame and carefully place the metal inside.
Put your magnets on and enjoy!
Other Projects You May Enjoy:
- DIY Cricut Birthday Banner with Chipboard
- Make Your Own Puzzle with Cricut: 6 Free Templates!
- DIY Month by Month Baby Onesies: Cricut Baby Onesies


This turned out so cute! I’m sure my mom would love one of these but I don’t think we have enough people in our family to make one look good haha!