
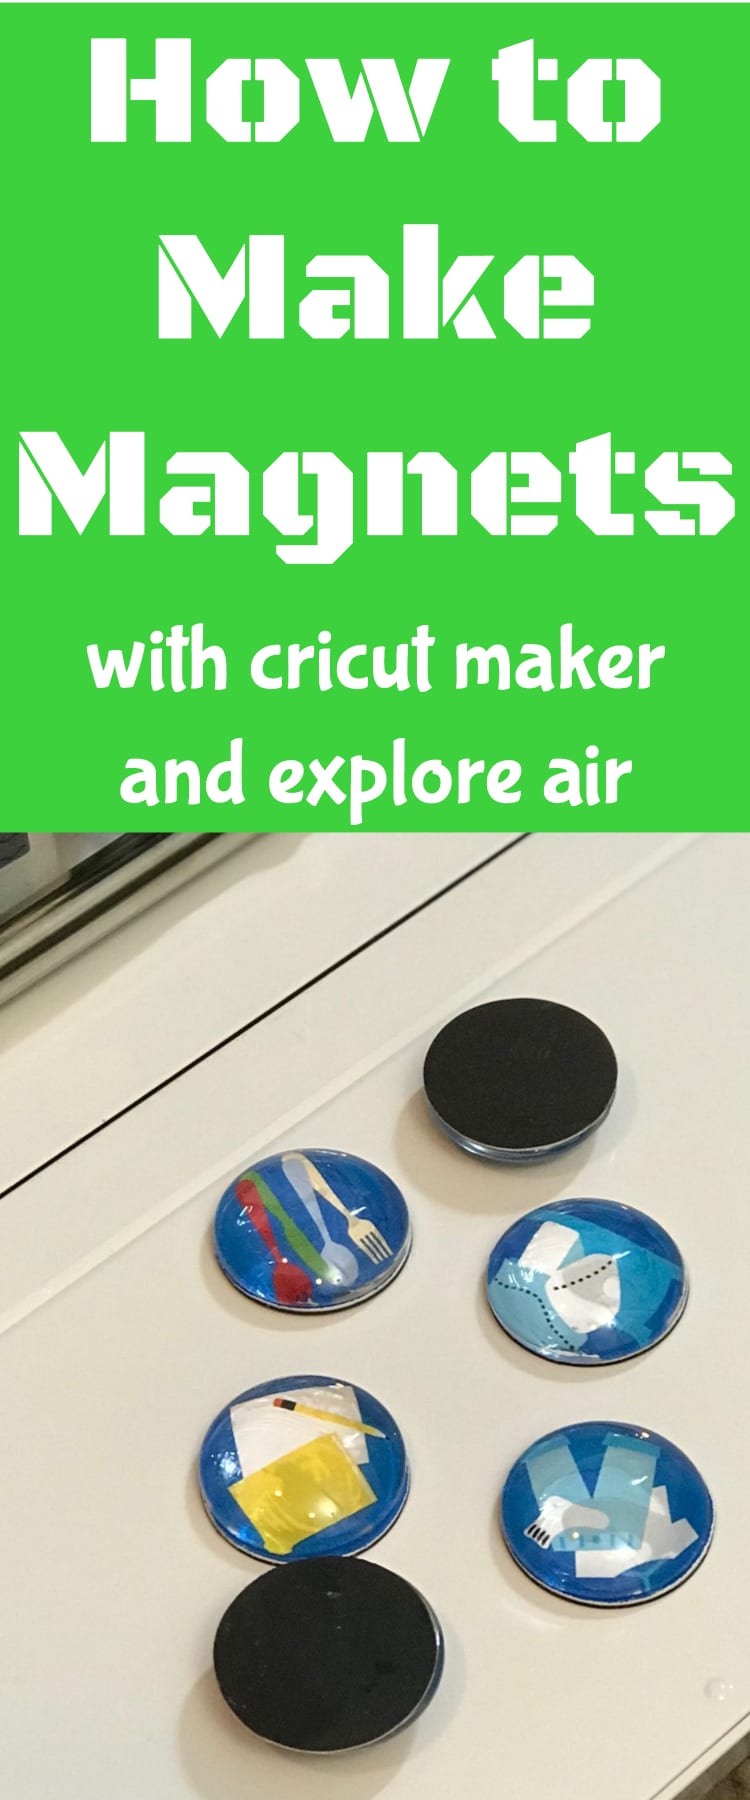
How to Make Magnets with Cricut
DIY Magnet Tutorial
While I was working on my DIY Magnet Chore Chart, I went through quite the process to make the magnets.
Originally, I had used some Cricut Magnet Paper – it seemed like the perfect idea.
But then I kept messing up, and before I knew it, I was all out.
And it was at that moment that I realized you couldn’t even buy the magnet paper anywhere – except for like $35 on Amazon.
Although I was frustrated, it was probably for the best, because I didn’t want to do a project tutorial using a material others couldn’t use!
So I found another way to make magnets with my Cricut Maker that anyone can replicate (this can also be done with the Explore Air line :).
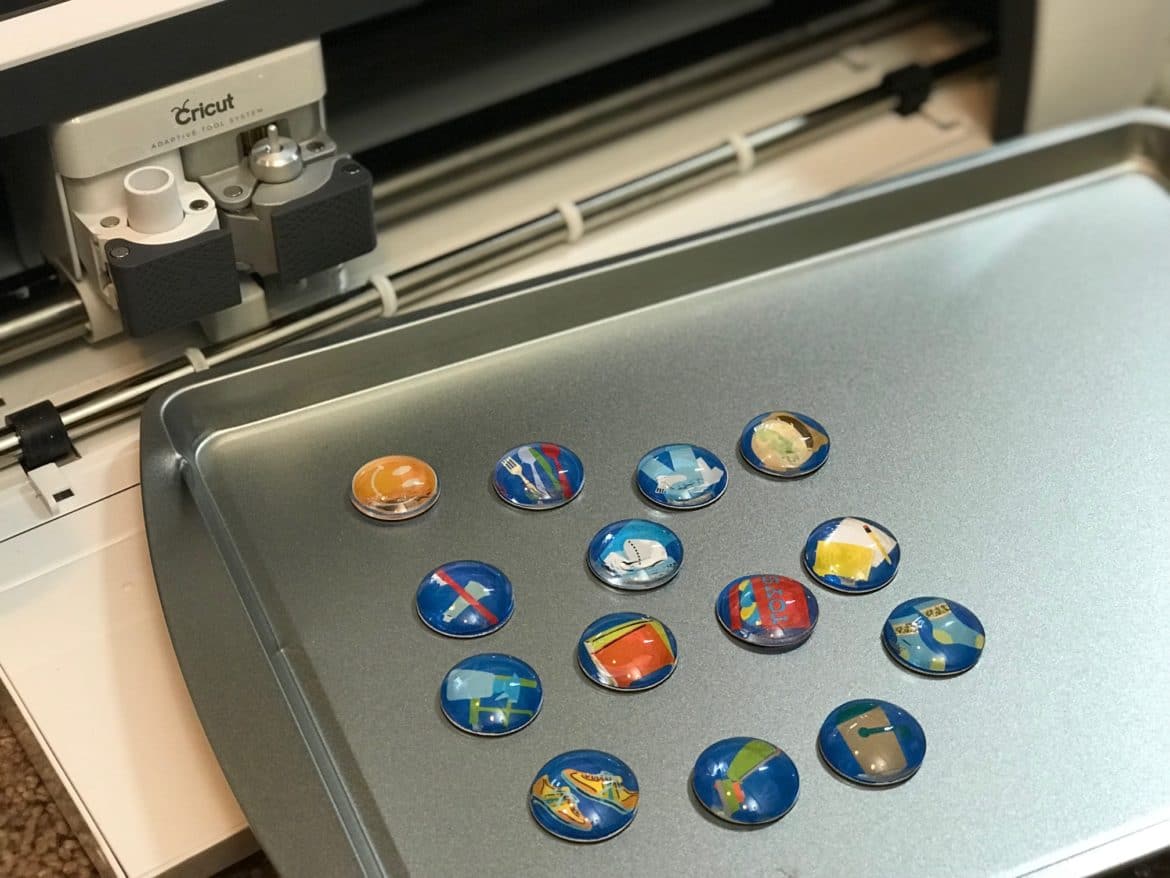
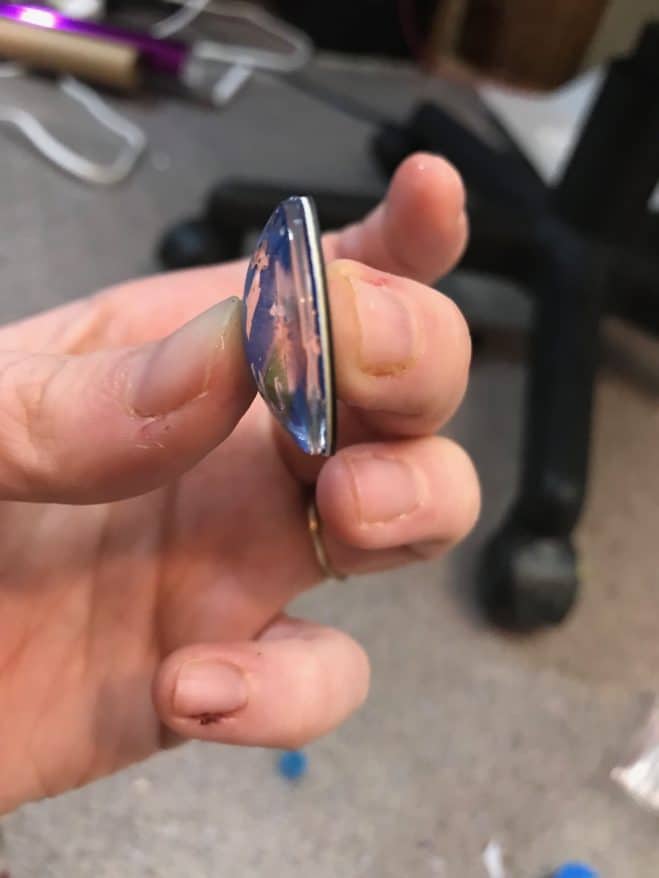
In this tutorial, I will be showing you how to make glass topped magnets, but if you don’t want the glass on the top (because it does limit the size and shape), you can just stop before I start talking about that part!
Let me know if you have any questions.
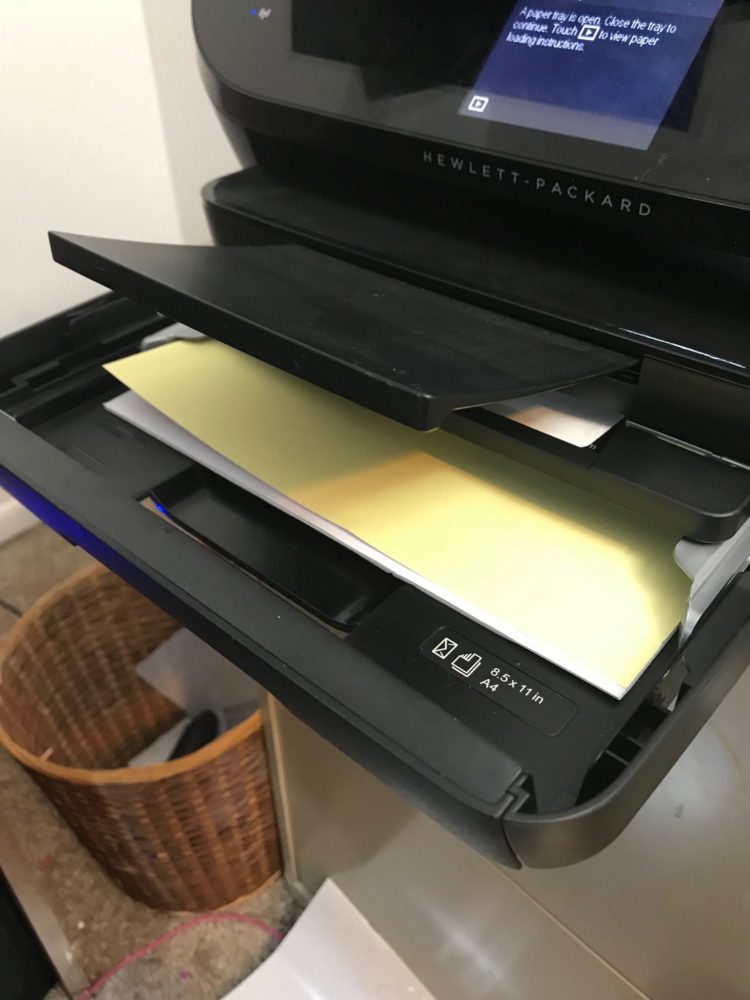
Oh, I will be using Print and Cut for this project so you will need an inkjet printer. I love my HP Envy – I use it with HP Instant Ink, which is AMAZING. I never run out of ink. You can get a free trial here.
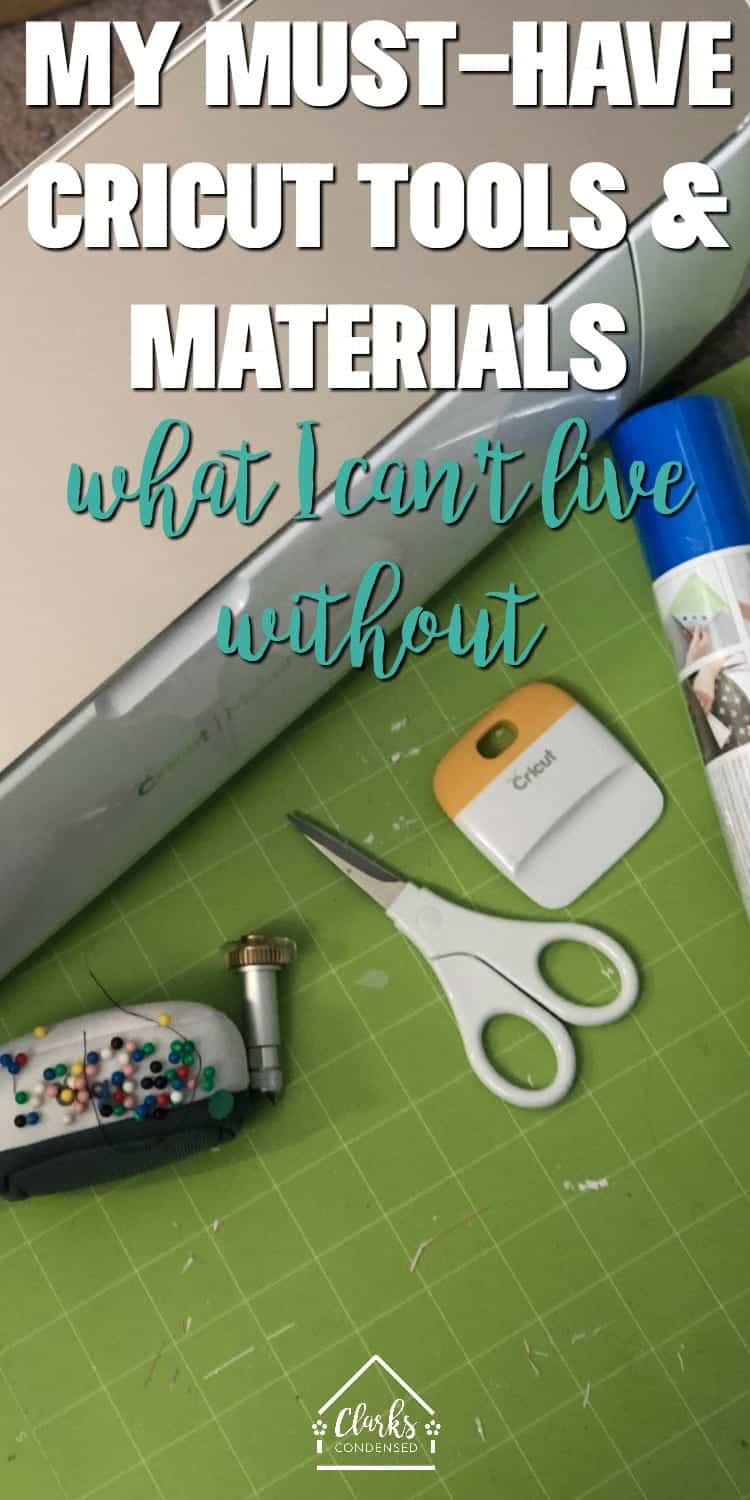
Materials

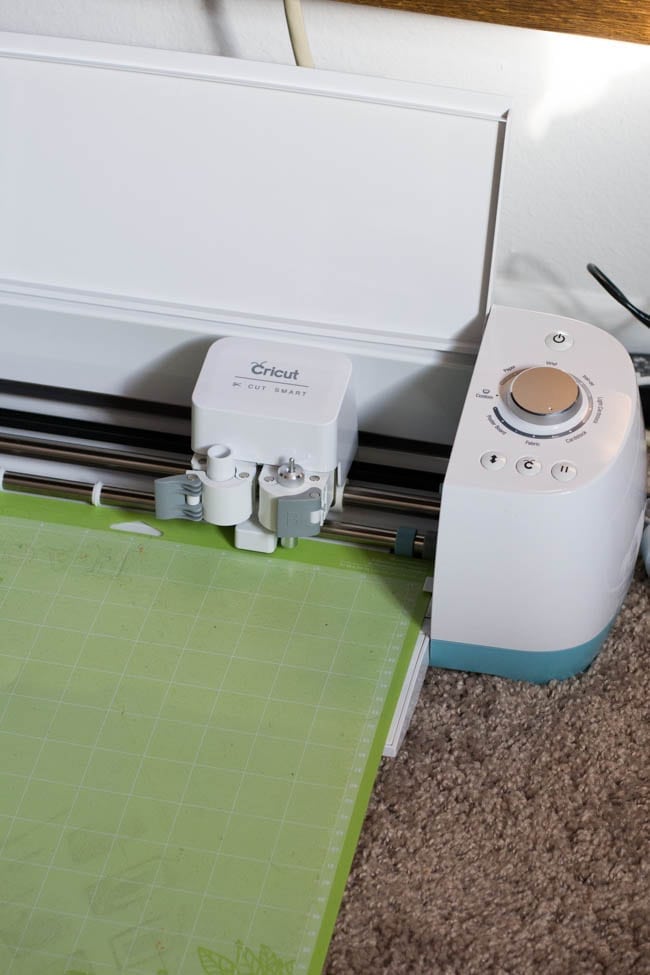
Cricut Maker or Cricut Explore Air 1 or 2
StrongGrip Cutting Mat (purple)
Printer
Flat glass marbles – optional, just if you want to make the ones in the example.
Adhesive Magnet Paper (just make sure it’s thin enough to be cut by your machine.)
Instructions:
Step One:
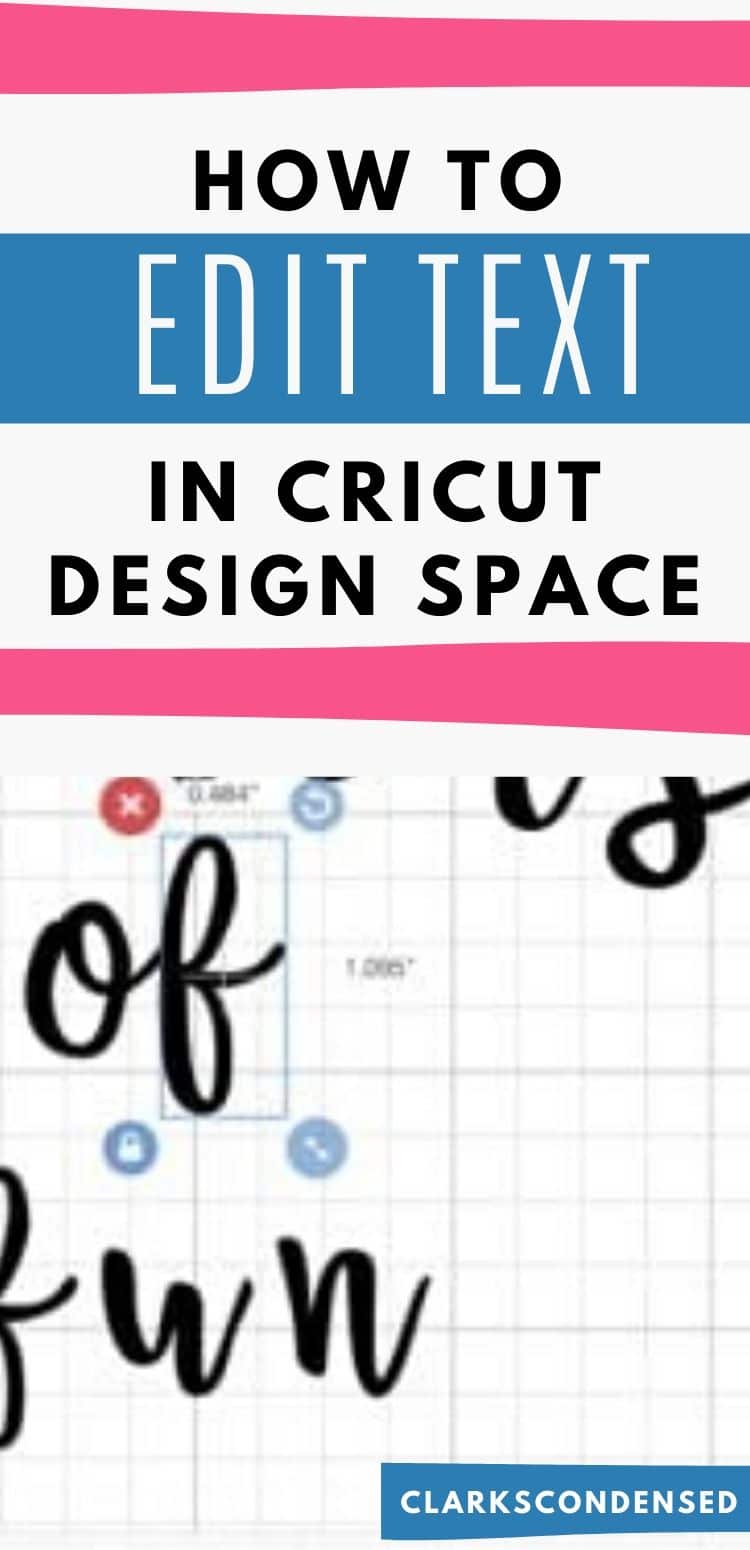
Open design space and make what you want to be on your magnet. For these chore chart ones, I first found the images I wanted in Design Space, and then I placed a circle behind it. I attached the images together so I could resize them to the right size (for the glass magnets, it was 1″)
Step Two:
After you’ve adjusted all the sizes, changed background colors, etc., select all and press flatten.
Step Three:
In the layers panel, make sure all the images have been changed from cut to print and cut (the little printer)
Step Four:
Press Make it – rearrange the images on the mats to waste as little sticker paper as possible.
Step Five:
Load the sticker paper into your printer and then press print.
Step Six:
After you’ve printed, you will now attach the sticker paper to the magnet paper. Both the sticker paper and the magnet paper should have an adhesive side, so you can do whatever that you think is easiest.
Step Seven:
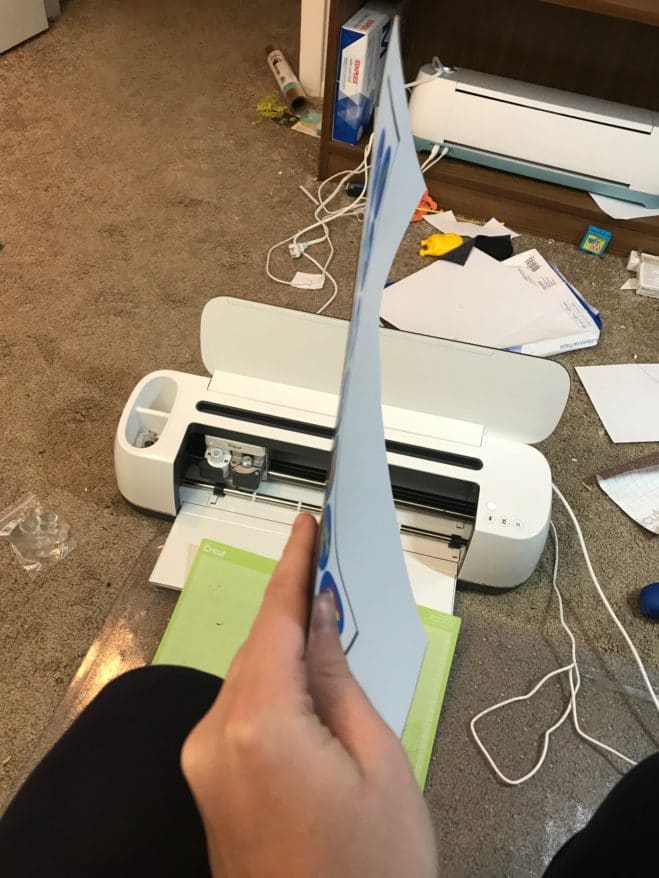
Change the material in Design Space to magnet paper (there are two options – choose whichever one is closest to your thickness) and put your magnet sheet on a StrongGrip (purple) cutting mat. Make sure you have the deep cut blade in place.

Step Eight:
Press go and let the magnets get cut.
If you are making these circular glass magnets, continue. If not, you are done!
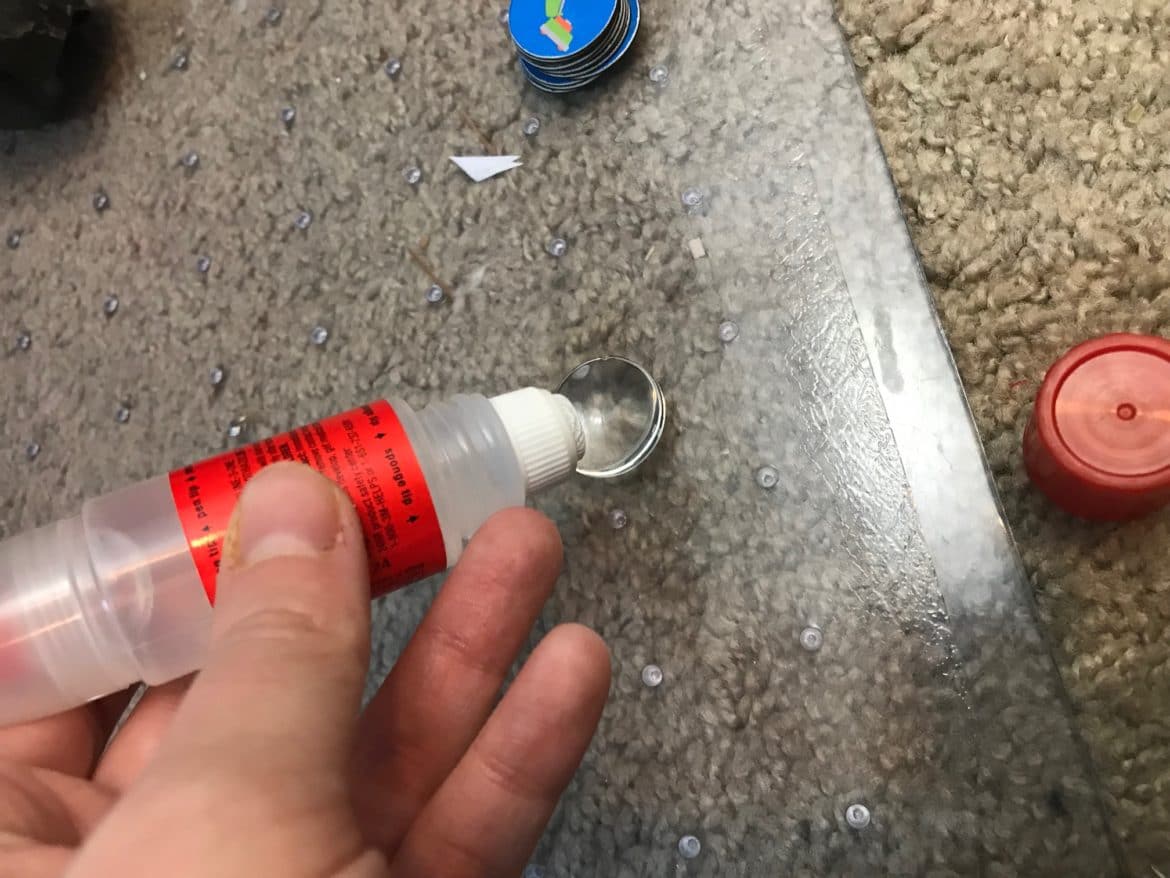
Step Nine:
Using a clear glue, adhere the picture magnet to the bottom of your glass and let dry.
Enjoy!

Hi Katie, thank you so much for this awesome tutorial! 🙂 I’m wondering if you had any issues with the ink under the glass marble/clear glue bleeding? I’ve tried this with both plain copy paper on the magnetic sheet, as well as the label paper on the magnetic sheet and both times, the images bled. I’m using the same materials you have listed, except I’m using Elmer’s Washable, Clear Glue. Perhaps that’s my problem? Thanks for any help you’re able to give!
Hi, Sarah! How strange – I haven’t had any issues with bleeding. I would try a different glue 🙂
As clarification…You said in the beginning of the post that the magnet paper was expensive and only at Amazon, so you were going to do it differently. Is the adhesive magnet paper just the regular stuff you can get in any craft store? Thanks!
So sorry – that is confusing! The Cricut magnet paper is only available on Amazon. The adhesive magnet paper can be found anywhere 🙂
I did not see this but reading the tutorial. If I am working on a project and it says print can I use the same way. There is a card that says Happy Valentine with a small red heart. So could I take this design from Design space, select all and flatten and then change from cut to print and load paper into printers print then back into Machine to cut.
Yes!