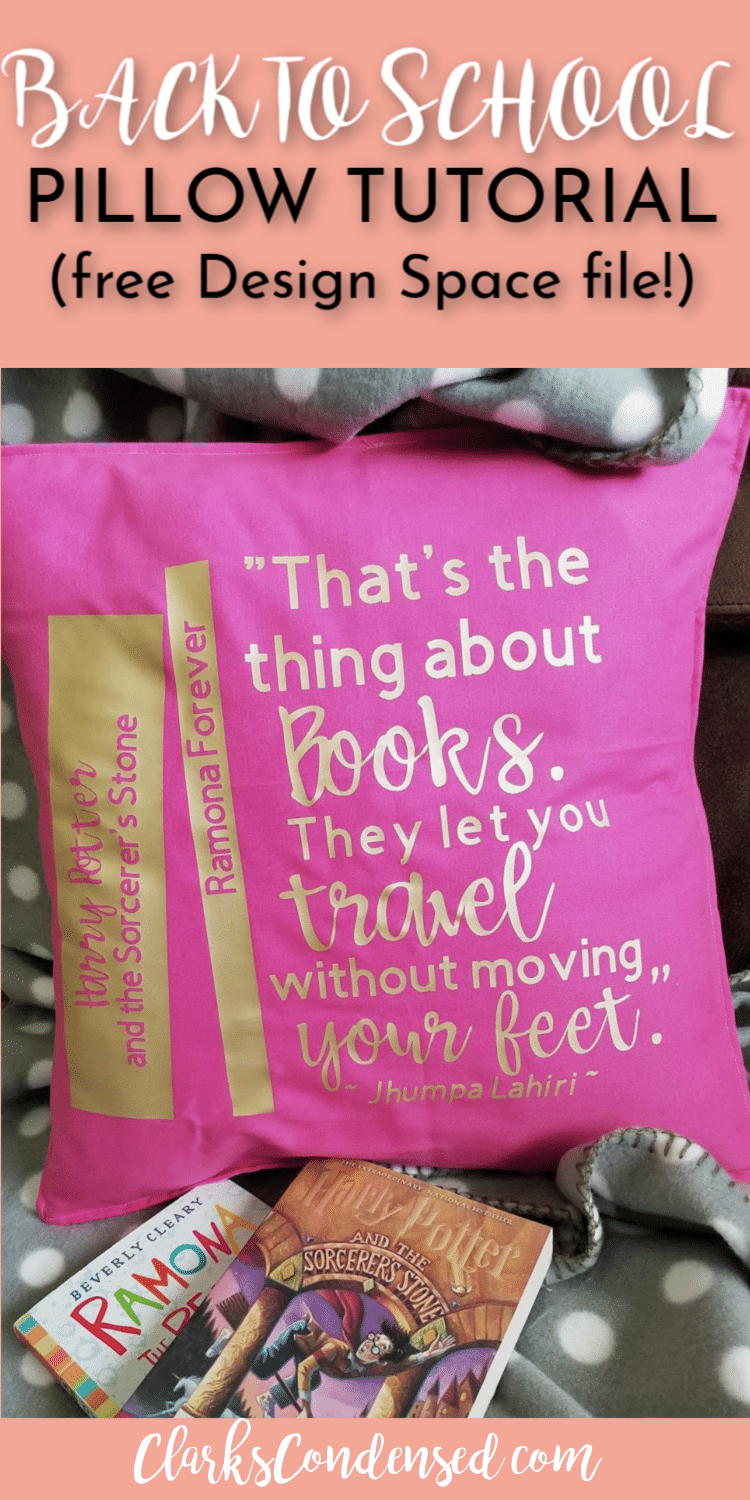
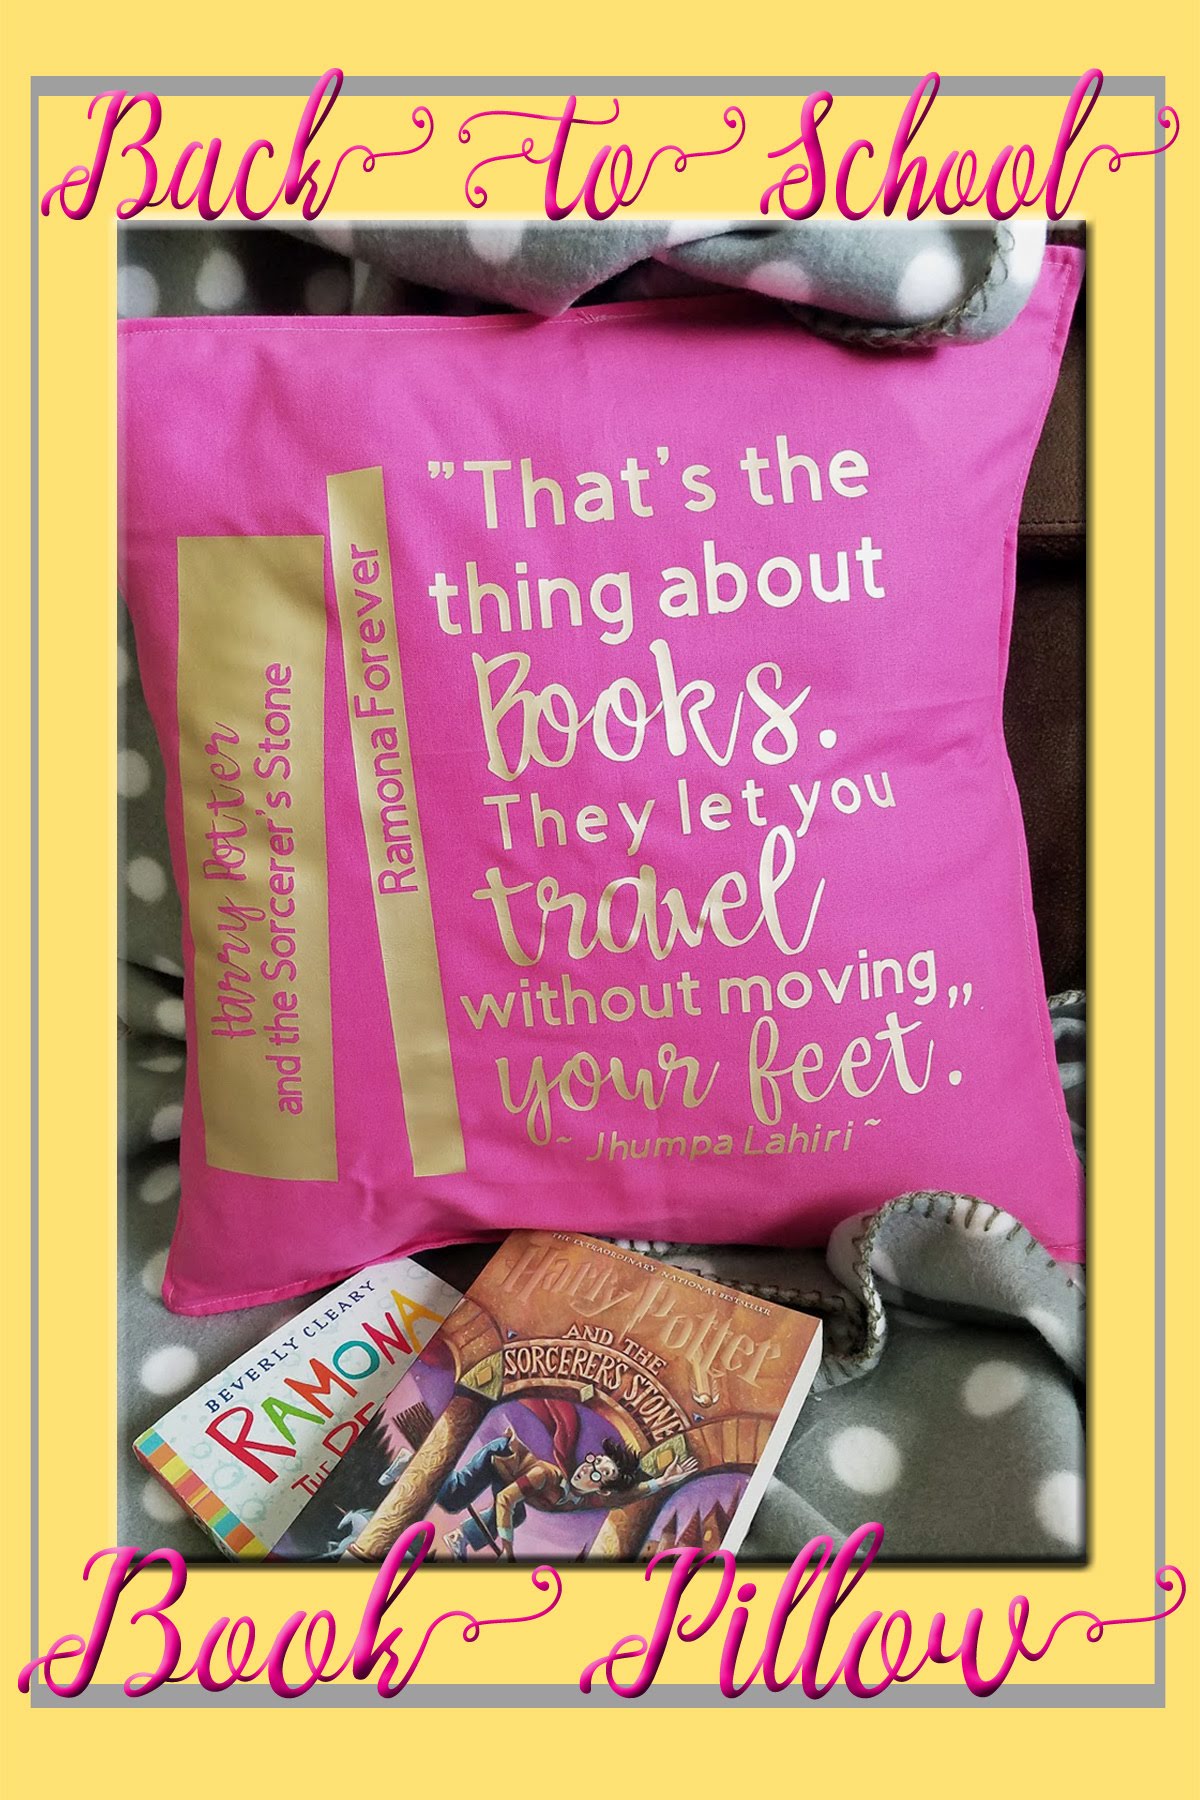
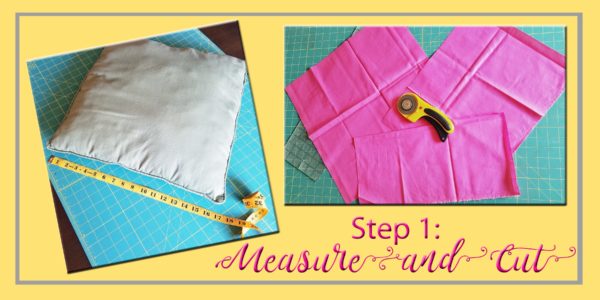
Back to School Book Pillow DIY
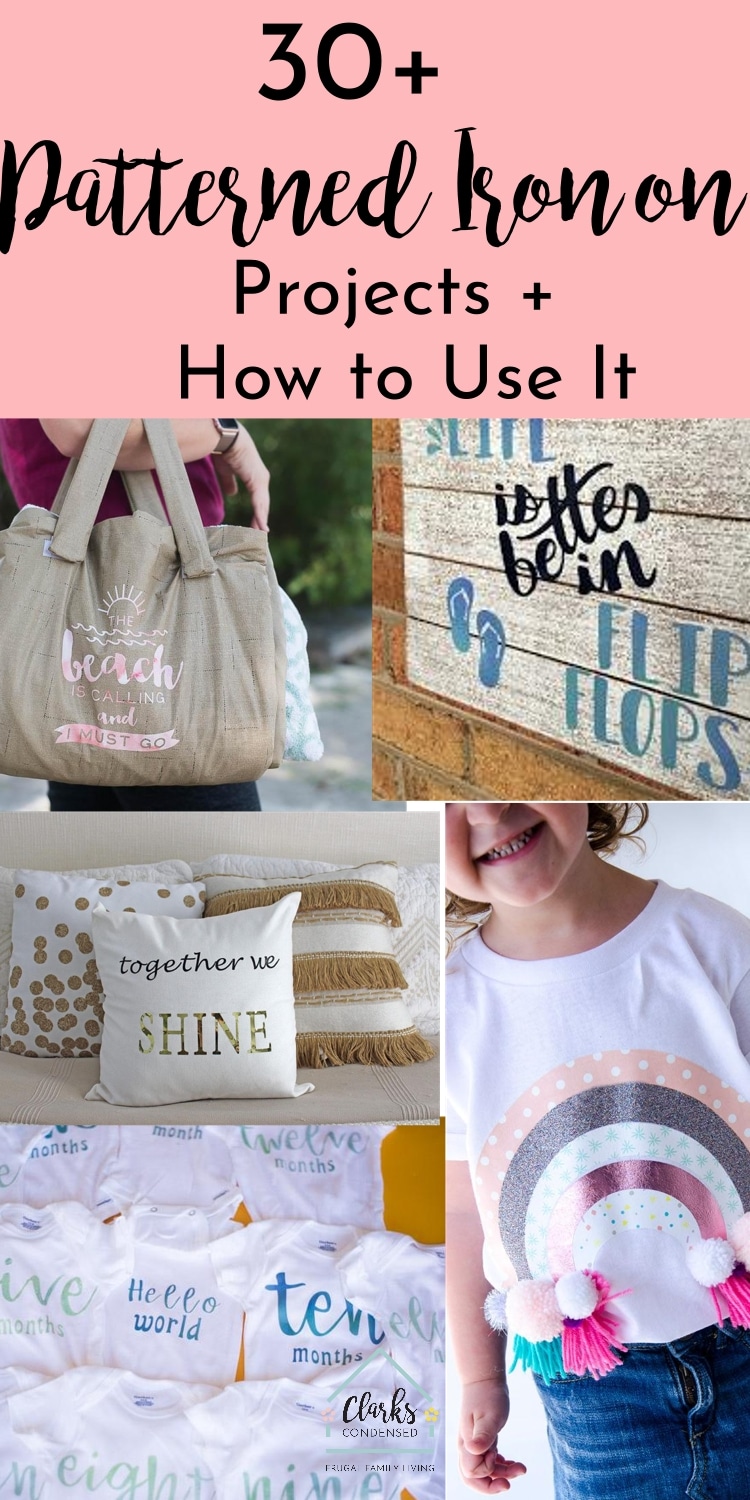
Gather up some fabric and HTV and get ready to put together a fun pillow that will encourage your “Back-to-School-ers” to get reading!
It’s Back-to-School Time!
I don’t know about you, but Back-to-School time is one of my favorite times of the year.
No, that’s not because I’m eager to send my kiddos on their way, I’ve just always loved this time of year.
There seems to be a different kind of energy in the air, an excitement of sorts for new beginnings.
As we get ready to get back into the school routine, one of the things I can’t help but worry about is my daughter’s reading habits.
I don’t know why, but she has a hard time finishing books.
Can you relate? She’s VERY good at starting books, but her ability to stay focused up to the last page is severely lacking.
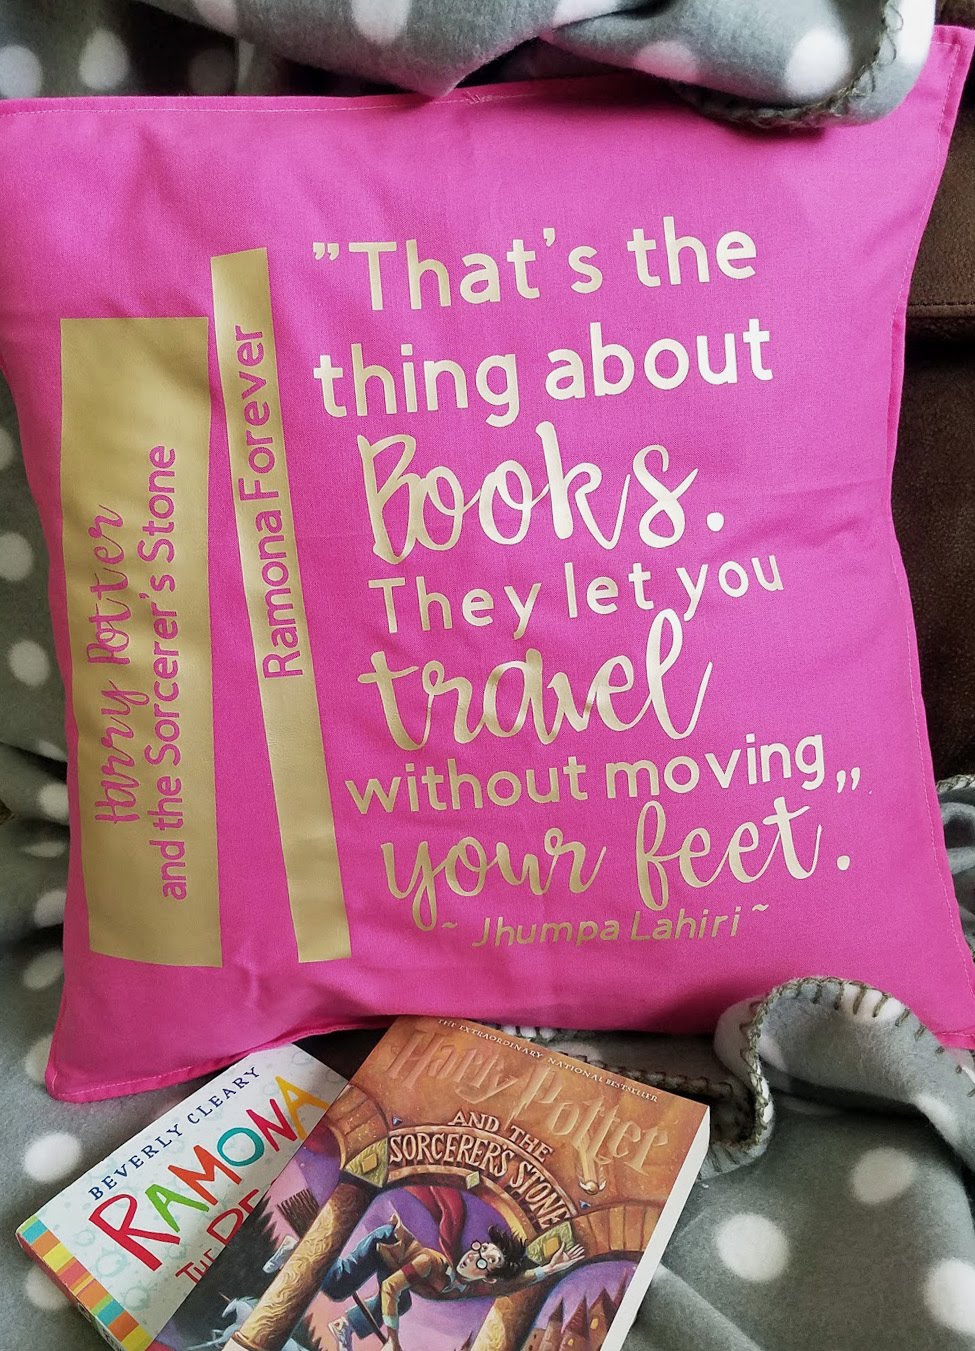
In order to help motivate her to read one book at a time, I decided to make her a book pillow. I love how it turned out!
Want to make one for yourself? Keep reading, and I’ll give you the step-by-step to make it happen.
What You Need:
- A pillow form. (I used an old pillow that lived on my bed before I redecorated a little bit ago).
- Fabric – enough to wrap around your pillow form, plus a little extra around all four sides.
- Sewing machine.
- Serger (optional).
- Thread to match the fabric you have chosen.
- HTV – My daughter’s favorite color is gold, so I grabbed some of Cricut’s Every Day Iron-On in that spectacular color.
- Cricut cutting machine – I used an Explore Air 2
- Heat press – Cricut’s Easy Press is my fav.
Getting Started: Making the Pillow Cover
Don’t let the fact that sewing is involved in this project scare you! I promise you can do it!
For your pillow cover, you will need to cut three pieces of fabric. The first will be whatever dimensions your pillow form actually is. No, you don’t need to add extra for seam allowances. Trust me. Cutting your fabric to the same dimensions as your pillow will make the finished product nice and full. And who doesn’t love a full pillow?
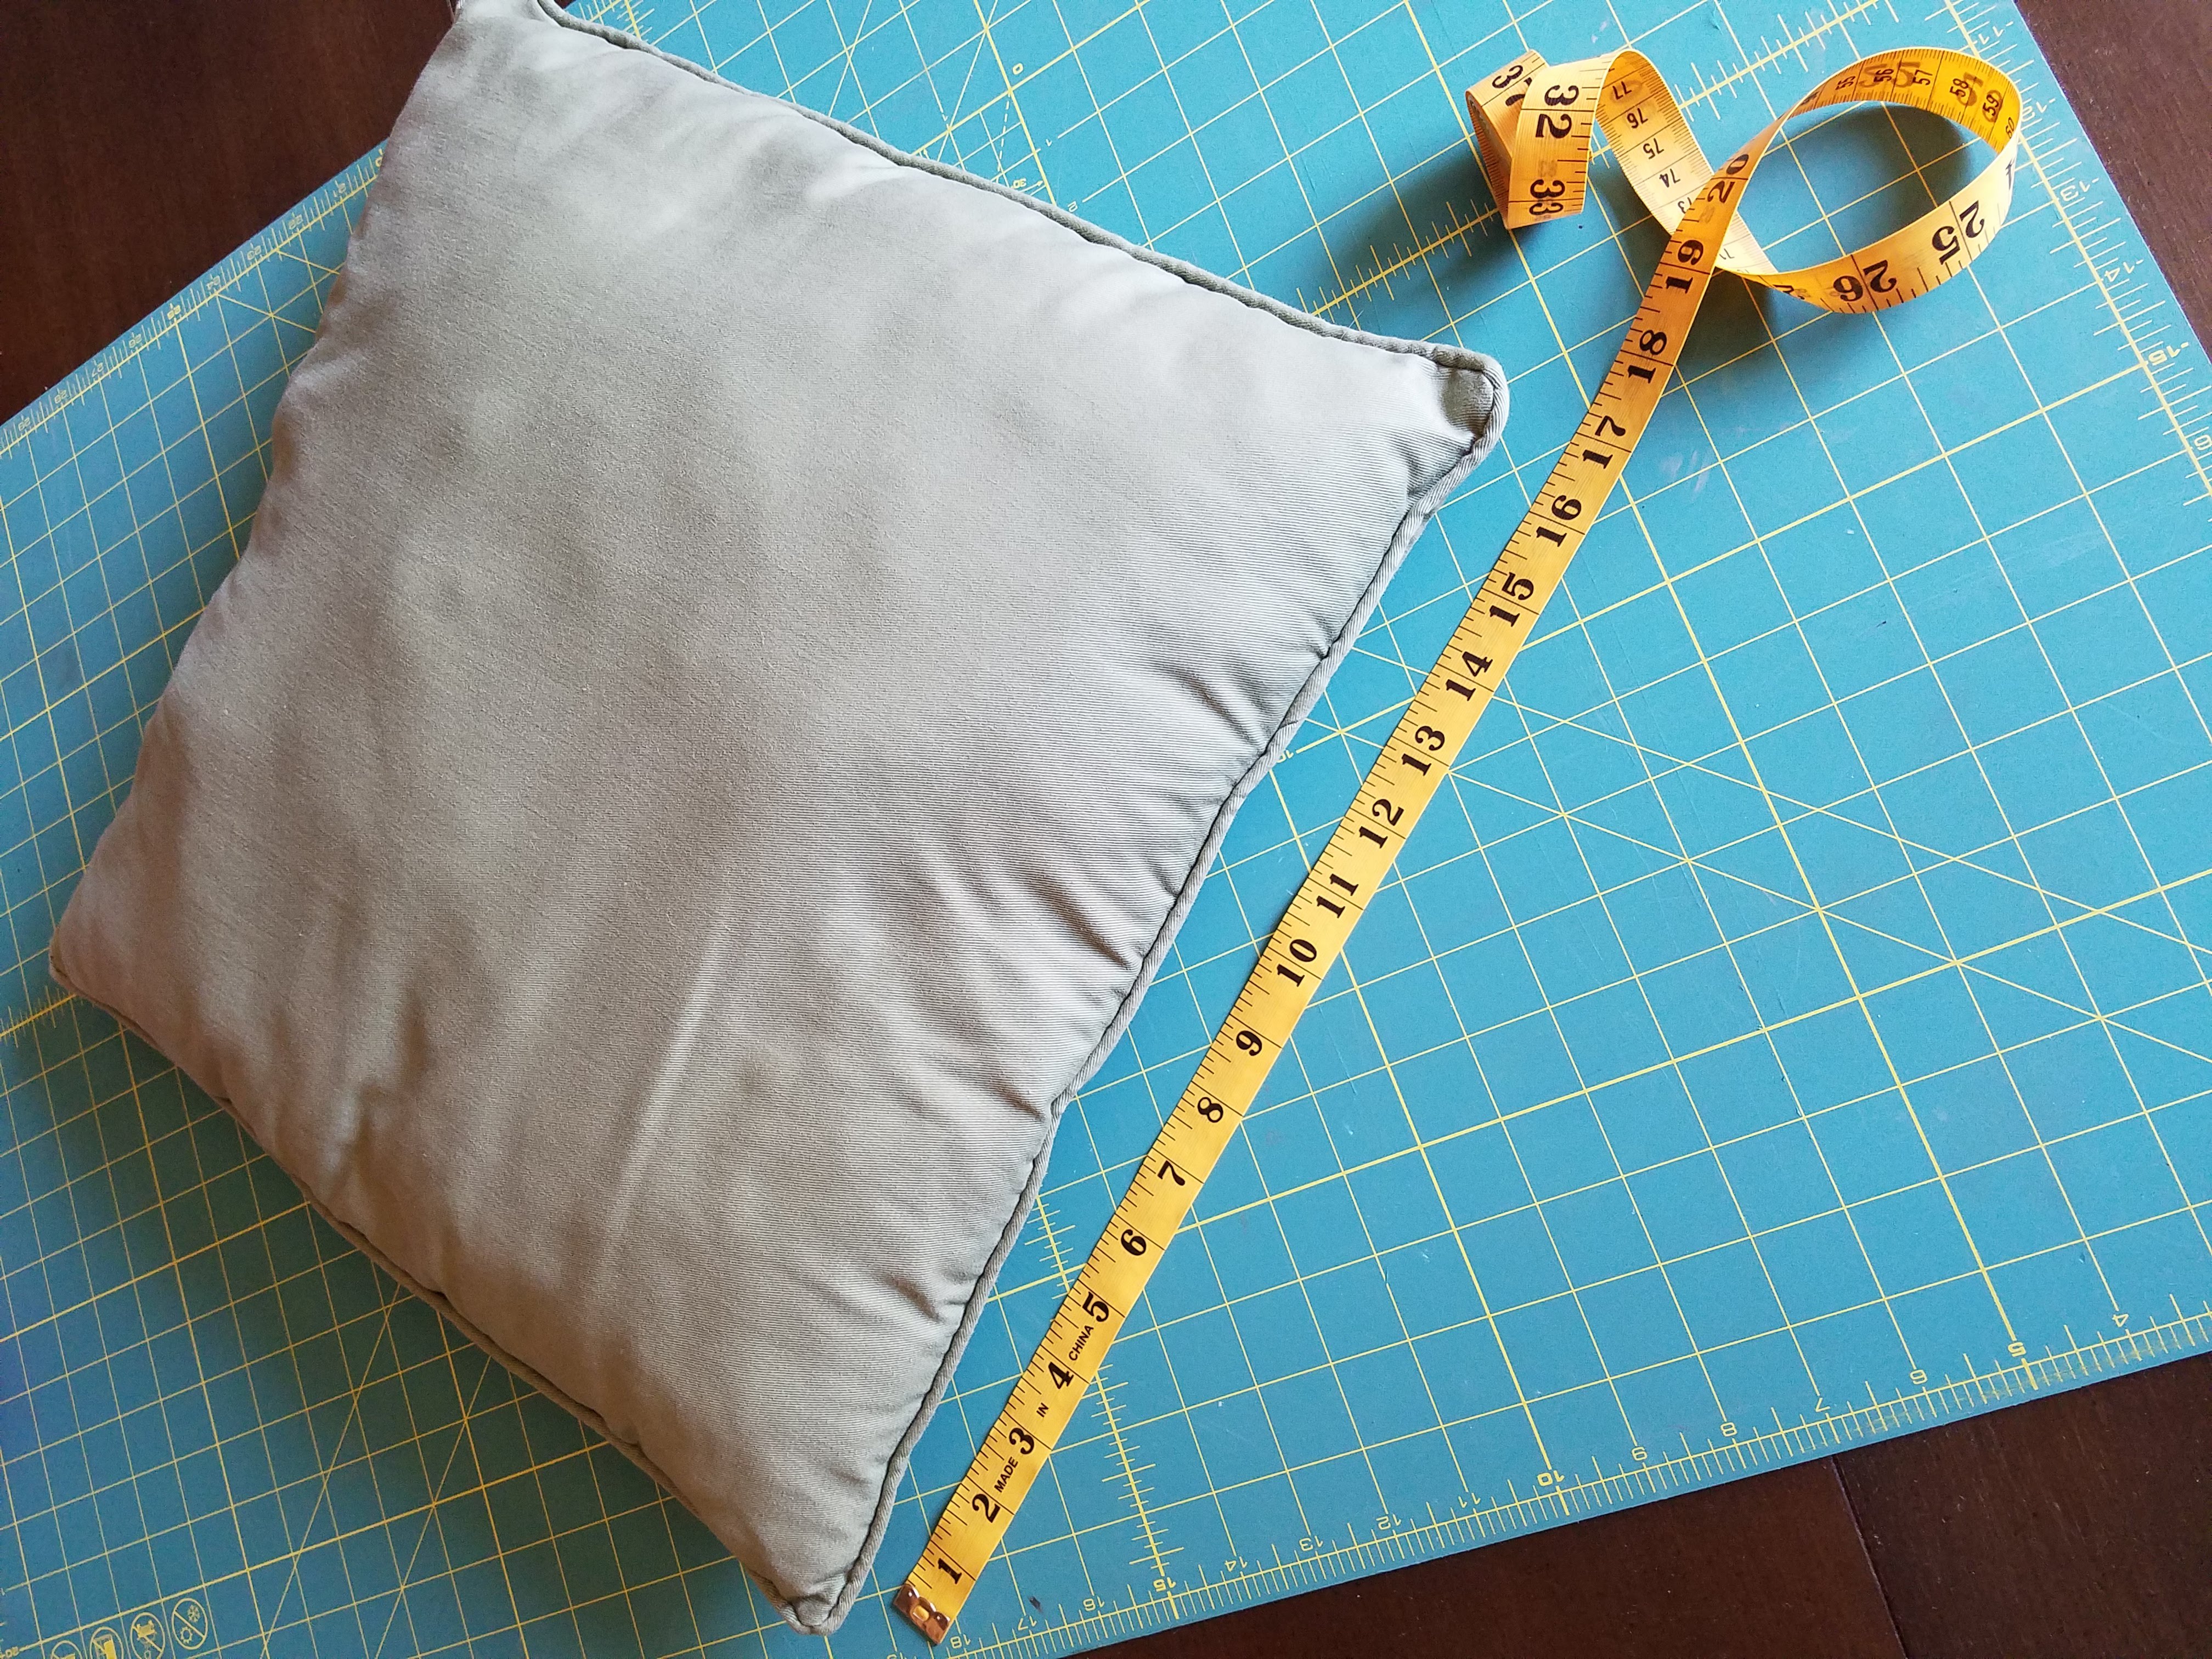
For example: My pillow was 17″ square, so my first piece of fabric was 17″x17″.
For the back of the pillow cover, you need two pieces of fabric.
These will be used to create a little pocket for you to slide the pillow form into when you’re done.
Each of these pieces needs to be the width of the pillow.
For the height, divide the pillow height by 2 and add three inches. Basically, you want to add six inches total to the back pieces.
I actually added five inches to one pocket piece and 1 inch to the other, because I wanted my opening closer to the top of the pillow cover than the center.
Go ahead and get creative here! Just make sure you add enough to the height of each of the back pieces that you get a decent overlap.
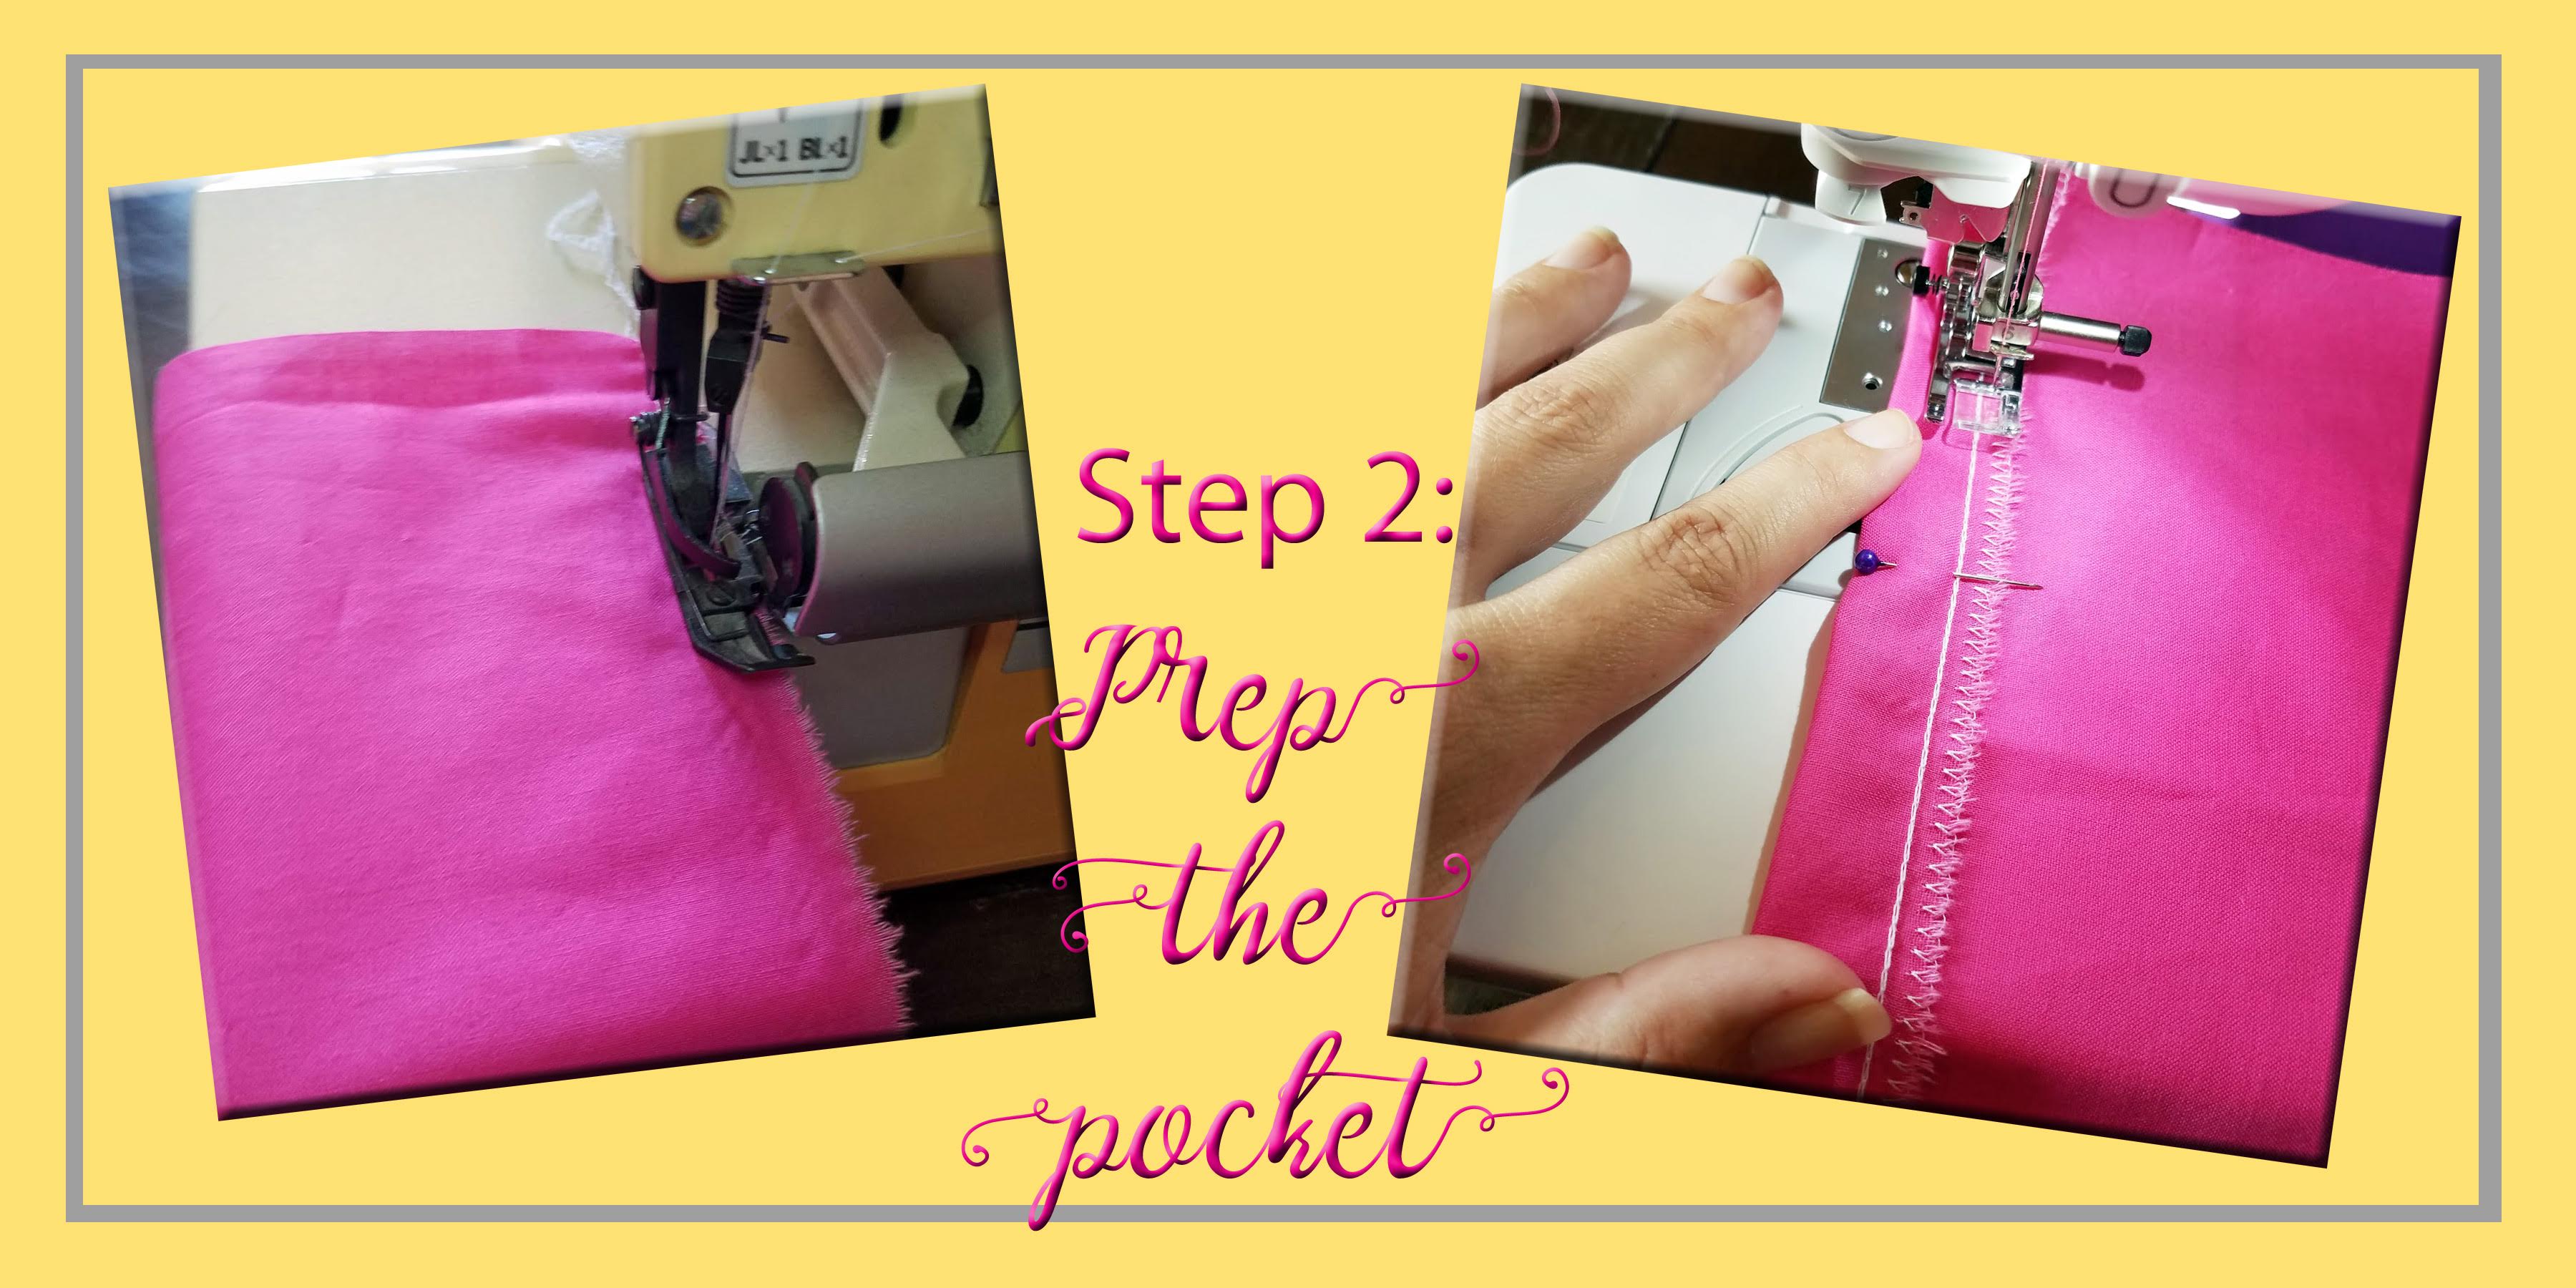
Once everything is cut out, you’re ready to get sewing. First, you need to get the back pieces ready:
Each of the back pieces should be a rectangle. Serge one of the long sides on each rectangle – this will become the edge of the pocket opening.
HINT: Don’t serge the rectangles together! You still want two separate pieces when you’re done. If you don’t have a serger, you can just sew a zig-zag stitch along the edge instead. The whole purpose of this step is to keep your fabric from fraying.
With your edge prepped, you’re basically going to just hem that edge of your rectangle so you don’t have any raw edges hanging out when you’re finished with the pillow cover.
I folded each of my edges over one inch, pinned the fabric down, and sewed along the inside edge. I didn’t use patterned fabric, but if you choose to, make sure your serged edge ends up on the ugly side of the fabric! If you’d like, you can also add a top-stitch on the outside edge after you’ve sewn your hem.
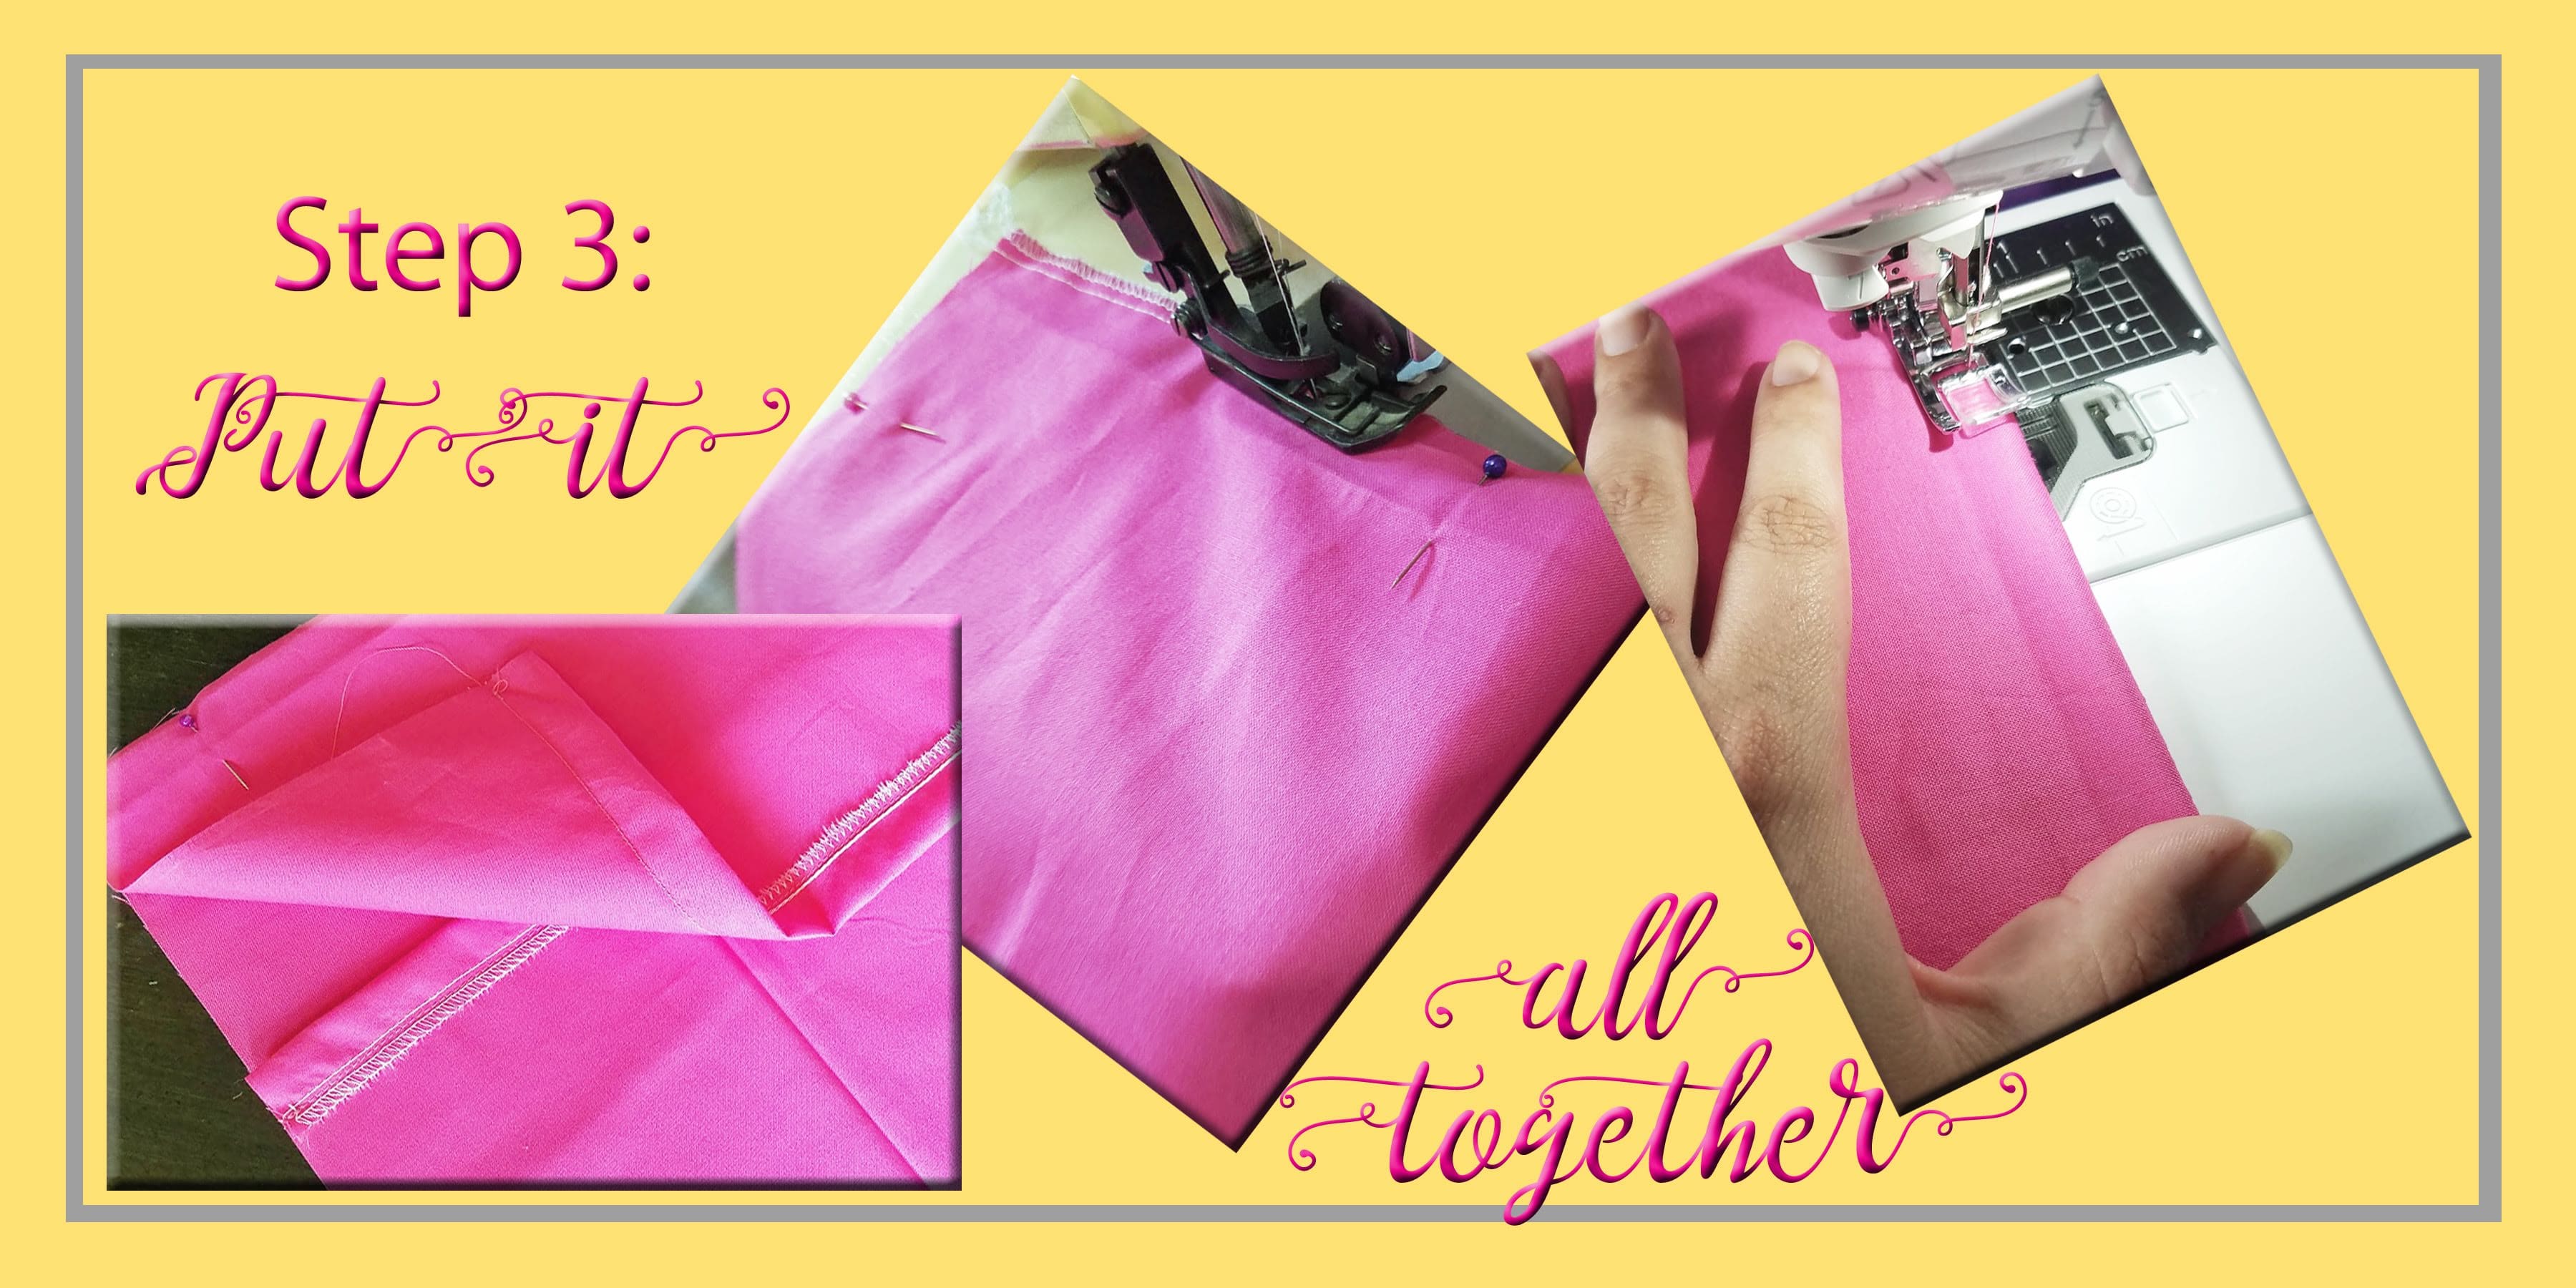
Now you’re ready to put it all together! Gather your three pieces of fabric and get them stacked and ready to be sewn together.
Remember, you are making this pillow cover “inside out”, so you want all your pretty sides to face the center of the pile!
- Bottom piece = Full-size square of fabric, pretty side UP
- Middle piece = One of your back rectangles, pretty side DOWN. Line your raw edge up with one edge of the full-size square. This will put your hemmed edge somewhere in the middle of the said square.
- Top piece = Your second rectangle piece, pretty side DOWN. Line the raw edge of this piece up with the opposite edge to the one you lined the other rectangle up with.
Your middle and top piece should overlap. Make sure you pin all four sides so nothing slides away from where you want it to be!
With the pinning done, it’s time to sew around all four sides of your pillow cover. Again, I used my serger, but a sewing machine will work just fine here.
As soon as all four sides are sewn up, use the pocket you’ve created to flip the pillow cover right side out. Use a pen lid or something to help get your corners sharp. From here, I topstitched around my whole pillow cover. Topstitching, though, is totally optional.
Hooray! You’ve made a pocket pillow cover! Now it’s time to decorate it . . .
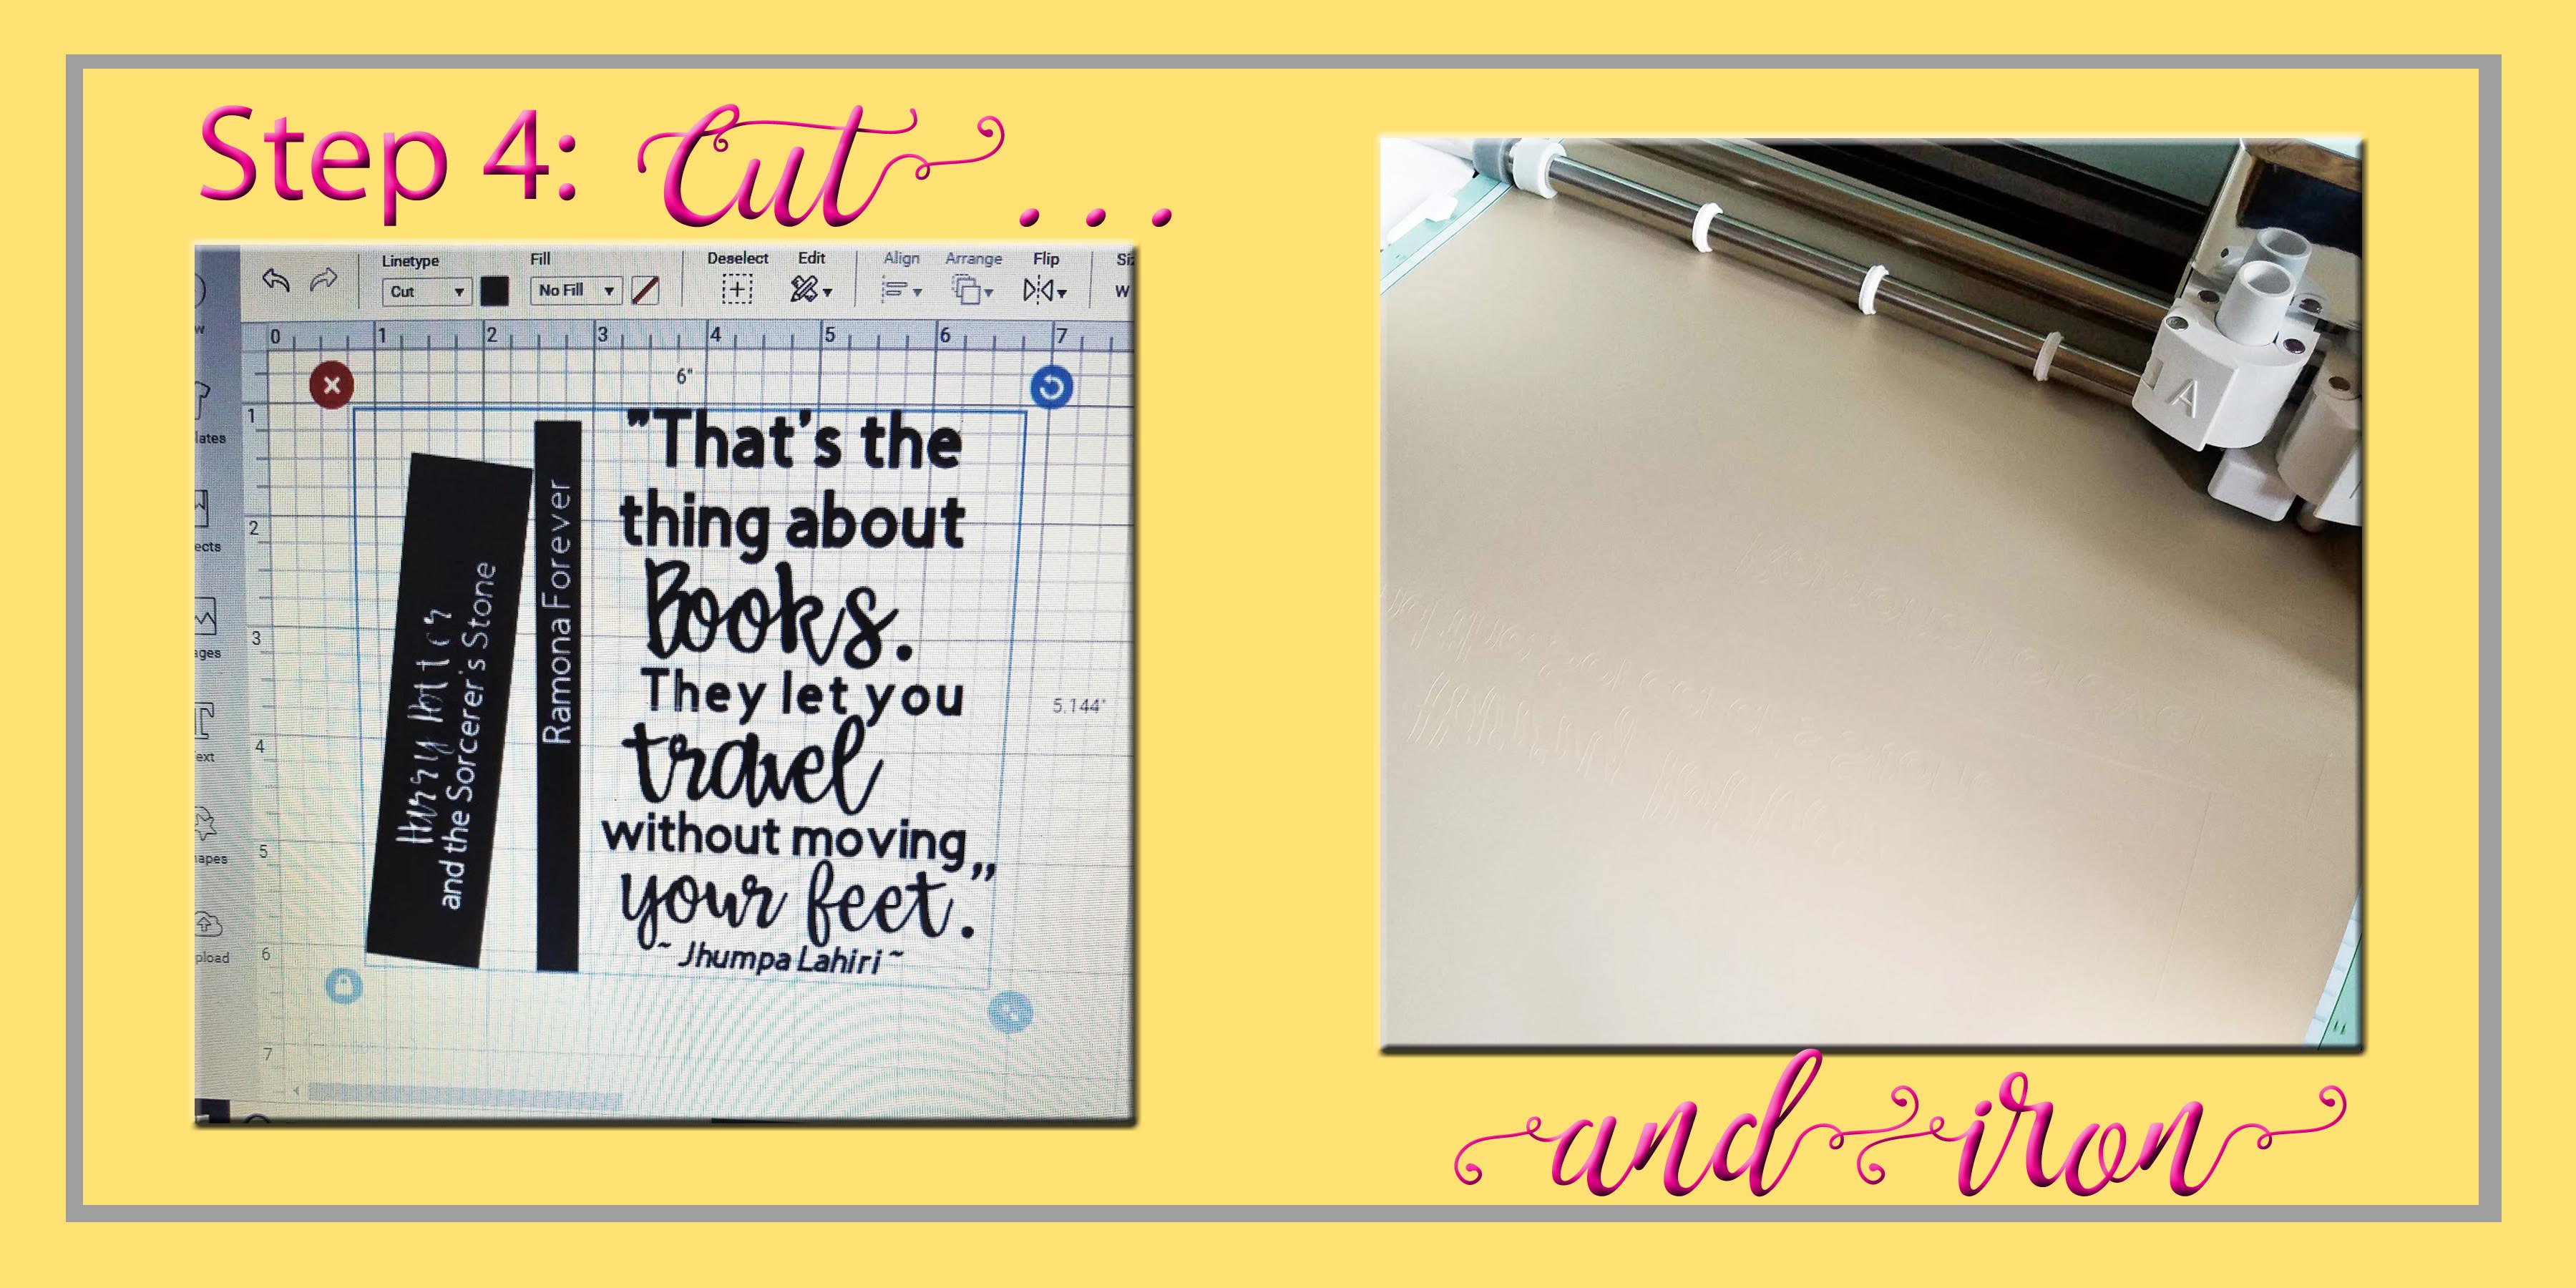
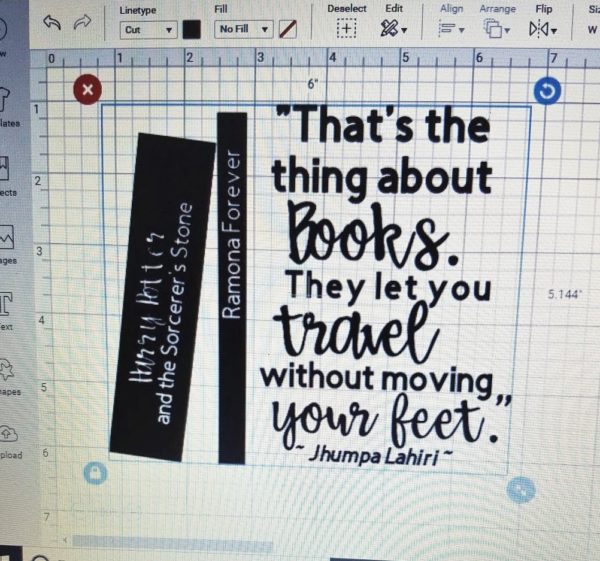
A Little Vinyl for that Extra Touch
I found this fun quote about books online and decided to add it to the pillow cover as a reminder of the magic of reading:
“That’s the thing about books. They let you travel without moving your feet.”
Jhumpa Lahiri
Click Here for a link to this project in Cricut’s Design Space.
Once opened, you’ll want to resize the pattern for your pillow size.
I recommend leaving a minimum of two inches around each side as a border.
This pattern is wider than it is tall, so you’ll want the width to be at least four inches smaller than the width of your pillow.
Before cutting, make sure you MIRROR the image!
Also, I’ve edited the file so that it will cut in two different pieces.
The quote is one piece and the books are another. When you get ready to iron things on, you’ll have to line the two up on your own.
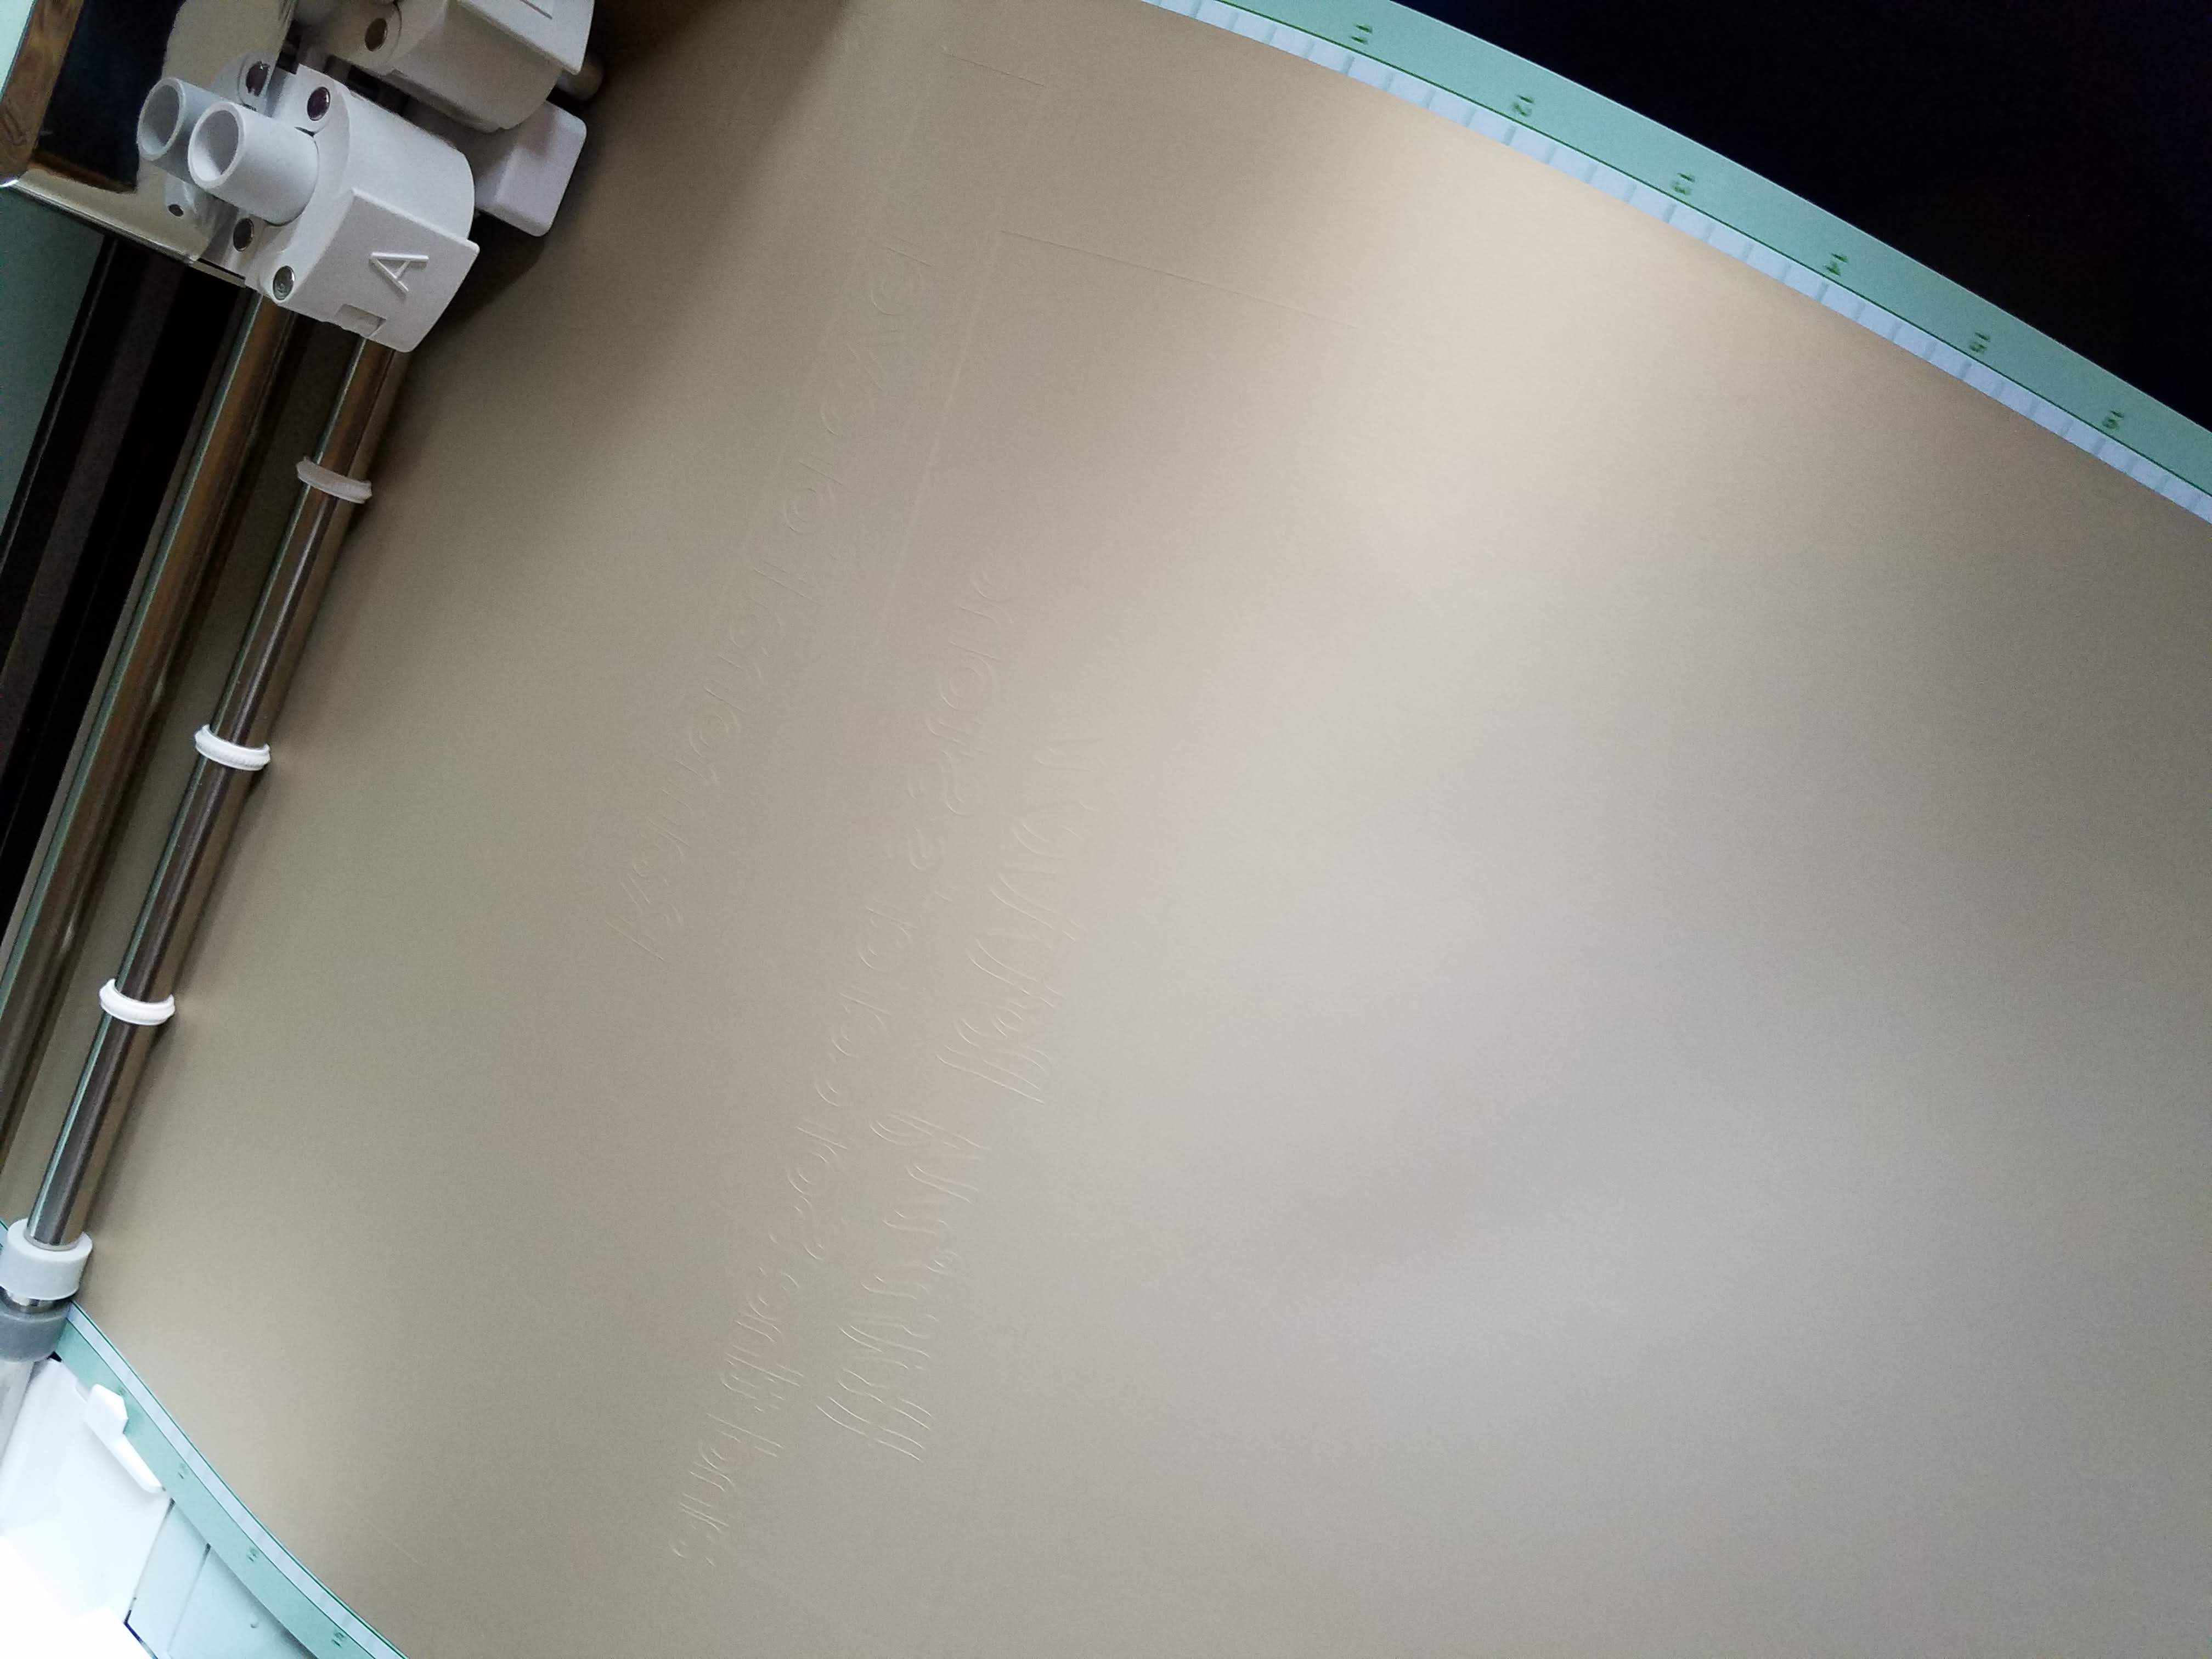
Once the Cricut has done its work, all that’s left for you is a little weeding, some ironing, and then you can sit back, relax, and enjoy a good book! Ready?
Let’s Create!