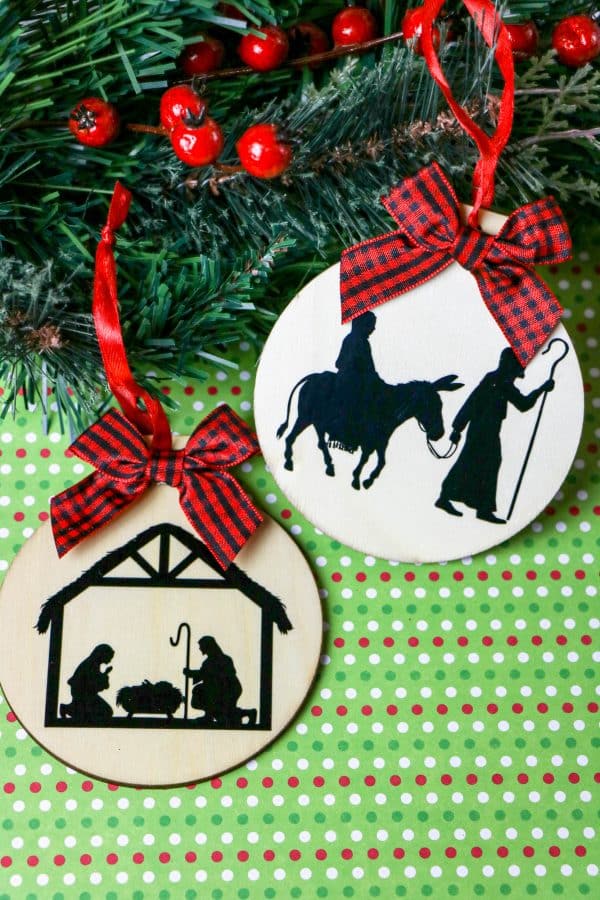
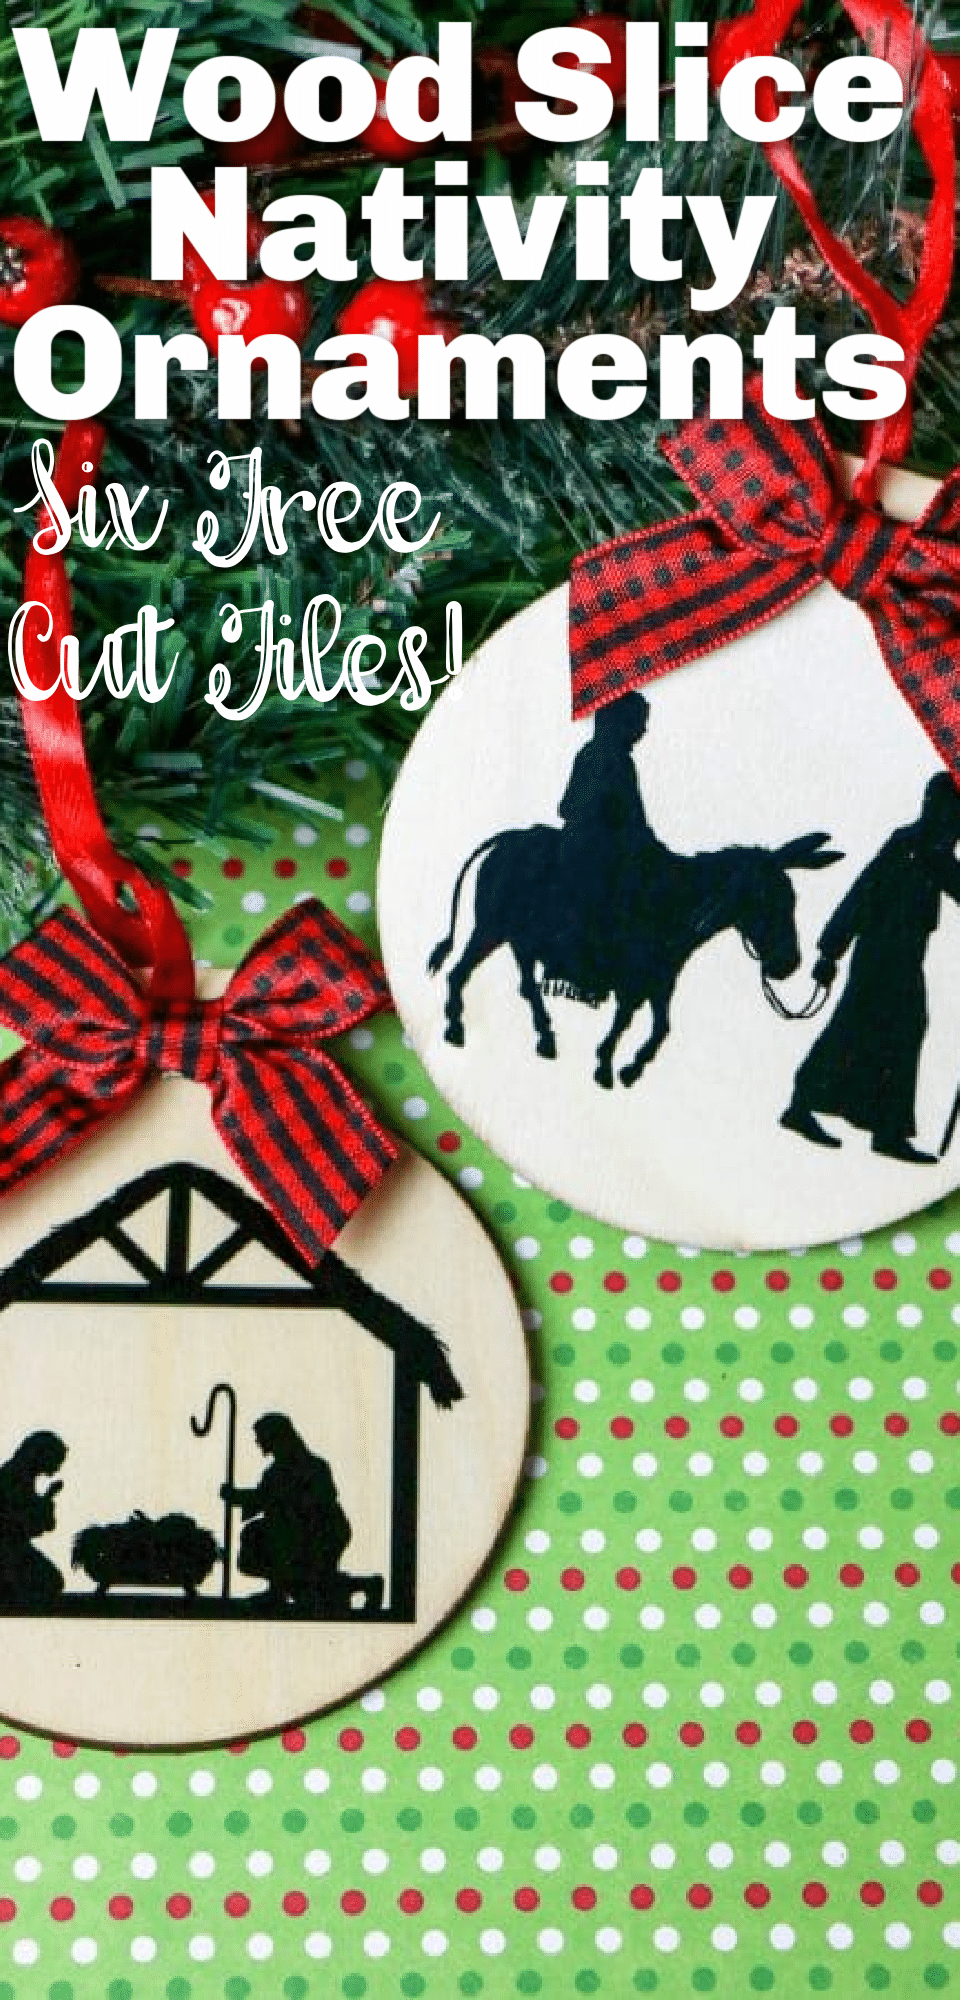
DIY Christmas Nativity Ornaments with Free Cut Files
Looking for a gift to give or some new decor? These Nativity ornaments are an easy DIY craft that you can make with a few supplies and your Cricut or other cutting machine. Free nativity silhouette files!
Nativities are one of my favorite aspects of Christmas. They are beautiful reminders of the true reason for the Christmas season.
This project will allow you to make beautiful Christmas ornaments that incorporate the Christmas Story!

Will I Use Design Space?
One of the best features of the Cricut is its software: Design Space. By purchasing these Nativity images, you don’t have to worry about finding Christmas images from Design Space presets or picking out your own. Simply upload our images into Design Space and the rest is a cinch.
Does It Matter Which Cricut Machine I Use?
The good news is that all Cricut machines cut vinyl! For this project, you’ll be printing out Nativity images onto vinyl, then transferring to the ornaments. At the end of the day, any model of Cricut will get the job done.
You can also use another cutting machine, like a Silhouette, or just print out the files and cut them yourself!
Where can I get the Nativity Silhouette files?
You can download them by clicking on the button below:
[purchase_link id=”135170″ text=”Purchase” style=”button” color=”blue”]
How to Make Homemade Nativity Ornaments
Here’s What You’ll Need:
- Wood slice ornaments
- Permanent vinyl
- Weeding tool
- Transfer tape
- Ribbon
- Glue dots or hot glue
- Scissors
- Nativity story silhouettes (click here or download below)
[purchase_link id=”135170″ text=”Purchase” style=”button” color=”blue”]
Instructions
- Open the Cricut Design Studio and create a new project.
- Upload the Nativity Story Silhouettes to the Cricut Design Studio.
- Select to remove the background of the image and save as a cut file.
- Insert the image into your project and create the scenes as desired.
- If all of the details of your ornament will be the same color, click and drag to select the
elements for the ornament and select to weld the items together. - Select each scene and size the image to match the dimensions of the ornament.
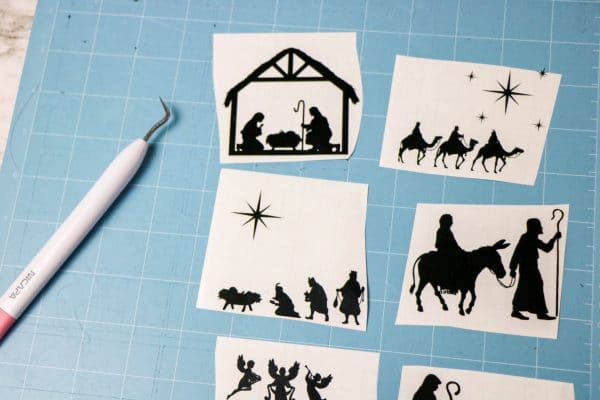
- Cut the images from vinyl.
- Weed the excess vinyl away and then use transfer tape to move the designs to the ornament. Press firmly or swipe over the transfer tape with a scraper to make sure the vinyl adheres to the ornament. Pull the transfer tape away.
How-To Card

DIY Christmas Nativity Ornament
Looking for a gift to give or some new decor? These Nativity ornaments are an easy DIY craft that you can make with a few supplies and your Cricut!
Materials
- Wood slice ornaments (similar: https://amzn.to/3jASsQW )
- Permanent vinyl
- Weeding tool
- Transfer tape
- Ribbon (pictured: https://amzn.to/3oA7Ctt )
- Glue dots or hot glue
- Scissors
- Nativity story silhouettes
Instructions
- Open the Cricut Design Studio and create a new project.
- Upload the Nativity Story Silhouettes to the Cricut Design Studio.
- Select to remove the background of the image and save as a cut file.
- Insert the image into your project and create the scenes as desired.
- If all of the details of your ornament will be the same color, click and drag to select the elements for the ornament and select to weld the items together.
- Select each scene and size the image to match the dimensions of the ornament.
- Cut the images from vinyl.
- Weed the excess vinyl away and then use transfer tape to move the designs to the ornament. Press firmly or swipe over the transfer tape with a scraper to make sure the vinyl adheres to the ornament. Pull the transfer tape away.
DIY Nativity Ornament
Other Fun Crafts You May Enjoy
- 30+ DIY Dollar Tree Christmas Decor, Crafts, and More
- What DIY Projects Can I Make with My Cricut? 50+ Creative Ideas
- 20+ Festive Cricut Christmas Shirt Ideas
- DIY Ornament Christmas Tree + More Dollar Tree Christmas Projects
- DIY Cactus Christmas Ornament + Free SVG
- We Survived 2020 Ornament
- A Cricut Christmas Gallery- Free Design Space
Create these beautiful Nativity Ornaments with our designs and little bit of DIY magic. Merry Christmas!