
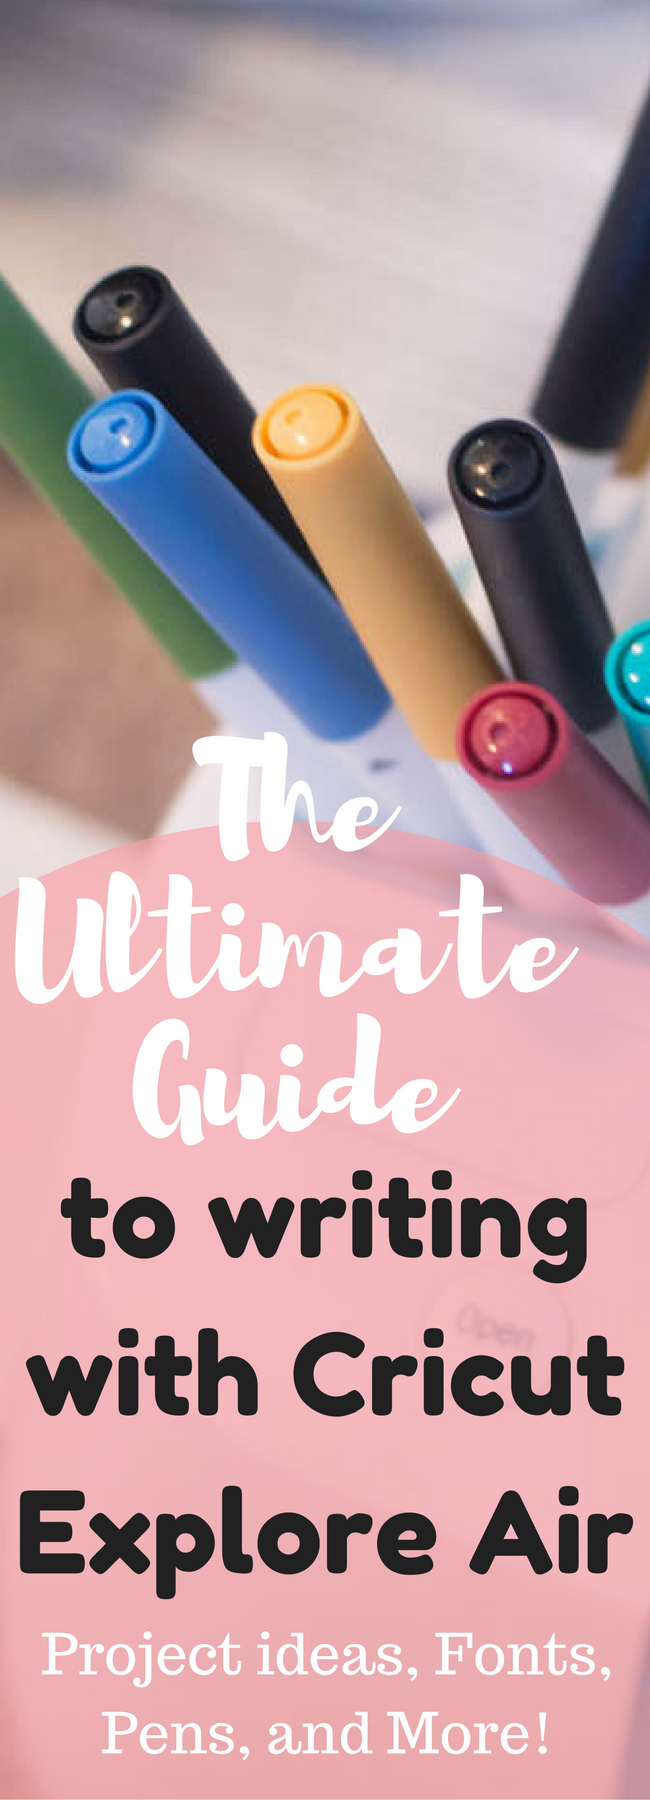
How to Write with the Cricut: Everything You Need to Know
How to Write with Cricut Explore Air, Address envelopes, as well as some creative Cricut pen projects!
Write with Cricut
It’s been a goal of mine to dive into the different features offered by the Cricut Explore Air and Cricut Maker – there are just so many! I’ve shared a few of them in this post about what DIY projects you can do with your Cricut.
I’ve been really excited to experiment more with the writing features on the Cricut Explore Air, because it really opens up so many possibilities for what you can do.
Today, I wanted to share a few tips on how to use pens with the Cricut Explore Air or Maker– specifically focusing on how to address an envelope.
This tutorial was originally written using an Explore Air, but the process is the same for the newer machines.
Honestly, I have terrible handwriting, so I think that being able to have the Cricut address my envelopes for Christmas cards, letters to family, etc. is heaven-sent!
I wish I’d had this when I got married six years ago…I still remember how it took us FOREVER to address over 400 envelopes.
Yes, 400.
So hopefully these tips will help you!
[the_ad id=”138363″]
Table of contents
What Pens Can You Use with Cricut Explore Air?
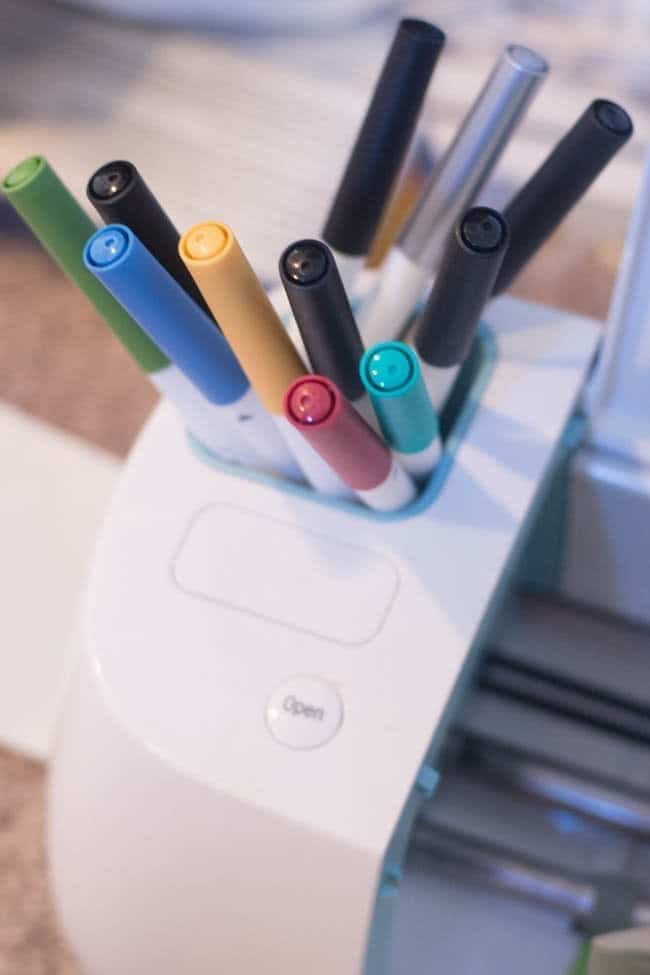
Cricut, fortunately, offers a wide variety of pens – calligraphy, thin, thick, etc. They are also available in MANY colors.
With that said, you don’t have to use the Cricut pens with the machine (though I do recommend it, since they are specifically designed to work with the machine). I found this great list of markers and pens that work with Cricut machines.
What Fonts Can You Write With?
For best results, you need to use a single-stroke font when you are using a pen to write.
Fortunately, Cricut Design Space has TONS of options. When you are adding fonts to your design, click on edit. In the first box, you will see something that, by default, says “All Fonts”. Click the arrow on this box, and then select “Has a Writing Style” instead.
You can also change the style of a font to writing using this drop-down menu. Be aware that most fonts look very different with writing then they do for regular cutting or printing unless they’ve specifically been created for writing.
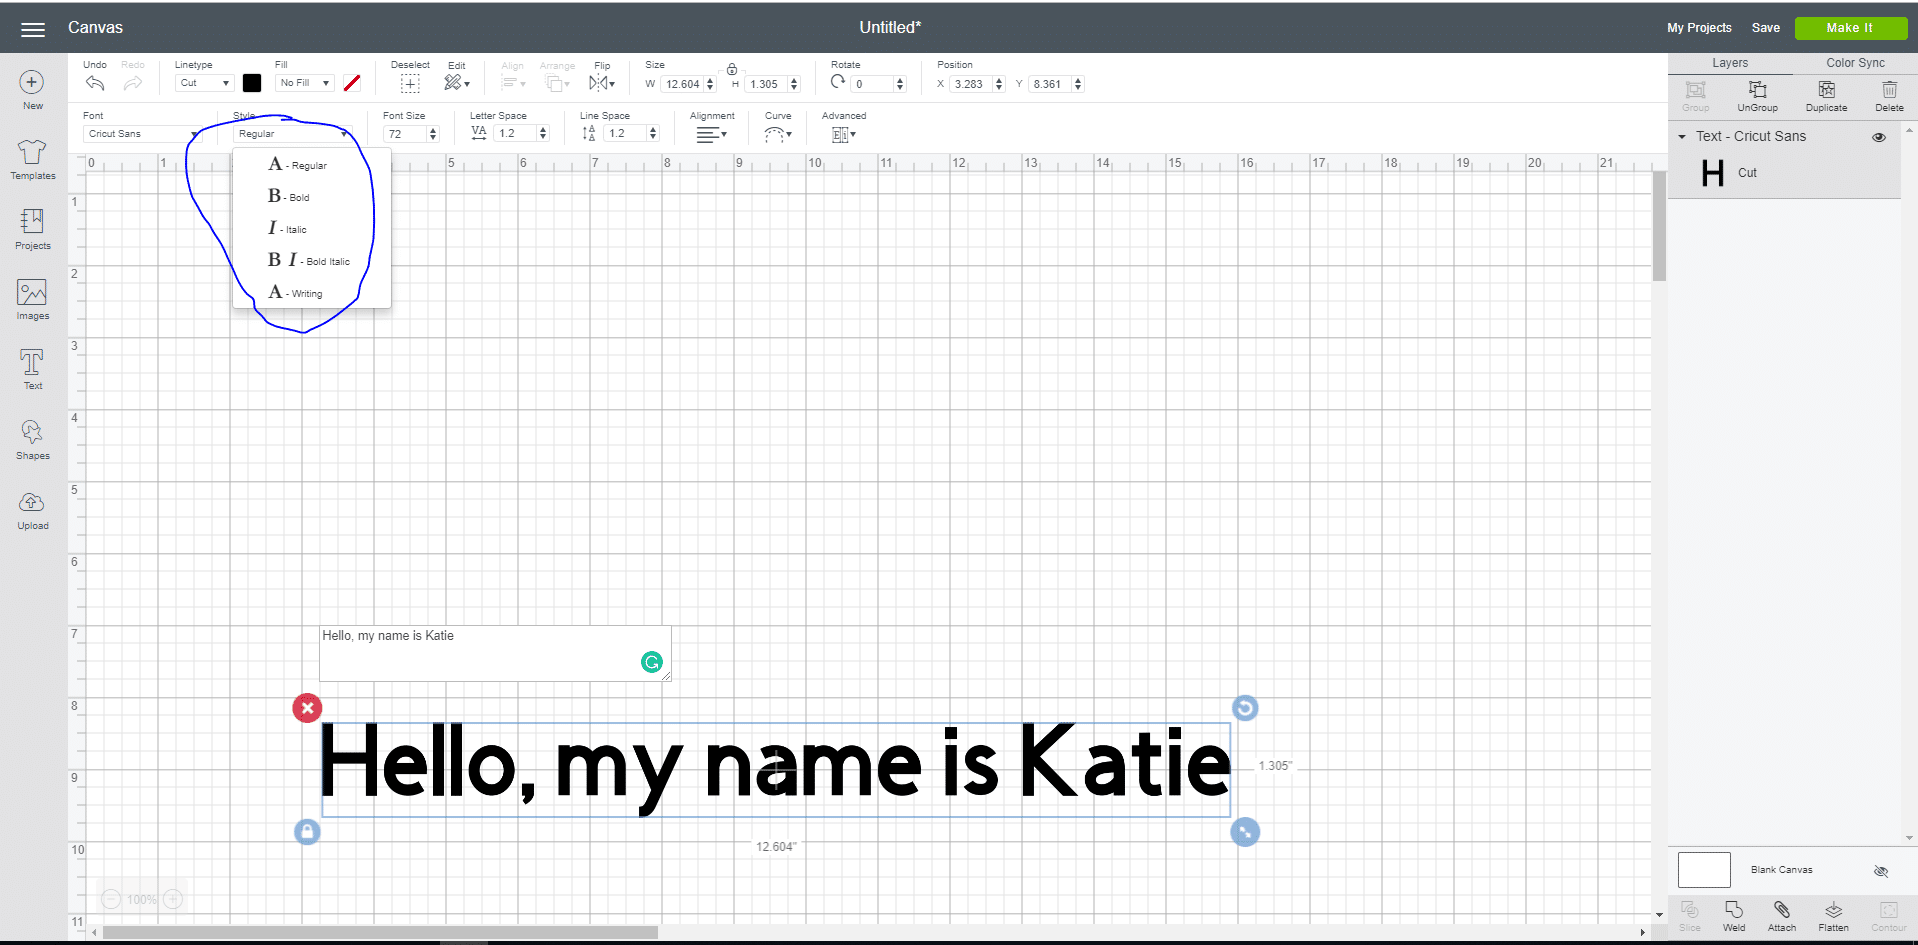
Now you will see all the single-stroke fonts that are currently in Design Space. If you will be doing a lot of writing, I do recommend investing in Cricut Access subscription, which starts at $7.99 a month (read this if you are not sure if a Cricut Access Plan is worth getting).
What Can You Write On?
You can use any material that your pens can write on normally – paper, vinyl, cardboard…the sky is the limit! Just make sure to do a test run before sending it through to make sure the pen you are using doesn’t rub off.
Can Cricut Write on Vinyl?
It would depend a lot on the vinyl. If it’s a glossy vinyl, it will probably be a little trickier to write on. However, if it’s more of a matte finish, you should be able to!
How to Write with Cricut Explore Air
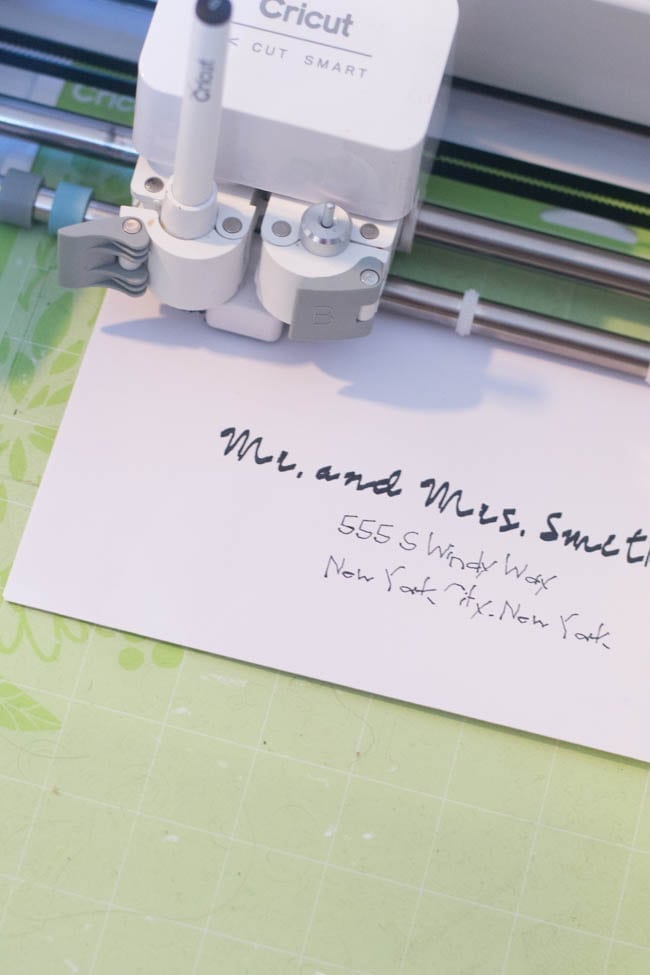
And now, time for the tutorial. For this, I will be addressing an envelope, as it’s a simple project that shows the basics of how to write with the Cricut.
Hopefully, you’ll be able to get the gist of how to set up your writing project through this – even if it isn’t envelopes!
However, there are SO many things you can write with the Cricut, so make sure you do some research on what you can do. Cricut Design Space has some great pen project ideas under the “Make it Now” section that you should definitely check out!
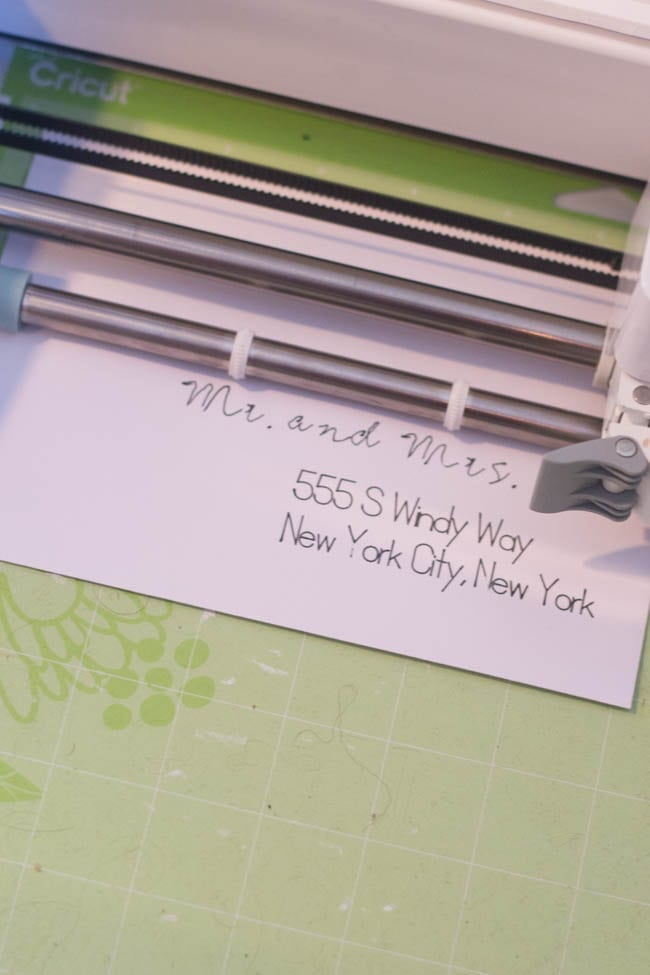
How to Address Envelopes with Cricut Explore Air
Step One:
First, you need to create a rectangle the size of your envelope. For instance, my envelopes were 5×7, so I made mine that length and width.
I didn’t see a rectangle in the default shapes that you can add, so I went into the “Insert Images” section and searched for the rectangle. I chose the blue rectangle below (which is included with my Cricut Access), though you could easily find a rectangle elsewhere and upload it.
It is very important that you have it the same size and shape of your envelope!
Step two:
Now, it’s time to write your text! You can use any number of fonts that you want here. Just make sure that when you are selecting your font, you have the “Has a Writing Style” selected so the font is most compatible.
Step Three:
Once you have your text how you want it, you need to make sure you group everything together.
You can press the “Select All” button at the top of the screen to make sure you have everything selected. After you have done this, right-click in your design and select “Attach”.
Step Four:
After you have done this, you need to change the layer attributes for anything that will be written.
Go to the top bar and click “Linetype” and select draw for the font.
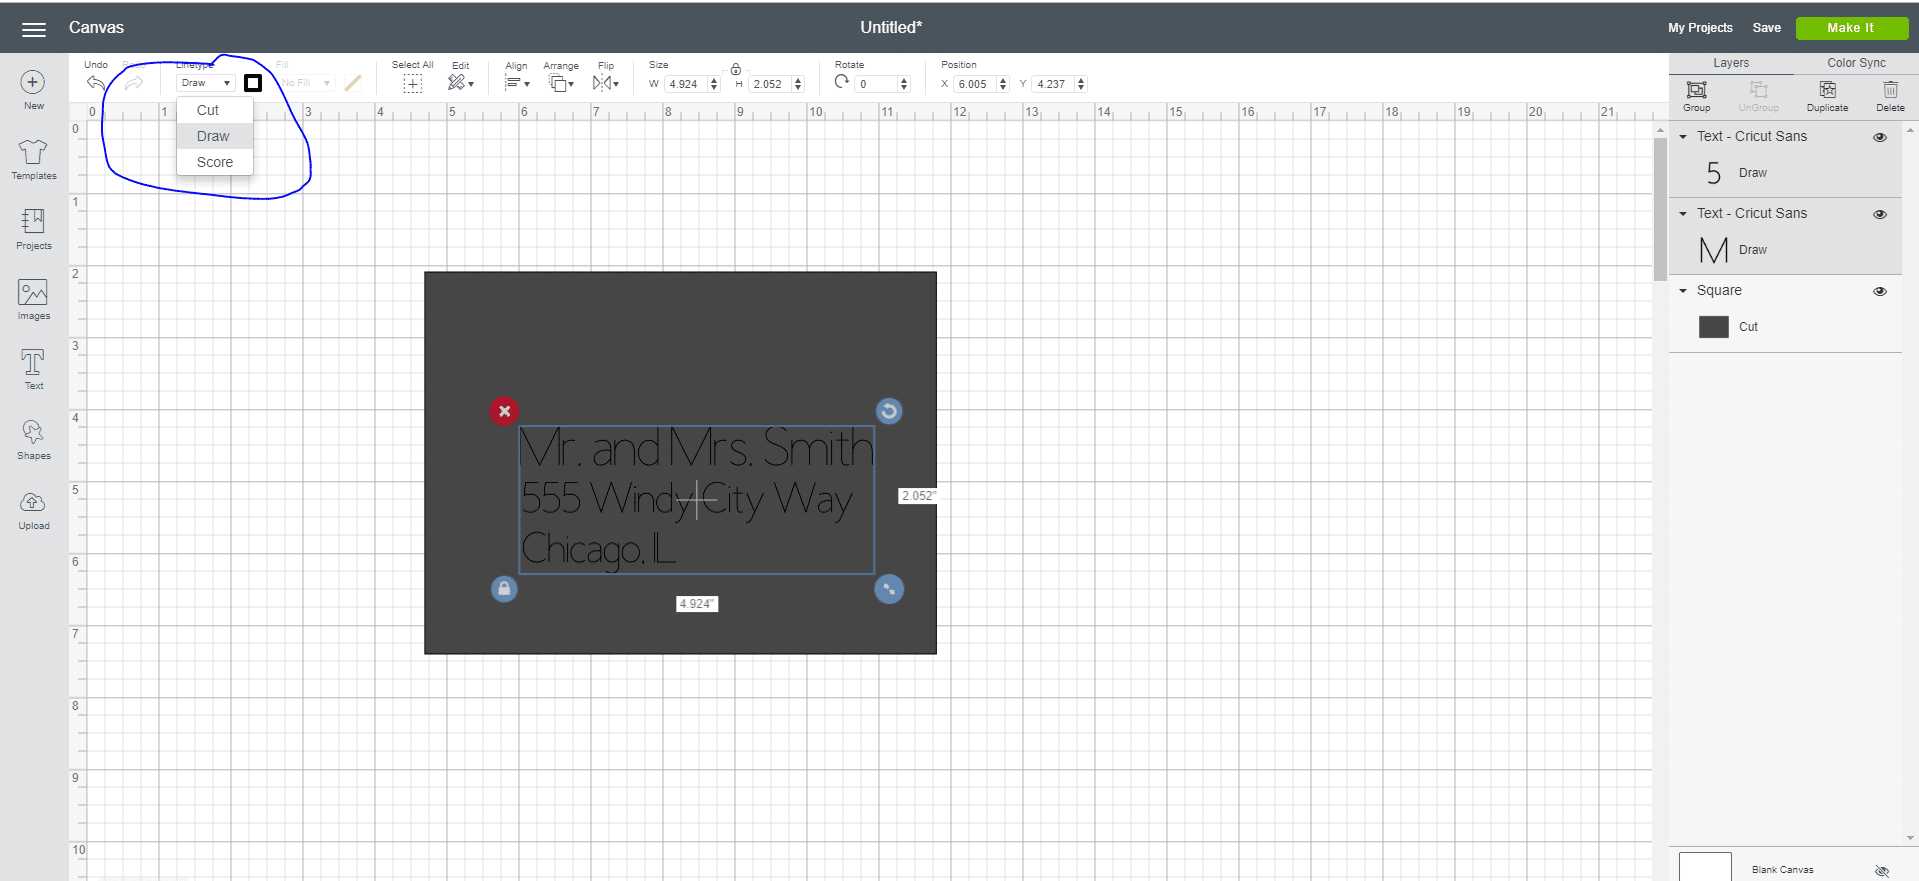
You need to make sure the rectangle is still set to cut.
Then attach these elements together.
Step Five:
Now you are ready to write! Press “Go”. You will be taken to a page where you can double check to make sure everything was attached to the same page.
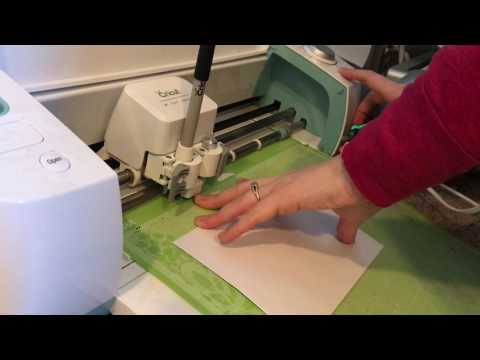
If it is, press “Go” again. You will then be instructed to load the mat and press the flashing green button. Make sure you have your envelope lined up exactly how it shows on the preview.
At this time, you also will need to put your first pen in. Make sure to push it in until you hear it click.
Step Six:
Watch the magic happen! Make sure you are careful watching the pens write and to press pause as soon as it is done so it doesn’t move on to the cutting process. You don’t want it to cut your envelopes.
Final Thoughts:
Obviously, if you aren’t doing envelopes, you will need to adjust things. However, the basics are the same.
You don’t have to use a rectangle shape for the envelope, but I do think it was helpful to better visualize things to make sure I got the right fonts sizes.
If you are doing a project where it does need to cut after it draws, just don’t press pause. It will cut beautifully!
Oh and make sure you push in the clasp on the pen holder. The writing will be wobbly otherwise (I didn’t do this in the video. Eek!).
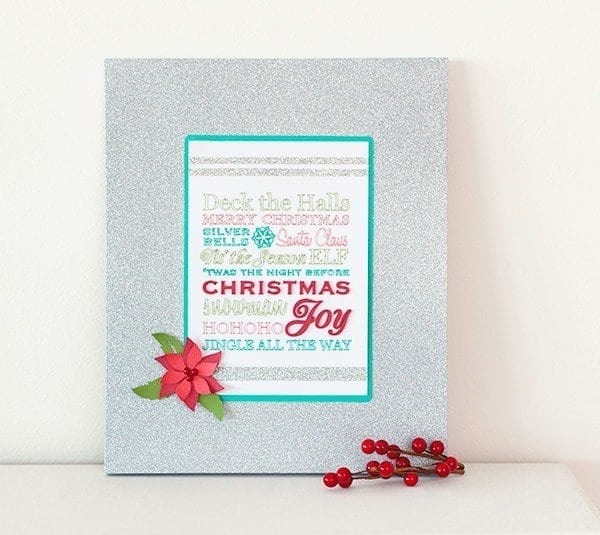
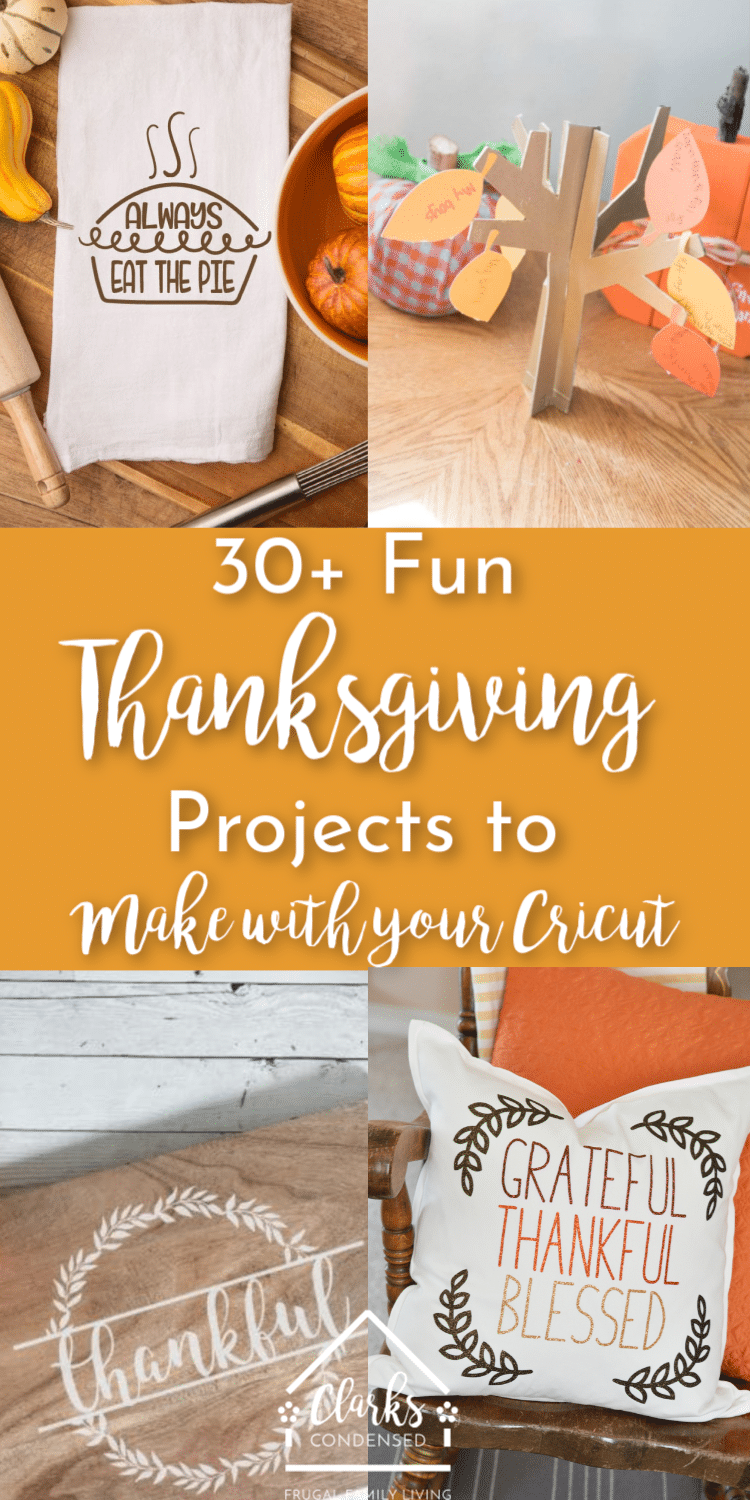
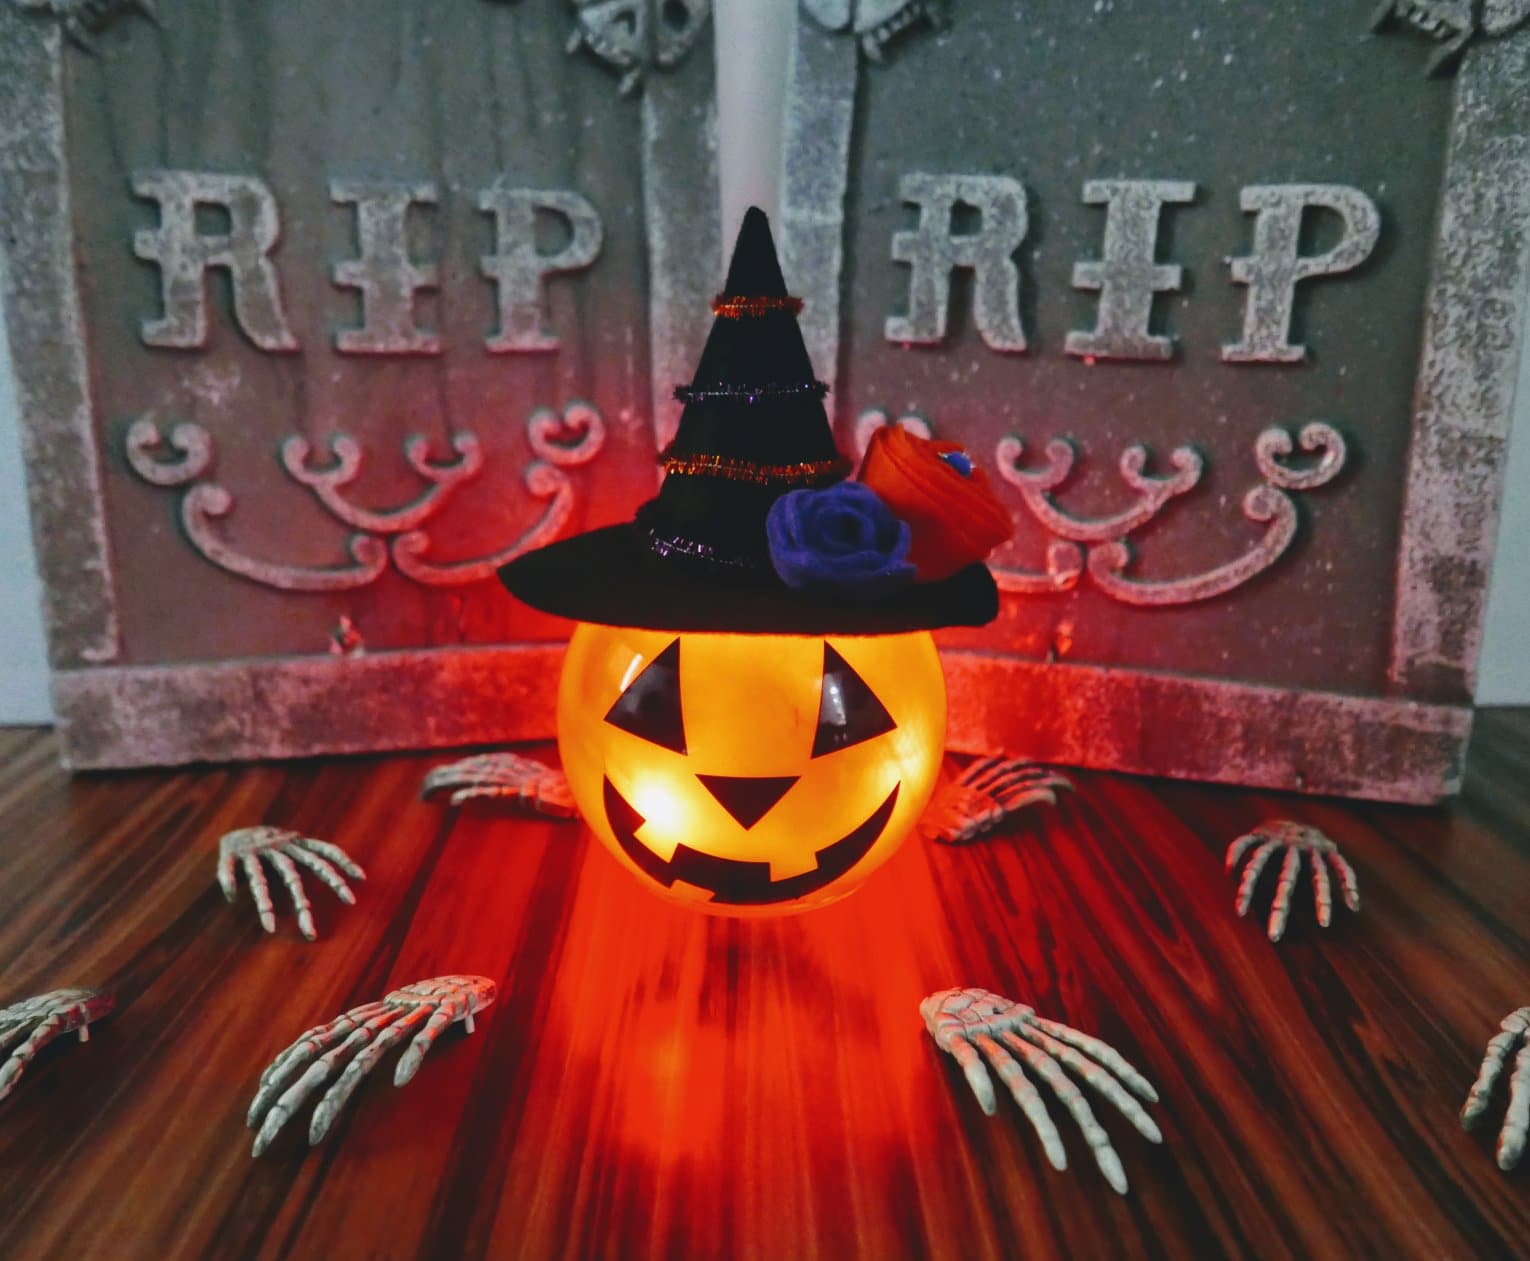
Cricut Pen Projects
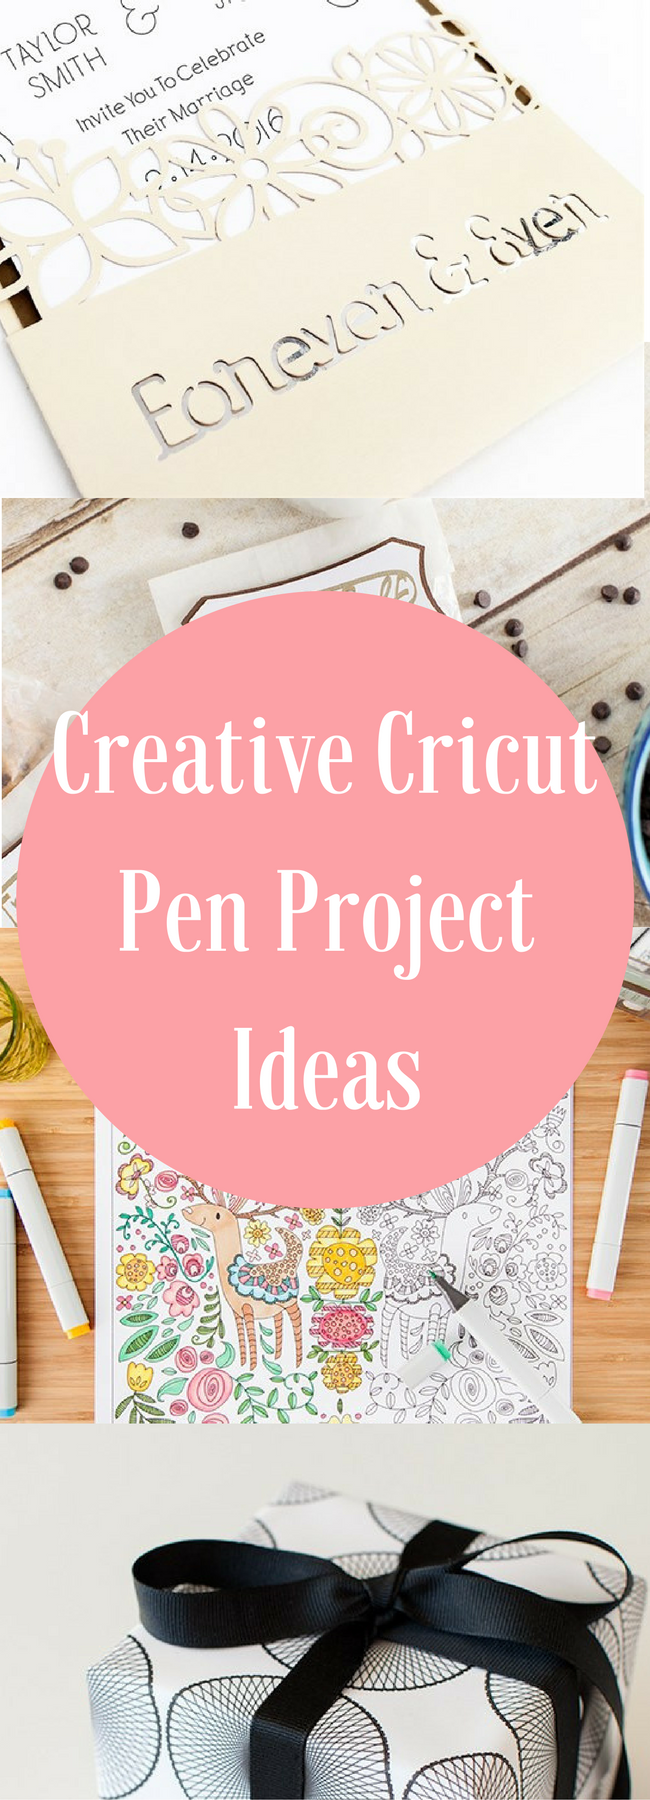
There are many pen projects you can do once you figure out how to best use your Cricut machine to write with. While you can certainly come up with your own designs, I thought I’d share a few “Make it Now” projects that Cricut has. Some of them are included with a Cricut Access subscription, while others have an additional cost.
You may be asking, Will it be easy for me to use the Cricut software to create Make it Now projects? And the answer is, YES! These projects are a wonderful way to learn how to use your machine to make beautiful projects without going through the stress of creating your own.
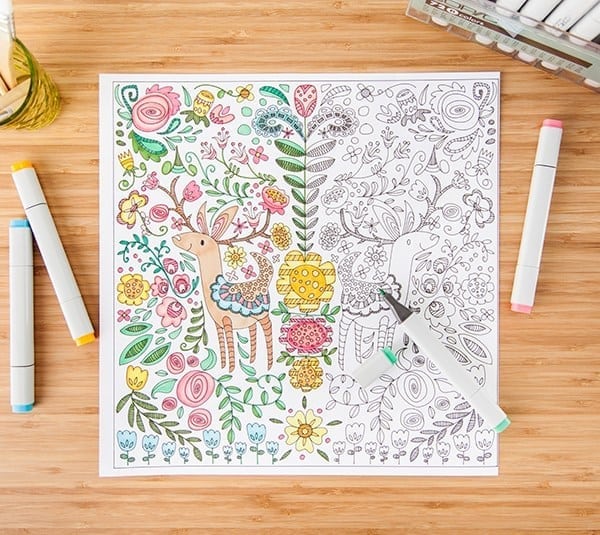
Deer Coloring Pages (tons of different coloring page options on Design Space!)
Do you have any questions about writing with your Cricut? Make sure to let us know in the comments!
This is a sponsored conversation written by me on behalf of Cricut. The opinions and text are all mine.

To insert a rectangle in Design Space, choose a square from the Shapes menu , and re-size it. Be sure to unlock the aspect ratio (padlock icon).
Hi, this was a very informative article! Thanks for sharing. I think you do a great job but as another poster pointed out, it is very distracting and difficult to read the article with so many ads after every 1-2 paragraph. I know ads provide your income, but I wonder how many readers give up due to a cluttered page and constant distraction? Just a thought for the future!
Thanks for your comment! Unfortunately, without the ads, even if I had a small increase in the number of readers, it wouldn’t matter since I wouldn’t be earning an income, which supports my family. I wish there was another way!
I have the cricut explore air 2. I am trying to write with it but when I pick a font from my system, it doesn’t say writing under the style. If I put it to draw, the word becomes an outline.
Do I have to purchase fonts in order for them to write?
No, there are lots of writing fonts in Cricut that are included, though many of those may be with Cricut Access. If you are uploading your own fonts, I would search for fonts that are specific for writing 🙂
Helpful tutorial!… I would add that you make the rectangle with the square shape in the default shapes, and unlock at the bottom left corner to make the rectangle.. Also… Instead of attaching the writing to the rectangle, (since you are really just using it to size your wording) delete the rectangle when you are ready to print. This way you don’t have to worry about it cutting anything.
Thank you!
Do you have to use a computer to use the writing feature with cricut? Or can you use your phone? I know how to cut but dont know how to write using the phone.
You should be able to use it on your iPhone!
Do you have to adjust the settings somewhere if you want to write on a thicker material like balsa wood? Or would you just not insert the pen all the way down until it clicks?
Hmm I haven’t actually tried that. You definitely need to make sure it clicks or else it will be all wobbly and the text won’t look great.
If you choose balsa wood as your material, the machine should make the necessary adjustments.
Is there any way I can print the instructions on learning to print an envelope?
Question…even after I delete the square the writing stays in place. But when I print it shifts back to the top of the mat. Can you help?
Did you press group and attach?
I am new to Cricut and was wondering if the Cricut pens will write on vinyls permanently (without smearing). I am interested in using the Cricut to make labels for small glass bottles and want to print a description on a small circle label I cut with the Cricut. The label is only about the size of a dime, so the print and cut paper would be a waste for my use. If yes, what types of vinyl work? Permanent? Removable? Thanks!
Thank you so much! I was wondering how to write on labels so it would be the same concept!
When I wrote on labels, I did each return address the way I wanted and attached… then duplicated it a lot and hit make it… when I got to the print screen (while using the phone app only) I used my snapmat feature and took a picture of the label sheet once I put it on the mat. This allowed me to move each set of wording around on the mat to place it in the exact location I wanted it to write. Hope it helps you.
Do you know now that you only need to insert a square, unlock it and stretch to a rectangle shape?
haha, yes, I have long since discovered that 🙂
Interested in using pens on fabric to create quilt labels. Would ink from pens withstand laundering?
Hmm I’m not sure about the Cricut branded pens – I’ll look into this. But I think that if you find a fabric pen, it would work nicely!
Good step by step directions. It was just hard to read with an ad every other paragraph, trying not to click on one and then ads at the bottom and top of my screen (reading it on my phone).
Thanks for the feedback! Unfortunately, the ads are necessity to support our family, but I hope you will visit again sometime! I’m not sure why it’s showing that many ads though – I don’t see that many browsing on my phone. I will definitely look into it!
Hi there! Thanks so much for the tutorial, it helped me get started on the know how on addressing envelopes. One thing I did was leave out my blade, so I wouldn’t accidentally cut..cause it’s so easy to get sidetracked or if ur like me to just plain forget! Thanks again! 🙂
So glad you found this helpful! And I hear you on the cutting thing – I’d be lying if I said that hasn’t happened to me!
Can you do more than one address at a time? I am using the cricut for my wedding invitations and they are taking foreverrrrr. If there is I need a tutorial on how to do it
You should be able to put more than one envelope on each page!
Do you ever find that your cricut stops working during writing projects? Is there something I’m doing wrong? Sometimes mine quits half way through and unloads the medium.
Hi. How did you do the family photo with Cricut Design Space?
Thank you.
Sue