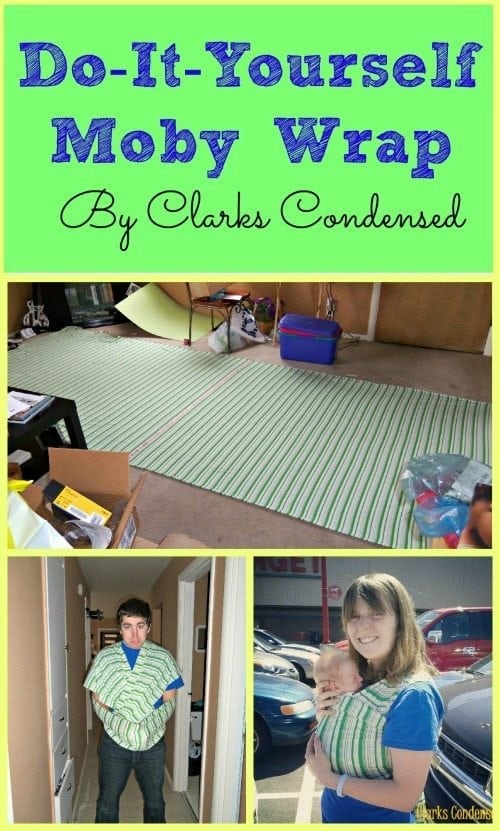
DIY Photography Backdrop
As much as I would love to be able to take incredible photos, I’m no photographer. Although I attempted to pretend I was when I worked at a Target Portrait Studio briefly during high school, that’s about where my skills ended.
But, there are some times where I try to take some better pictures — mainly, food pictures for this blog. With my son’s first birthday coming up, I’ve been wanting to get started on his invitations. I ordered the cutest outfit from Etsy, and I wanted to have a nice, solid background that matched it. So I looked around, I figured out how to make my own backdrop for our “photoshoot.” It was so easy, I thought I’d share it with all of you! There are SO many options out there — color wise — by doing this, that you can create a bunch of really fun backgrounds way cheaply.
Materials:
Several Yards of Muslin (I only used two because I didn’t need it for very long, and most of my subjects will be very small, but you’ll want probably four to five if you are wanting to use it for taking photos of people — it was somewhat hard to get Baby J to stay in such a small amount of space.)
Dye of choice — I got Rit brand from Joann’s, and that is where I got the instructions on how to dye it with the washing machine. One package is good for 1 pound of fabric (which is probably about 4-5 yards of muslin)

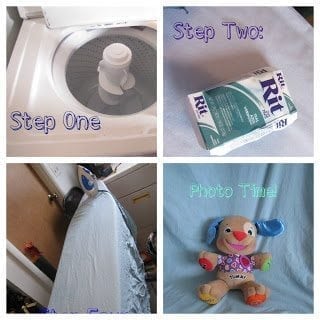
Instructions:
This is just one method on how to dye the fabric. I would recommend doing this, or the bucket method.
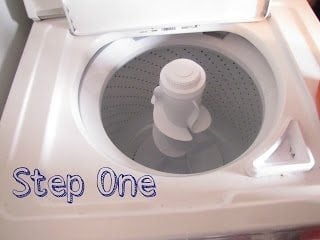
Fill up your washing machine about 5 inches full of hot water.
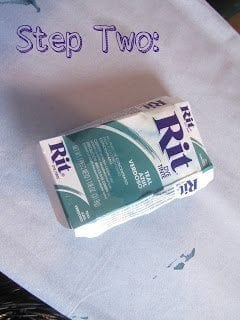
Dissolve the dye in one cup of hot water. Make sure it is dissolved or else, you’ll end up with a bunch of it in the bottom of your bowl! Add the dye to the washing machine and agitate it until it is mixed with the water.
Using hot water and the highest setting, turn the machine on. Make sure it goes for at least thirty minutes before the rinse cycle starts.
You will want to wash your machine immediately following the cycle. The instructions said to use bleach and laundry detergent, but I just wiped it down slightly with a paper towel, and then put laundry detergent in, and let it run for about 30 minutes with the hottest water possible, and it looked just fine afterwards.
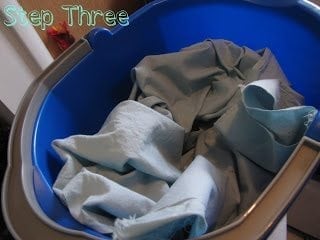
After it is done washing, rinse the fabric until the water runs clear. I did it in the bucket above, but you can easily do it in the sink. I just didn’t want to worry about cleaning the sink out. After the water runs clear, dry the fabric in the washing machine, or hang it up.
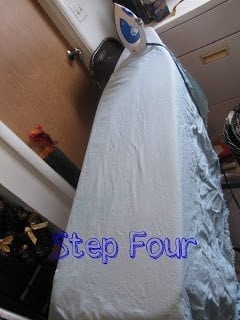
Iron it! Mine was super wrinkly, and I didn’t feel like ironing it forever, so I didn’t get it as wrinkle-free…but I definitely recommend ironing it, at least a little bit!
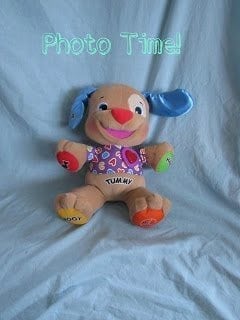
Have fun! I took some pictures of Baby J on it, but I don’t want to reveal those quite yet, so you get to see this puppy’s debut on the blog. He sure was easier to work with than Baby J was.
Tips: Be sure to read all the instructions on the box before dying it — there are tips on how to make the colors darker or more vibrant by adding salt or vinegar.
There are plenty of other methods for dying fabric, but this is just the one I chose! If you want to mix and match colors, this probably isn’t the best one. But for solid backgrounds, it is perfect.
Get the fabric and dye with a coupon! It makes it even cheaper.
Have fun with your new, versatile photo backdrops!
–>
![Best DIY key holder and design [2021]](https://www.clarkscondensed.com/wp-content/uploads/2014/07/Key-Holder-9edit.jpg)