
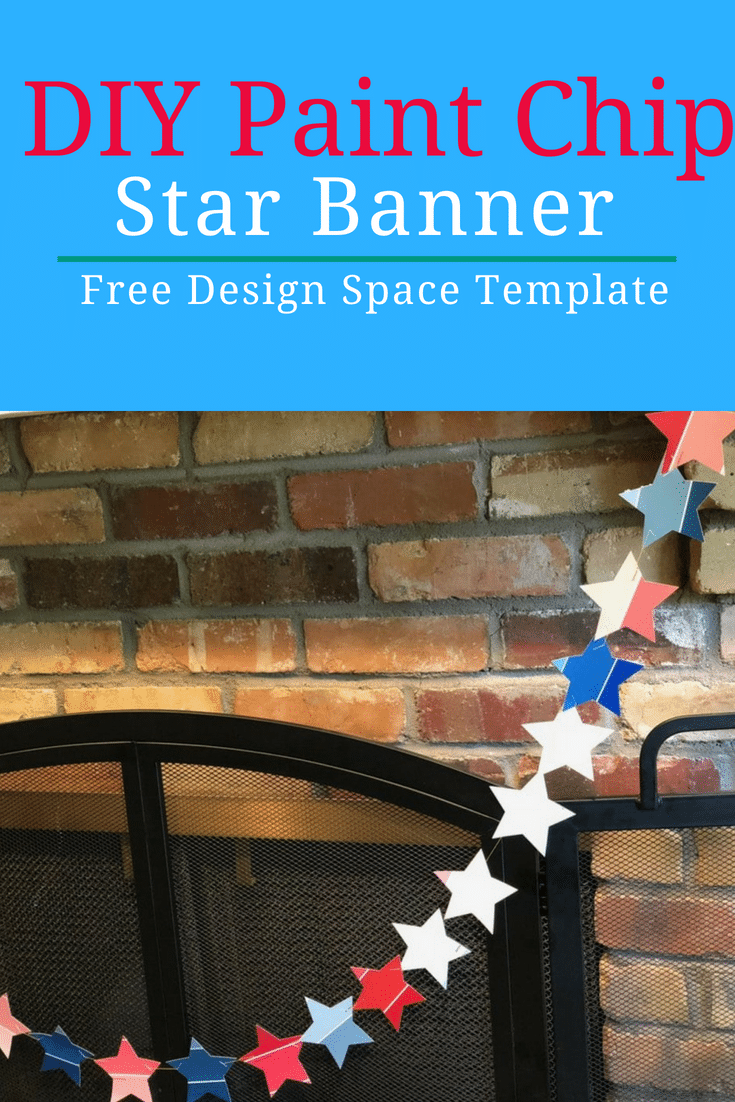
DIY Paint Chip Banner – Patriotic Themed (Made with Cricut)
Paint chip craft projects can be SO much fun! Here is a very easy paint chip star banner that you can make with your Cricut Maker or Explore Air 2!
Cut Paint Chips with Cricut
The Create with Cricut challenge material for May was paint chips!
And obviously, I am way, way late….since it’s already June. The end of the school year has been so busy!
I came up with this idea for a cute Patriotic paint chip banner though, and I figured it’s better late than never, because it’s so fun.
This project was so easy, and it’s a great way to use up old paint chip samples you have collected over the years.
As I worked through this project, I stumbled across a discussion on the ethics of taking paint chimp samples for a project. Yes, they are “free” at the store – but should you really be taking them if you aren’t using them for their intended purpose first?
I found there are a lot of opinions and perspectives on this – even from a brand point of few. Some brands say sure, we love to see your creativity, please tag us in your project! And others say no way.
However, the general consensus I found was this:
- Feel free to use any paint chip samples you have taken in the past to determine what kind of paint you want to use. Recycling them for crafts is a-okay! Ask friends to save them for you as well.
- If you aren’t doing a paint project – ask the store manager before you take them. They may have retired colors that you can choose from, they may not care if you take a handful, or they may be able to help you place a bulk order of paint chip colors. Just be upfront and honest with your intentions.
- Do multiple projects! Perhaps do a couple painting projects at home and then use the leftover paint chip samples.
- Contact the paint supplier directly and see if you can work something out!
Phewth. Now that I got that out the way…now on to the fun stuff – the Red, White, and Blue paint chip banner!
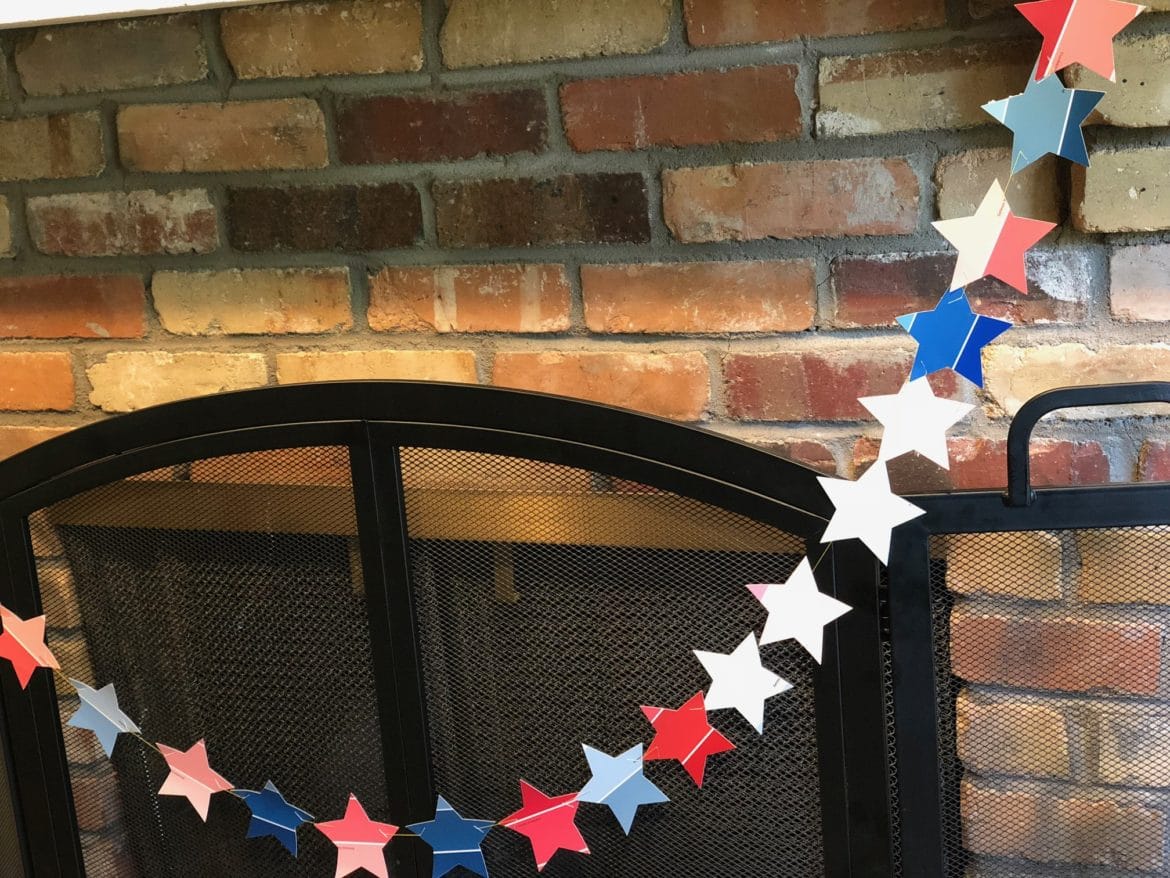
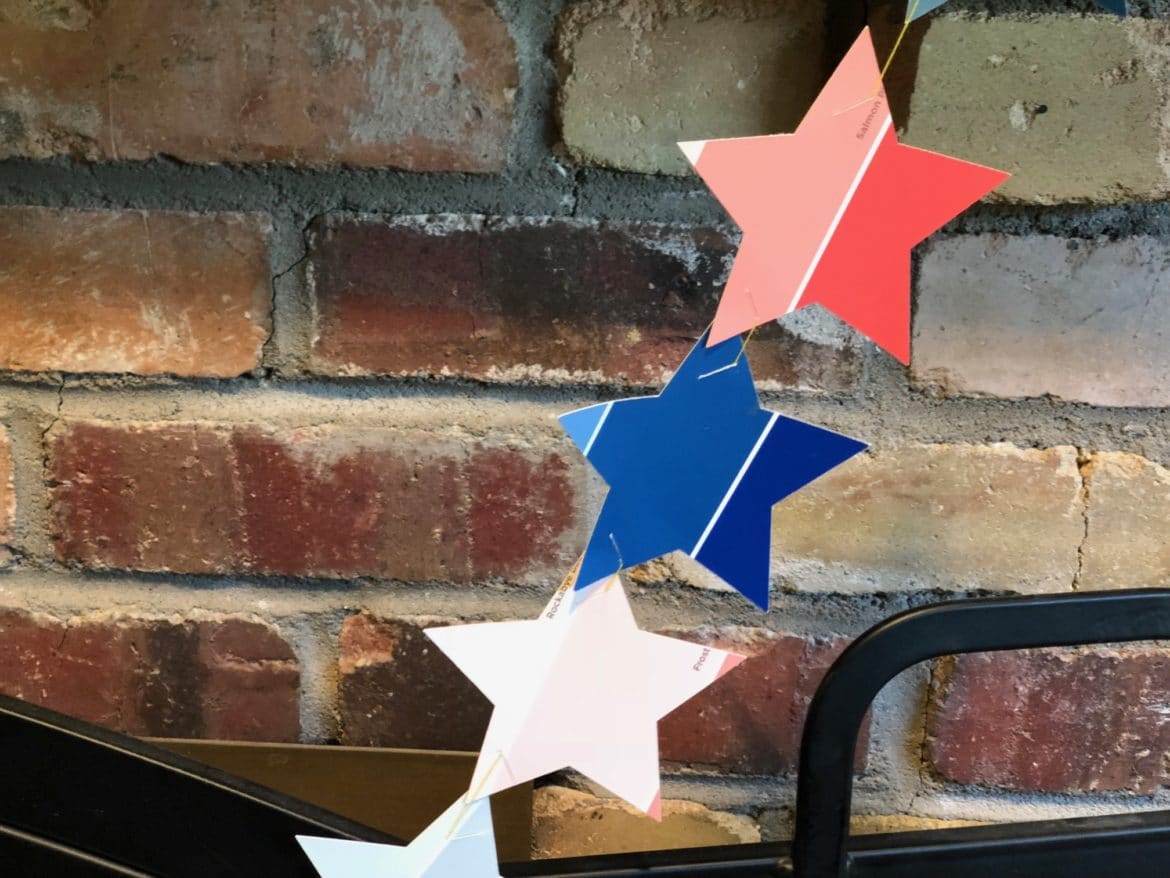
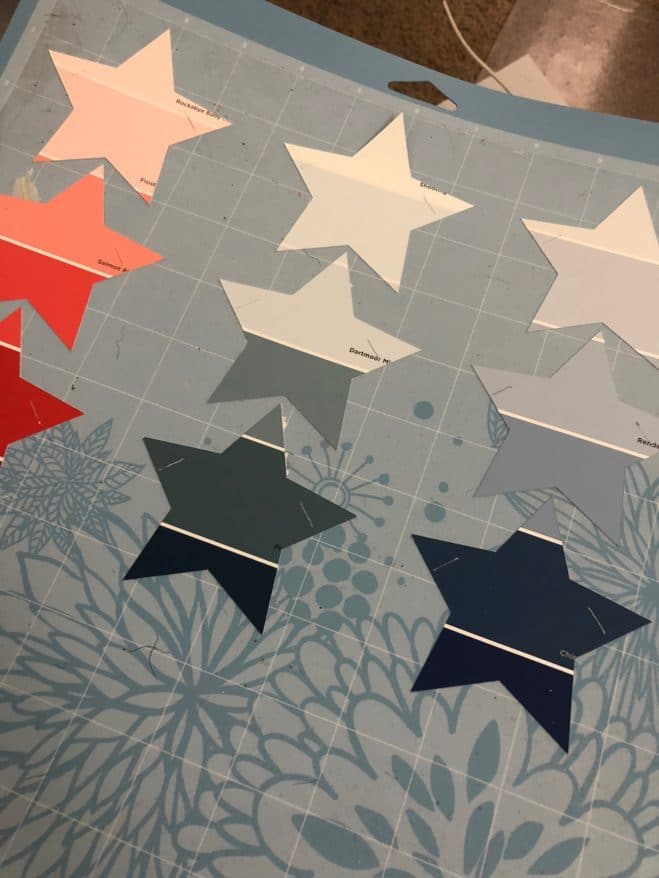
This project was really quite simple. All I did was create a star shape in Design Space, I added two lines to each side so I could string some thread through, and then I sized them so I could fit three on every paint sample.
I think I cut 18 stars from each color (give or take a few), and it turned out perfectly. This is a very easy project you can make with the Explore Air line or Maker machine, and it will give your house some patriotic decor this summer!
Materials:
Don’t forget to use the code CCWINTER2020 for 10% off and free shipping on materials and supplies on Cricut.com.
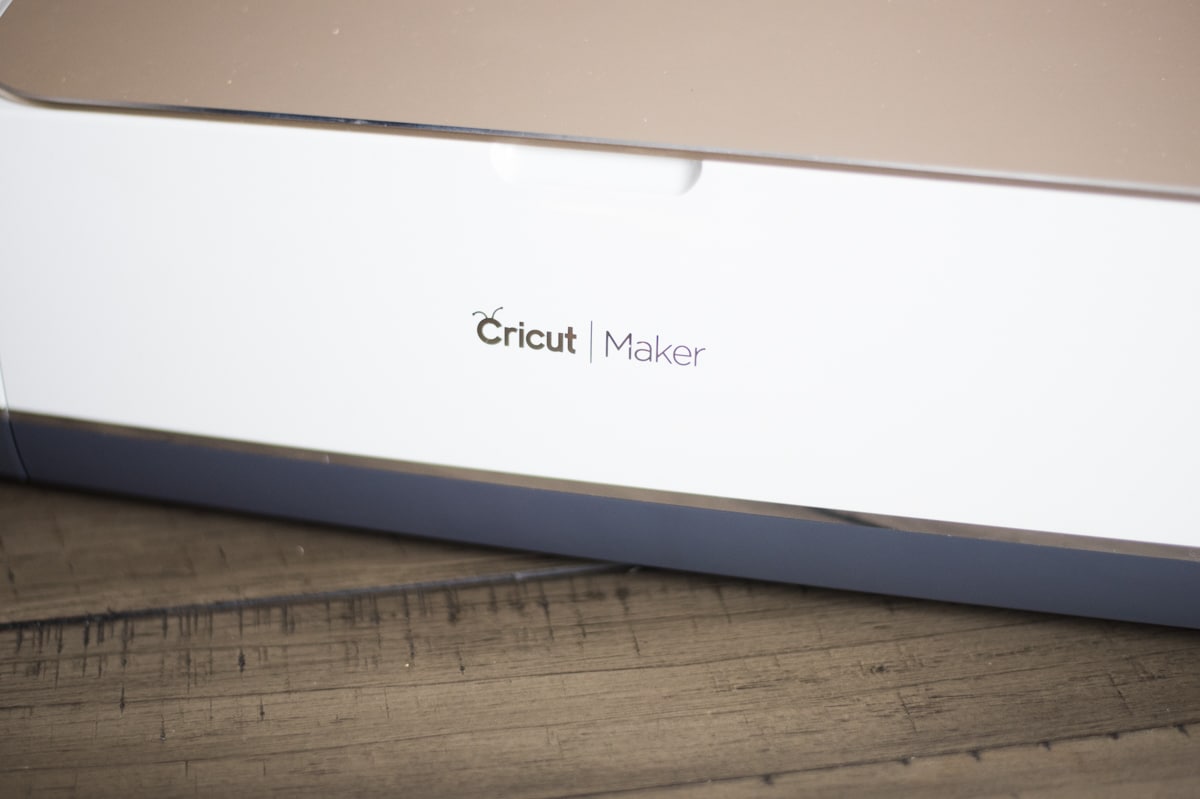
Cricut Explore Air or Cricut Maker
Thread, yarn, etc. for hanging (I used some thin embroidery floss)
Instructions:
Open this design in Design Space.
Resize stars if they aren’t the correct length/width for your paint sample cards
Press “Make It”
If they aren’t already in three lines, make sure all the stars are lined up in three columns.
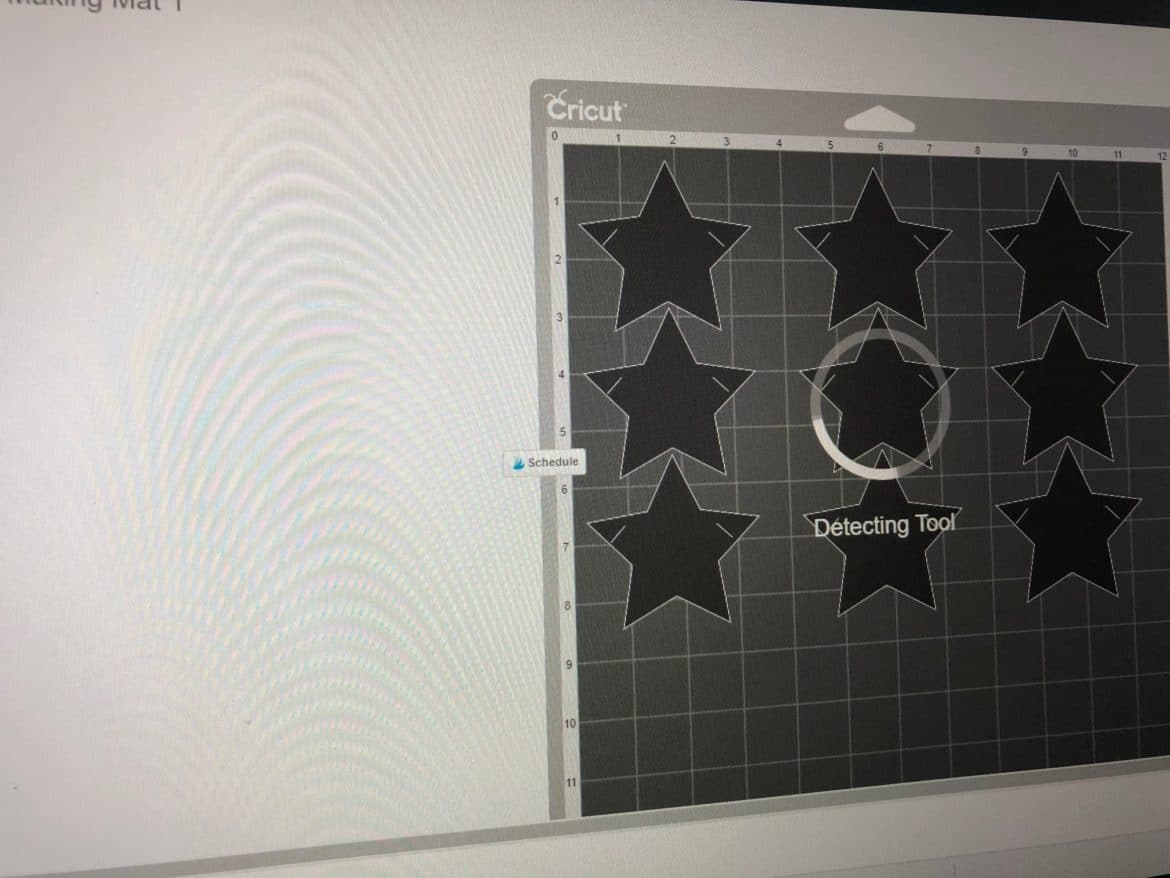
Place your paint sample cards onto your mat in the same positions that you see them on the mat.
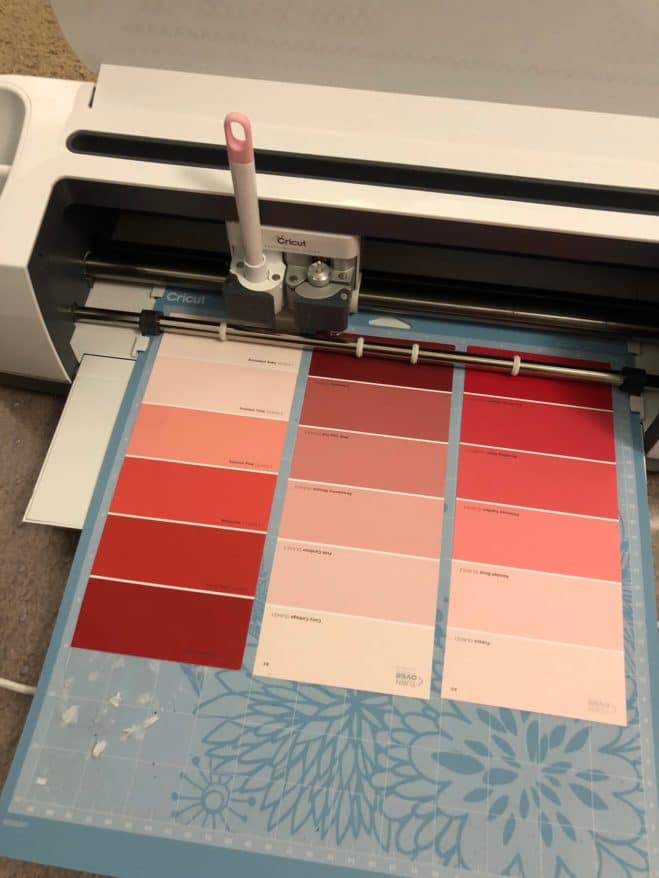
Select paint chip as the material
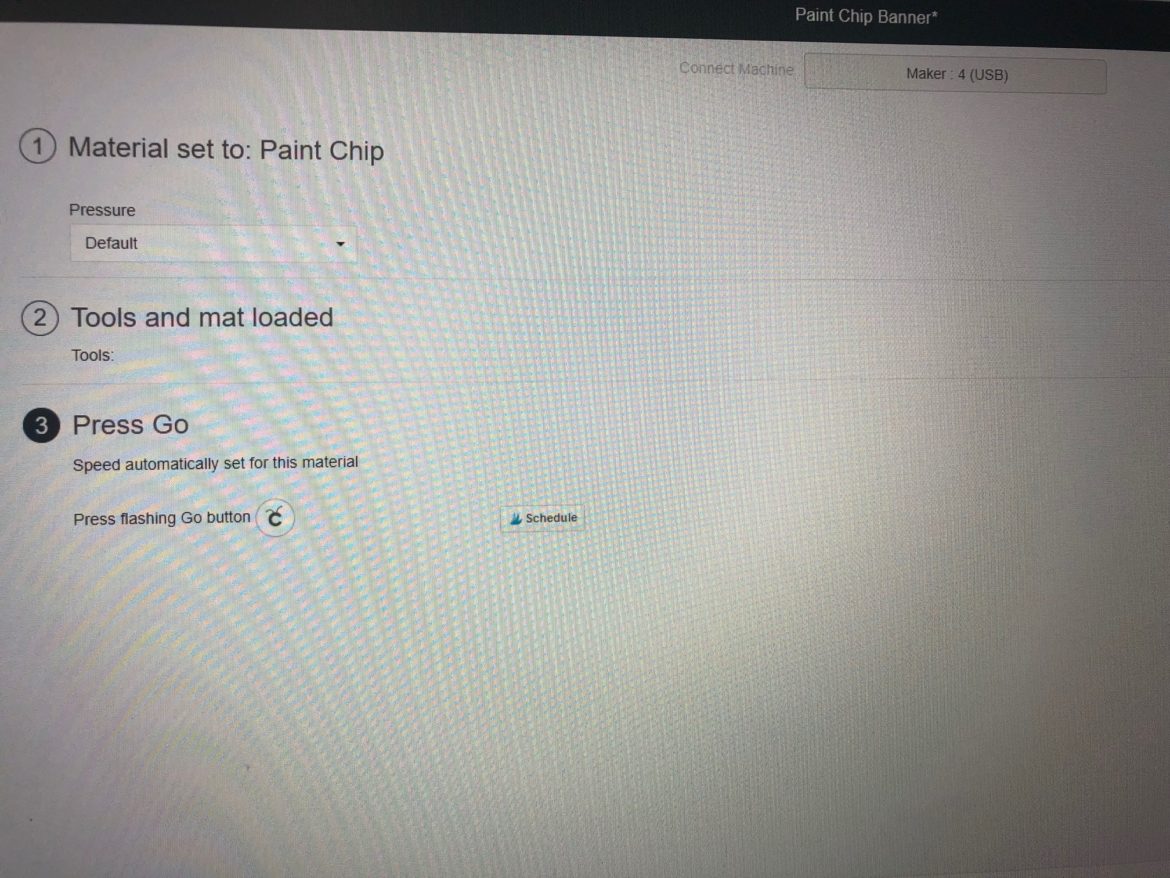
Press go, load our material, and watch it cut!
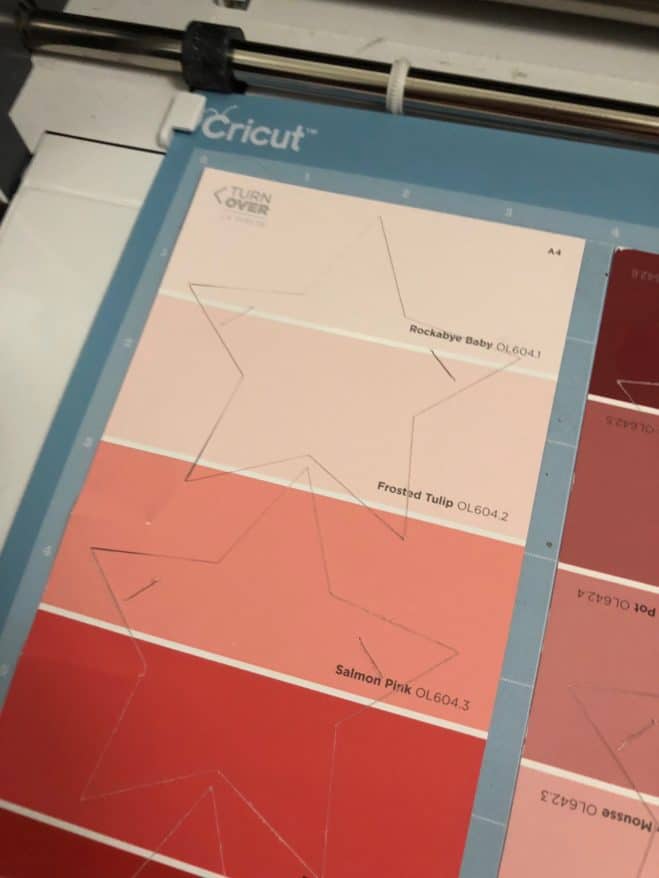
After the materials are cut, carefully remove from the mat.
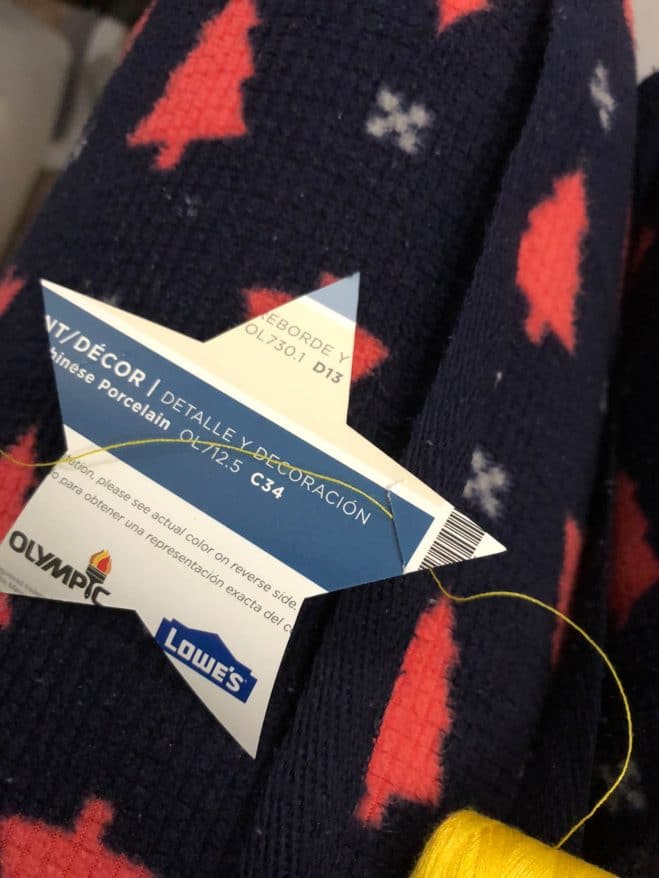
String together with thread or string through the cuts in each star. Be careful with these because they can easily tear!
Enjoy!

This is so cute! I love paint chip decor!!! And the Fourth of July is one of my favorite holidays!