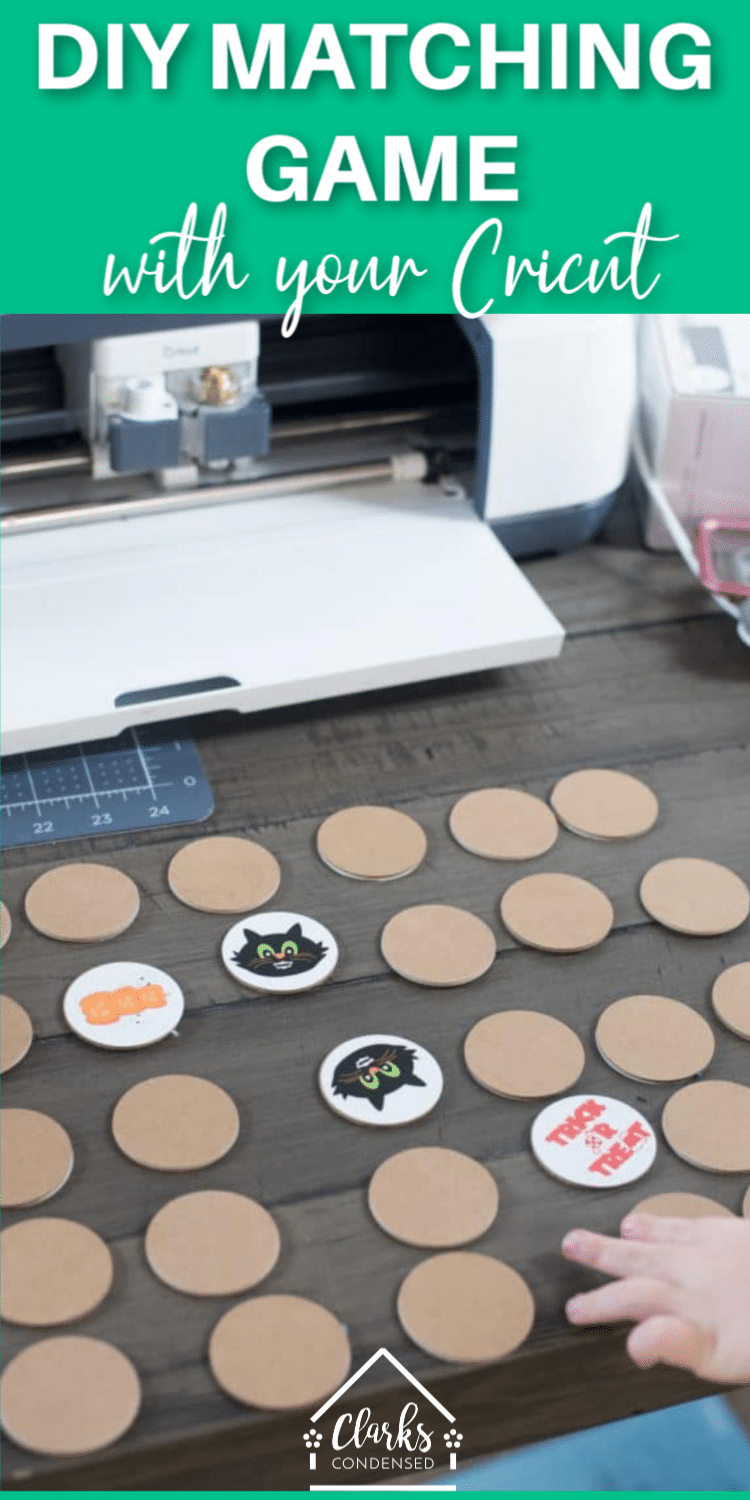
How to Make a Matching Game with Your Cricut
Make your own matching game using your Cricut Maker and this tutorial. Free template included (as well as a Halloween Matching Game template!).
Oliver LOVES to play games.
The problem is, he doesn’t always love games that are age-appropriate – like Candy Land or Chutes and Ladders.
He often comes up to me with games like Monopoly or Scattegories…which aren’t exactly four-year-old friendly.
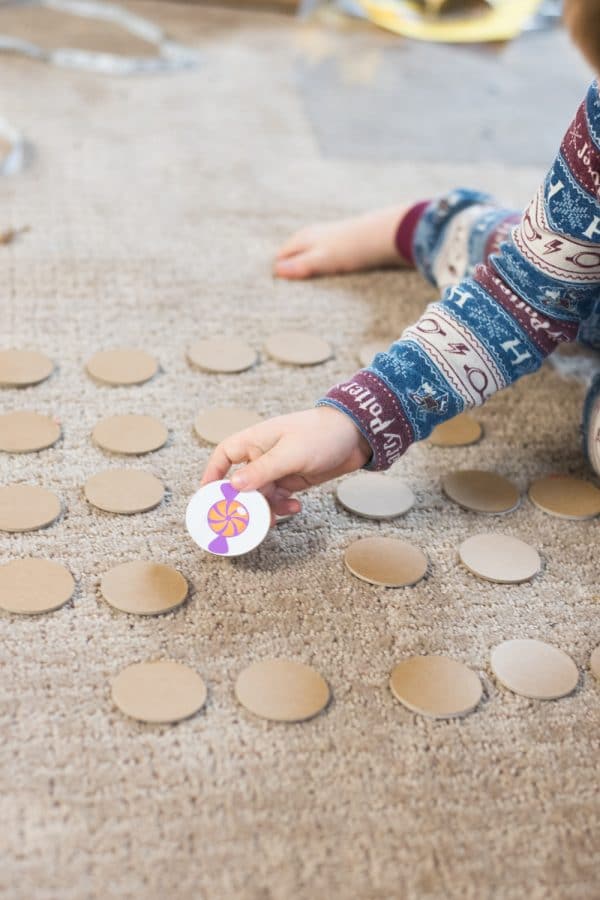
So when he took up an affinity with matching games, I was thrilled.
We only have two matching games, though, and I thought it wouldn’t be too difficult to make our own using my Cricut Maker.
I was surprised that this project worked without any issues. That’s pretty rare for me!
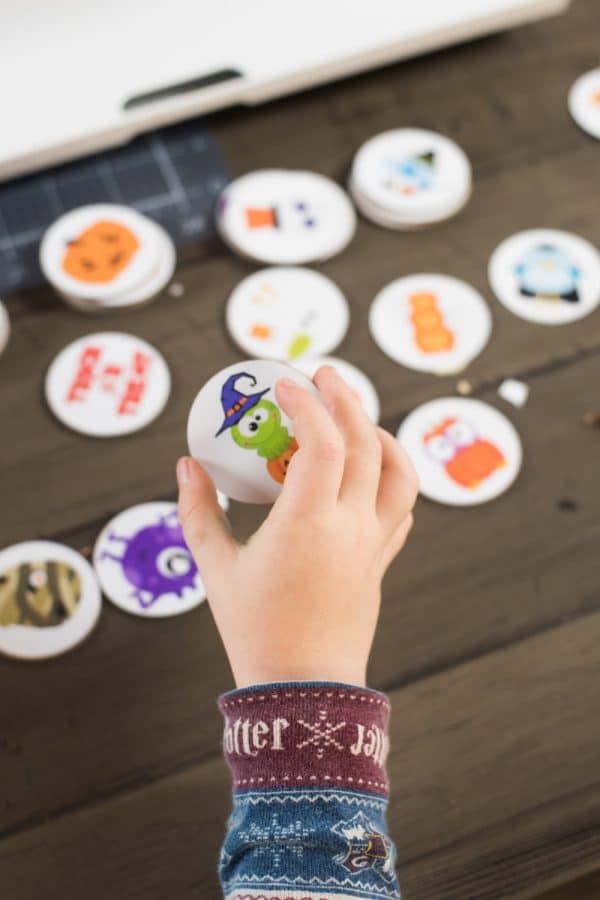
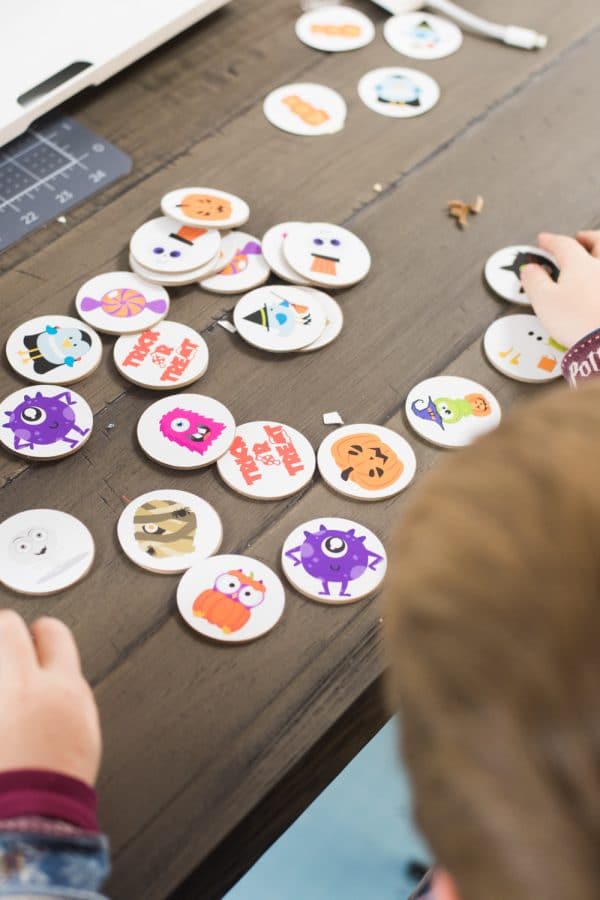
The design we made was for Halloween, which you can get HERE in Design Space. However, this tutorial can be used to make whatever matching game you want.
Admittedly, I did use both my Cricut Explore Air 2 and Cricut Maker, because my printer was upstairs with my CEA2, and I videoed the tutorial in the basement with my maker. You can cut some chipboard with a deep cut blade, so I think you could still do this project with the Explore Air 2 – just make sure you use thinner chipboard.

Oliver LOVES to play this game, and I was really pleased with how it turned out. If you want another fun game to make with your Cricut, be sure to check out this tutorial for a customized Guess Who game!
VIDEO:
MATERIALS:
- Printable sticker paper
- Cricut Heavy Chipboard – 2mm (Cricut / Amazon)
- Cricut Maker (Cricut / Amazon)
- Knife Blade (Cricut / Amazon)
- Fine Point Blade (Cricut / Amazon)
- Masking tape
- LightGrip Mat (Cricut / Amazon)
- StandardGrip Mat (Cricut / Amazon)
INSTRUCTIONS:
- Create your design in Design Space. If you’d like the Halloween one, click here. Otherwise, click
- If you are creating your own template, select the images of your choice and place them on top of the blank white circles (there are also grey circles – these are for the chipboard circles).
- After you’ve put the images on the circles, select one circle at a time – and then also select the image on top – and press FLATTEN. DO NOT forget this part!
- Once you have your design ready to go, press Make It.
- You may need to rearrange some of the circles to fit the chipboard since the Cricut chipboard isn’t 12×12. I had to rearrange mine into two separate mats.
- When you get to the materials page, you will need to print your stickers. It will give you this option before the cutting options. Turn off the bleed.
- Place the sticker paper right side down into your printer paper tray and print.
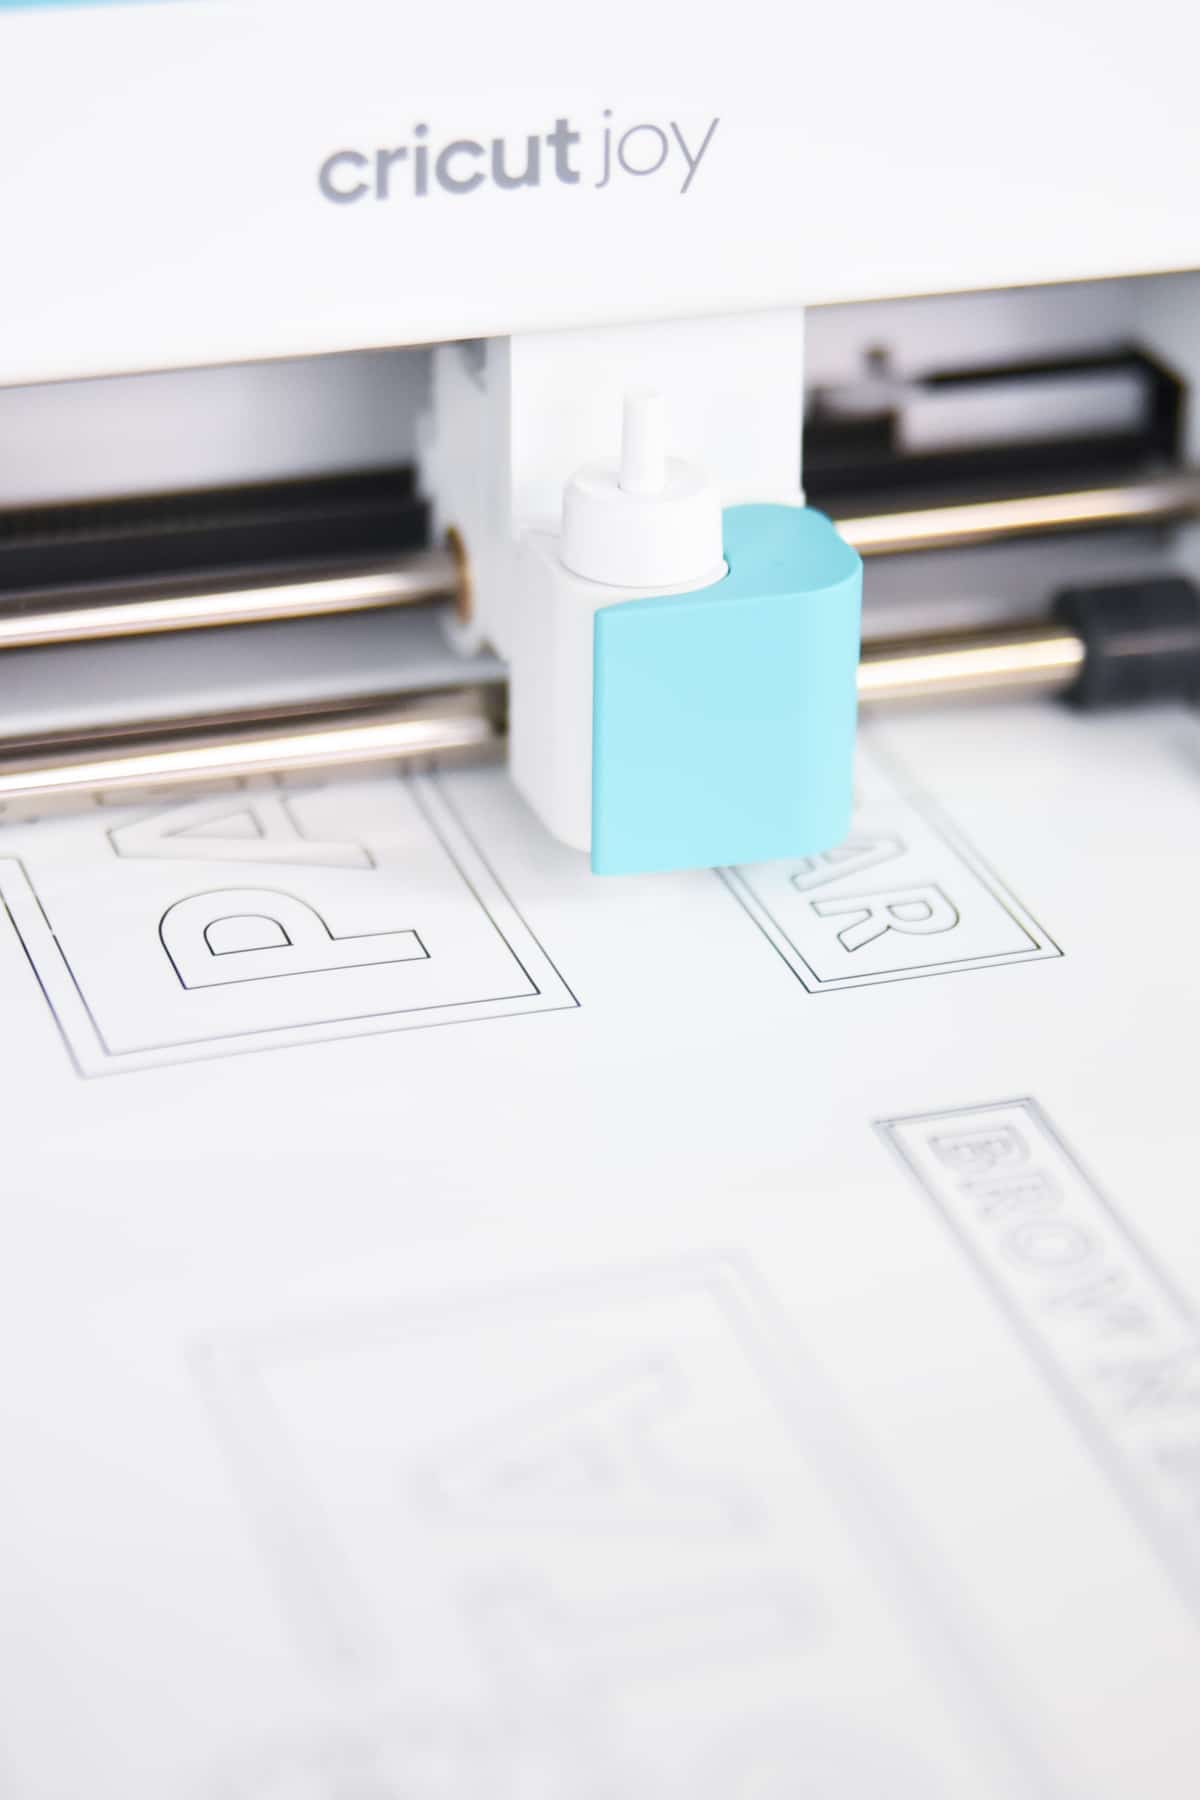
Once you have printed your designs, you will now cut them. Place your sticker paper face up onto a LightGrip mat. Select sticker paper as your material, and follow the prompts until you are done cutting the stickers out.
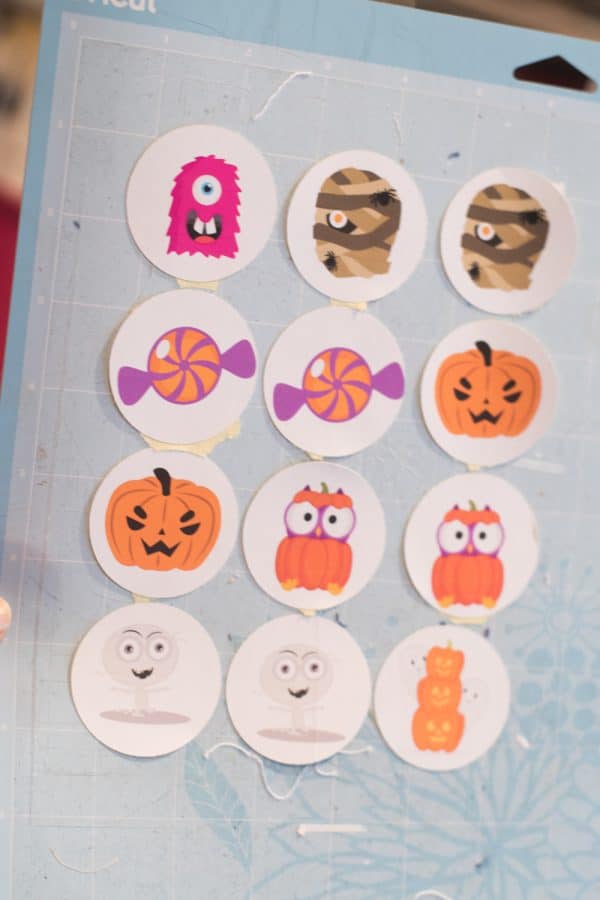
Carefully peel away the excess sticker paper and remove the stickers from your cutting mat. Set aside.
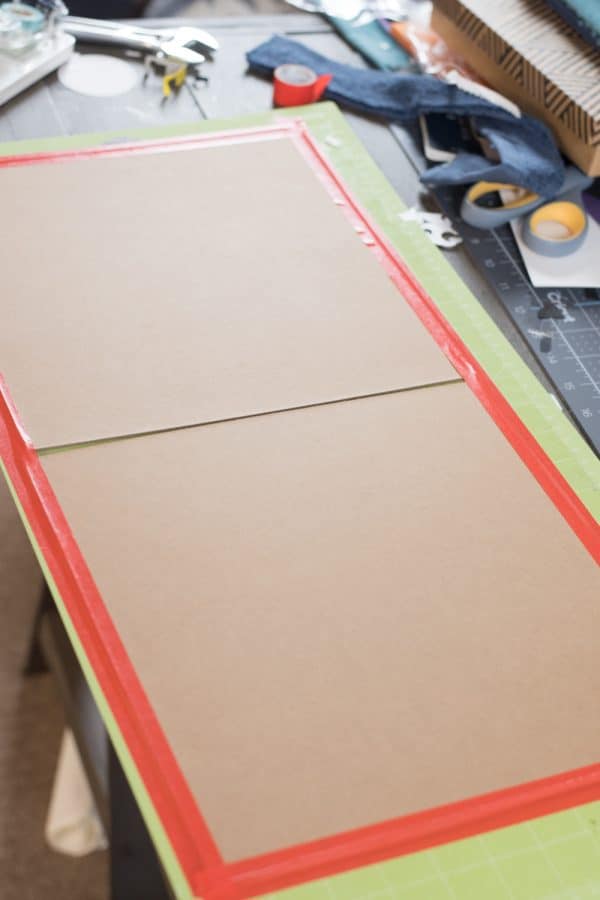
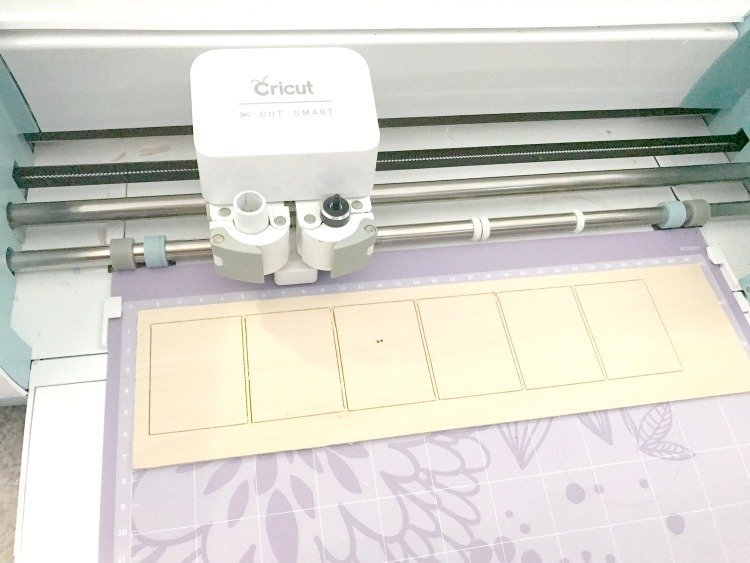
Once your stickers are printed, you will now cut the chipboard. Adhere this to a Standard or LightGrip Mat using masking tape. The chipboard can easily get stuck to a mat, so use the least sticky one that you can.
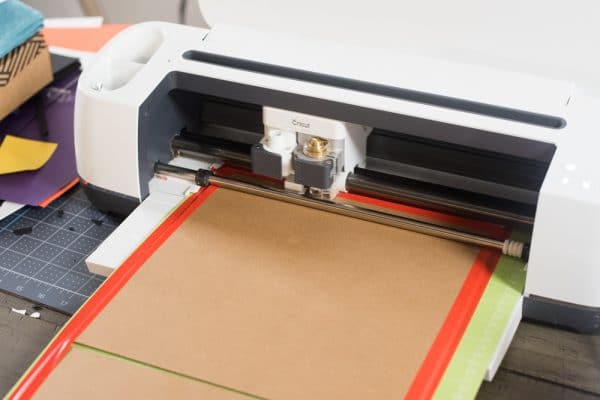
Put the knife blade into your machine and select chipboard in your materials.
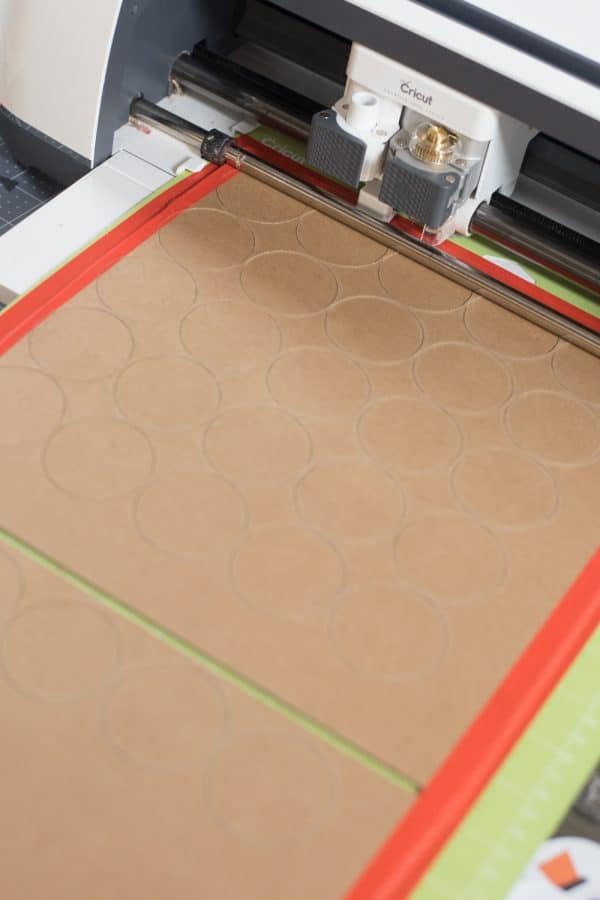
Load your mat and cut. Chipboard takes quite some time to cut, so just keep this in mind.
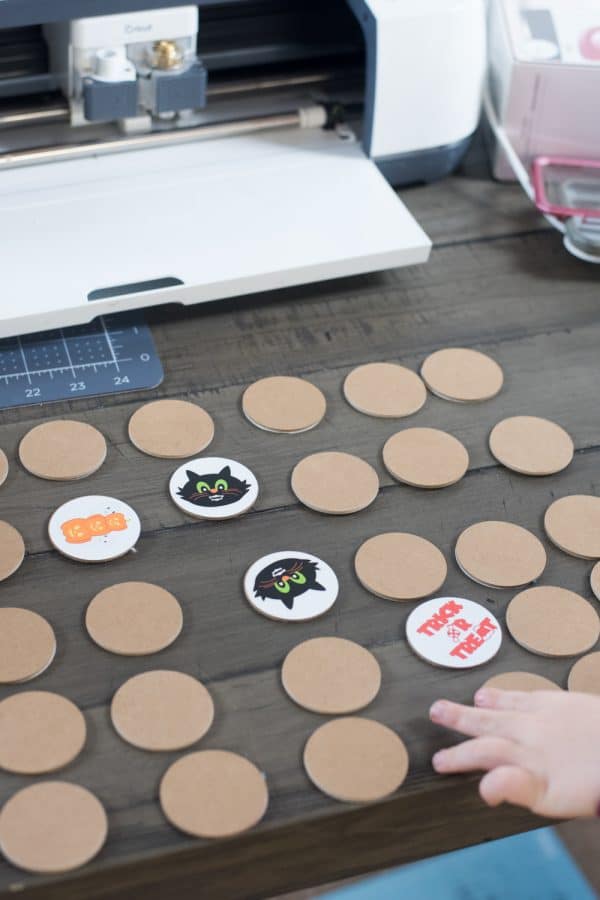
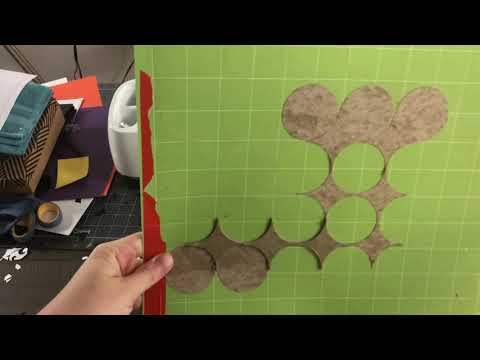
Once it has completed cutting, carefully remove the circles from the excess chipboard. Be aware that if your mat is super sticky, the outer layer of the chipboard may peel away. With my pieces that did this, I just made sure to put the sticker on that side.
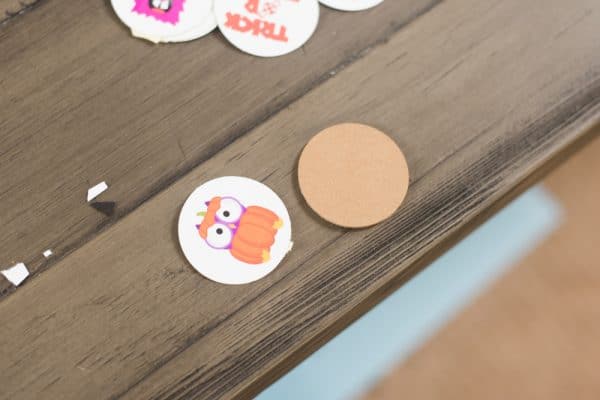
After everything is cut out, you will place one sticker on top of each piece of chipboard.
Enjoy!!
Other Cricut Posts You May Enjoy:
- Make Your Own Puzzle with Cricut
- DIY Happy Halloween Banner
- Cricut Infusible Ink: What Shirts Can I Use?