
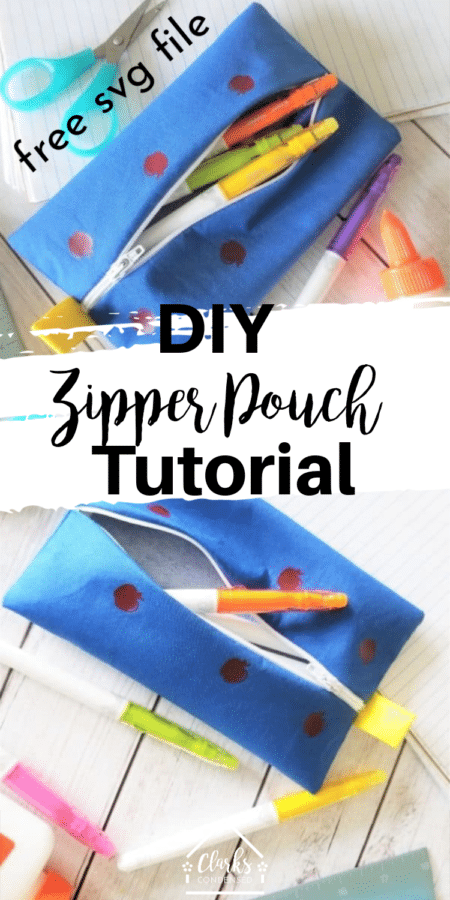
How to Sew a Zipper Pouch + Free SVG Files
Make your own zipper pouch using this easy-to-follow tutorial. Specifically designed to be made with the Cricut Maker, but the free SVG files make this accessible to anyone!
How to Make a Pouch with Zipper
School is just around the corner. That means getting everything on your school supply list and organizing each child.
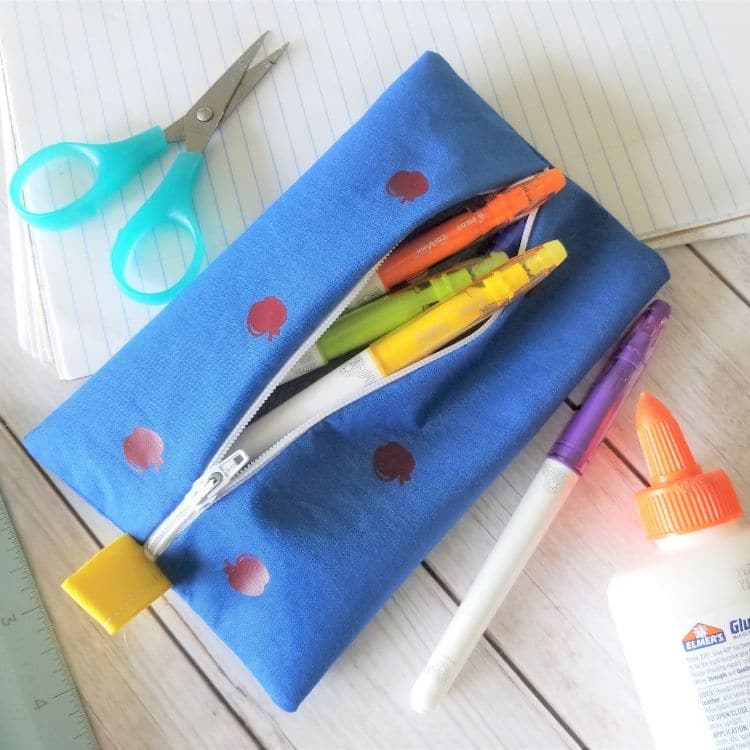
One way to easily organize all those supplies is to make a zipper pouch or simple pencil pouch.
If you’ve never used your Cricut Machine to cut out fabric, you are missing out. It is so fast, fun and makes sewing so much easier.
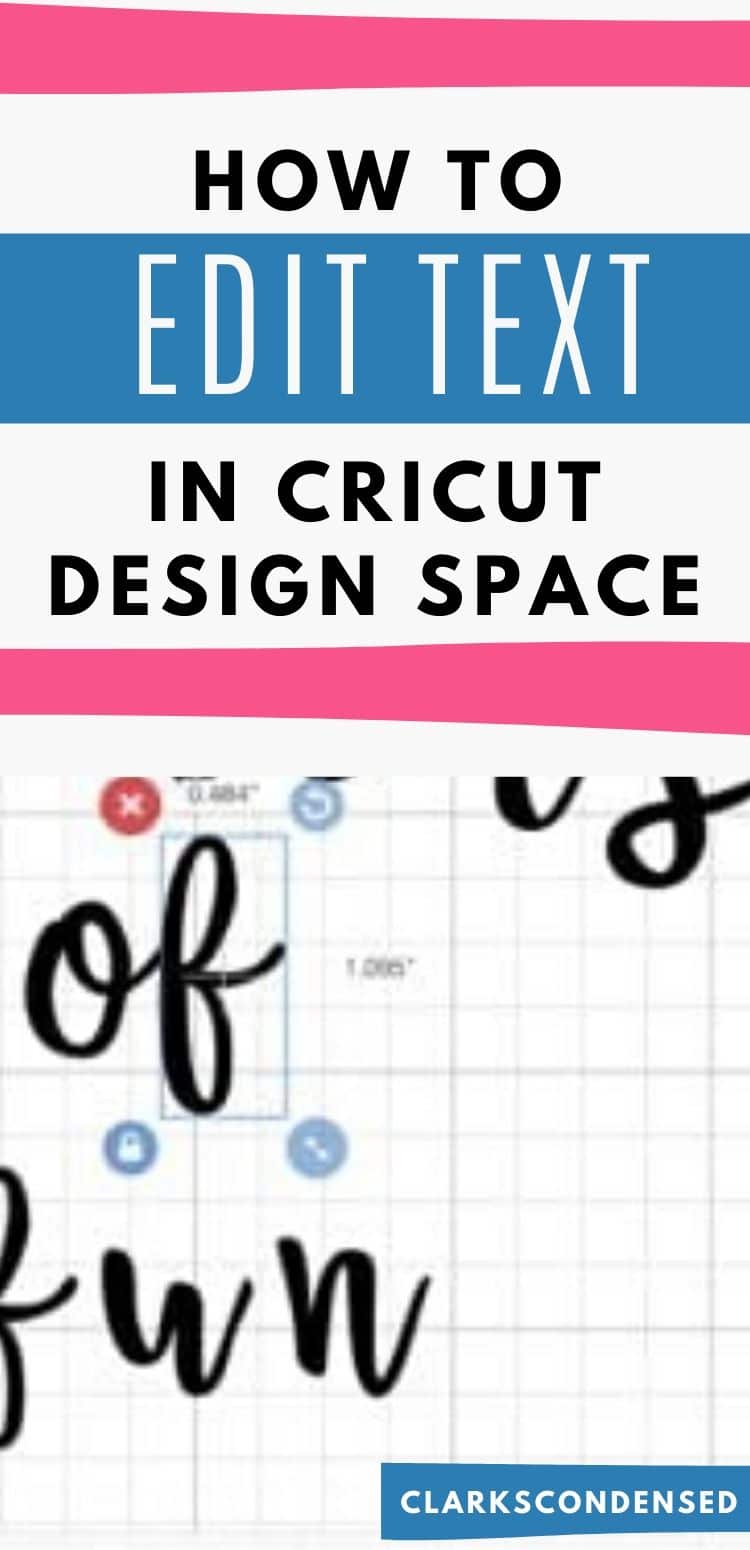
I’ll make the process super simple. Just grab the free pencil pouch cut files and school day svg files to customize your own zipper pouch. Open the files in Cricut Design Space and get cutting.
Follow along with the tutorial below and you’ll have a simple pencil pouch in no time.
Click the Button Below for the FREE SVG Files for this Project
[purchase_link id=”89948″ text=”Purchase” style=”button” color=”blue”]
Zipper Pouch Tutorials
Materials Needed
- Cricut Maker + Rotary Blade
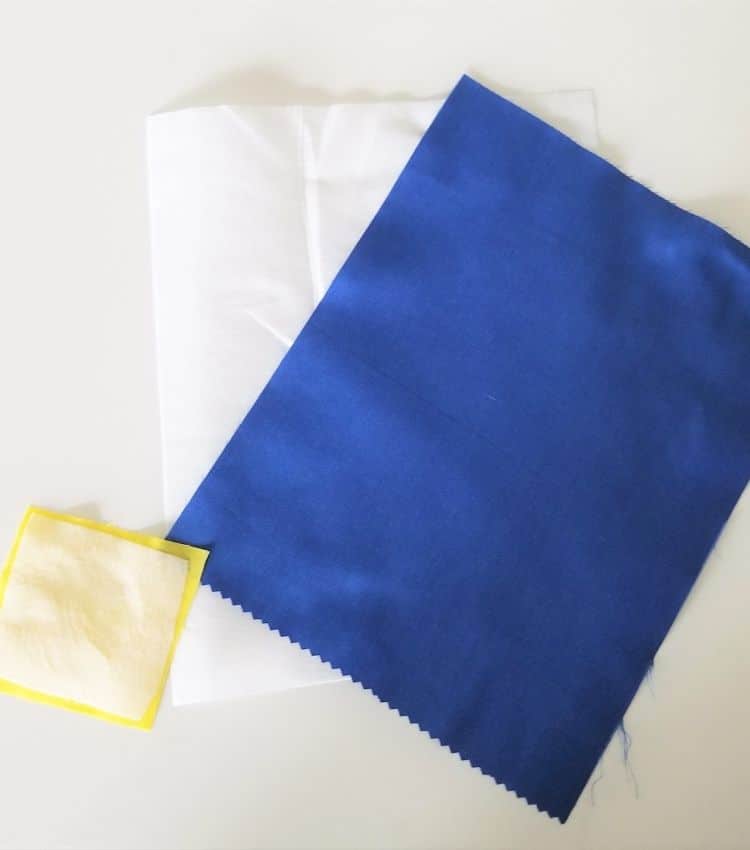
- 1 fat quarter of cotton fabric
- 1 fat quarter of contrasting fabric
- ¼ yard of fusible interfacing
- Iron-on Vinyl scraps
- 7” zipper
- Thread
- Optional: Keyring
Step 1
Open the SVG cut files in Cricut Design Space. Make sure to resize the sewing pattern pieces to be 8” x 10” and 3” x 3”.
Step 2
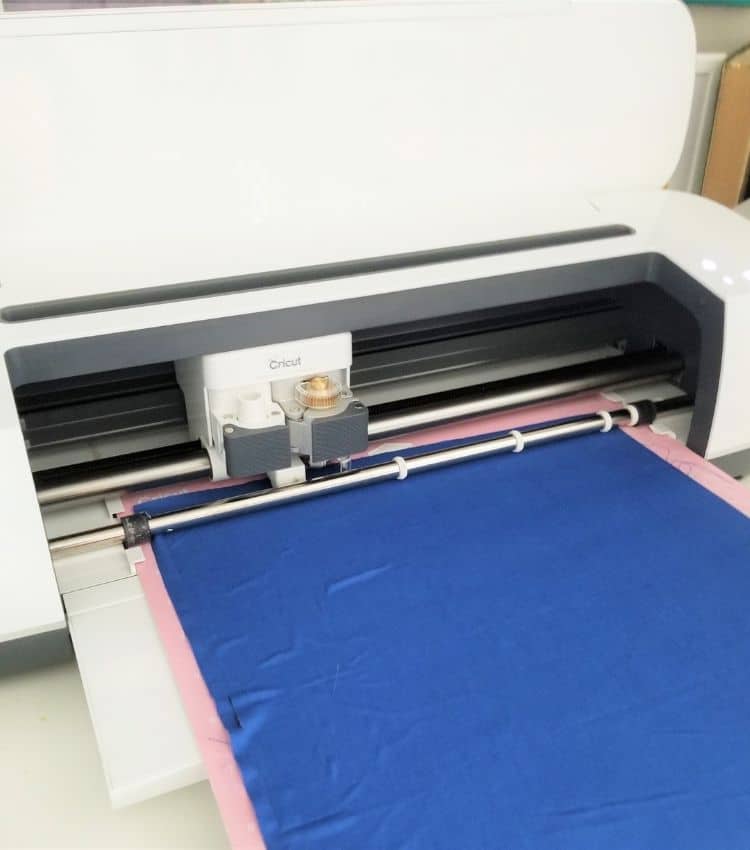
Use your Cricut Maker and rotary blade to cut out 1 main pouch piece, 1 pouch piece in interfacing, 1 fabric loop piece and 1 fabric loop in interfacing.
Cut out the other svg files out of iron-on vinyl.
Step 3
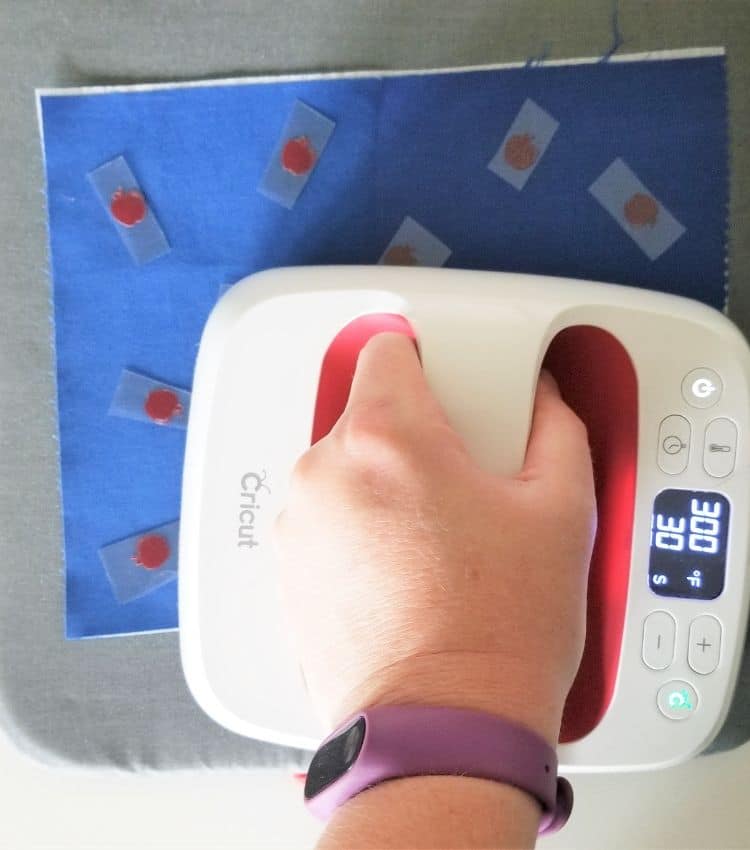
Press the interfacing to the wrong side of the fabric. Press the iron-on vinyl to the right side of the fabric.
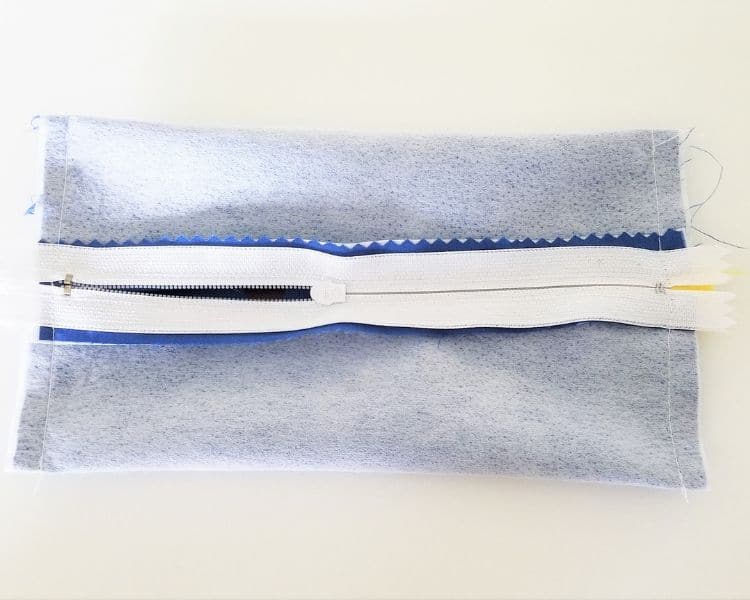
Step 4
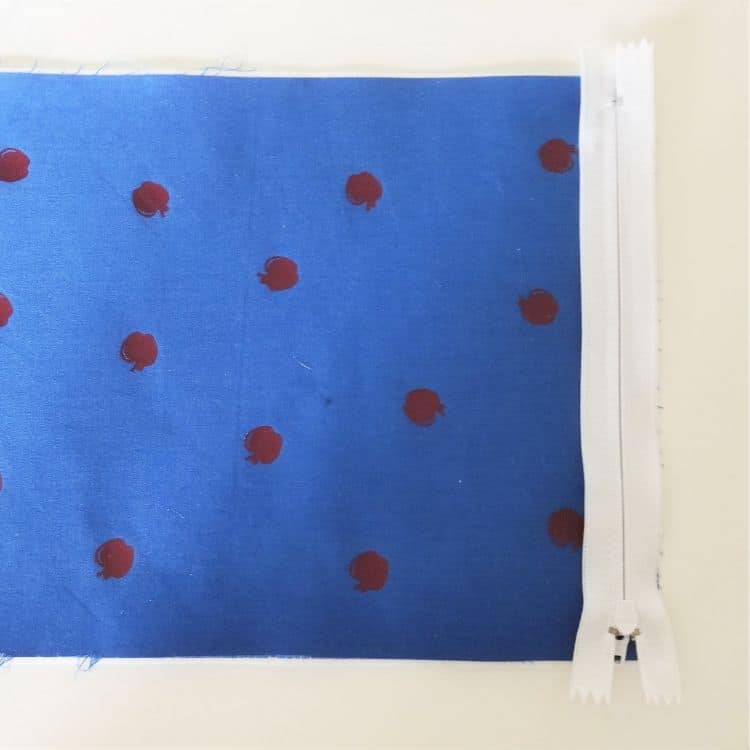
With Right Sides Together (RST), place one side of zipper to the short edge of the main pouch piece. Stitch in place.
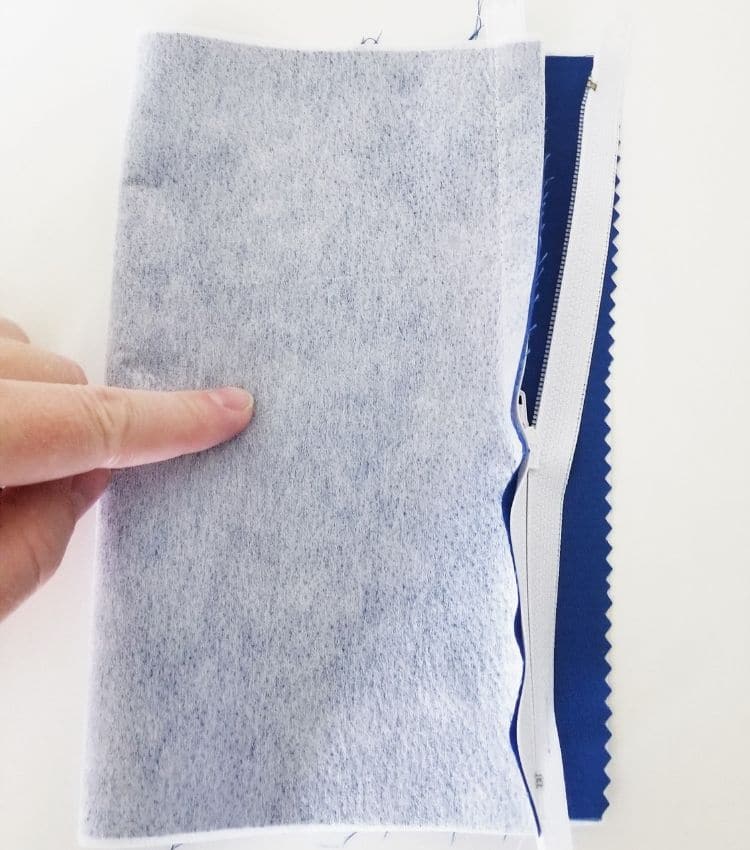
Unzip zipper and stitch the opposite side of the zipper to the opposite right side of the pouch.
Step 5
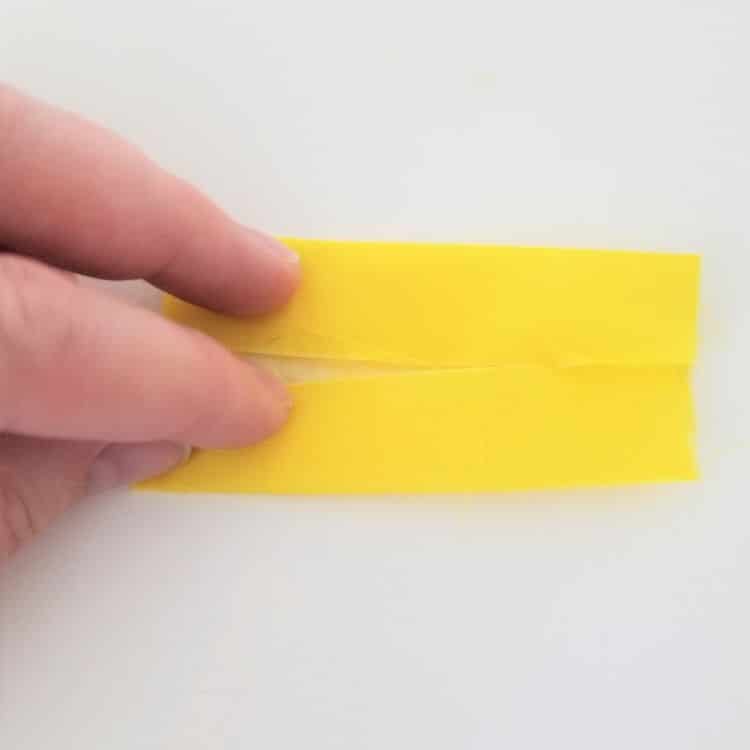
Fold the two sides of the loop toward the center and press.
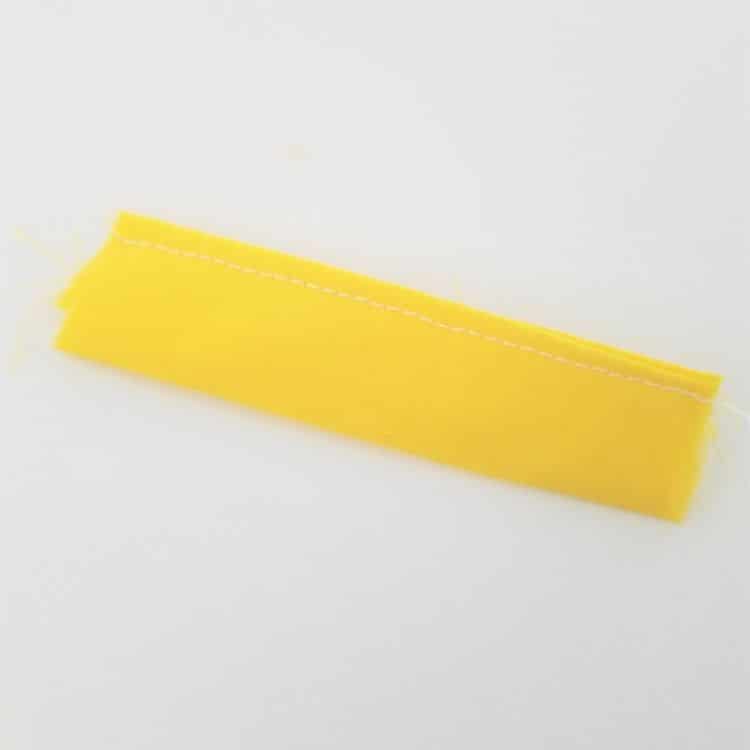
Fold the loop in half and stitch across the opening.
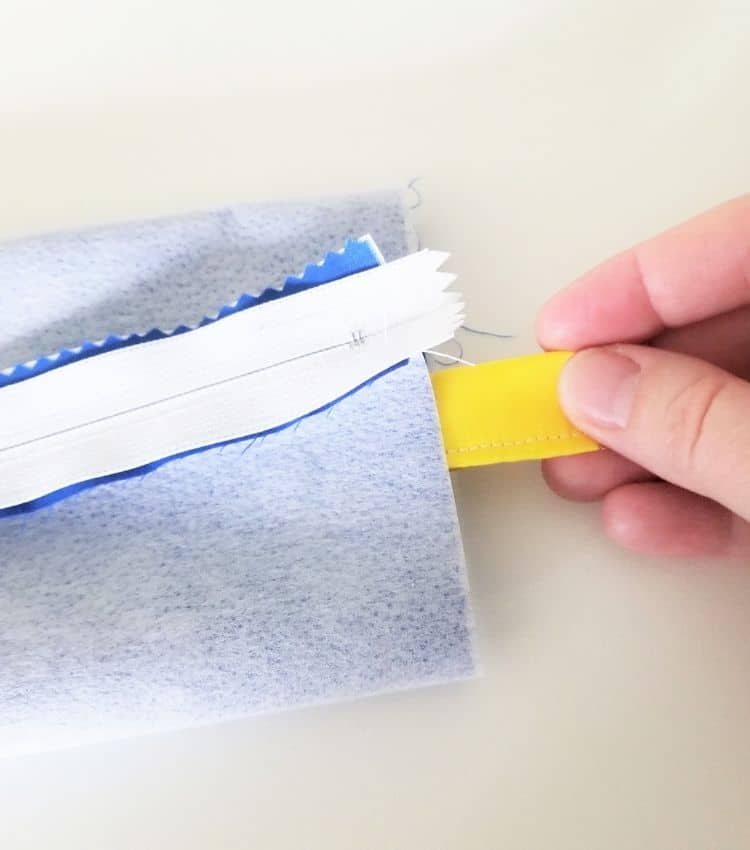
Step 6

Center your zipper on the pouch. Place the loop inside one end of the pouch and pin.
Step 7
Stitch the short ends of the pouch closed. Make sure to leave your zipper open an inch or two so you can turn it right side out easily.
Step 8
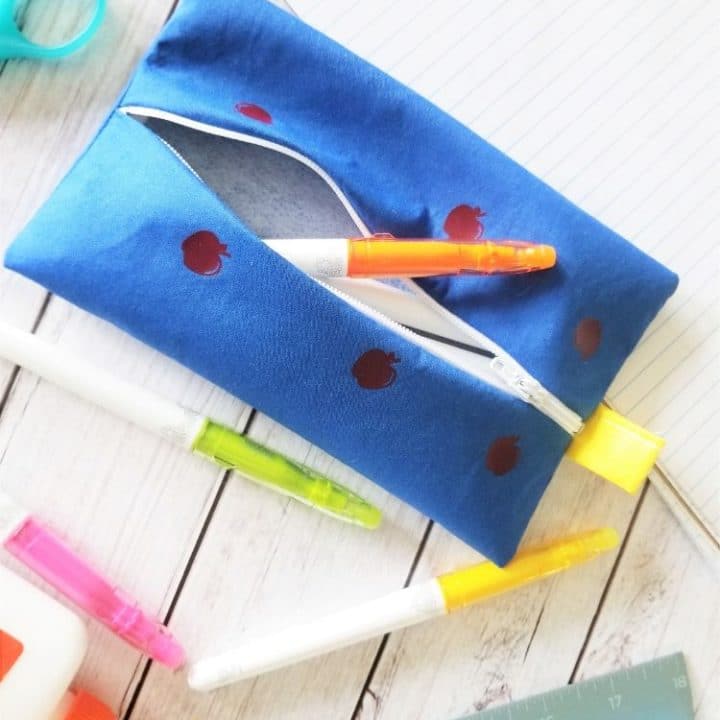
Trim your corners and turn your pouch right side out.
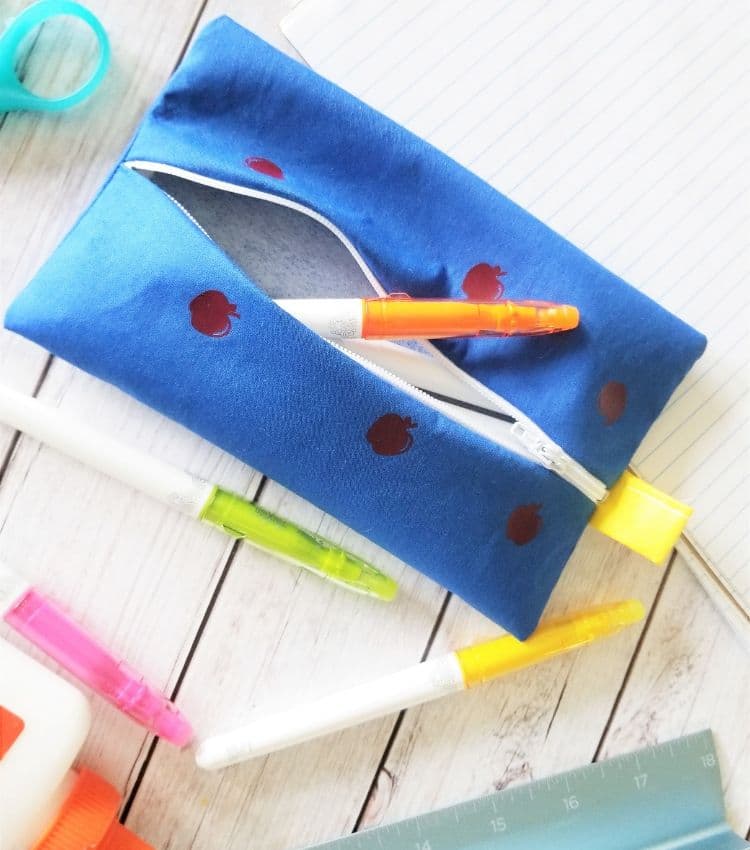
You did it!! See how easy that was!
Now fill up that easy pencil pouch pattern with pencils, scissors and glue. Even add a key ring to the end of the loop and you can keep the pouch in a binder or hanging from your backpack.
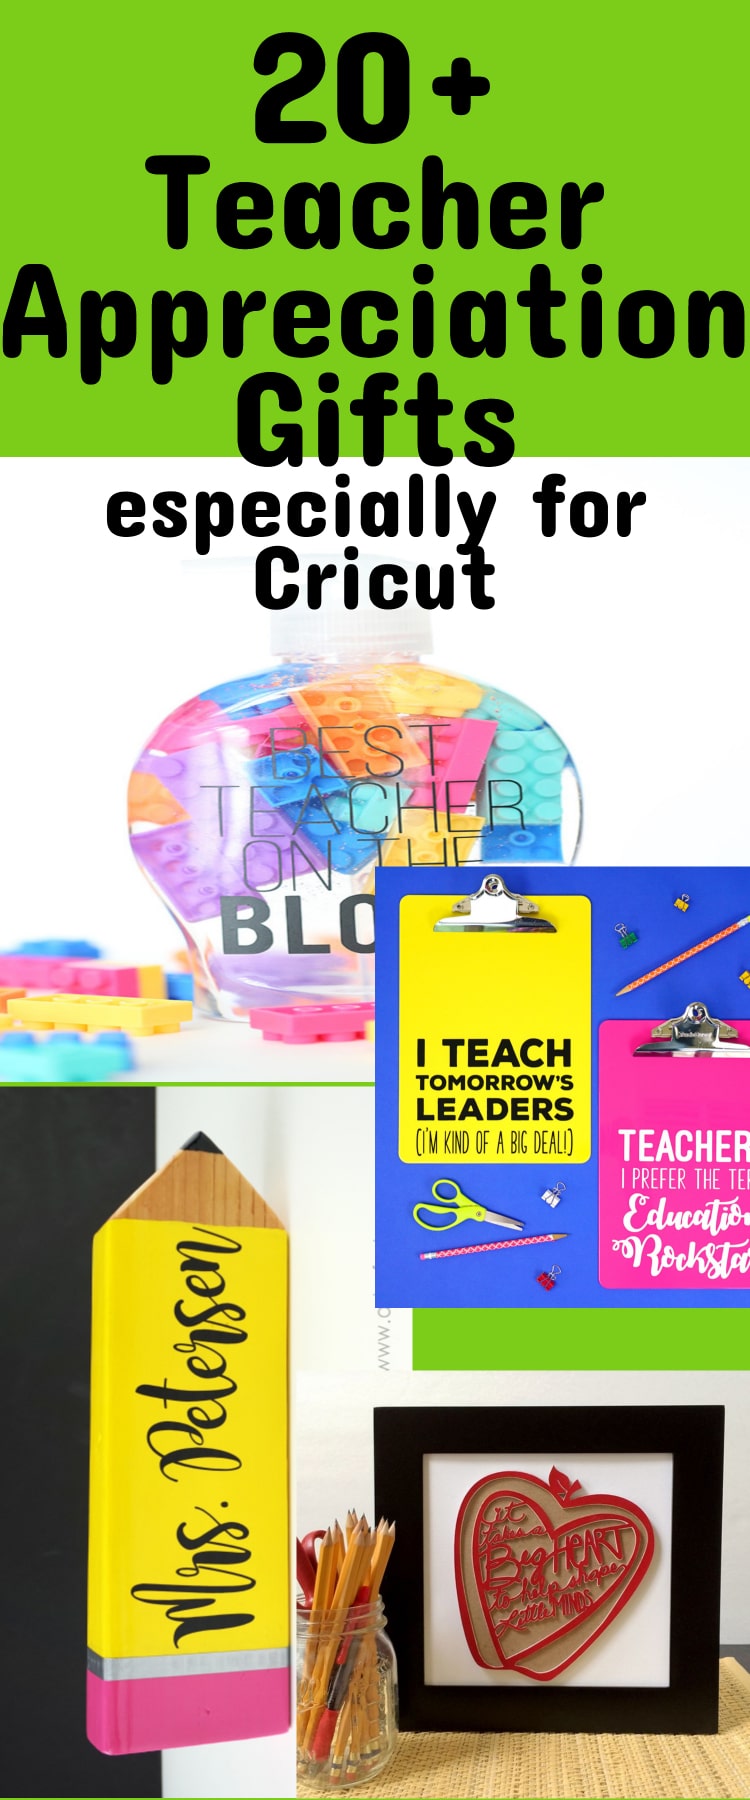
If you enjoy sewing, make sure to check out all these simple sewing projects for back to school. You are bound to find one you love.
Zipper Pouch
Materials
- 1 fat quarter of cotton fabric
- 1 fat quarter of contrasting fabric
- ¼ yard of fusible interfacing
- Iron-on Vinyl scraps
- 7” zipper
- Thread
- Optional: Keyring
Tools
- Cricut Maker
- Rotary Blade
- Sewing Machine
Instructions
- Open the SVG cut files in Cricut Design Space. Make sure to resize the sewing pattern pieces to be 8” x 10” and 3” x 3”.
- Use your Cricut Maker and rotary blade to cut out 1 main pouch piece, 1 pouch piece in interfacing, 1 fabric loop piece and 1 fabric loop in interfacing.
- Cut out the other svg files out of iron-on vinyl.
- Press the interfacing to the wrong side of the fabric. Press the iron-on vinyl to the right side of the fabric.
- With Right Sides Together (RST), place one side of zipper to the short edge of the main pouch piece. Stitch in place.
- Unzip zipper and stitch the opposite side of the zipper to the opposite right side of the pouch.
- Fold the two sides of the loop toward the center and press.
- Fold the loop in half and stitch across the opening.
- Center your zipper on the pouch. Place the loop inside one end of the pouch and pin.
- Stitch the short ends of the pouch closed. Make sure to leave your zipper open an inch or two so you can turn it right side out easily.
- Trim your corners and turn your pouch right side out.
Other Posts You May Enjoy:

Cricuts are seriously THE BEST. Also, I hate sewing zippers 🙂