↑

  • Home
  • About Us
  • Contact Us
  • Sitemap
  • Disclosure/Disclaimer
  • Recipes
  • All Things Family
  • DIY

  • Skip to primary navigation
  • Skip to main content
  • Skip to primary sidebar
  • Skip to footer

Clarks Condensed

Modern Day Homemaking - Cricut, Glowforge, Family Recipes, and More!

  • DIY
    • Cricut
      • Accessories and Materials
      • Cricut Machines
      • Cricut Project Ideas
      • Cricut Tutorials
      • Tips and Tricks
    • Glowforge
  • Home & Family
    • Organization and Cleaning
    • Preparedness
    • Recipes
    • Thrifty Living
      • Dollar Tree
  • Holiday and Occasions
    • Birthday
    • Christmas
    • Easter
    • Fall
    • Gift Ideas
    • Halloween
    • Independence Day
    • New Year’s Eve
    • Parties
    • Thanksgiving
    • Valentine’s Day
    • Wedding
  • Latter-day Saints
Home » DIY » Cricut » DIY Trick-or-Treat Tote with Cricut

DIY Trick-or-Treat Tote with Cricut

Updated on August 15, 2022 | Published on September 26, 2019

Share
Tweet
Pin
Share

Posts on Clarks Condensed contain affiliate links, which I earn a small commission from. These are provided for your convenience, and the price isn't increased at all.

Trick or Treat Tote / Trick or Treat Bag / Halloween Projects / Halloween Cricut Projects via @clarkscondensed
Trick or treat tote bag

Halloween is right around the corner. Make this cute tote for trick or treating or use as a gift bag. Either way, it will be appreciated by the one you make it for. Use glow in the dark paint makes this tote extra special. 

Materials:

  • Die-cutting machine (Cricut Maker or Explore Air 2)
  • Cricut cut file (Trick Or Treat  #M46CEA)
  • Vinyl (Styletech)
  • glow in the dark paint
  • cosmetic sponge
  • scissors
  • Halloween themed fabric
  • sewing machine (Brother)
  • tote bag
  • cardstock 

Instructions:

Cricut and Bag


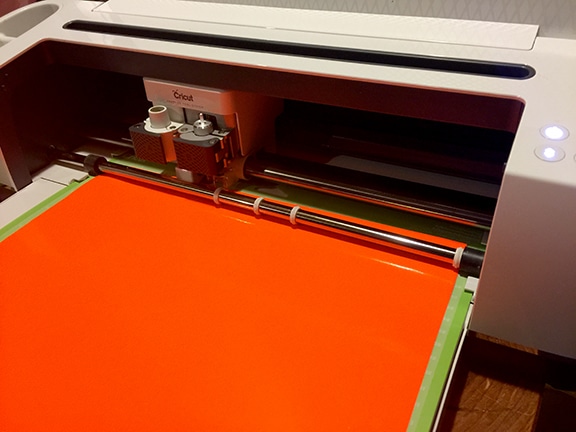
Using the Cricut file, cut your desired size out of vinyl (or parchment paper)
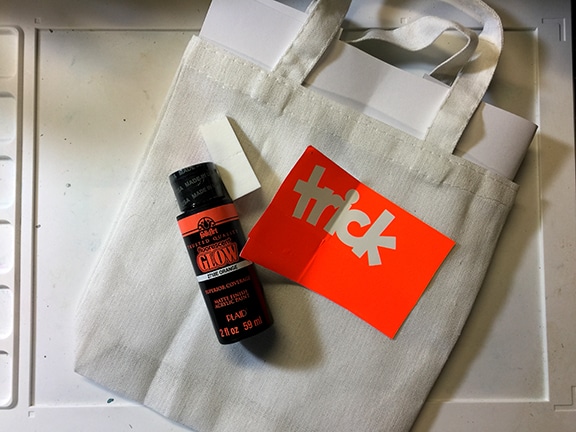
Trick or Treat tote bag

Weed out the text

Place the cardstock inside the tote

tip: fold the bag with the cardstock in half, for the cut vinyl in half, line up the seams

Trick or Treat tote bag


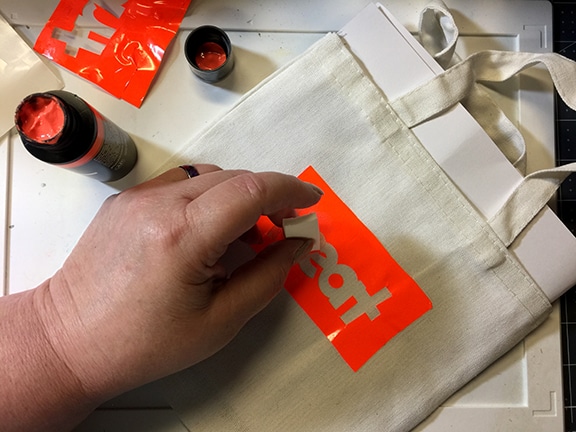
place the vinyl on the tote

Trick or Treat bag

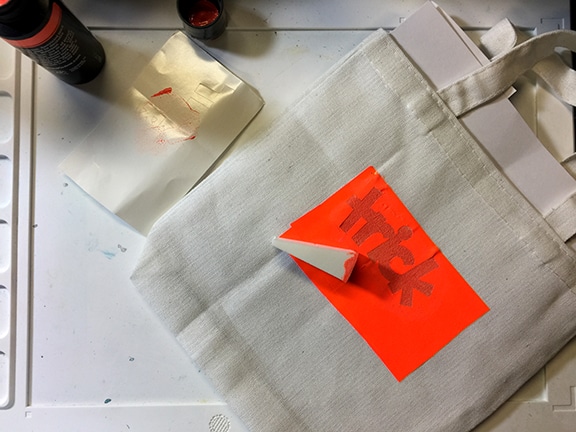
Using the paint and a cosmetic sponge, paint the text area of the vinyl
dab the paint onto the tote.

Remove the vinyl before the paint dries

Allow the paint to fully dry before flipping to the other side

vinyl on bag

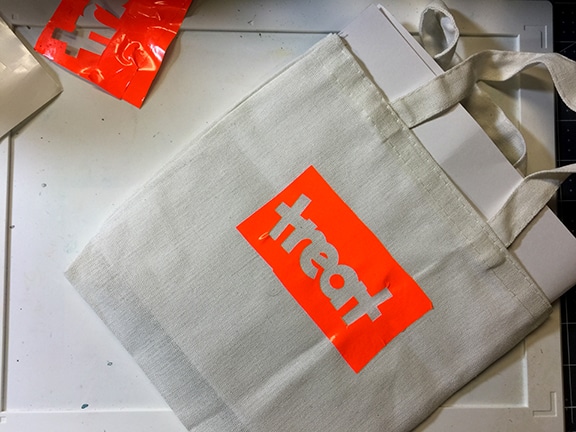
Repeat the painting process on the other side

scissors next to fabric

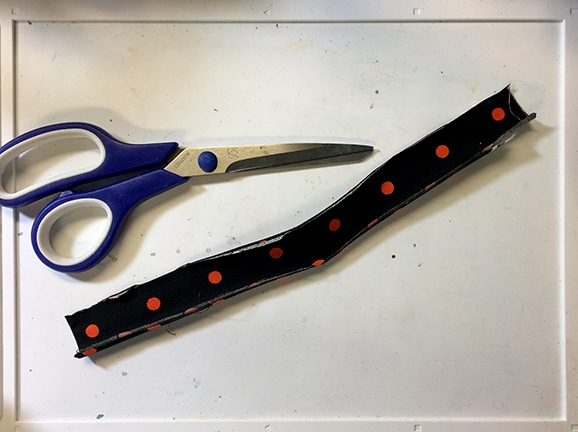
Cut a strip of fabric long enough to wrap around the tote.

Finger fold the raw edges under

pinned trick or treat bag

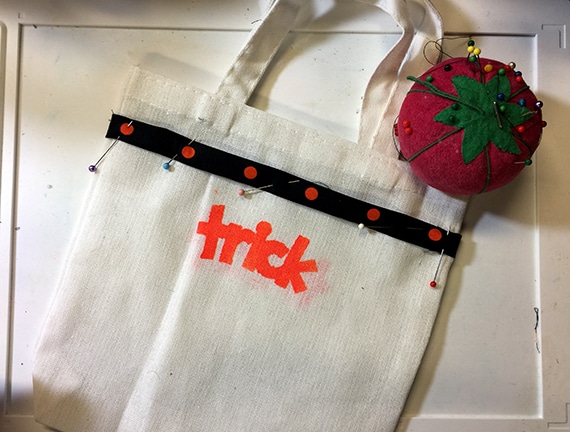
Pin the fabric into place

Trick or Treat bag

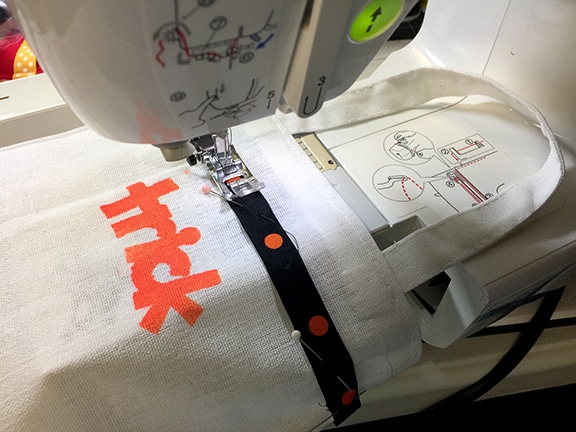
Sew the fabric into place with coordinating fabric
(if you don’t want to sew, you can use hot glue instead)

Trick or Treat bag

I sewed the fabric around the top and bottom edge
one zigzag stitch would work as well
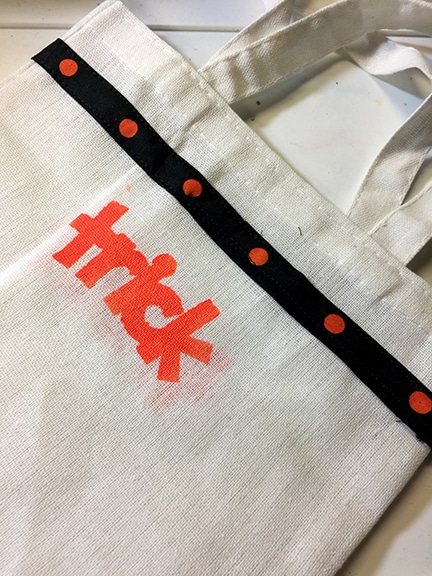
trick or treat bag

Finished!

I’d like to thank Cricut for providing the Maker used in this post.

Katie

Katie is a Colorado-native, BYU graduated, and most importantly, wife to one and mother to three beautiful boys. She is passionate about sharing her experiences with others – especially about pregnancy, breastfeeding, cooking, and crafts. She is currently training to be a Certified Lactation Educator. She loves spending time with her family and helping others find joy in family life.

Share
Tweet
Pin
Share

Looking for even more Cricut help? Be sure to check out our Cricut Tutorials guide which has all of our best tips, tricks, and tutorials for mastering your Cricut machine!

about

WELCOME TO CLARKS CONDENSED

Clarks Condensed provides uplifting and motivating information to share the joys of home and family living through parenting and pregnancy advice, easy DIY tutorials, recipes, and more – all with a frugal twist. Read more...

Related topics:
Cricut Halloween

September 26, 2019Katie

About Katie

Katie is a Colorado-native, BYU graduated, and most importantly, wife to one and mother to three beautiful boys. She is passionate about sharing her experiences with others - especially about pregnancy, breastfeeding, cooking, and crafts. She is currently training to be a Certified Lactation Educator. She loves spending time with her family and helping others find joy in family life.

Reader Interactions

Leave a Reply Cancel reply

Your email address will not be published. Required fields are marked *

Primary Sidebar

about us

Welcome to Clarks Condensed

Meet The Clarks

New Posts You May Enjoy

  • 30+ Activity Day Ideas For Girls
  • The Best Online Glowforge Training Programs
  • 20 Easy World Records To Break

Footer

  • Home
  • About Us
  • Contact Us
  • Sitemap
  • Disclosure/Disclaimer
  • Recipes
  • All Things Family
  • DIY

Copyright ©2023, Clarks Condensed. All Rights Reserved. Privacy policy. / Design by Pixel Me Designs.