↑

  • Home
  • About Us
  • Contact Us
  • Sitemap
  • Disclosure/Disclaimer
  • Recipes
  • All Things Family
  • DIY

  • Skip to primary navigation
  • Skip to main content
  • Skip to primary sidebar
  • Skip to footer

Clarks Condensed

Modern Day Homemaking - Cricut, Glowforge, Family Recipes, and More!

  • DIY
    • Cricut
      • Accessories and Materials
      • Cricut Machines
      • Cricut Project Ideas
      • Cricut Tutorials
      • Tips and Tricks
    • Glowforge
  • Home & Family
    • Organization and Cleaning
    • Preparedness
    • Recipes
    • Thrifty Living
      • Dollar Tree
  • Holiday and Occasions
    • Birthday
    • Christmas
    • Easter
    • Fall
    • Gift Ideas
    • Halloween
    • Independence Day
    • New Year’s Eve
    • Parties
    • Thanksgiving
    • Valentine’s Day
    • Wedding
  • Latter-day Saints
Home » DIY » Cricut » “Thank You” Window Cling Design Space Project

“Thank You” Window Cling Design Space Project

Updated on August 8, 2022 | Published on April 6, 2020

Share
Tweet
Pin
Share

Posts on Clarks Condensed contain affiliate links, which I earn a small commission from. These are provided for your convenience, and the price isn't increased at all.

This is a simple Cricut project you can make using window cling - say "thank you" from your window to all those who might need it! via @clarkscondensed
thank you first responders in window
Thank you window decal with Cricut

I recently saw a friend mention how when something hard happens, our first inclination is often to go to the person we want to help or thank.

In the current conditions in the world, this is not possible – the best thing we can do is stay away.

But that doesn’t make it easier to not be able to serve others. I’ve been thinking of different ways to serve from afar, and while it’s taken more creativity, it’s not impossible!

Donating gift cards to families in need, sewing face masks for people and organizations that need them, video chatting with family and friends, sending diapers to someone…there are a lot of things you can do remotely!

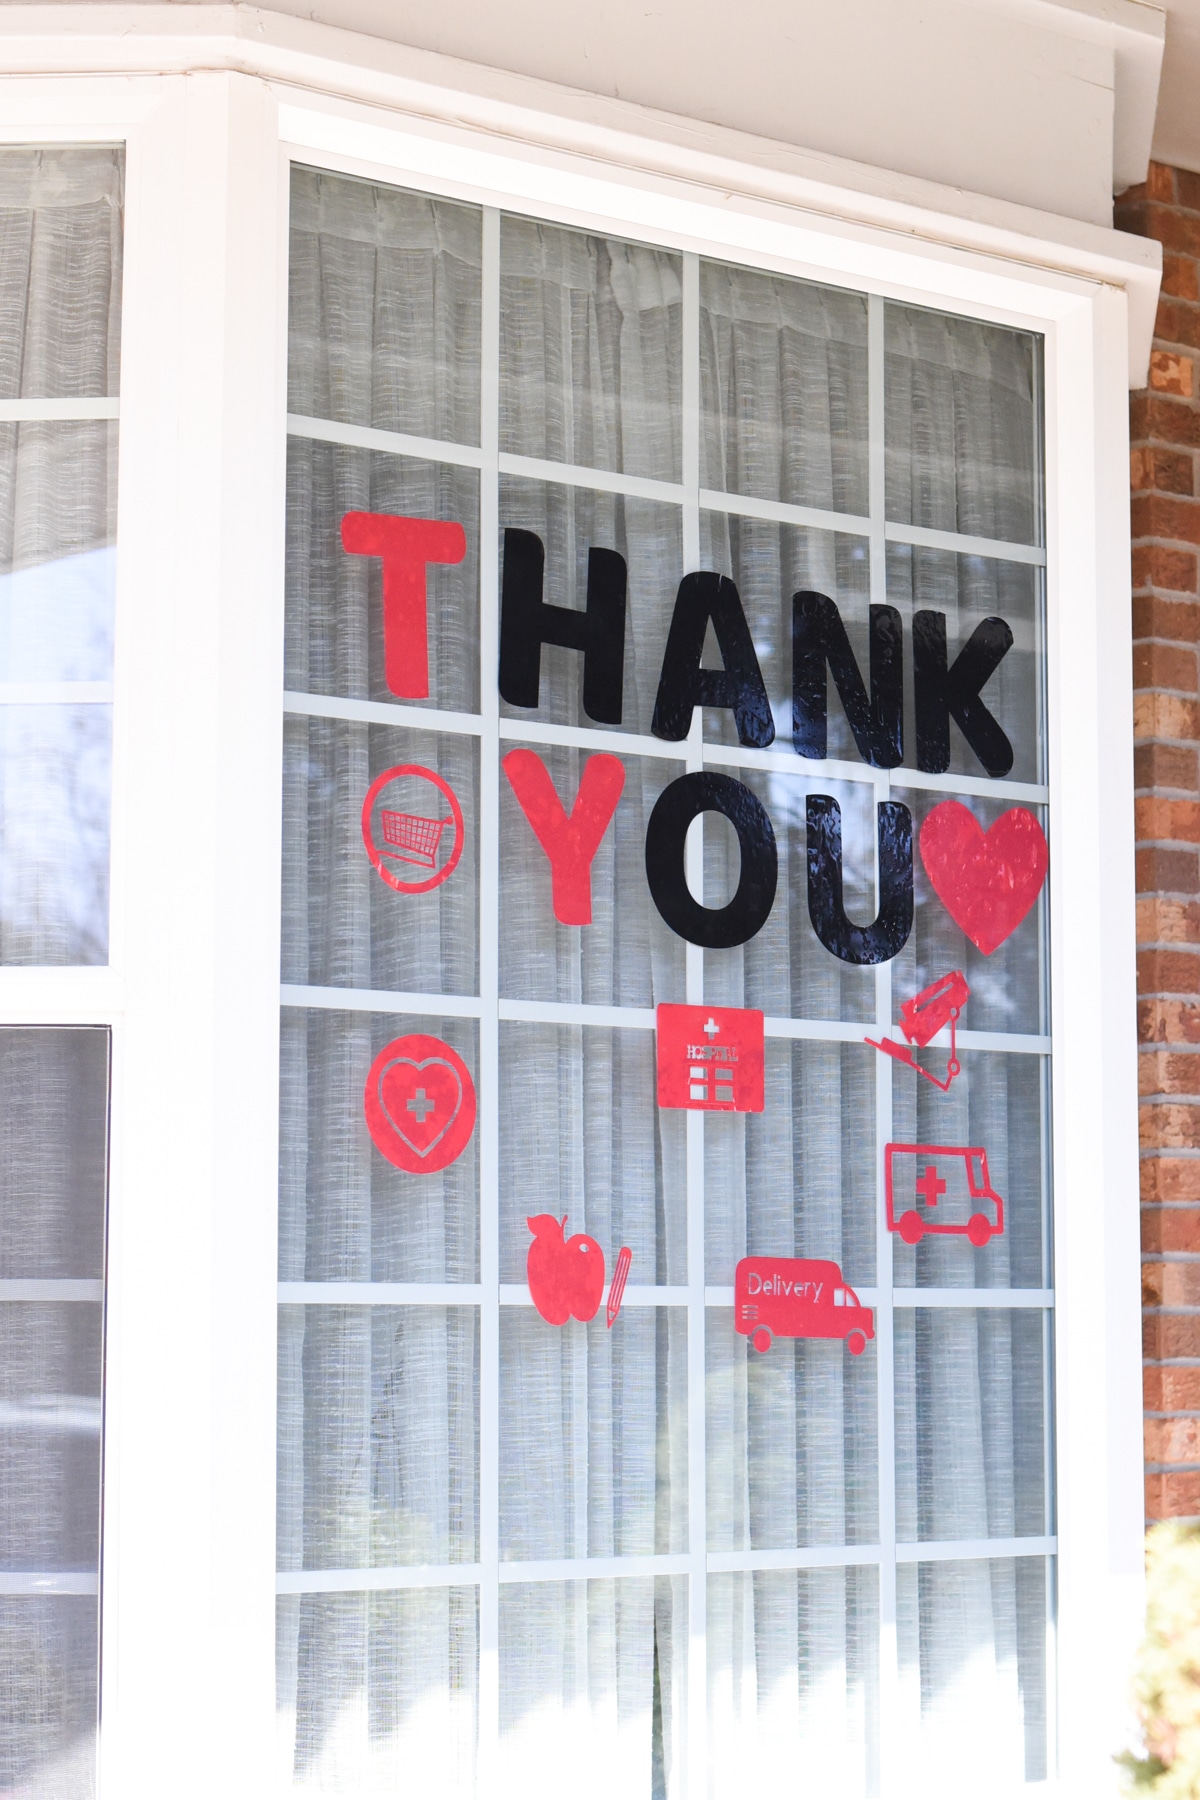
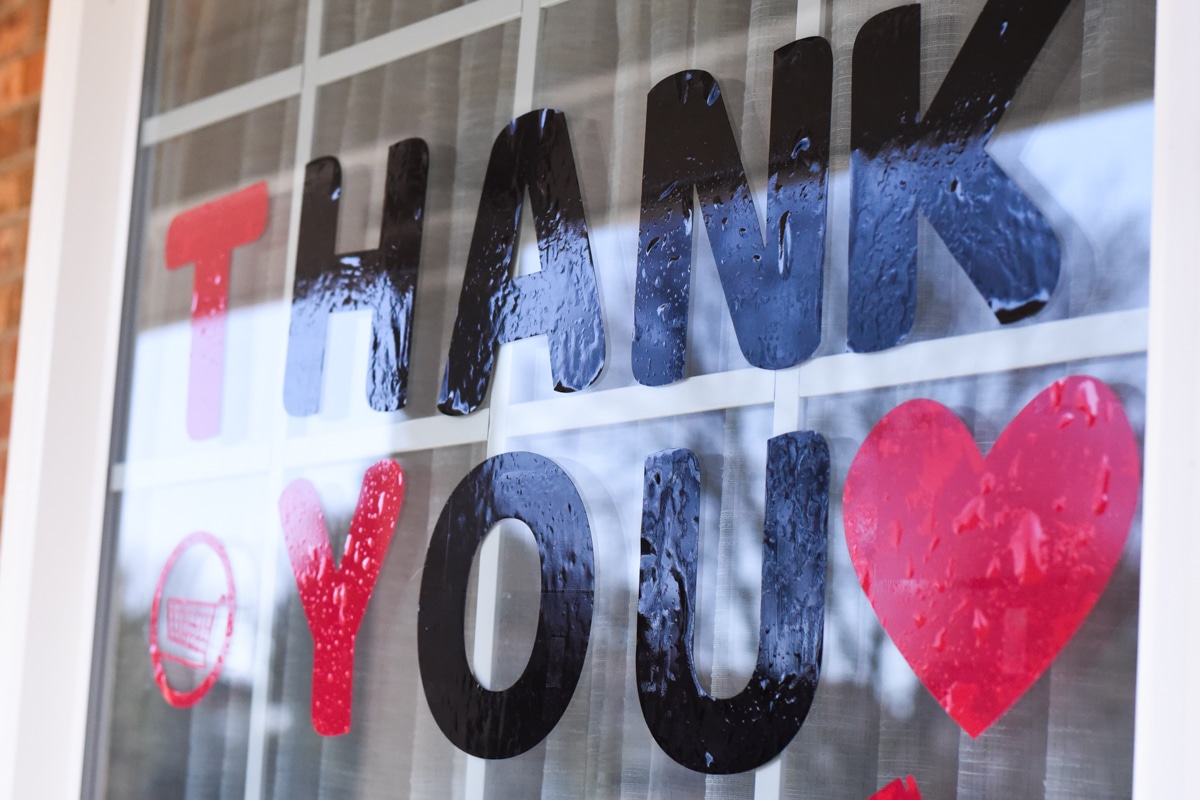
Today, I wanted to share an easy Cricut project that you can put in your window for all to see as they drive by.

It’s a great way to say “Thank You” to all those who are on the front lines right now and need any bit of support we can give them.

As I started making this, I was kind of wishing I had enough of the right kind of removable vinyl in the colors I wanted, but in the spirit of staying home, I decided to use window cling.

I really do love using window cling for temporary window decals – I just wish they had more colors! If you’ve never used window cling, here is a window cling tutorial I did a while back.

Cricut Thank you Sign

DESIGN SPACE FILE

For this project, I made a file in Design Space. You can click here to get it.

You can adjust the size of the letters or images if you want. Make sure you measure everything out before you do it!

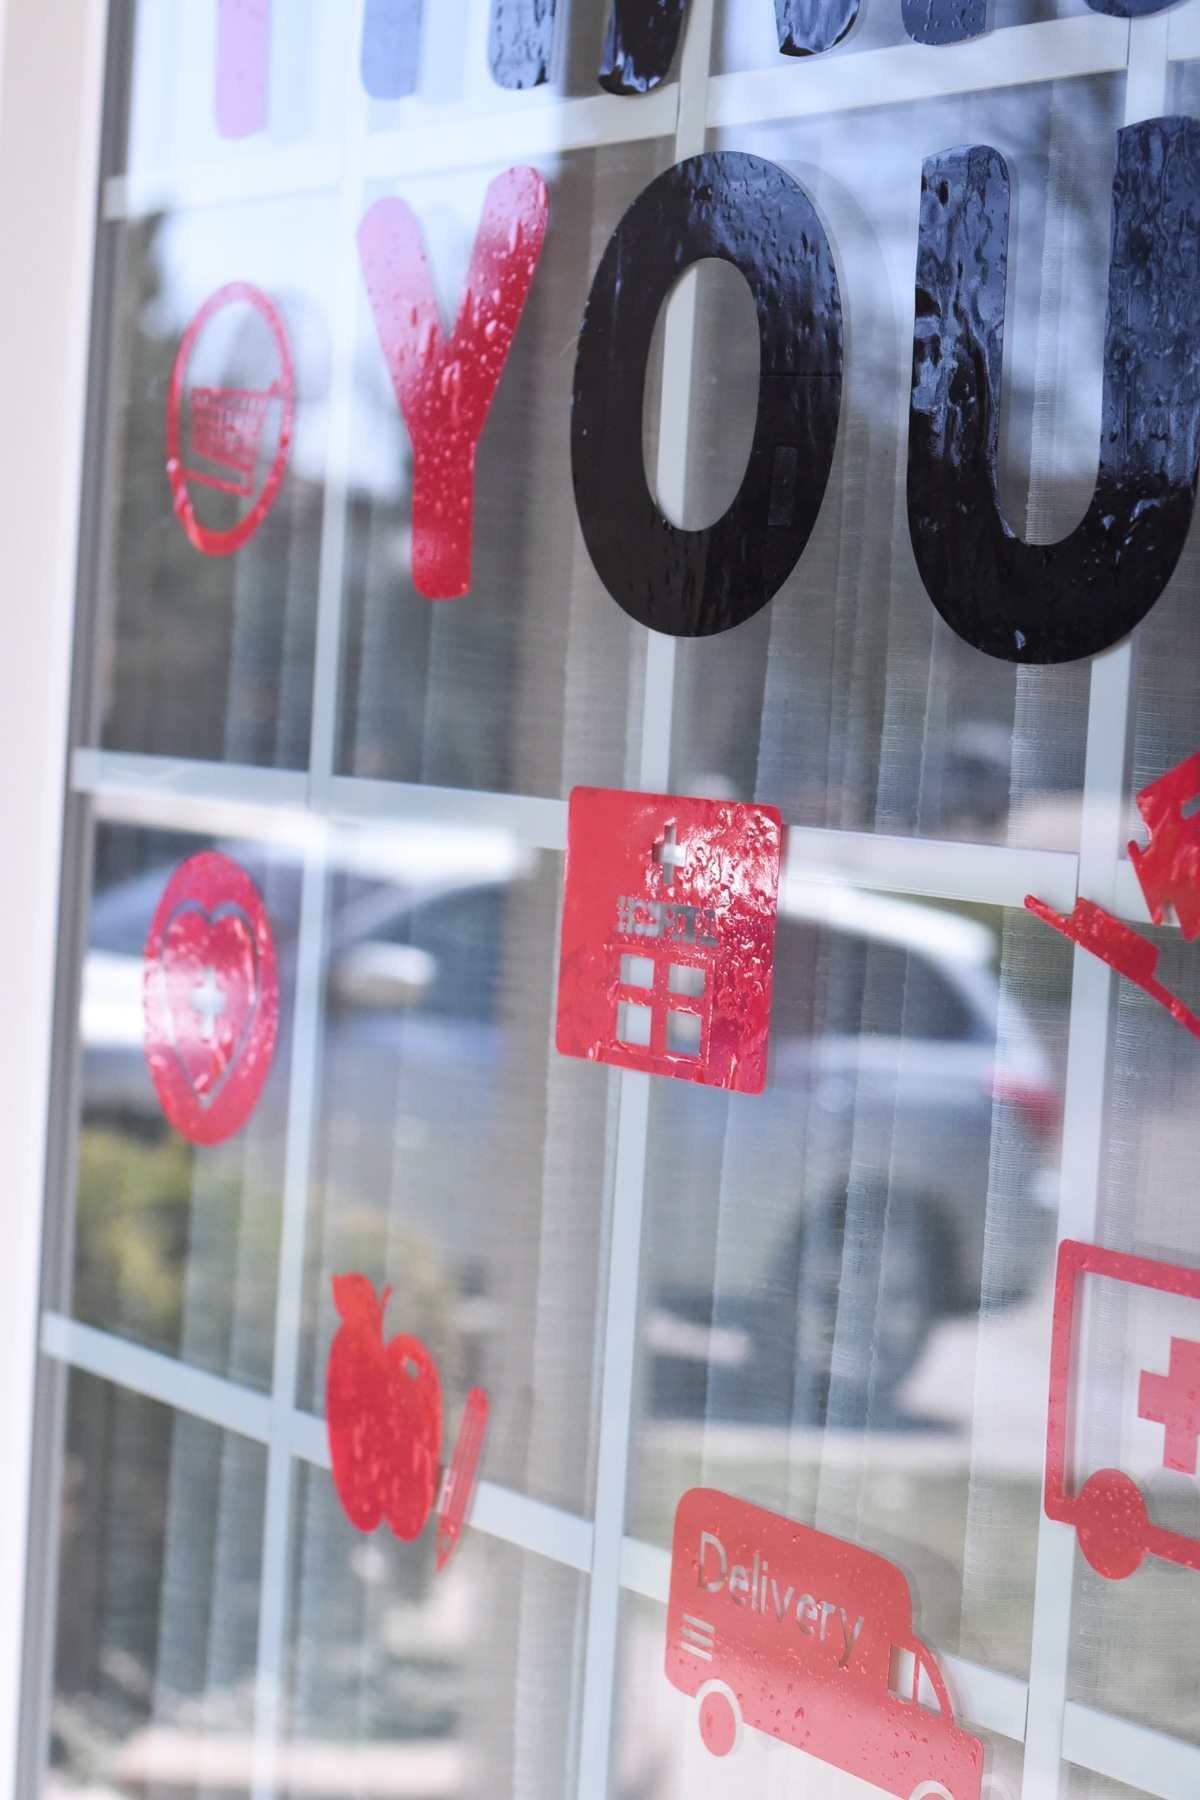
In this file, I have included images to represent:

  • Nurses and Doctors
  • Hospital Staff
  • Scientists
  • Teachers
  • Grocery Store Workers
  • Delivery People

I am sure there are numerous other pictures you could add, so be sure to add any pictures that you think would work well.

MATERIALS

window cling on a window

As I already mentioned, I used window cling for this project. Colors are limited, but you can make it work. You can get window cling online at :

  • Cricut.com (remember to use the code CCSPRING2020 for 10% off and free shipping on orders over $50 or more – materials and supplies only)
  • Amazon
  • JoAnn Fabric
  • Michael’s

However, you could also use removable vinyl as well if that’s what you have in your craft room. You might have a lot more color options that way as well.

I cut this out using my Cricut Maker, but you could easily cut it out with your Cricut Explore Air 2. If you want to make the images or letters smaller, you could totally use the Cricut Joy as well with removable vinyl.

This is a very simple project, and it’s a great one to get your kids involved with as well. I hope that this idea can help you to thank those in your community!

Other Projects You May Enjoy:

  • Magnetic Birthday Calendar
  • How to Use Iron On Vinyl with Wood
  • 25+ Beautiful Cricut Wedding Projects
Katie

Katie is a Colorado-native, BYU graduated, and most importantly, wife to one and mother to three beautiful boys. She is passionate about sharing her experiences with others – especially about pregnancy, breastfeeding, cooking, and crafts. She is currently training to be a Certified Lactation Educator. She loves spending time with her family and helping others find joy in family life.

Share
Tweet
Pin
Share

Looking for even more Cricut help? Be sure to check out our Cricut Tutorials guide which has all of our best tips, tricks, and tutorials for mastering your Cricut machine!

about

WELCOME TO CLARKS CONDENSED

Clarks Condensed provides uplifting and motivating information to share the joys of home and family living through parenting and pregnancy advice, easy DIY tutorials, recipes, and more – all with a frugal twist. Read more...

Related topics:
Cricut

April 6, 2020Katie

About Katie

Katie is a Colorado-native, BYU graduated, and most importantly, wife to one and mother to three beautiful boys. She is passionate about sharing her experiences with others - especially about pregnancy, breastfeeding, cooking, and crafts. She is currently training to be a Certified Lactation Educator. She loves spending time with her family and helping others find joy in family life.

Reader Interactions

Leave a Reply Cancel reply

Your email address will not be published. Required fields are marked *

Primary Sidebar

about us

Welcome to Clarks Condensed

Meet The Clarks

New Posts You May Enjoy

  • 30+ Activity Day Ideas For Girls
  • The Best Online Glowforge Training Programs
  • 20 Easy World Records To Break

Footer

  • Home
  • About Us
  • Contact Us
  • Sitemap
  • Disclosure/Disclaimer
  • Recipes
  • All Things Family
  • DIY

Copyright ©2023, Clarks Condensed. All Rights Reserved. Privacy policy. / Design by Pixel Me Designs.