
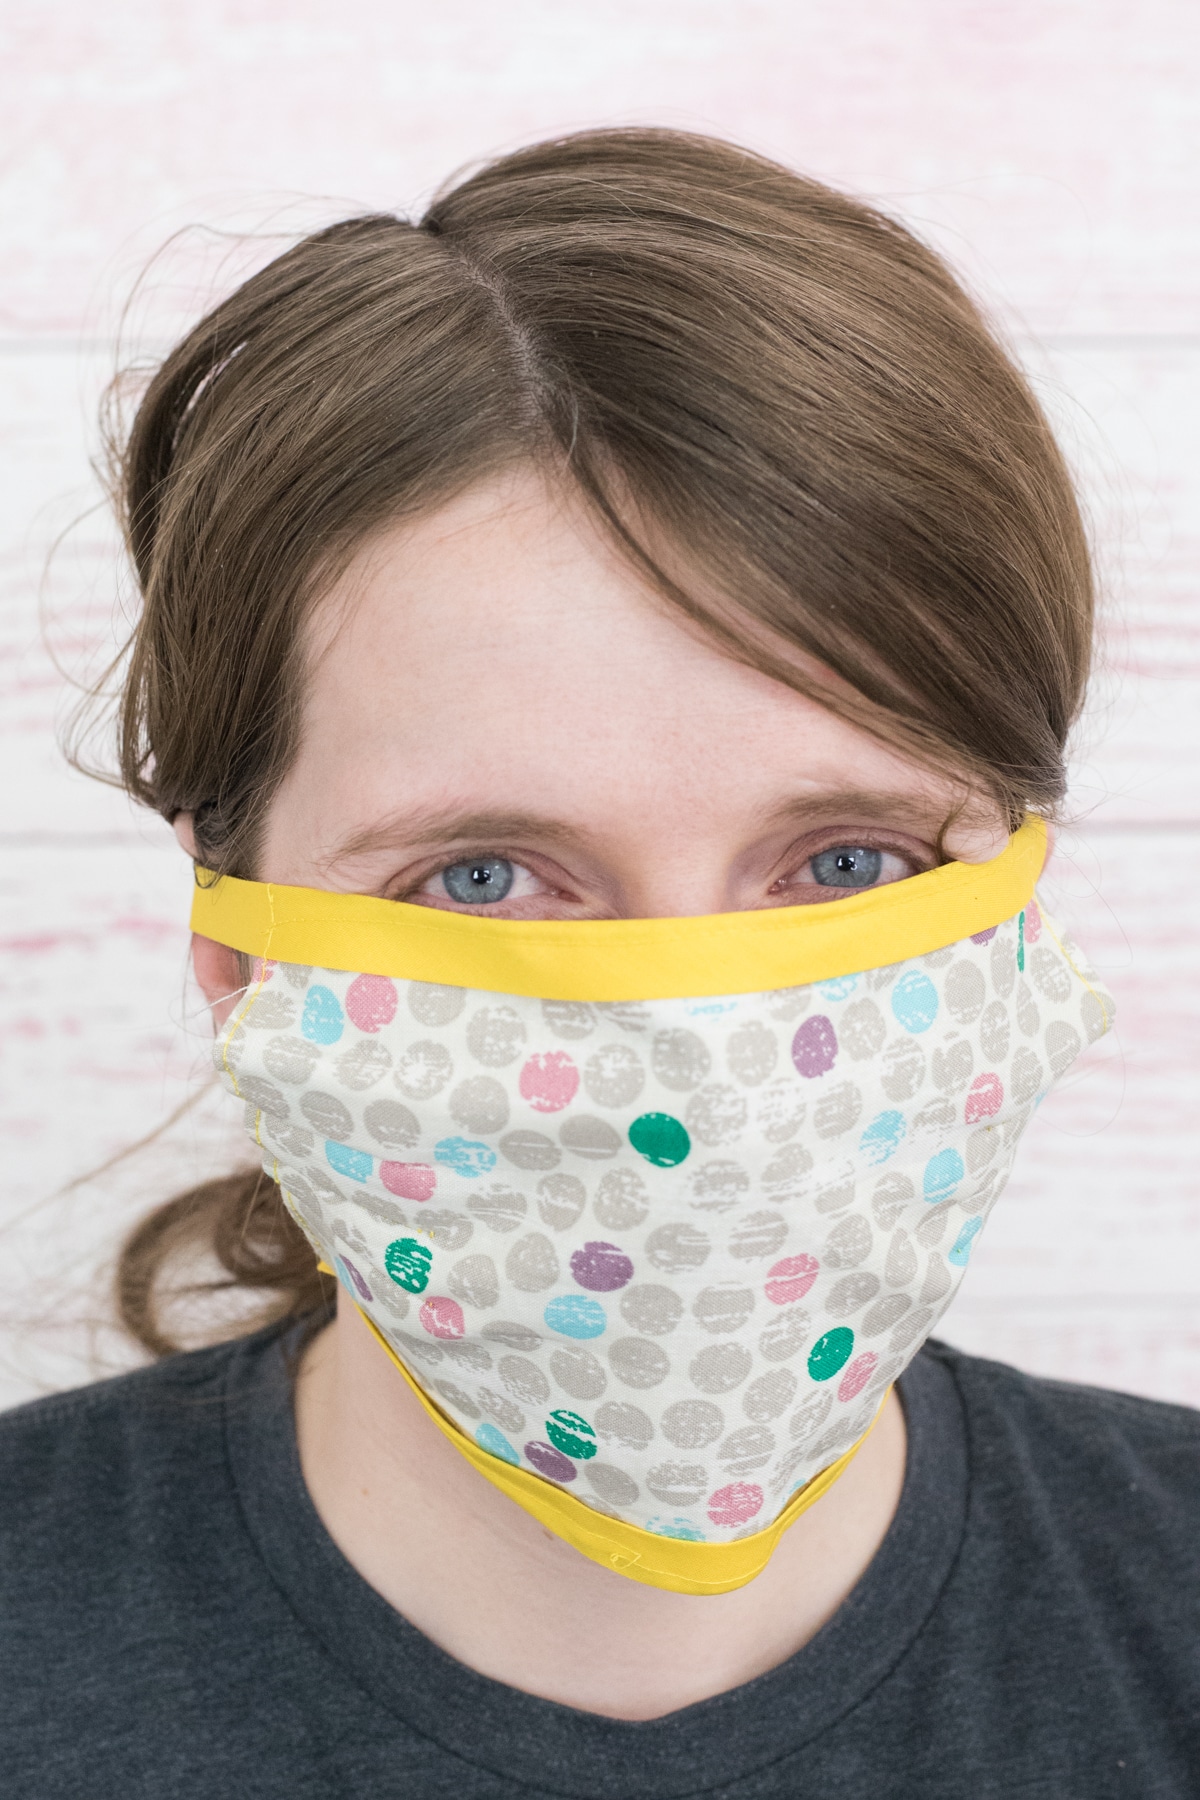
Easy DIY Face Mask with Ties (Bias Tape or Ribbon)
This is an easy-to-follow tutorial to make a face mask with ties using bias tape or ribbon. Free PDF and Cricut Design Space file included!
Here in Colorado, Governor Polis just announced a strong recommendation for citizens of the state to wear non-surgical, cloth face masks when you are out doing essential tasks.
Good thing I’ve already been making some with my homemade face mask tutorial!
There are so many options out there for making these, and I thought I would share another version that might be a little bit easier to do right now than with elastic. I actually love how these turned out, and I like that you can tie them.
Elastic is hard to come by these days, so I have come up with another tutorial that uses either bias tape – or if you’re really in a bind – 1/2″ ribbon!
I have made all three versions of this mask using the same Design Space pattern, which is super simple!
You can do these one of two ways:
- Sew the bias tape/ribbon in one big long strip across the top and bottom of the mask – this looks a little nicer, but it uses a lot more material
- Just sew the bias tape/ribbon into each corner of the mask. This will use a lot less material
Either way will work, but since supplies are harder to come by, I would probably recommend doing the second one.
Anyways! I hope this tutorial will be helpful for anyone who is wanting to make an easy, homemade cloth mask for their own personal use.
In case you are wanting to find another type of mask, be sure to check out our post on free homemade face mask tutorials – we have listed quite a few!)
Looking for some no-sew options? Click here for 12+ easy ideas!

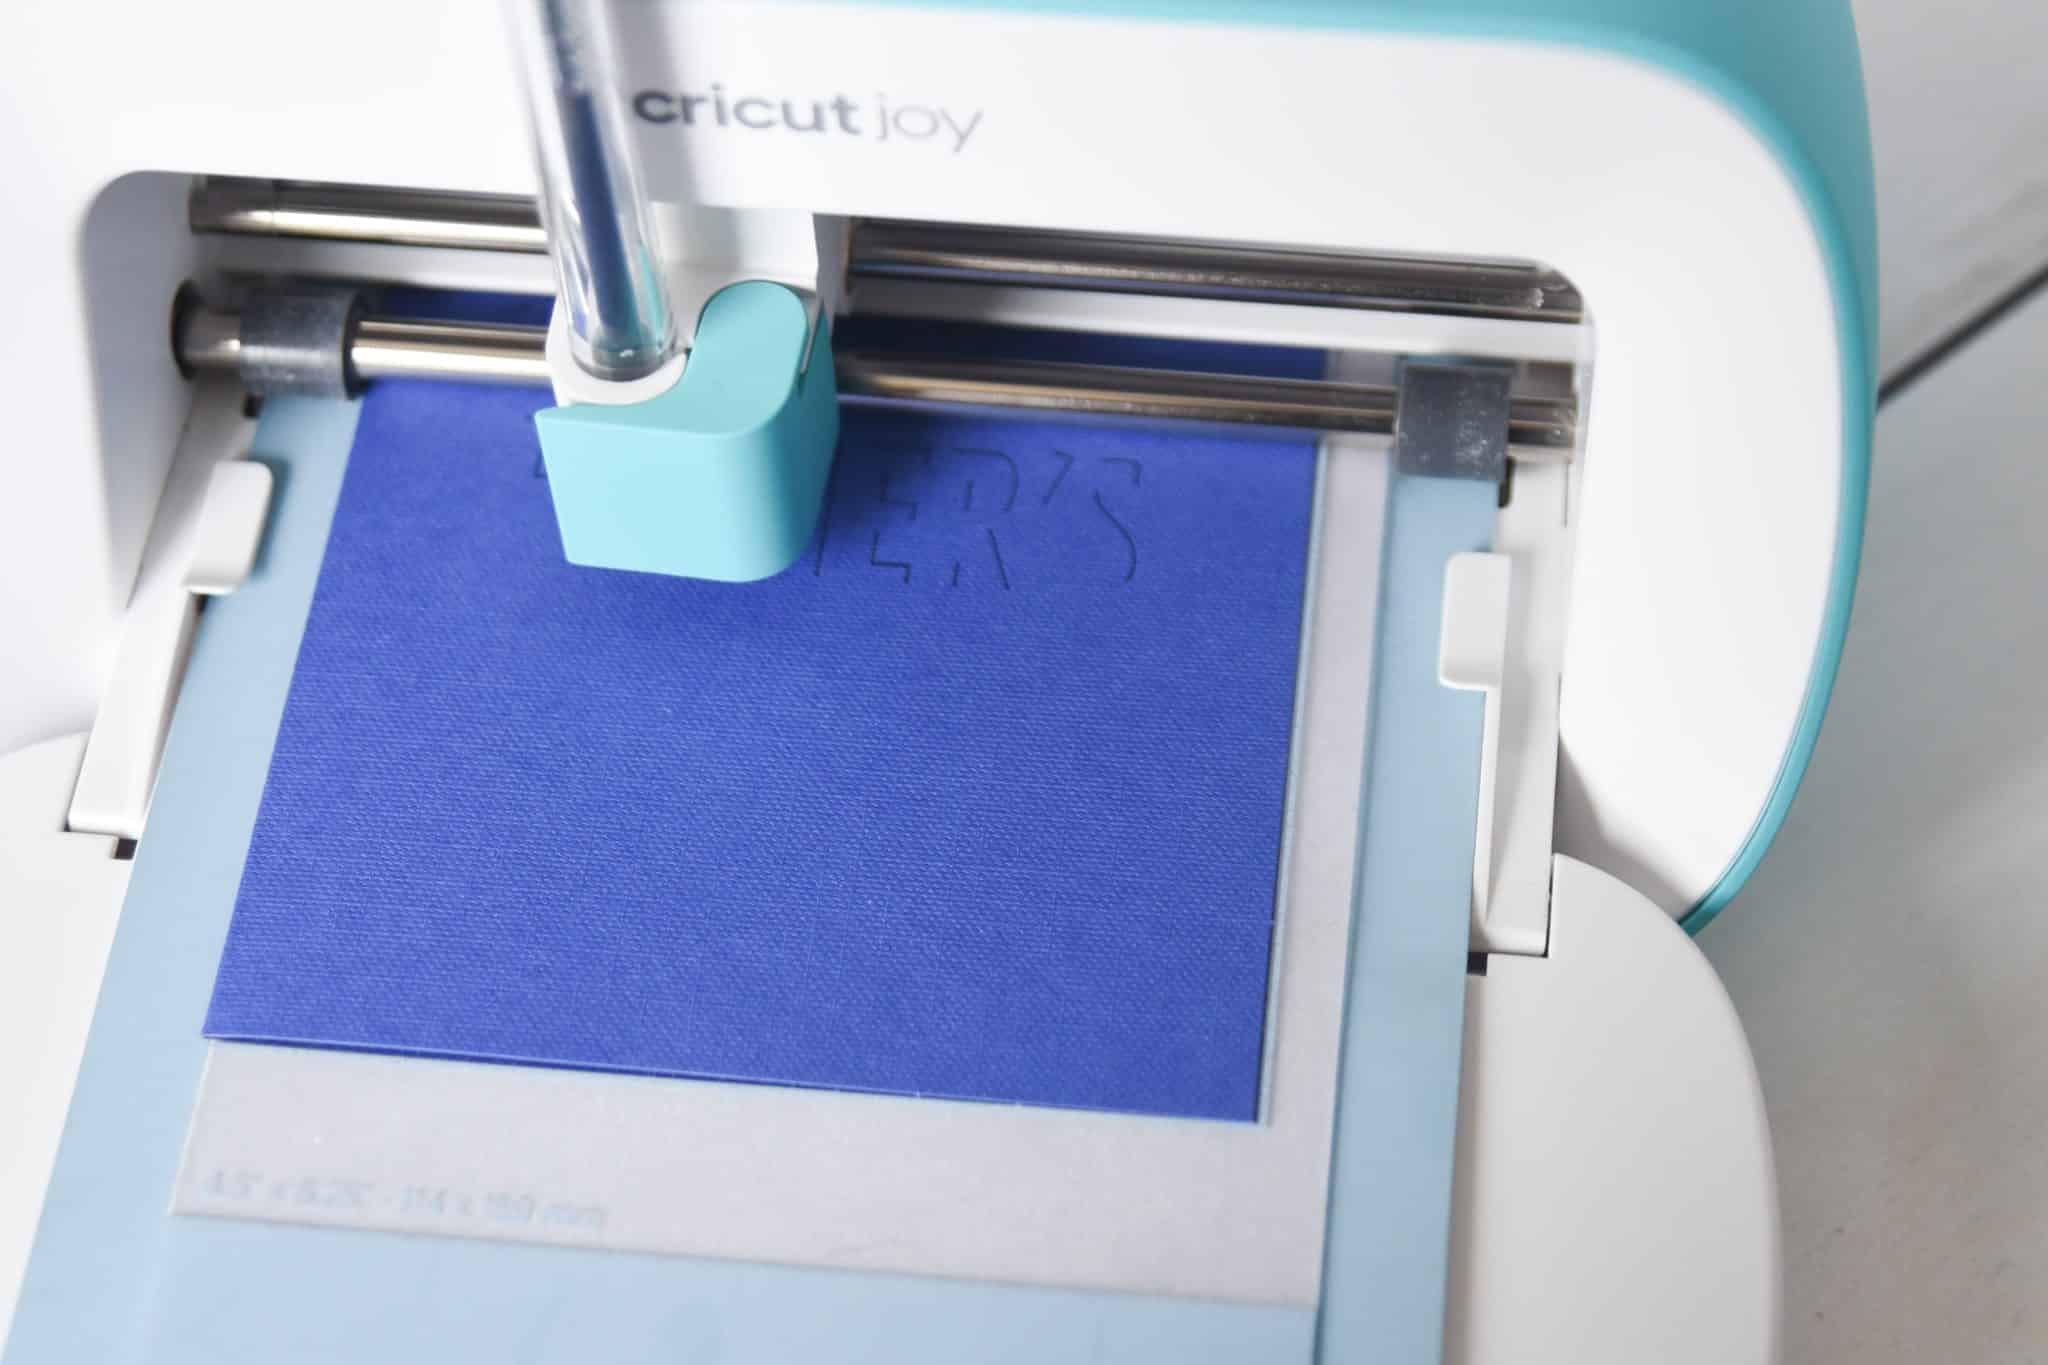
Pattern
The pattern for these are the same that I used for my other masks – if you are cutting it out with a Cricut Maker, click here for the Design Space file.
If you just want the PDF that you can print and hand cut, click on the download button below:
[purchase_link id=”114275″ text=”Purchase” style=”button” color=”blue”]
Materials and Supplies
Cotton material – I have had good luck with using fat quarters that I got from JoAnn’s. If you are making it for yourself, you could use a freshly cleaned cotton t-shirt
1/2″ bias tape (or 1/2″ ribbon)
Thread
Sewing Machine
Iron or Cricut Mini
Cricut Maker or Scissors
[the_ad id=”118028″]
Instructions
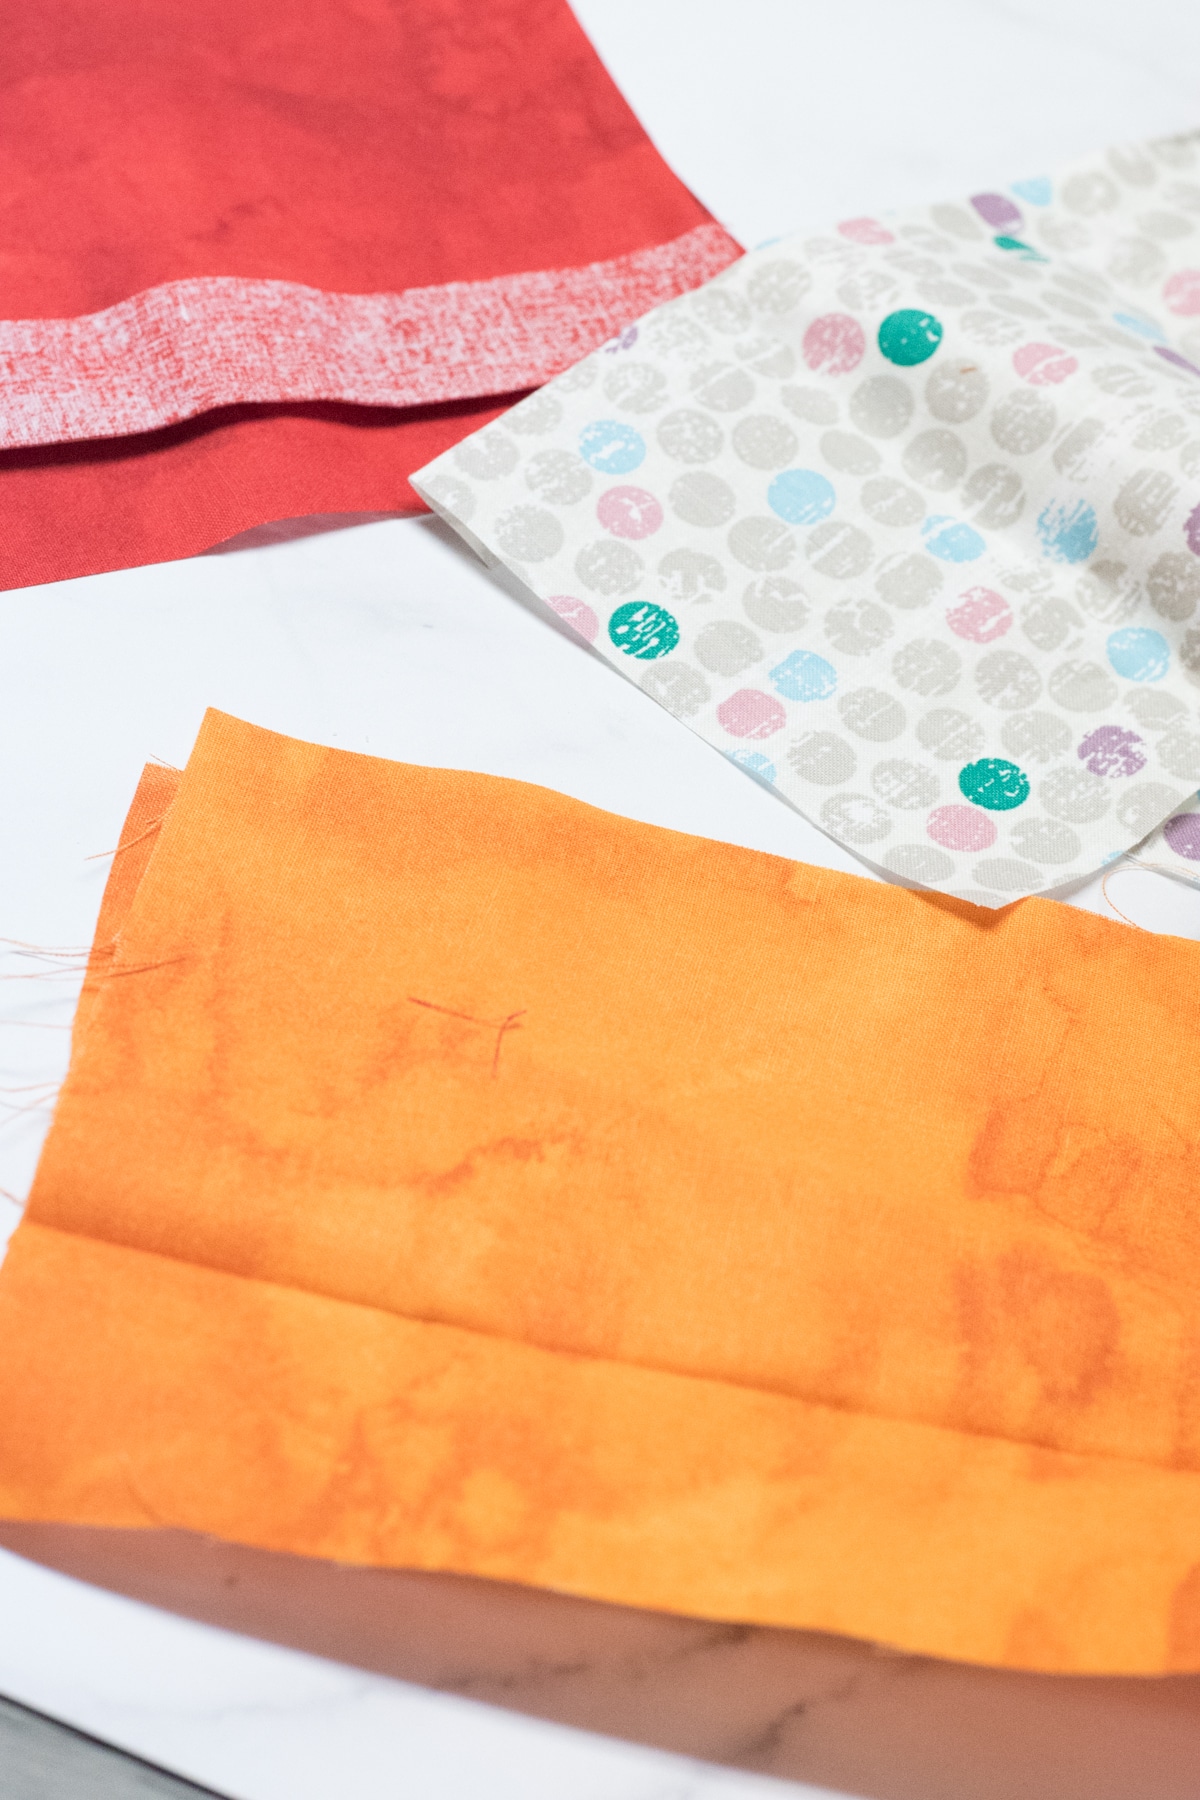
Cut out your masks using the patterns above (either with scissors or the Cricut Maker). You will need to cut out two matching pieces for each mask.
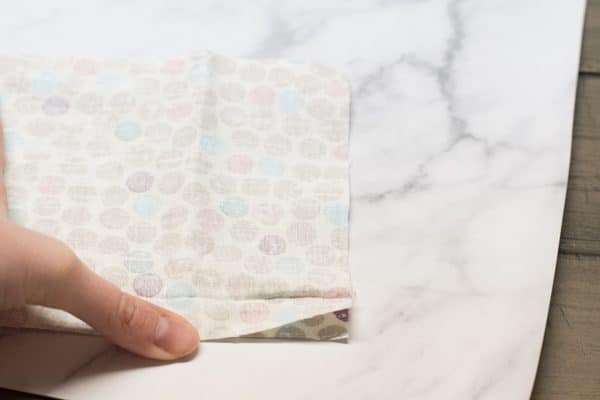
Place the two pieces right side together.
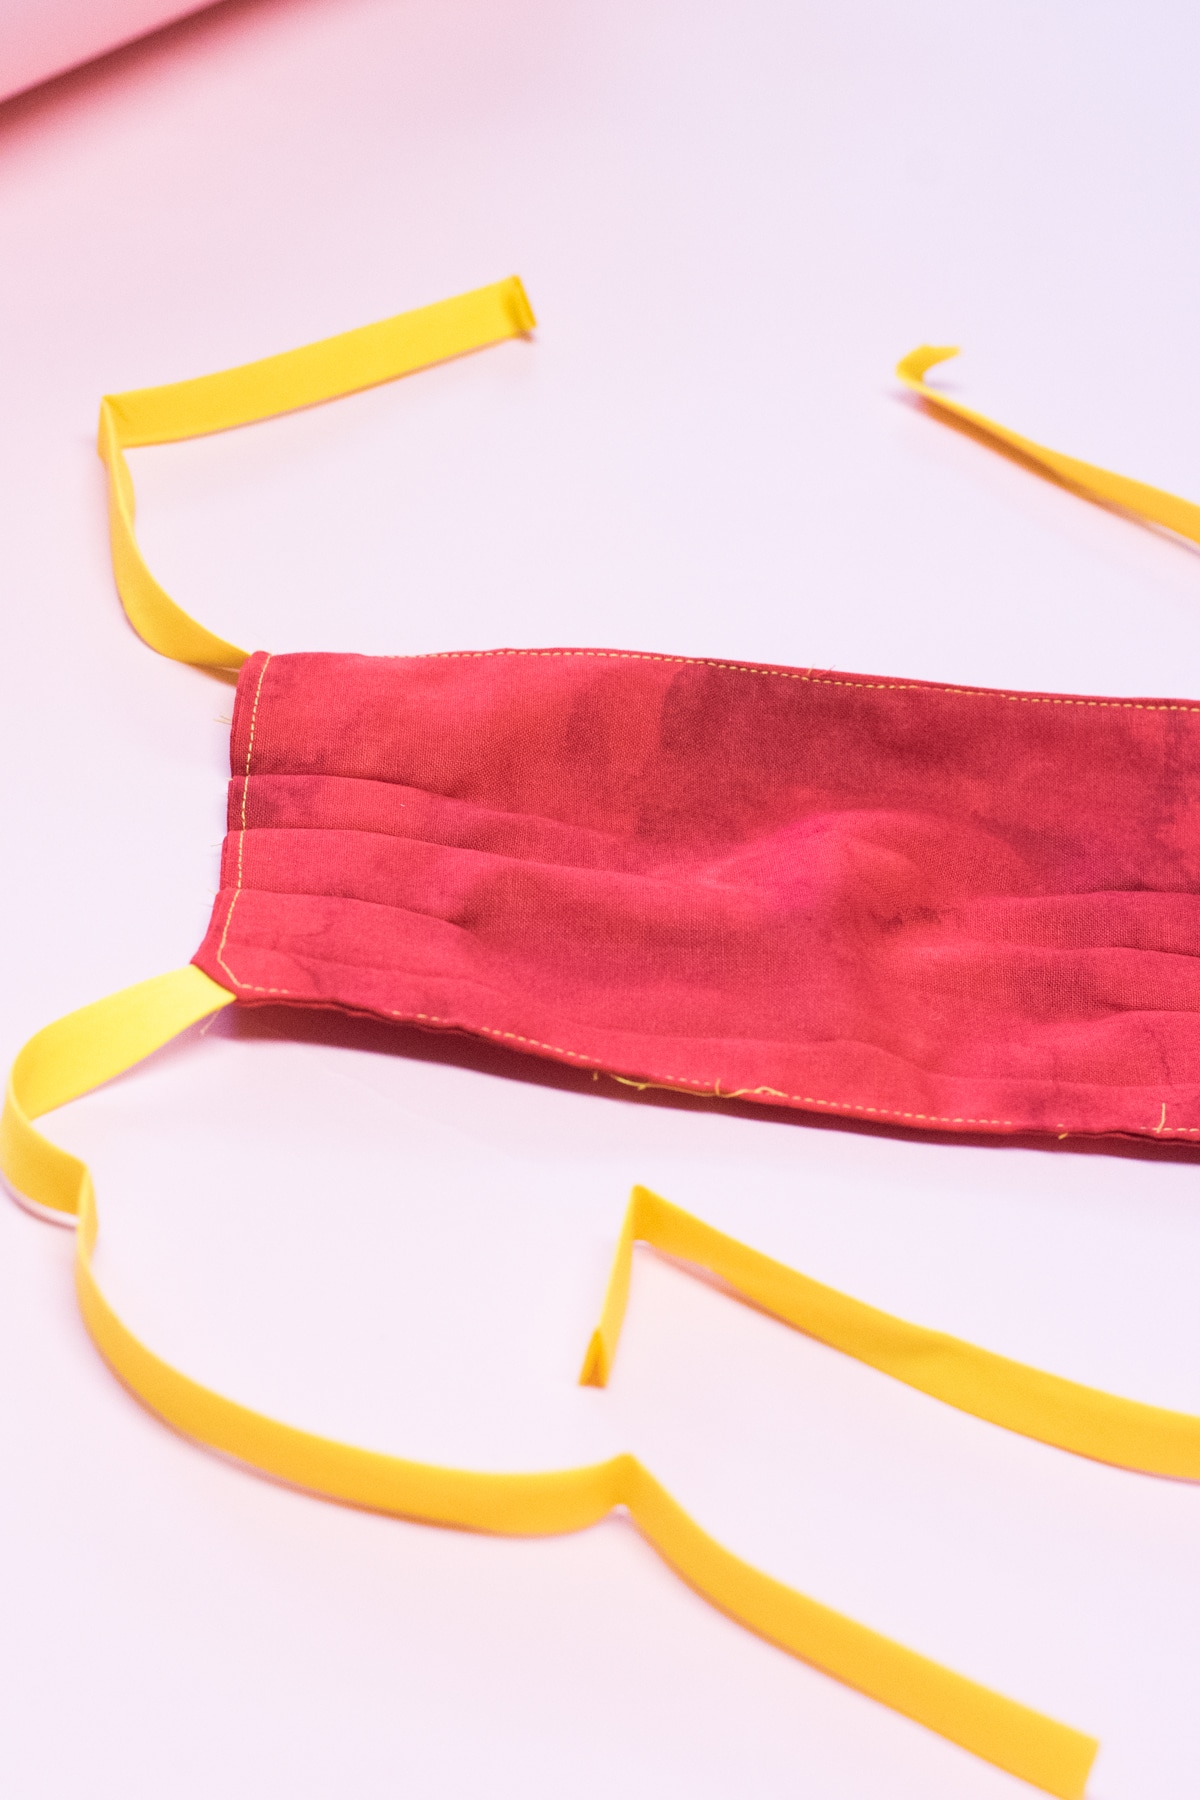
If you are putting the bias tape just in the corners, read these instructions:
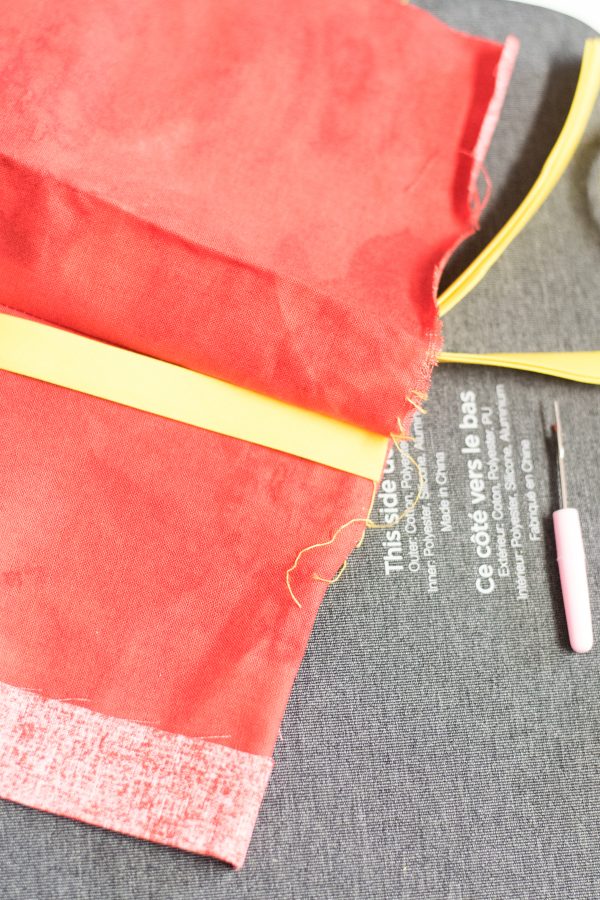
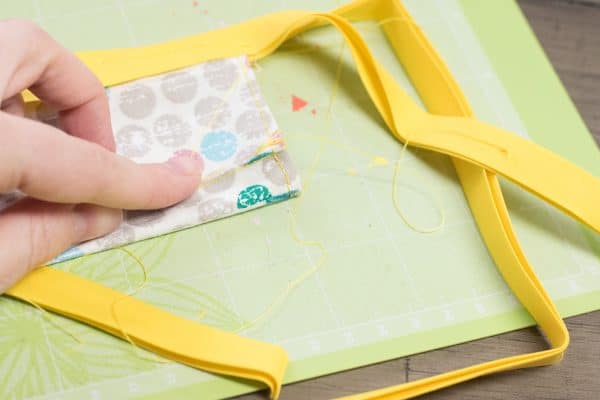
Pin the bias tape to each corner, make sure you put the bias tape in between the right sides (so you won’t see the bias tape until you flip it right side out).
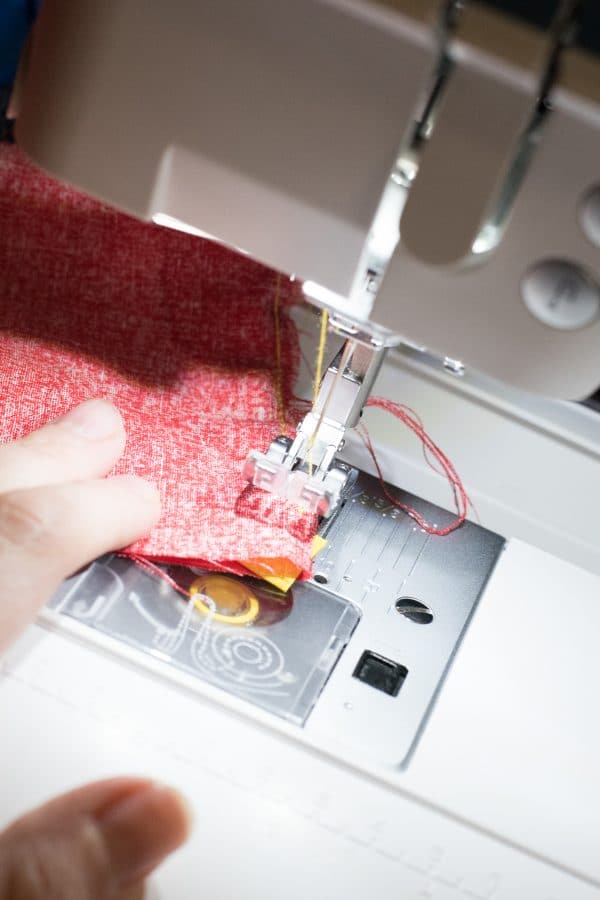
Start sewing at the middle bottom of the mask and sew all the way around until you get back to the side you started on – leave a 2″ hole. If you are wanting a nose wire, read the note below.
Flip the mask right side out.
Use an iron and press the seams so they lay flat.

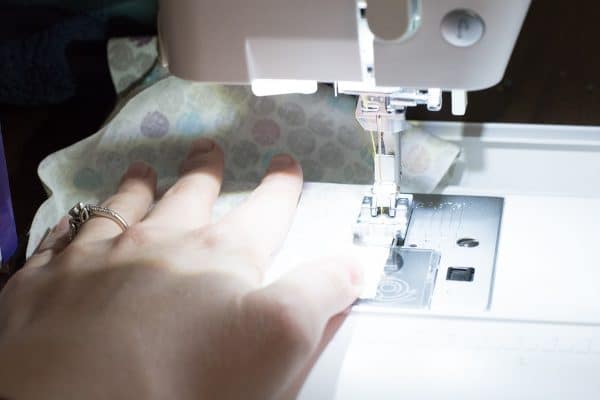
Do a top stitch around the edges.

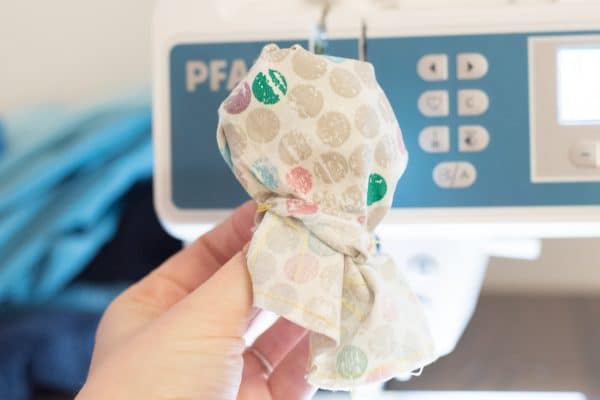
Sew three pleats or pin tucks into each side of the mask, about 1/2-3/4″ apart.
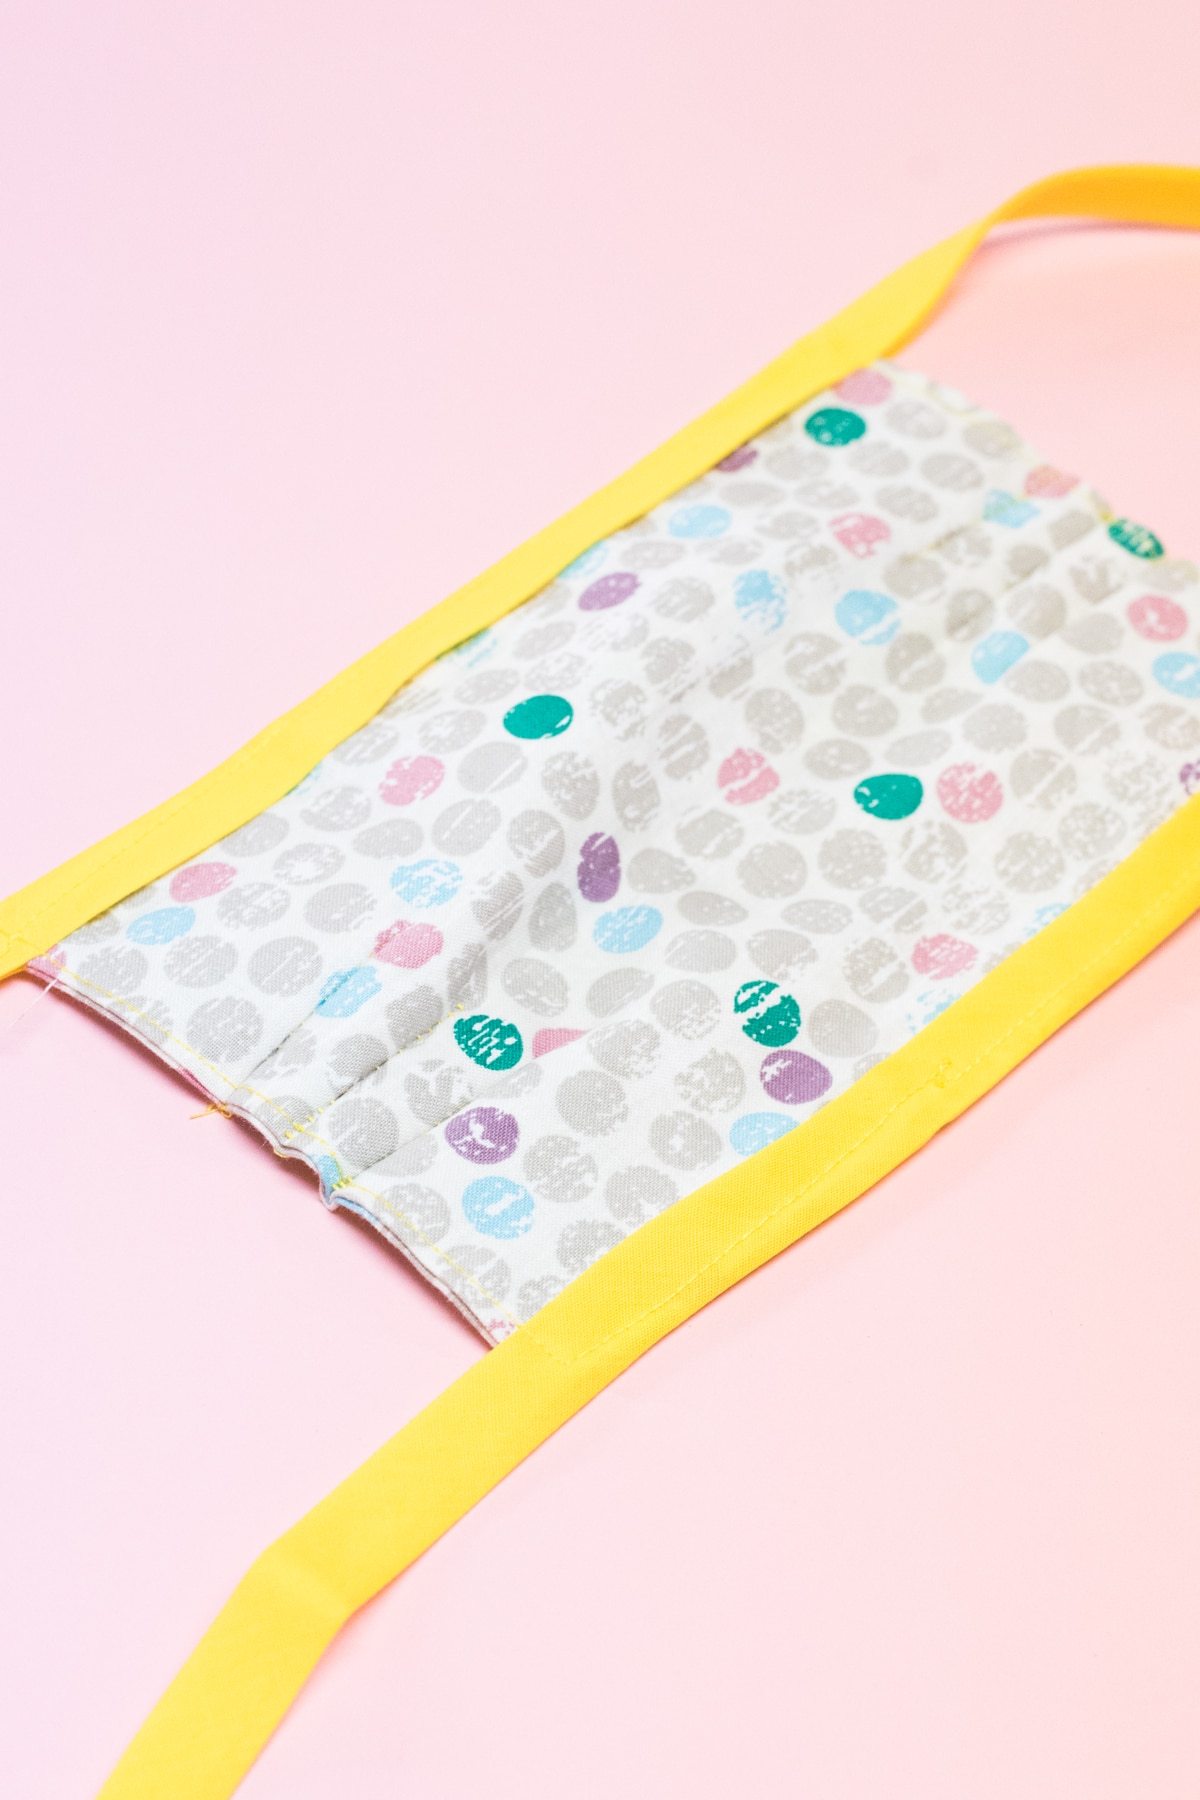
If you are putting your bias tape all the way across the top and bottom, read these instructions:
Start sewing at the middle bottom of the mask and sew all the way around until you get back to the side you started on – leave a 2″ hole. If you are wanting a nose wire, read the note below.
Clip the corners of your mask so the edges lay flat, and flip the mask right side out.
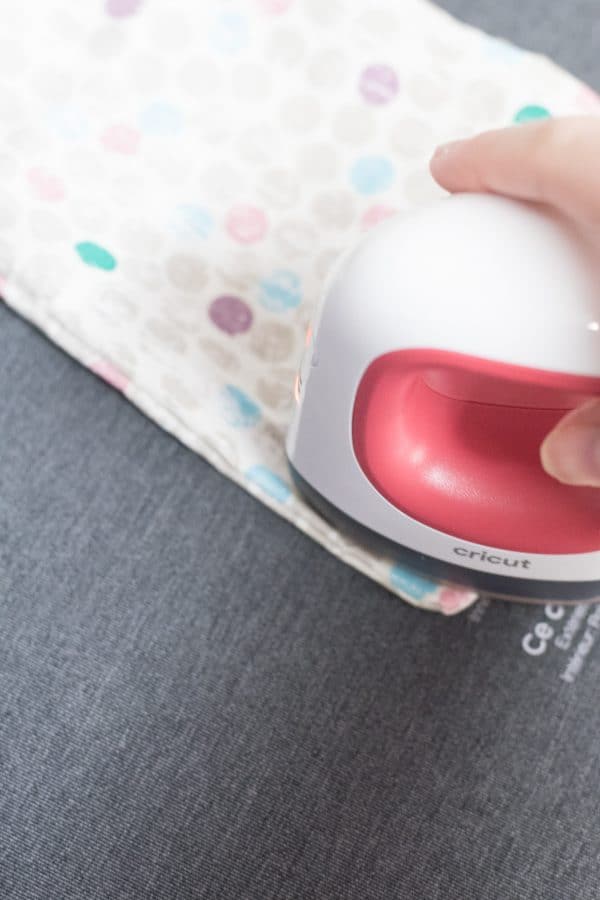
Use an iron and press the seams so they lay flat.

Pin your bias tape across the top and bottom of your mask, make sure the bias tape is even on both ends.
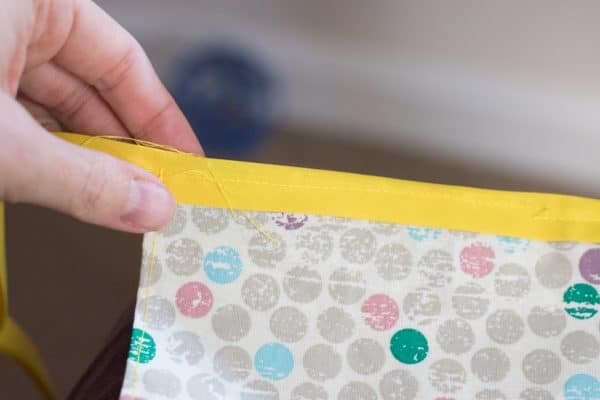
Sew the bias tape in place and continue to sew around the edges.
Sew three pleats or pin tucks into each side of the mask, about 1/2-3/4″ apart.
Notes
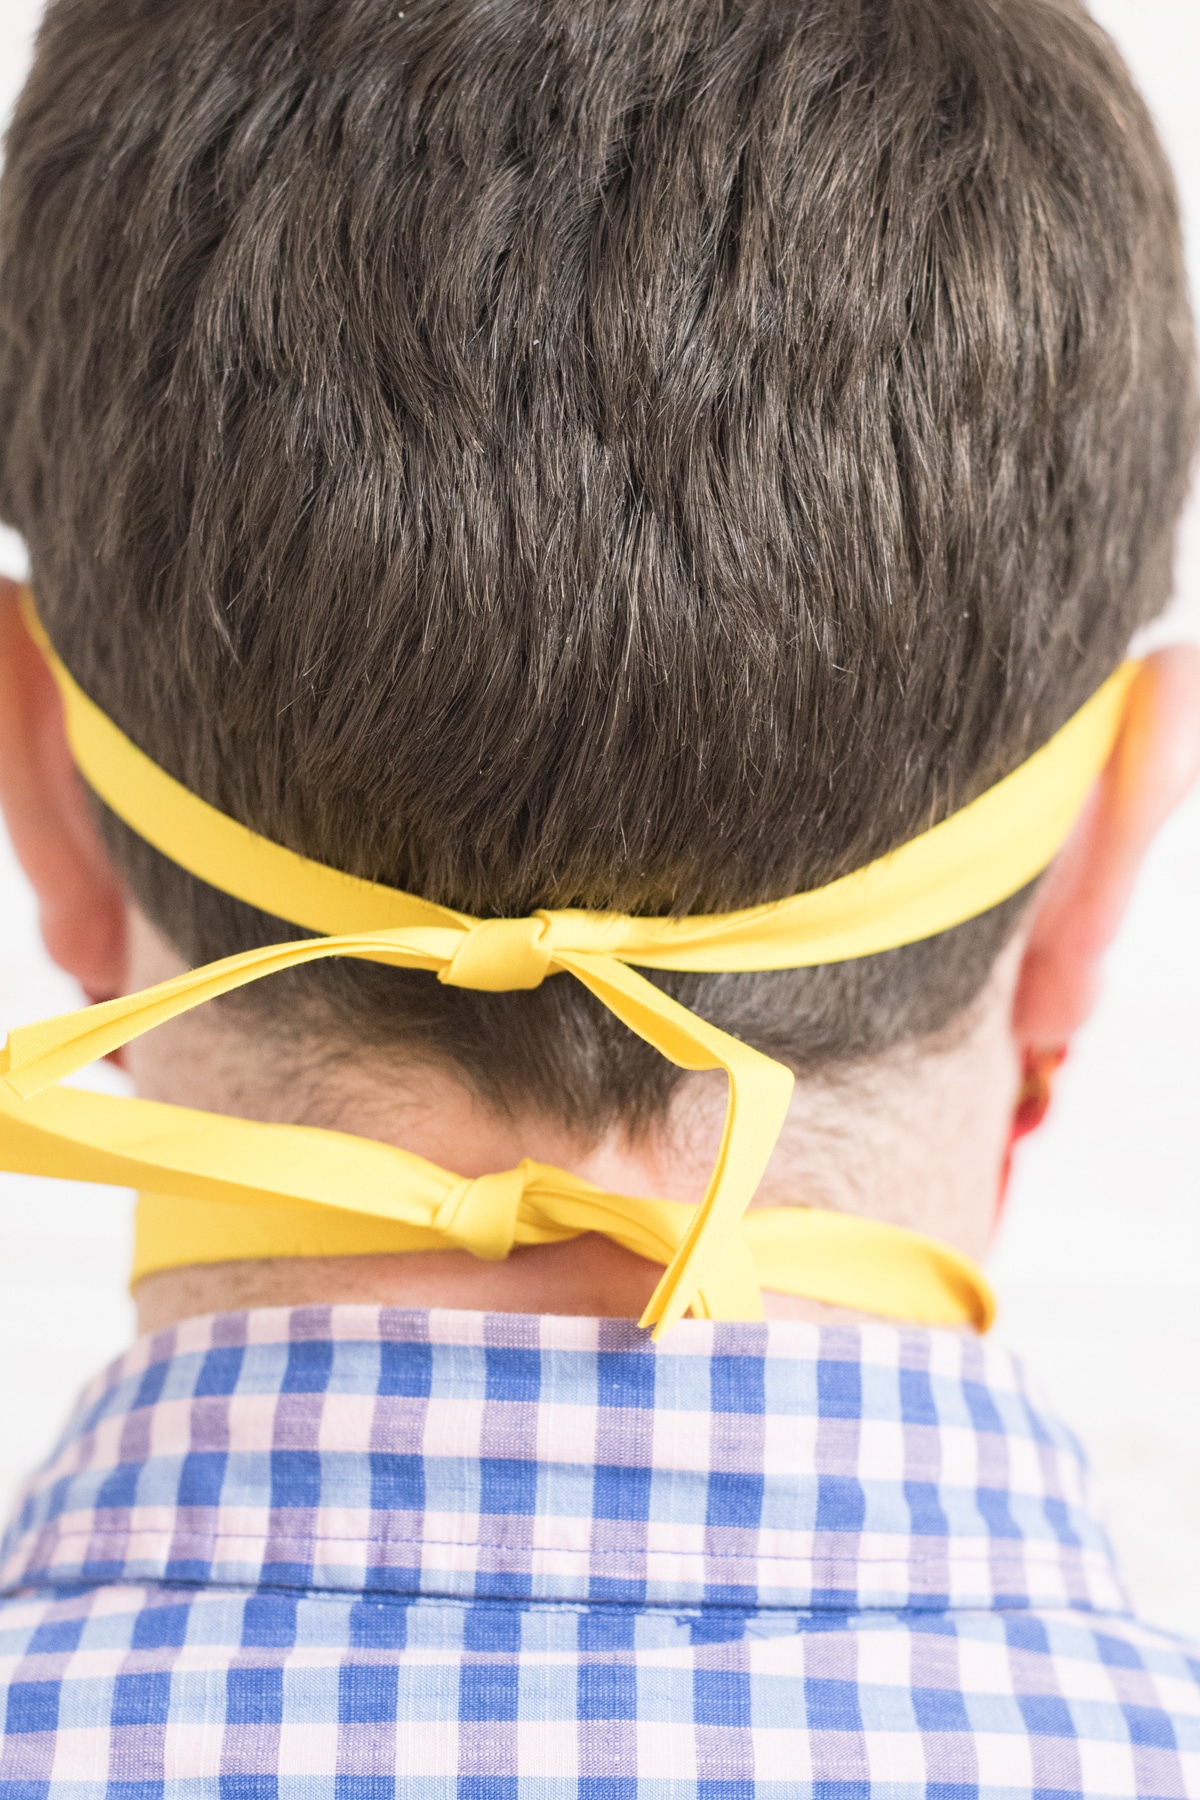
Face Mask Tie Length
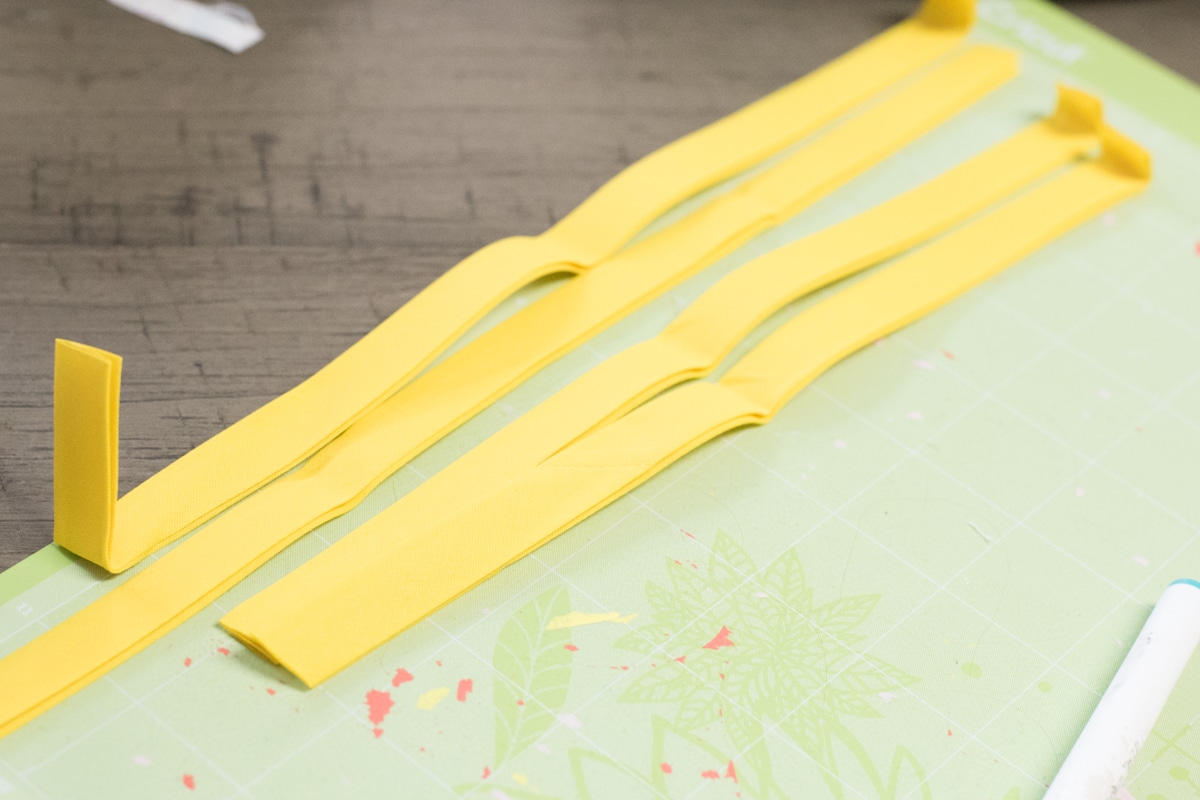
The length depends on head size, as well as whether or not you are sewing it across the top or just into the corners.
The top ones will end up needing to be longer than the bottom ones. For the one pictured in this tutorial, I did 24″ for both the top and bottom, and I wish I had done 26″ for the top and 22″ for the bottom.
If you are making a mask for you or someone that you can measure, here are some tips for measuring:
- For a mask that has the bias tape going all the way across the top and bottom, you can measure the amount you amount you need just by putting the bias tape or ribbon around your head – place the center of it on your nose and then pull the ends around your head and tie it. You want to be able to comfortably tie the bias tape. For the bottom ones, measure from the center of your chin.
- If you are going to cut straps that you sew into the corners, I would measure from the top-middle of your cheek bones to the back of your head and tie it, and then from the middle-bottom of your jawline.
So if you are just making masks that you are giving away, I would suggest the following if you are sewing the bias tape to cover the top and bottom.
- Medium Size: 26″ for top, 22″ for the bottom
- Large Size: 30″ for the top, 24″ for the bottom
If you are just sewing it into the corners, you’ll need four straps, and I would do the following:
- Medium Size: 10″ for the top straps; 8″ for the bottom straps
- Large Size: 12″ for the top straps; 8″ for the bottom straps
Nose Wire
I did not put a nose wire in these because I was being a little lazy, but it does make a difference to have it in there! Refer to my other face mask tutorial on how to put a pipe cleaner nose wire into your face mask.
Make Your Own Bias Tape
You can actually make your own bias tape at home with scrap material – here is a good tutorial on how to do that.


Mahalo, I’m going to try your pattern after I get what is needed. N, make masks for little children n adults as well. My grandchildren are very important to me, and need to start making for my grandchildren first and adult family after.
I’m sure your grandchildren will be so grateful! I hope this is helpful.