
Easy DIY Face Mask Tutorial – Cricut and PDF Patterns
In need of a cloth face mask? Here is an easy tutorial that anyone can do to make a DIY facemask using cotton material.
Whenever something bad happens, I think most of us try to think of something we can do.
With the current situation going on in the world, it’s harder than ever to know how to serve those around us…since we aren’t supposed to be around anyone!
This morning I was browsing through the Nextdoor app on my phone, I noticed that someone mentioned that some hospitals in the country are asking for donations of reusable face masks that people are making.
Someone else provided a link from Deaconess Hospital, which details their request for masks made from the community. They provided a lot of great information on how to make one that is accepted by them.
As I looked at the pattern, I realized how easy it was to make, and how it was something I could easily do from home.
I thought about it more and more, and I thought I could make a Cricut Design Space pattern following the same instructions. Because my Cricut Maker cuts fabric so fast and easy, I can make a whole bunch of these in no time.
I created a PDF pattern as well as a Design Space file for those who want to use their Cricut Maker to make it. But if you don’t have a Cricut Maker – no problem!
I based my pattern and tutorial on the pattern referenced in the link above. However, I found the sizes to be too large, and I also wanted to make a little nose wire in mine.
This is an EASY way to help others. There is a huge shortage of face masks, and I’m not sure I’ve seen an easier sewing project. Since most of us have right now is time, it’s a great way to pass the time. This is easy enough for most children/teens to do as well.
Not all hospitals are taking donations at this time – or want them – , so I would reach out to local ones in your area. They may have different regulations for what they can accept as well, so just keep that in mind as you make these. It might be worth reaching out to doctor’s offices, health buildings, retirement homes, to the immunocompromised etc. as well.
**The CDC has said homemade masks can be used during crisis response as a last resort. Again, if you plan on donating them, please reach out to places BEFORE you do it. Please see the section in the link above entitled HCP use of homemade masks or read the quote from the website below**
“In settings where facemasks are not available, HCP might use homemade masks (e.g., bandana, scarf) for care of patients with COVID-19 as a last resort. However, homemade masks are not considered PPE, since their capability to protect HCP is unknown. Caution should be exercised when considering this option. Homemade masks should ideally be used in combination with a face shield that covers the entire front (that extends to the chin or below) and sides of the face.”
CDC
Looking for some no-sew options? Click here for 12+ easy ideas!
A Few Notes on this Project
Some of these I have mentioned through this post, but I just want them here – easily accessible by all.
- I make making ZERO medical claims in regards to the effectiveness of these masks. They certainly will not protect you or others against 100% of contaminants or issues. However, I chose the material based on my research on what is the best material for a homemade face mask.
- Hospitals may or may not accept these as donations. PLEASE contact them before making a bunch. I would imagine they would prefer the version without the nose wire.
- I am totally NOT a professional seamstress, but I hope this tutorial is helpful – just ignore my less than straight lines and excessive string use 😀
- If you are looking for tips for making the kids’ ones specifically, click here – Five Kids’ Face Mask Patterns.
- I sew pleats/pin tucks in these face masks, but I did them too close together in the original ones. Space them out.
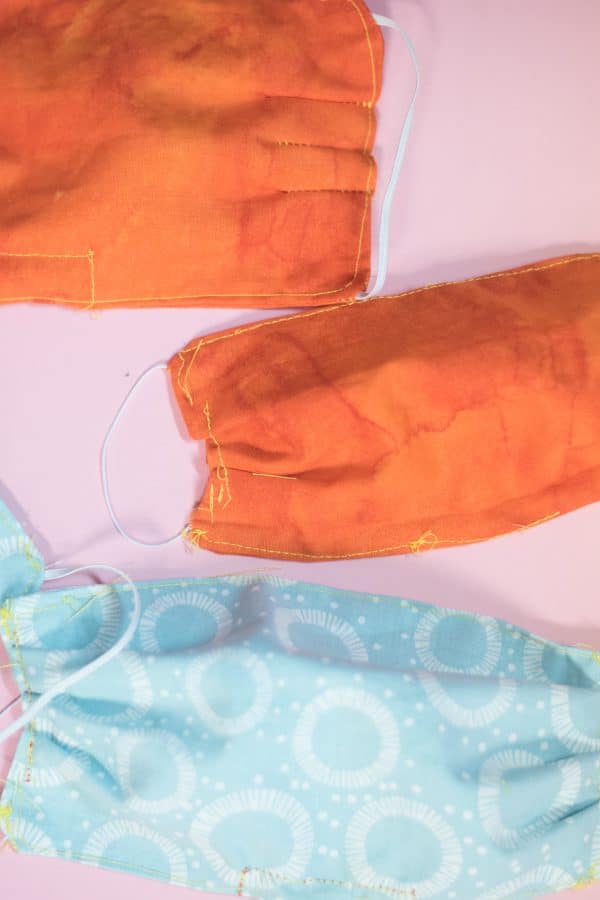
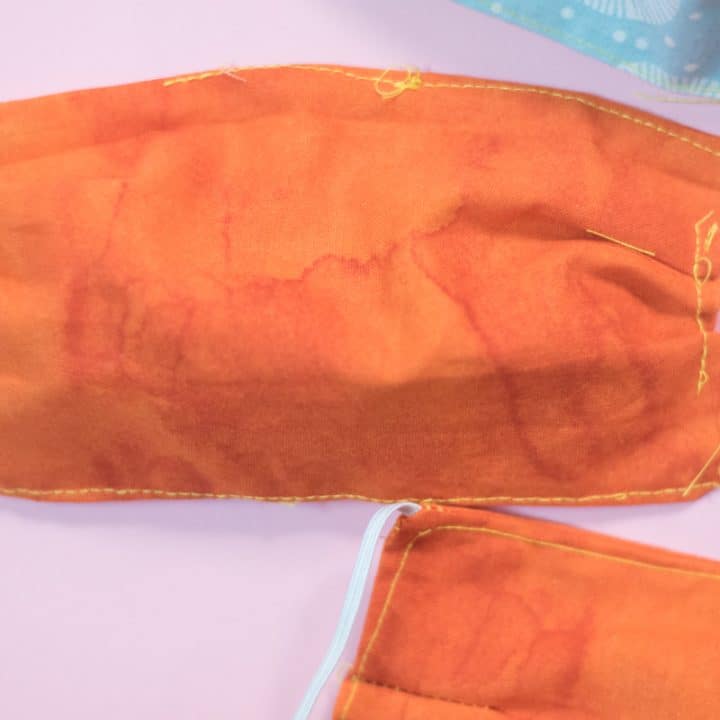
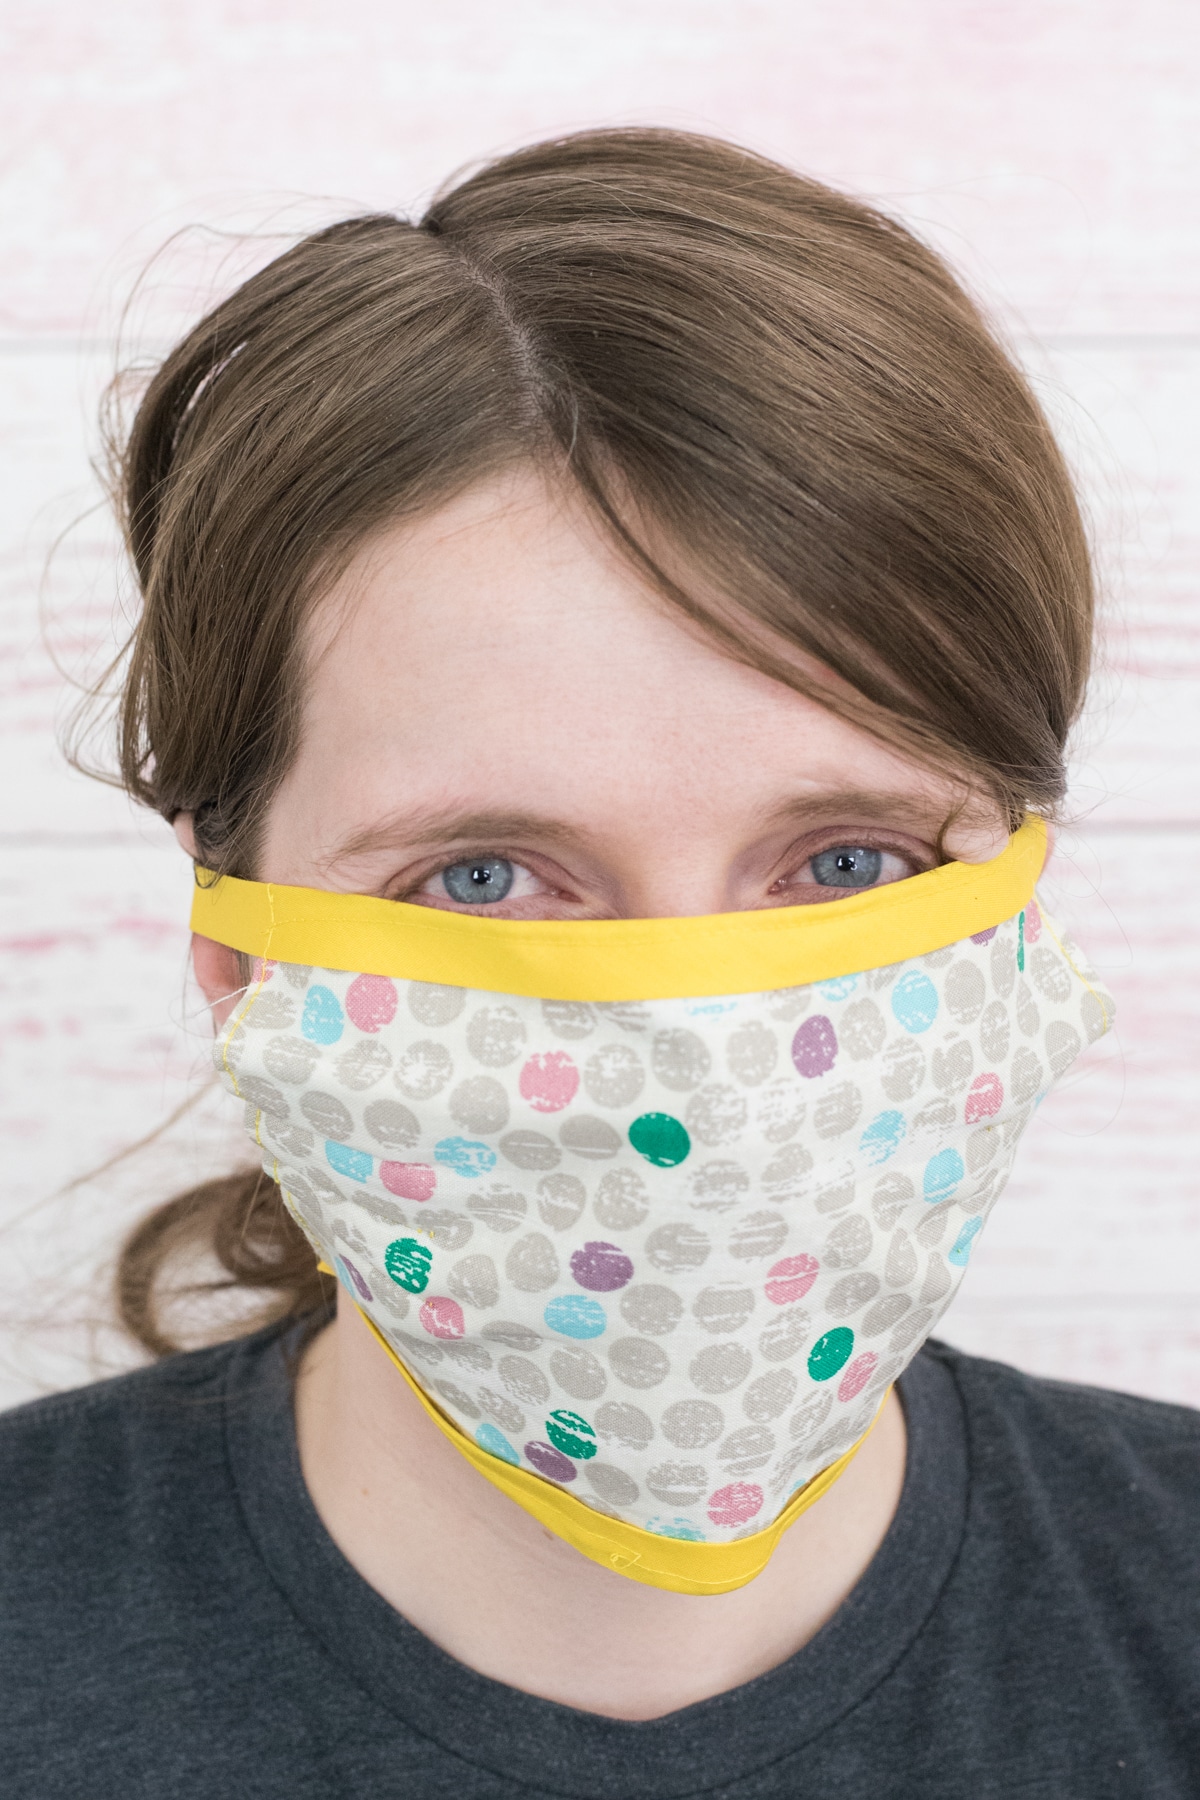
- At the suggestion of my friend who is a labor and delivery nurse, I put a nose wire in this project. However, as I mentioned, this may not be accepted by hospitals, so I would probably just do that for personal use. Here is the difference:
DIY Surgical Mask
Table of contents
Why Would I Make a Mask?
Here are a few reasons why you might want to consider making one of these:
- To put in a prepardeness/72 Hour Kit
- To wear in case you are sick and want to prevent others from getting sick
- If you live somewhere with bad air quality/pollution
- Because in times where masks are in high demand, it’s super important to allow hospitals and doctor’s office as much access to these as possible. It is a better idea to make a reusable one for yourself and allow them to have disposable ones.
- If you live near a hospital that has a shortage, they may accept donations. And even if they don’t, you may know of a nurse or other medical professional who might want a reusable one!
- I have heard that while not all hospitals will use these alone, many are starting to wear them over N95 masks (which are in short supply), so that’s another option to consider.
I make no medical claims about the effectiveness of these masks. This article discusses the effectiveness of different types of materials for masks.
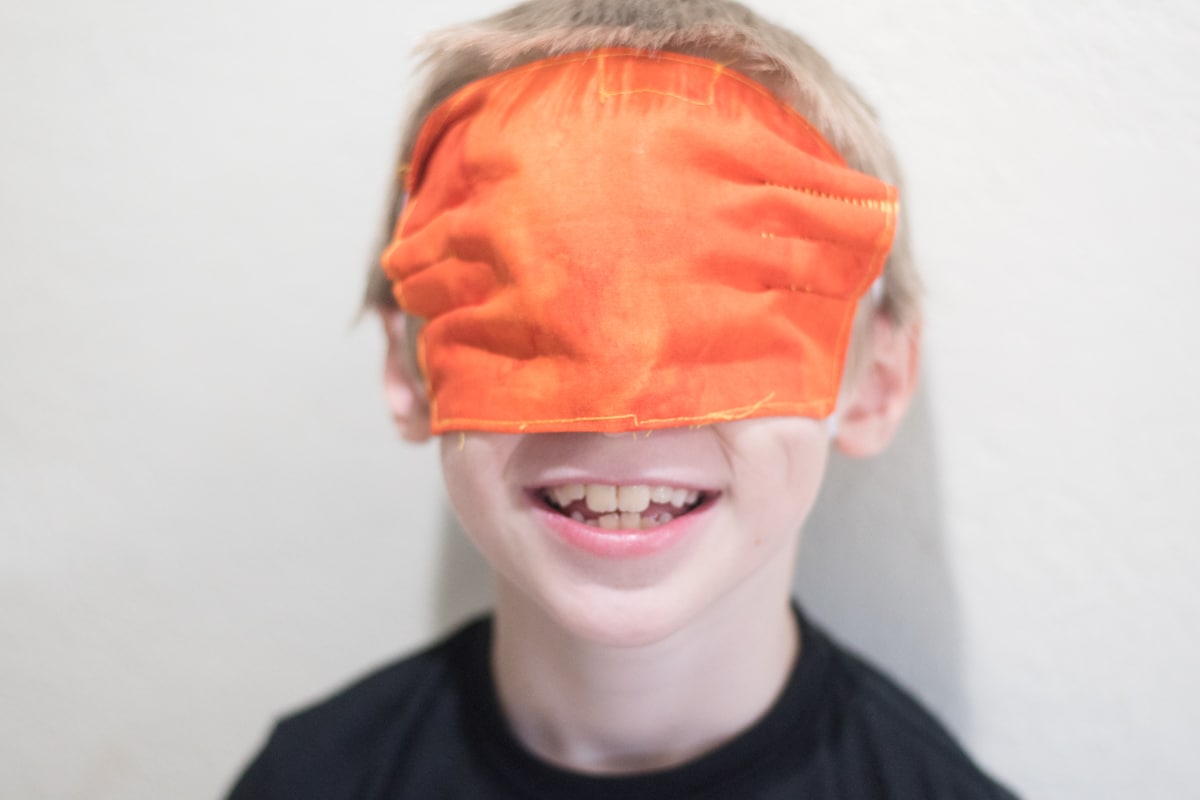
If all else fails, my son thought this ended up making a great blindfold! So many uses 😉
Best Fabric for Face Mask
From what I’ve read, tightly woven cotton is the best thing you can use to help protect against germs. This is a great article on the topic.
Some people have had luck making a mask with an old cotton t-shirt. That would be fine if you are making it for yourself, but I wouldn’t donate any made with old clothing.
Where can I donate face masks?
This is a hard one, as not all hospitals and organizations will take them.
I have seen quite a few people on the Nextdoor App saying they were collecting them, so it might be a good place to start – just post in local groups about anyone that is willing to take homemade masks.
You could also call local hospitals, doctor’s offices that are still open, retirement centers, homeless shelters, etc. These are all organizations I’ve seen that are accepting them. If you have nurse friends, reach out to them as well.
Days for Girls is an amazing organization that already helps provide menstrual supplies for girls around the world, and they are organizing a Masks4Millions campaign. You can find out more information here.
What size masks are in this tutorial?
I have four different mask sizes for this face mask:
- X-Small (Probably 3-5 year’s old)
- Small (6-12ish)
- Medium (teens and most women)
- Large (typically for men)
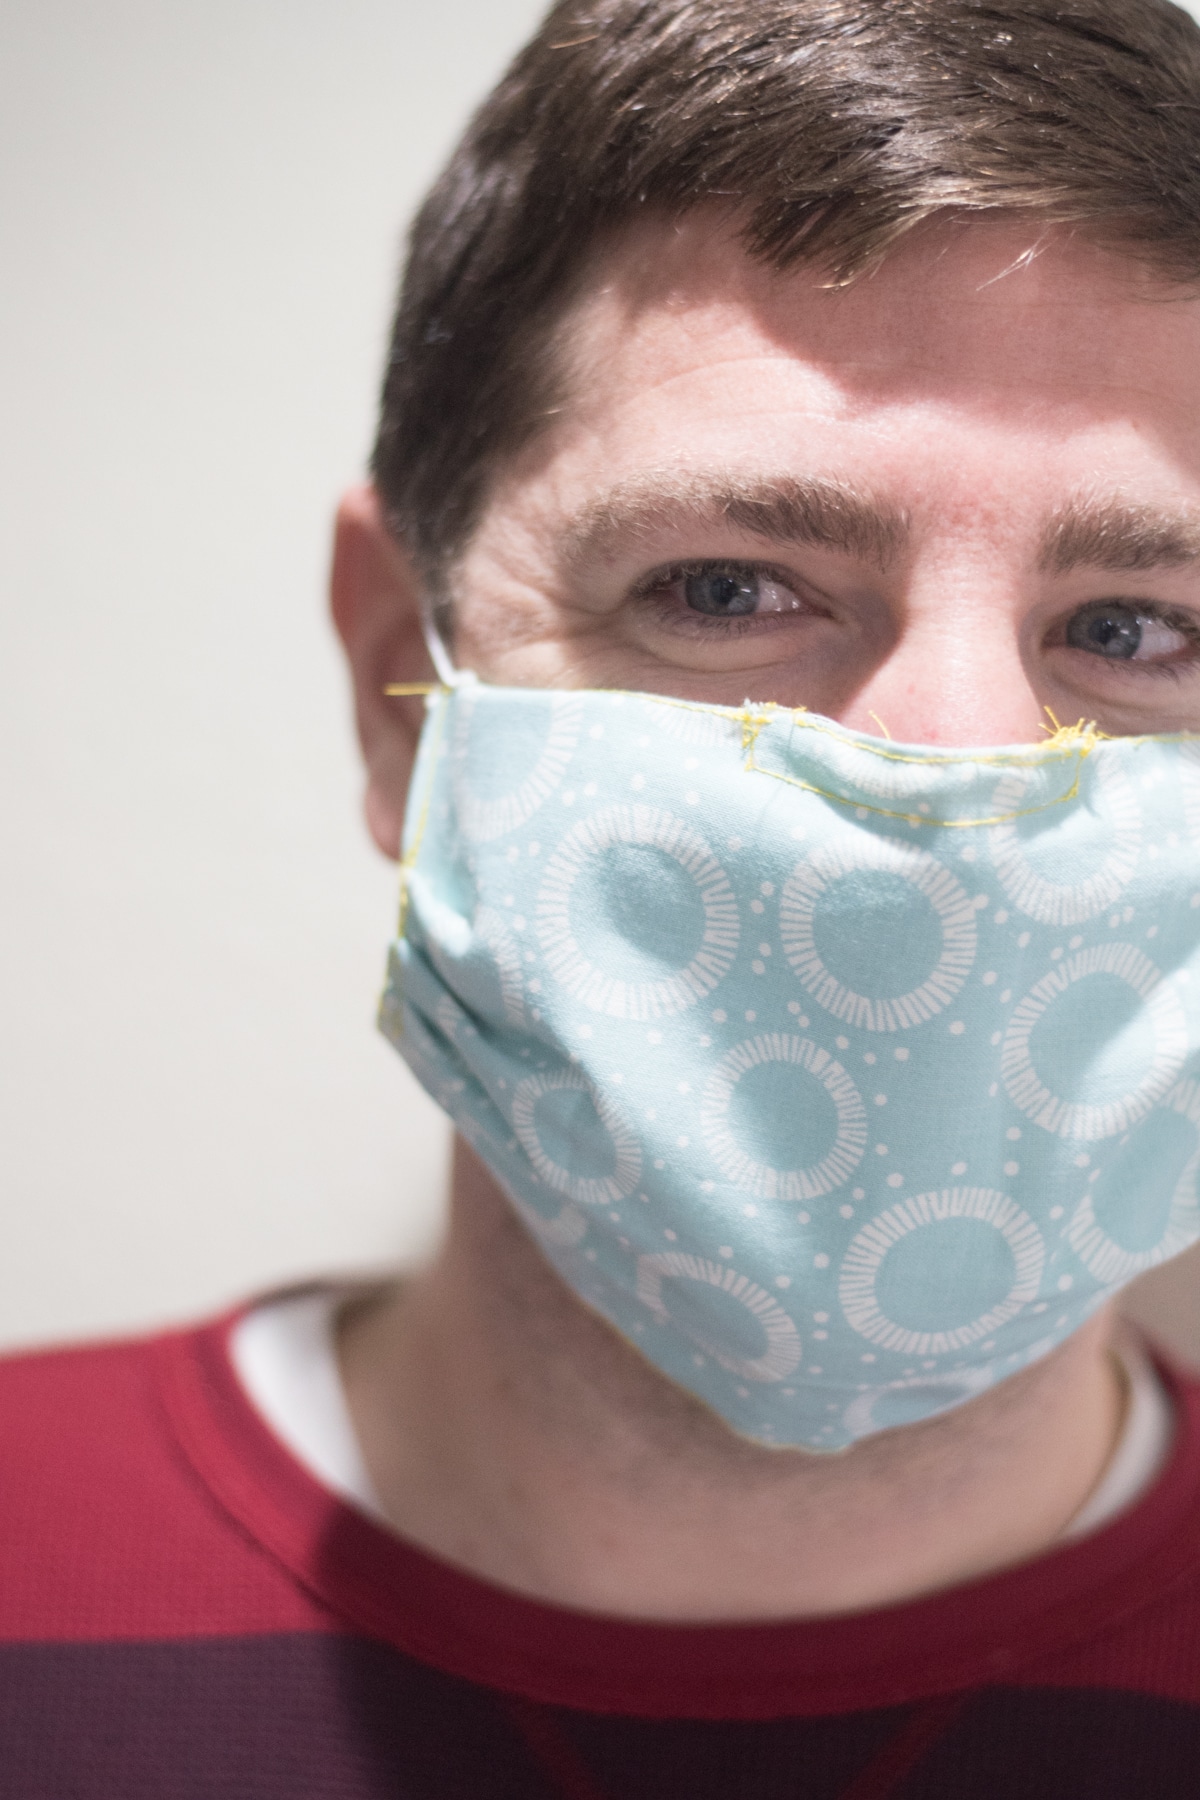
I have a pretty large head, but the medium worked perfectly for me. Forrest has a giant head, and the large was best for him.
The other thing to keep in mind is elastic. This can really make or break your mask.
Remember – elastic stretches, so it’s better to have it be a little short than too long. If it does end up too long, you can kind of twist it around your ears a few times.
You can measure it yourself, but I found the following lengths to correspond nicely with the masks:
- Extra Small – 4″
- Small – 5″
- Medium – 6″
- Large – 7″
I have also been hearing some are requesting masks that tie, so that’s an option as well.
Video Tutorial
Helpful Tutorials
I mention pintucks and pleats below. This is a great video that shows how to make pleats. This is a good tutorial on pintucks.
If you are looking for a different kind of face mask than what I have now – including one that has a place you can slip a regular mask in, this is a great tutorial.
Cricut has also released a pattern in Design Space. It’s different than mine and looks a little trickier, but it’s another option to consider!
Materials
I did a curbside pickup order from Joann’s for some of this material. I would imagine many of you have some of this just lying around the house!
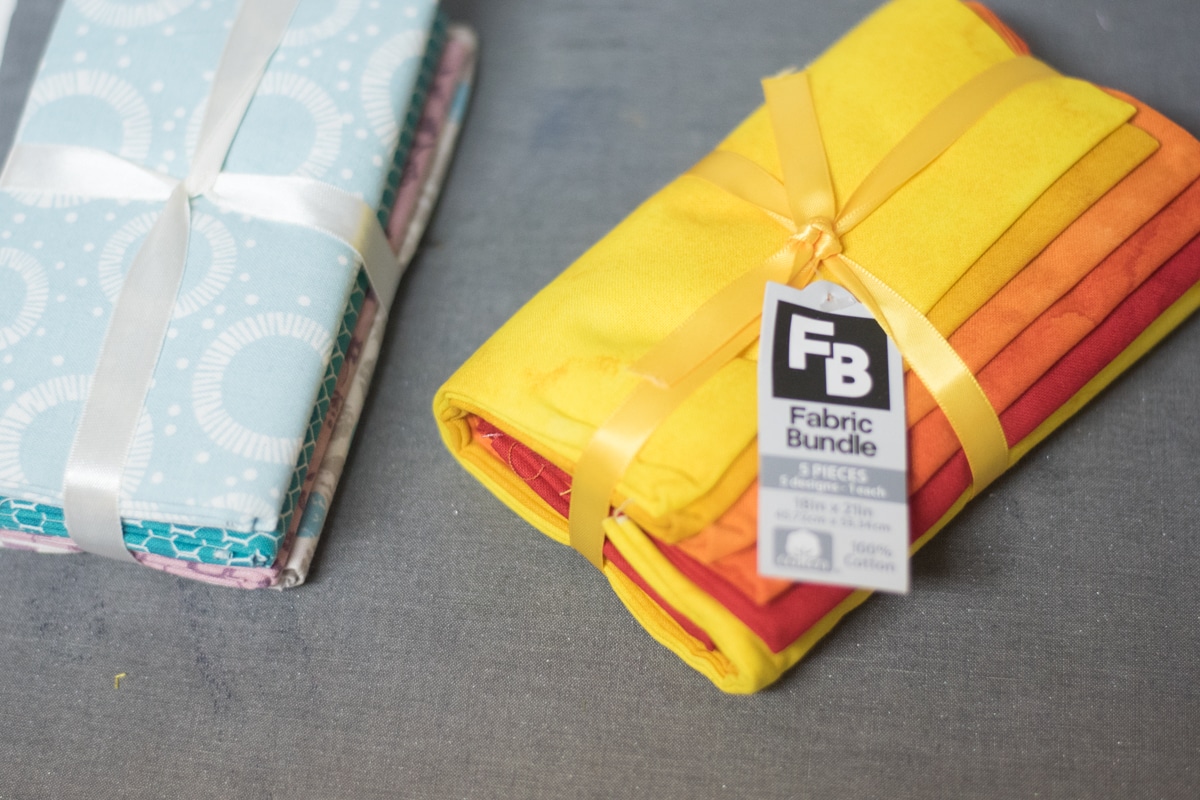
- Tightly woven cotton – I used some fat quarters of cotton to make these. You can get them in so many colors, and they are very inexpensive. But if you just have some spare cotton, that works, too1
- Beading Cord Elastic OR thin flat elastic (I prefer flat elastic).
- Matching thread
- Pipe cleaner
- Pink FabricGrip Mat (if making with Cricut)
- Cricut Maker with Rotary Blade or Fabric Scissors if you aren’t using a Cricut
- Sewing Machine
- Iron or Cricut EasyPress Mini
Pattern
For the PDF, click on the button below to download it. Keep in mind that the rectangles should be horizontal, not vertical when assembling.
For the Design Space File, click here. Do NOT change the dimensions. There is a pattern for both adult and children masks.
Instructions
If Using Design Space
Open this file in Design Space.
Press make it, and make sure your mats are set up how you like.
Put your material on your mat, select cotton as the material, and follow the prompts to cut your material.
Carefully remove your material from the mat.
Go to the instructions below under “assembly”
If Using PDF
Print off the patterns from above.
Cut out the material using the patterns – you will need two pieces for each mask.
Assembly
Cut two pieces of elastic to the width that goes with the size mask you are making (see above) and knot the ends (do not knot them if you are using flat elastic).
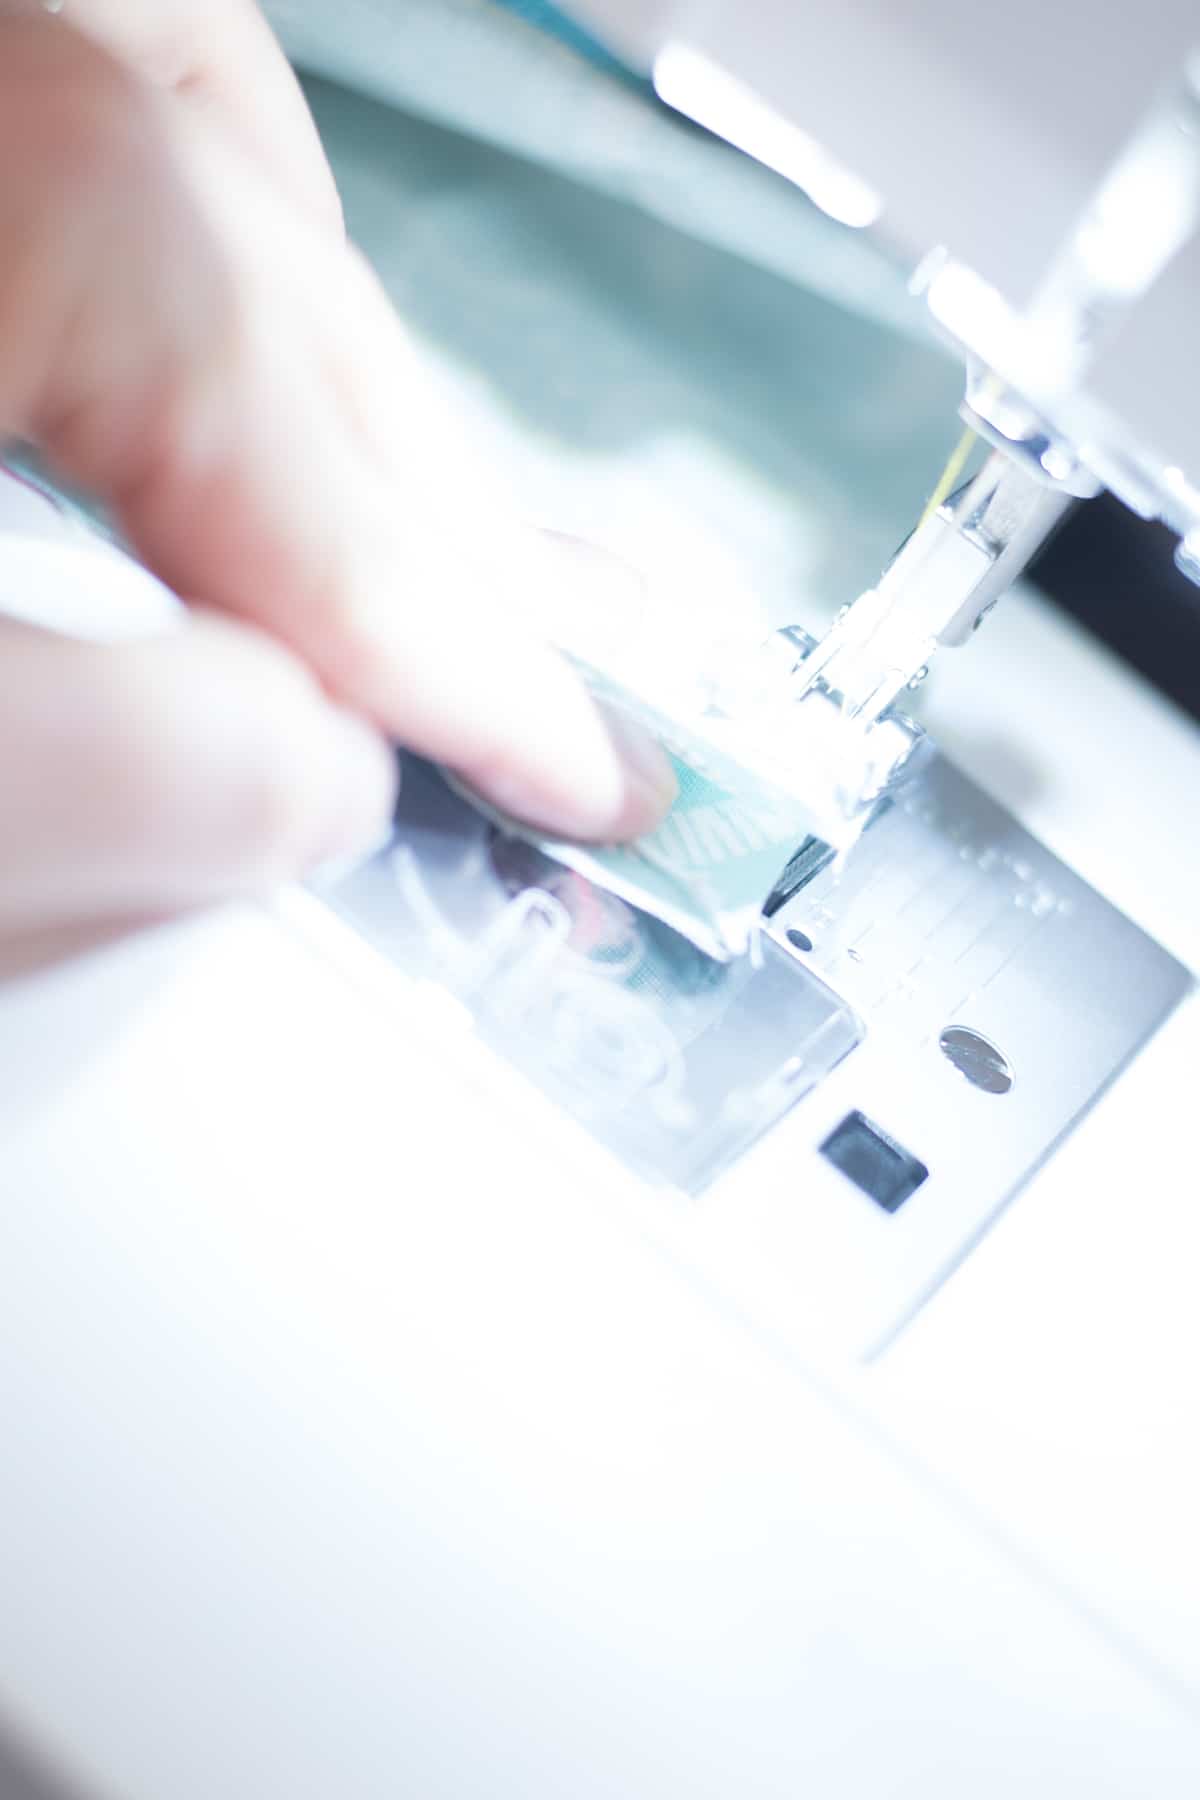
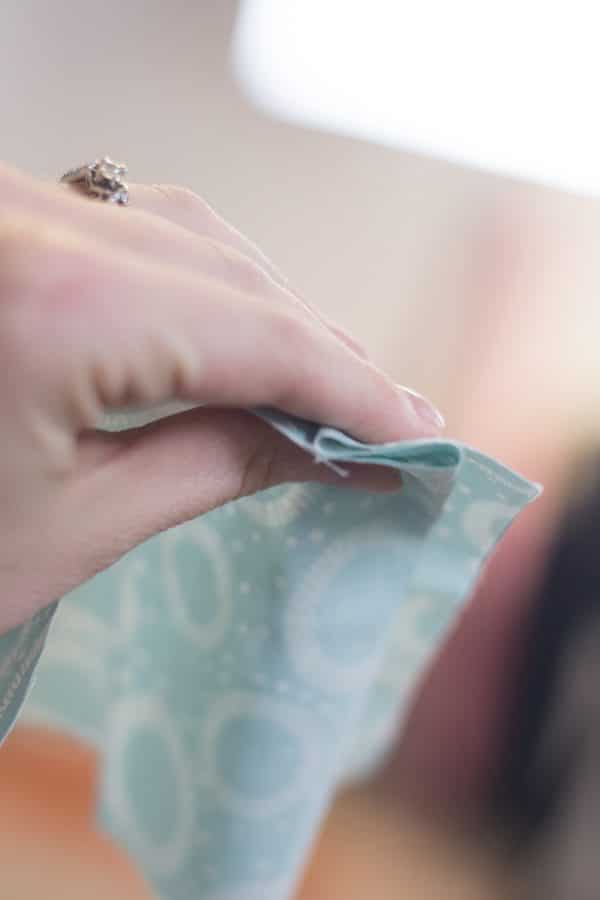
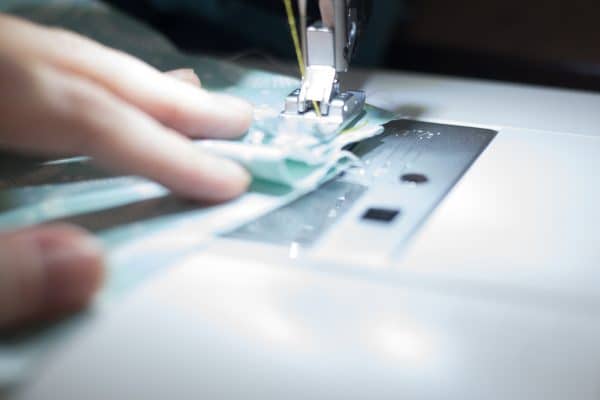
Place the two pieces of fabric right sides together.
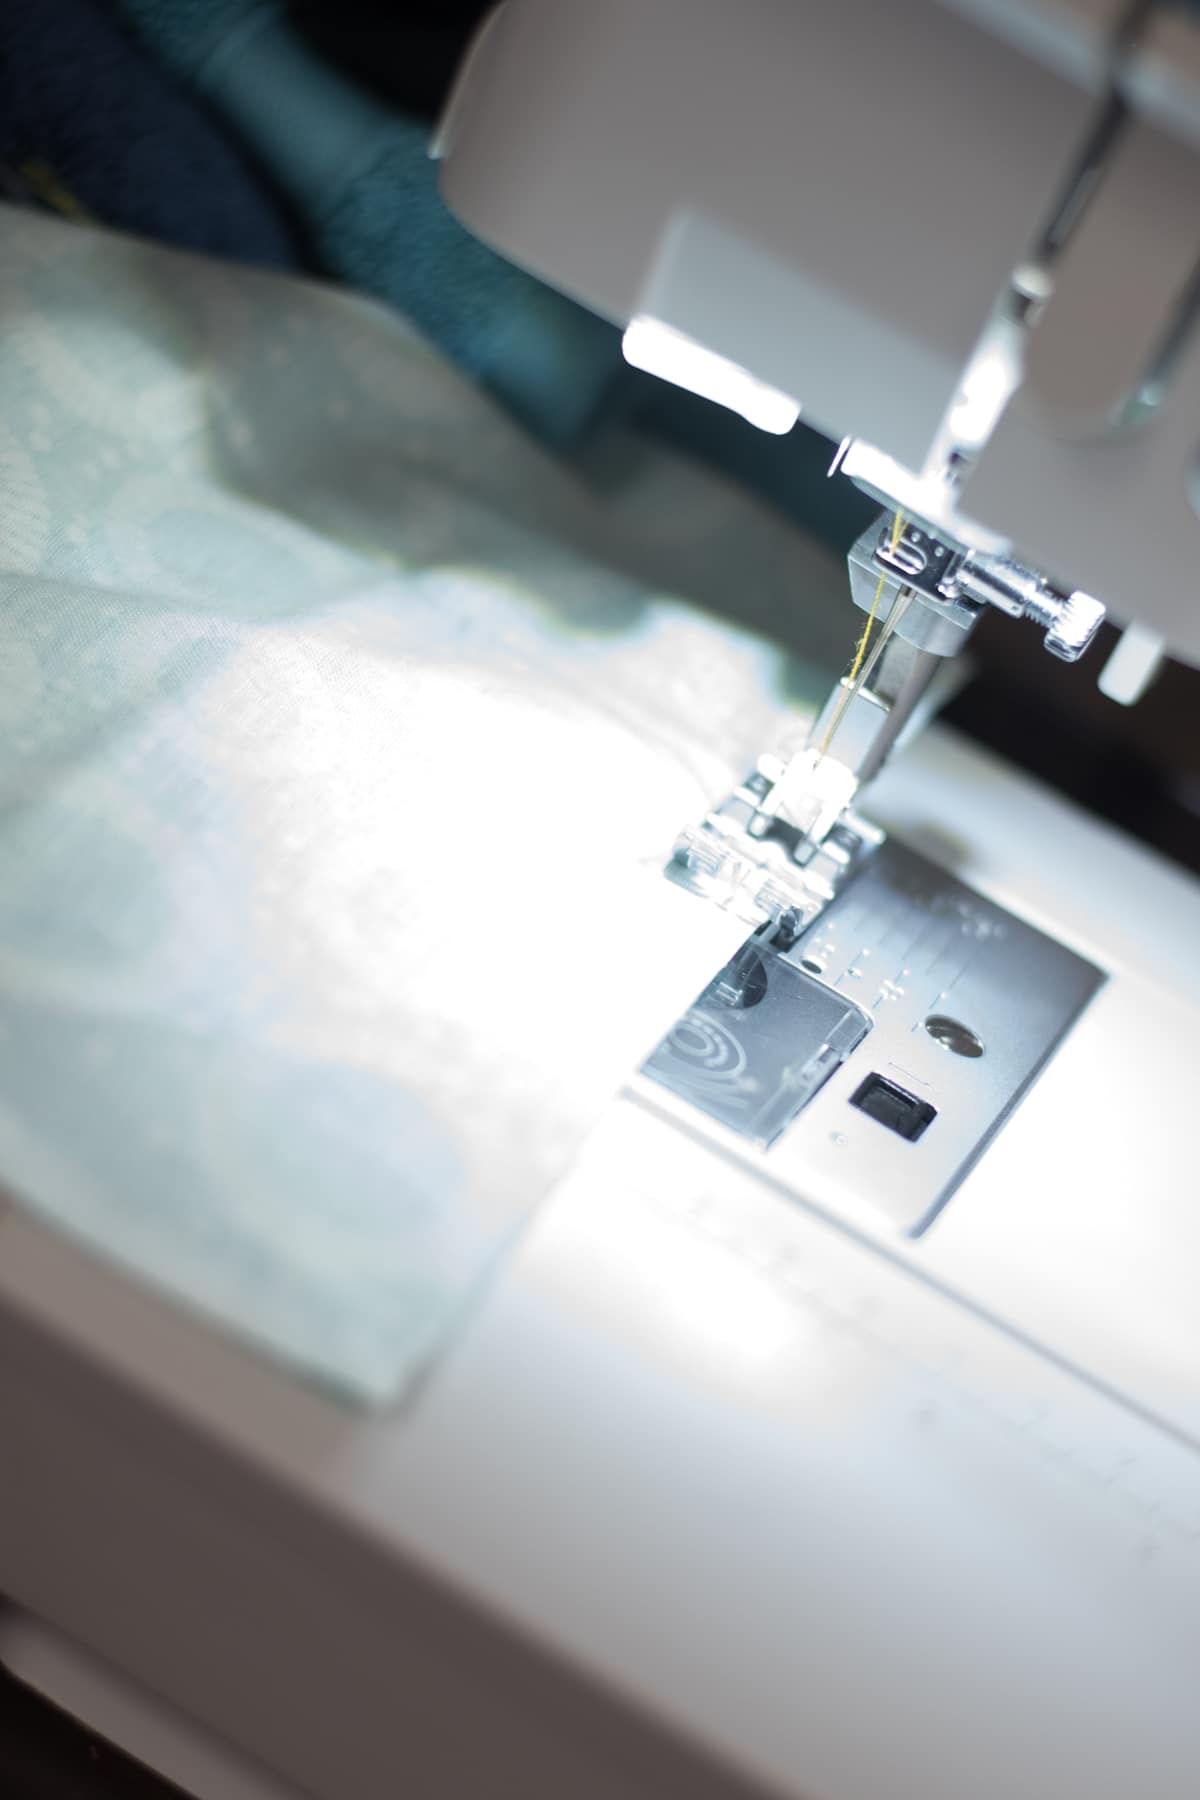
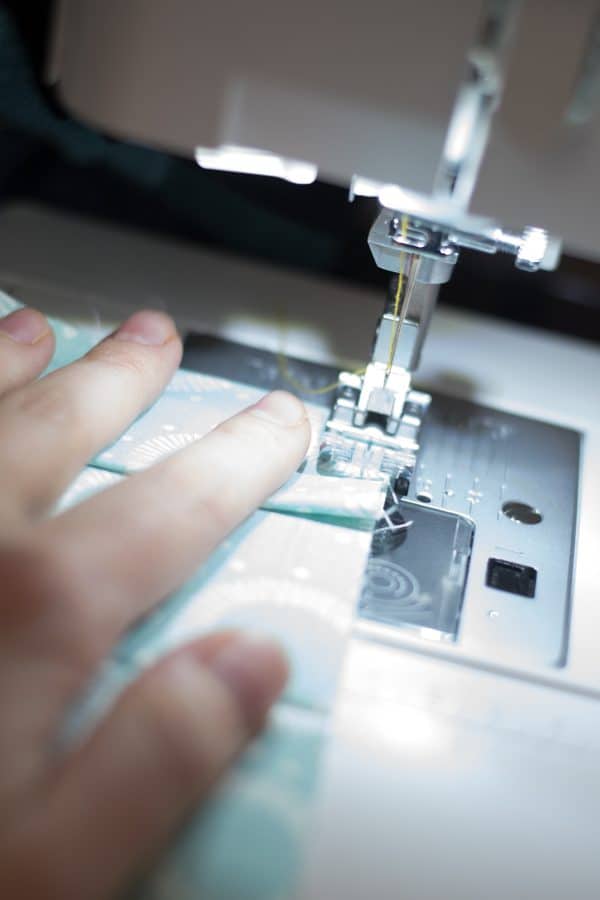
Starting at the middle of bottom edge, sew to about 1″ before the corner and stop.
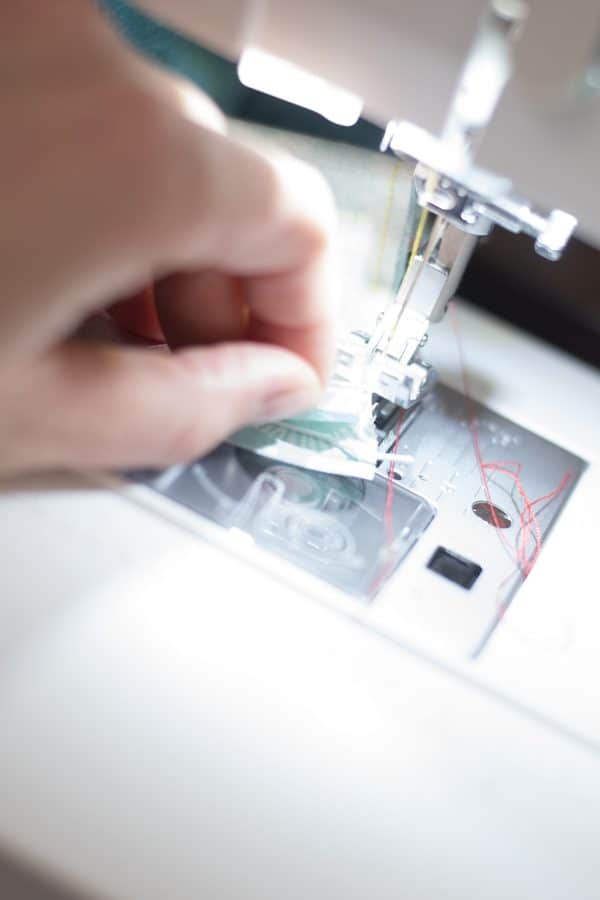
Place the edge in the corner and sew it in place going back and forth a few times.
Sew up to the next corner and put the other end of your elastic there. Sew in place.
Sew across the top of the mask until you get about 1/3 of the way through, and then leave a gap that’s about another 1/3 of the width, and then start sewing again to the next corner, and put another piece of elastic in the corner and sew in place.
Sew down to the final corner and sew the last part of the elastic in place.
Sew across the bottom, leaving about 2″ open.

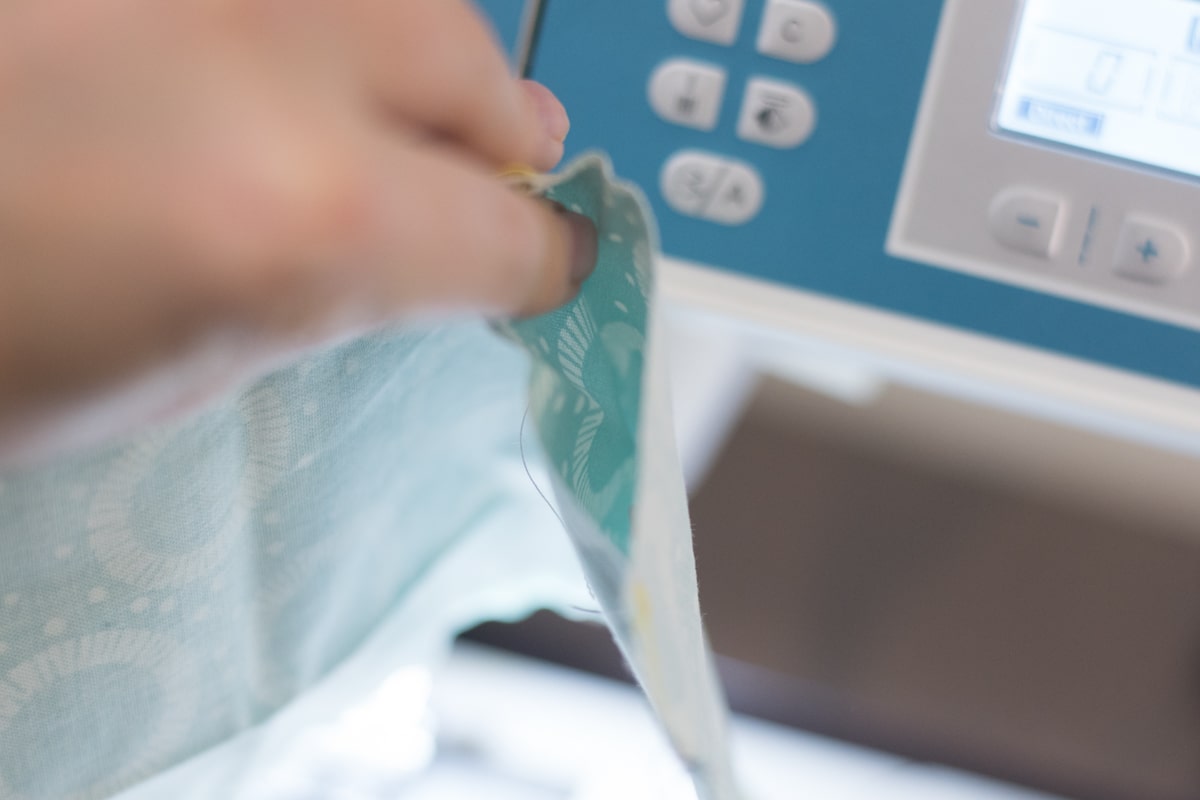
Turn the mask right side out, press your seams, and sew the bottom edge shut.
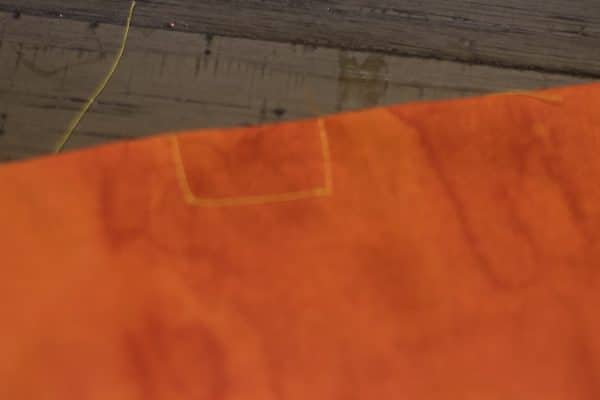
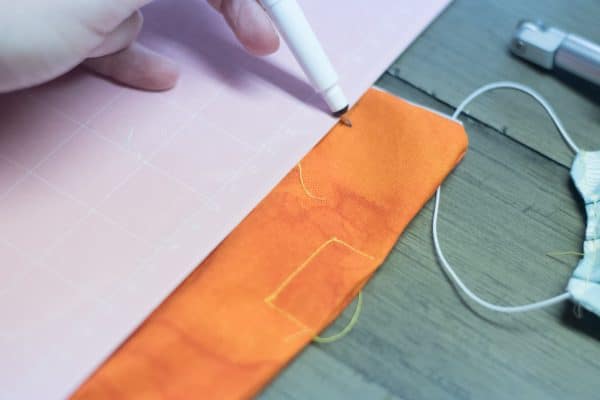
Go to the gap you left at the top of the mask and sew down about 1″, over to the end of the gap, and then sew up (so it’s like three sides of a rectangle.
Cut a piece of your pipe cleaner to the size of the open rectangle and place it inside, Tuck the rough edges inside and sew shut.
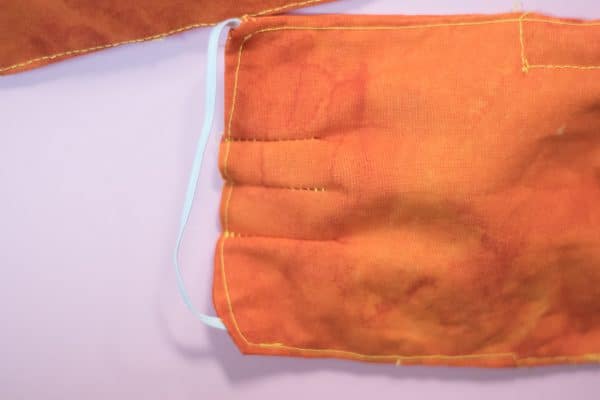
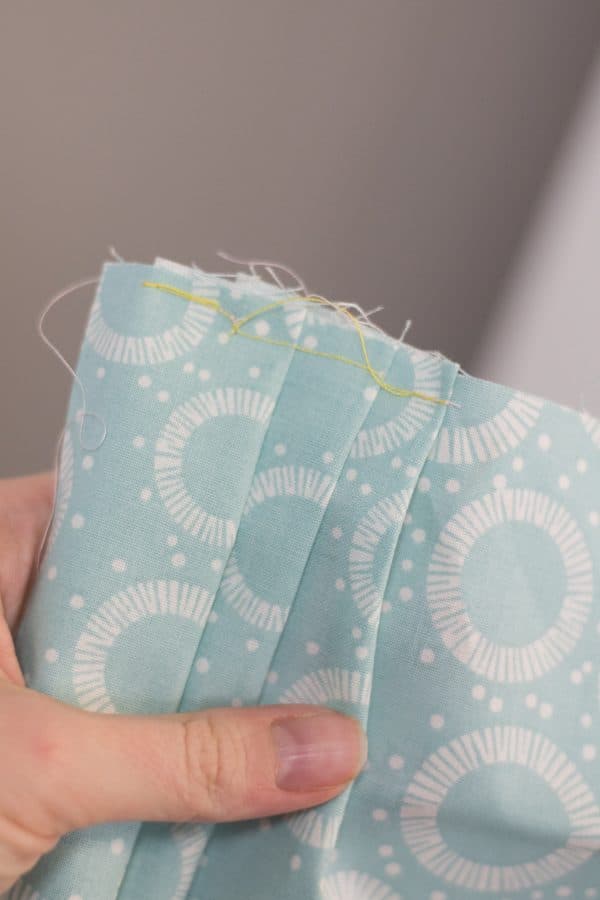
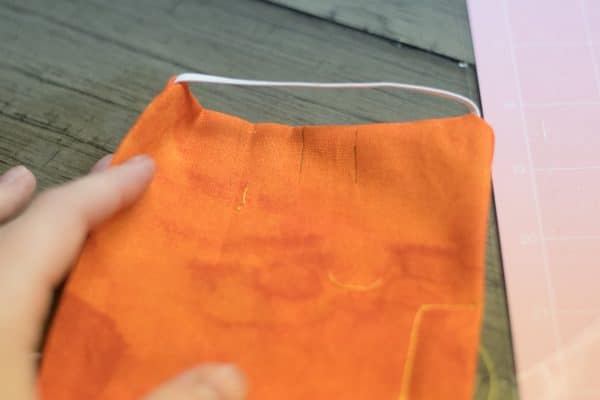
Now make three pintucks or pleats on each side of the mask in between the elastic. I did pleats on some of the masks, but I also did pintucks on another and they both work just fine. I think pintucks are a little bit easier. Here is the difference in the way they look:

PLEATS
Here is a little photo tutorial on the pleats:
PINTUCKS
Here is a photo tutorial on pintucks:
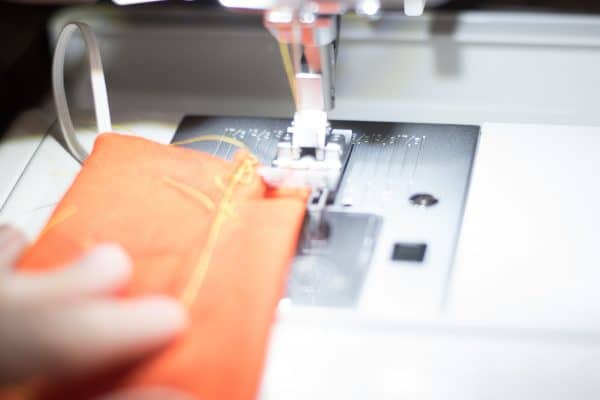
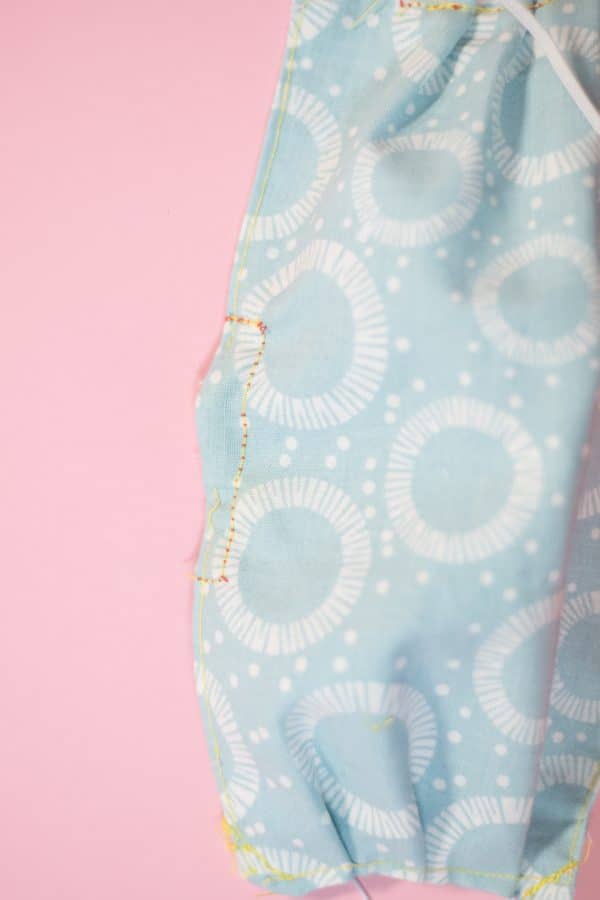
Once you’ve sewn the pintucks, do a top stitch around the entire mask.
DIY Face Masks
Materials
- Tightly woven cotton
- Matching thread
- Pipe cleaner
- Beading Cord Elastic OR thin flat elastic (I prefer flat elastic).
Tools
- Cricut Maker with Rotary Blade or Fabric Scissors if you aren’t using a Cricut
- Sewing Machine
- Iron or Cricut EasyPress Mini
- Pink FabricGrip Mat (if making with Cricut)
Instructions
If Using Design Space
Open this file in Design Space.
Press make it, and make sure your mats are set up how you like.
Put your material on your mat, select cotton as the material, and follow the prompts to cut your material.
Carefully remove your material from the mat.
Go to the instructions below under “assembly”
If Using PDF
Print off the patterns from above.
Cut out the material using the patterns – you will need two pieces for each mask.
Assembly
Cut two pieces of elastic to the width that goes with the size mask you are making (see above) and knot the ends (do not knot them if you are using flat elastic).
Place the two pieces of fabric right sides together.
Starting at the middle of bottom edge, sew to about 1″ before the corner and stop.
Place the edge in the corner and sew it in place going back and forth a few times.
Sew up to the next corner and put the other end of your elastic there. Sew in place.
Sew across the top of the mask until you get about 1/3 of the way through, and then leave a gap that’s about another 1/3 of the width, and then start sewing again to the next corner, and put another piece of elastic in the corner and sew in place.
Sew down to the final corner and sew the last part of the elastic in place.
Sew across the bottom, leaving about 2″ open.
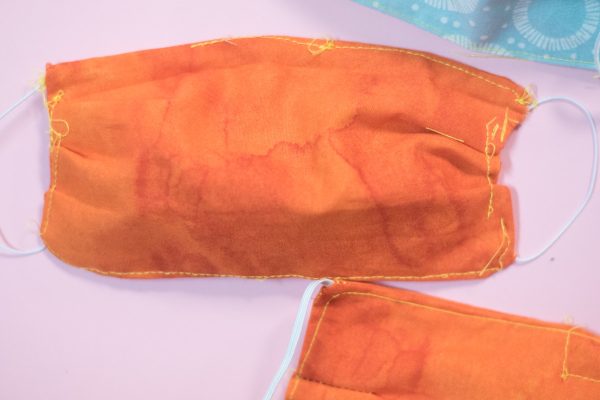
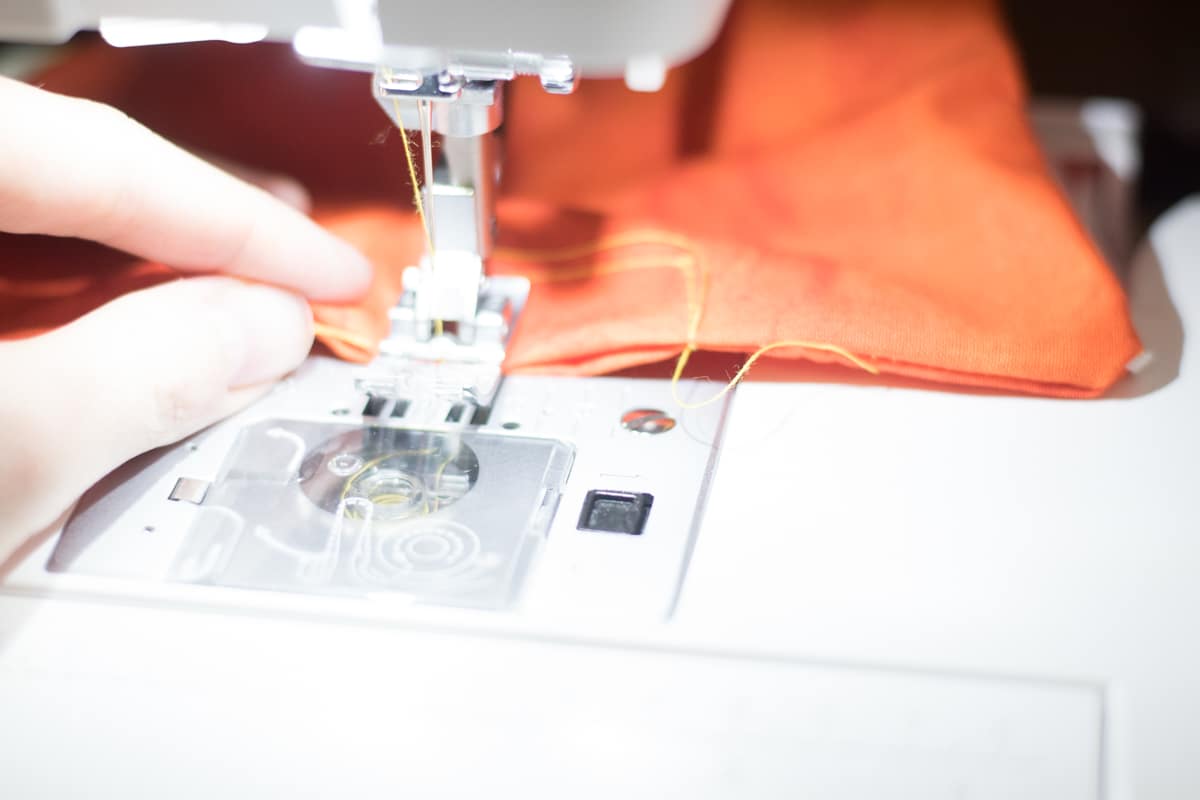
Turn the mask right side out, press your seams, and sew the bottom edge shut.
sorry this is kind of blurry, but you get the idea – this for a child’s mask
Go to the gap you left at the top of the mask and sew down about 1″, over to the end of the gap, and then sew up (so it’s like three sides of a rectangle.
Cut a piece of your pipe cleaner to the size of the open rectangle and place it inside, Tuck the rough edges inside and sew shut.
Now make three pintucks or pleats on each side of the mask in between the elastic. I did pleats on some of the masks, but I also did pintucks on another and they both work just fine. I think pintucks are a little bit easier. Here is the difference in the way they look:
PleatsPin Tucks
Once you’ve sewn the pintucks, do a top stitch around the entire mask.
Other Projects You May Enjoy:


there is no link to the pdf pattern…
You don’t state a seam size. Is it 1/4″, 1/2″ or 5/8″?
1/4″