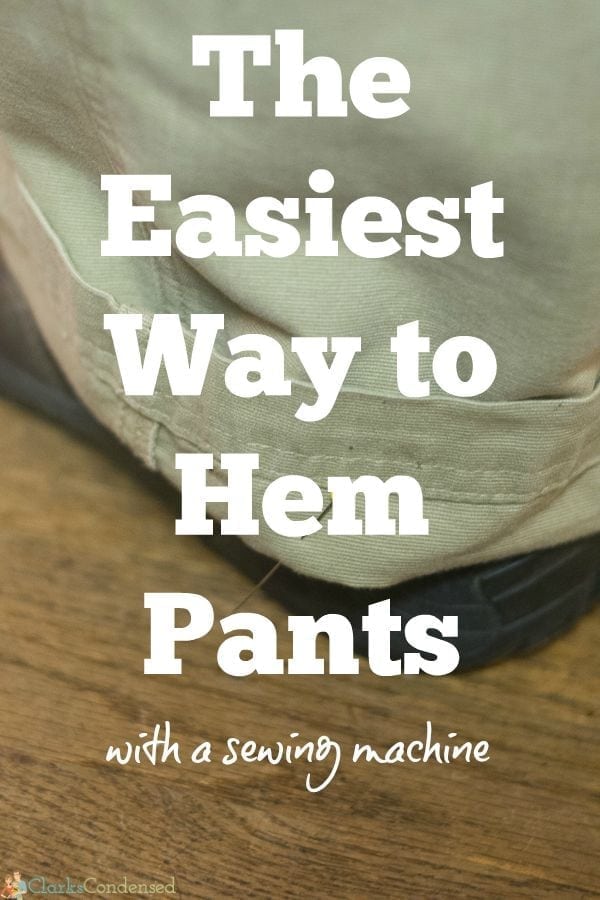
The Easiest Hemming Method
As much as I enjoy sewing, I am not the best seamstress out there! Most of my projects are not related to clothes because I find you typically have to be more precise than with other projects. I usually avoid hemming things because you have to make sure all the measurements are perfect – you can notice a mistake on a hemming project pretty easily!
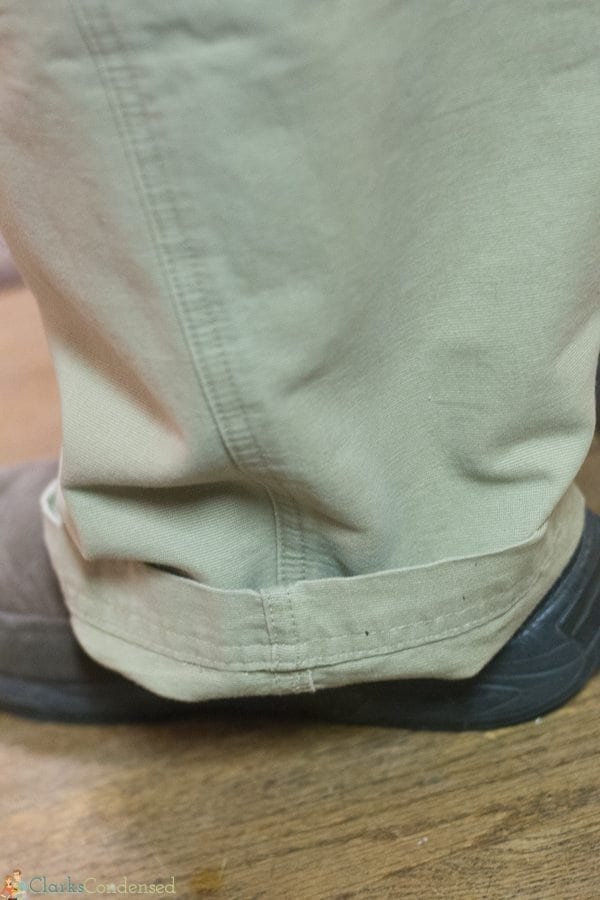
However, a few weeks ago my mom asked me if I could help her hem some of my dad’s pants for a pioneer trek that they would be going on with our church. Since the pants already had an existing hem, I decided to use this method that lets you preserve the existing hem. It’s the easiest way to hem if you ask me, and I finished all of this in less than an hour.
So, without further delay, here’s a quick tutorial on how to hem clothes and keep the existing hem!
Step One:
Put on the pants (or dress/skirt) that you want to hem and fold it up to where you want the new length to be.
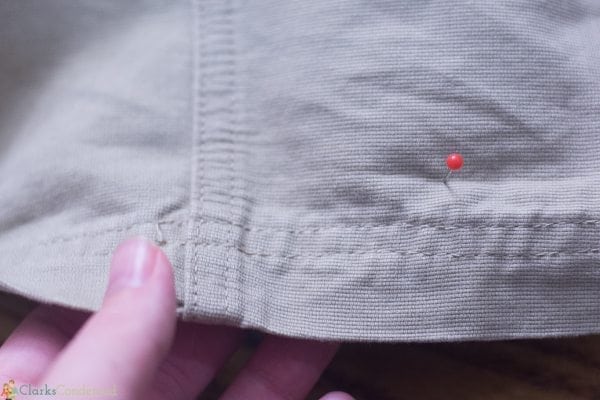
Step Two:
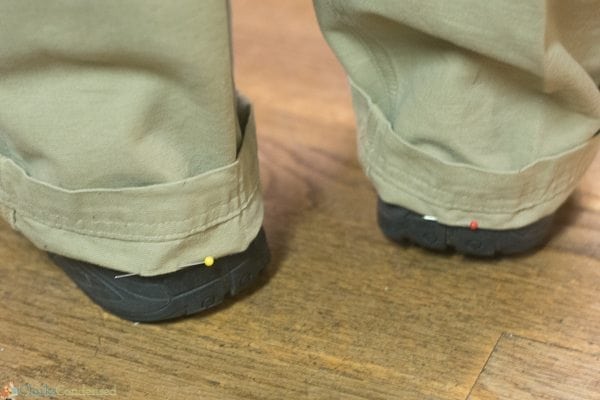
Once you’ve determined the length that you want your pants to be, use a long straight pin to pin right at the crease, as seen above. It’s essential to make sure you measure both legs – in my dad’s case, we had to shorten one pant leg a lot more than another!
Step Three:
Fold the current hem down and replace the pin where you created the areas where the crease was created when you were determining the length .
Step Four:
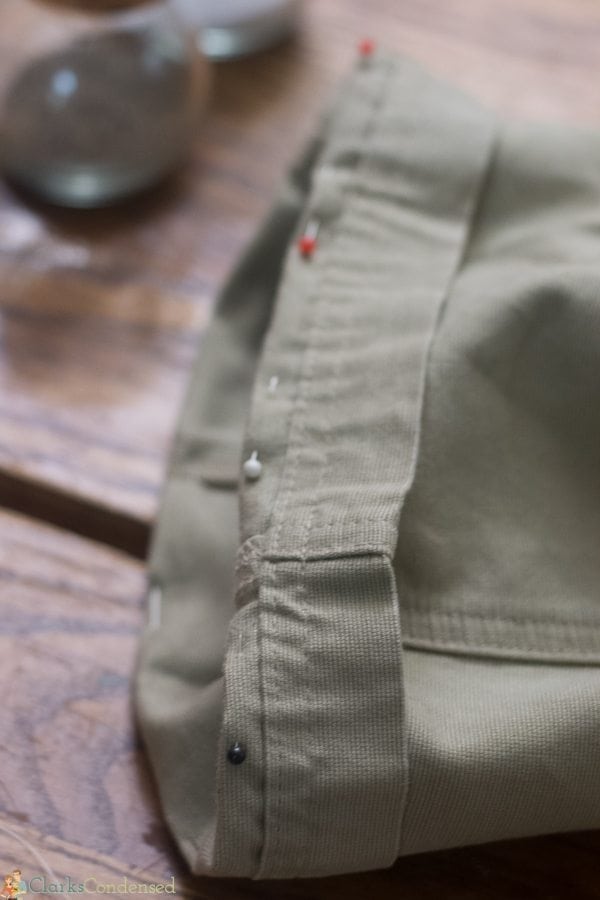
Then fold the pant leg back up until the original hem is just above the crease. Repin and add pins all the way around.
Step Five:
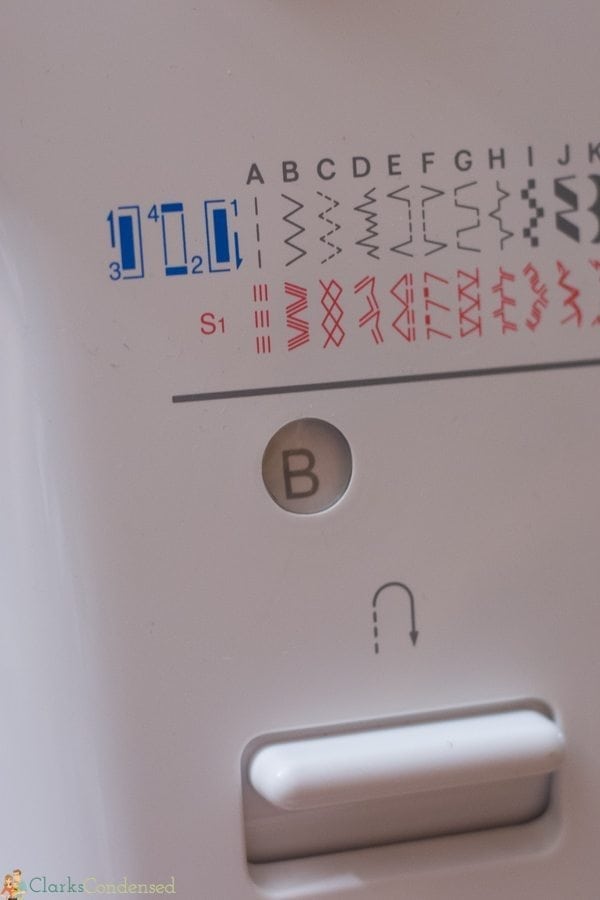
Using a zig zag stitch, sew all the way around the crease you pinned.
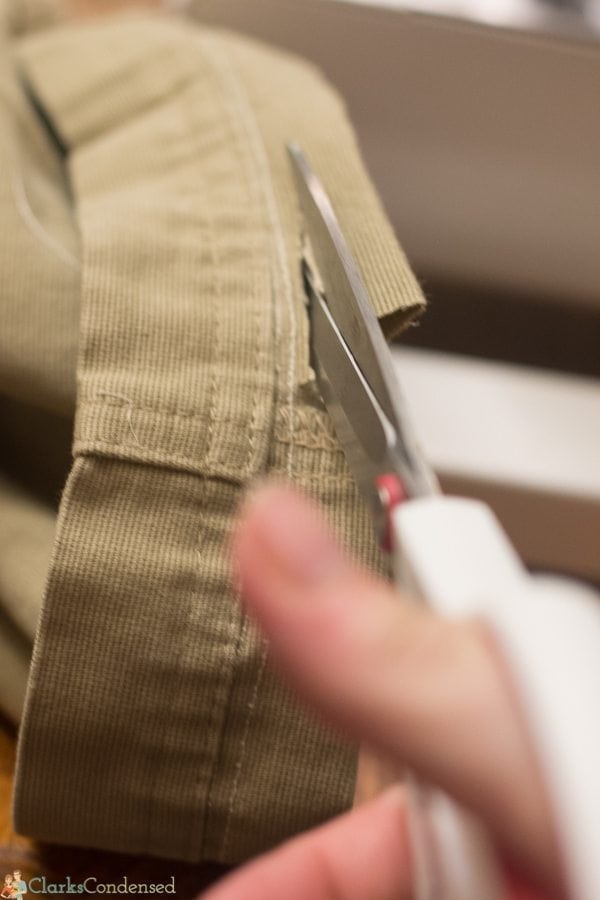
Step Six:
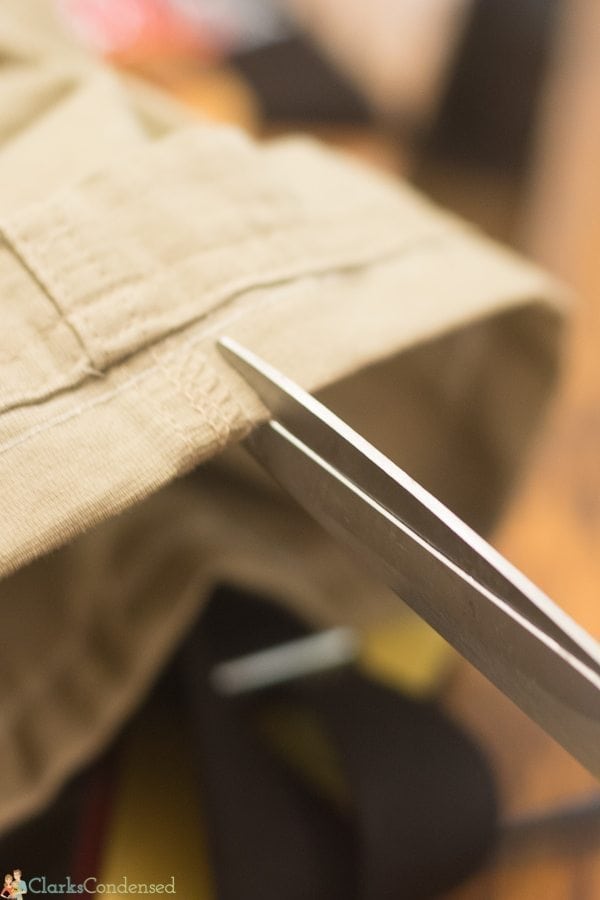
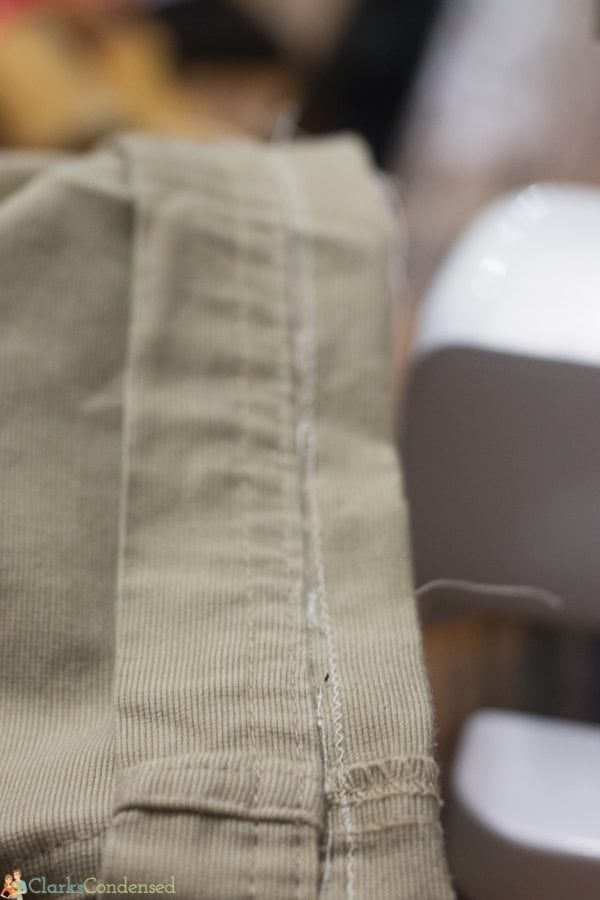
Using sharp sewing scissors, carefully cut up to right below the zig zag stitch and then cut all the way around the pant leg (under the stitch) removing the excess material.
Step Seven:
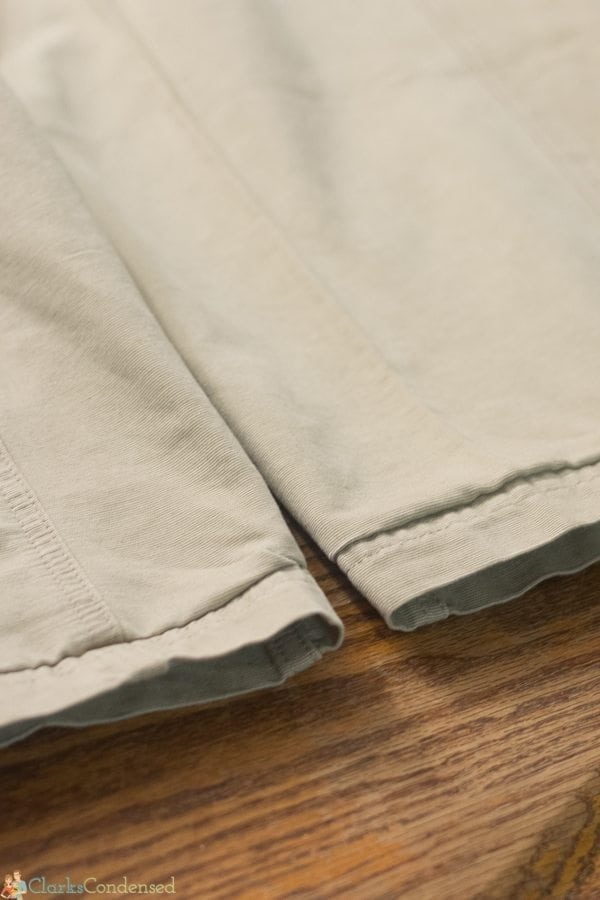
Fold down the pants and then iron them. I obviously had not ironed the new hem at this point, but you definitely need to to make sure everything looks nice and crisp!