DIY Dollar Tree Conversation Heart Garland
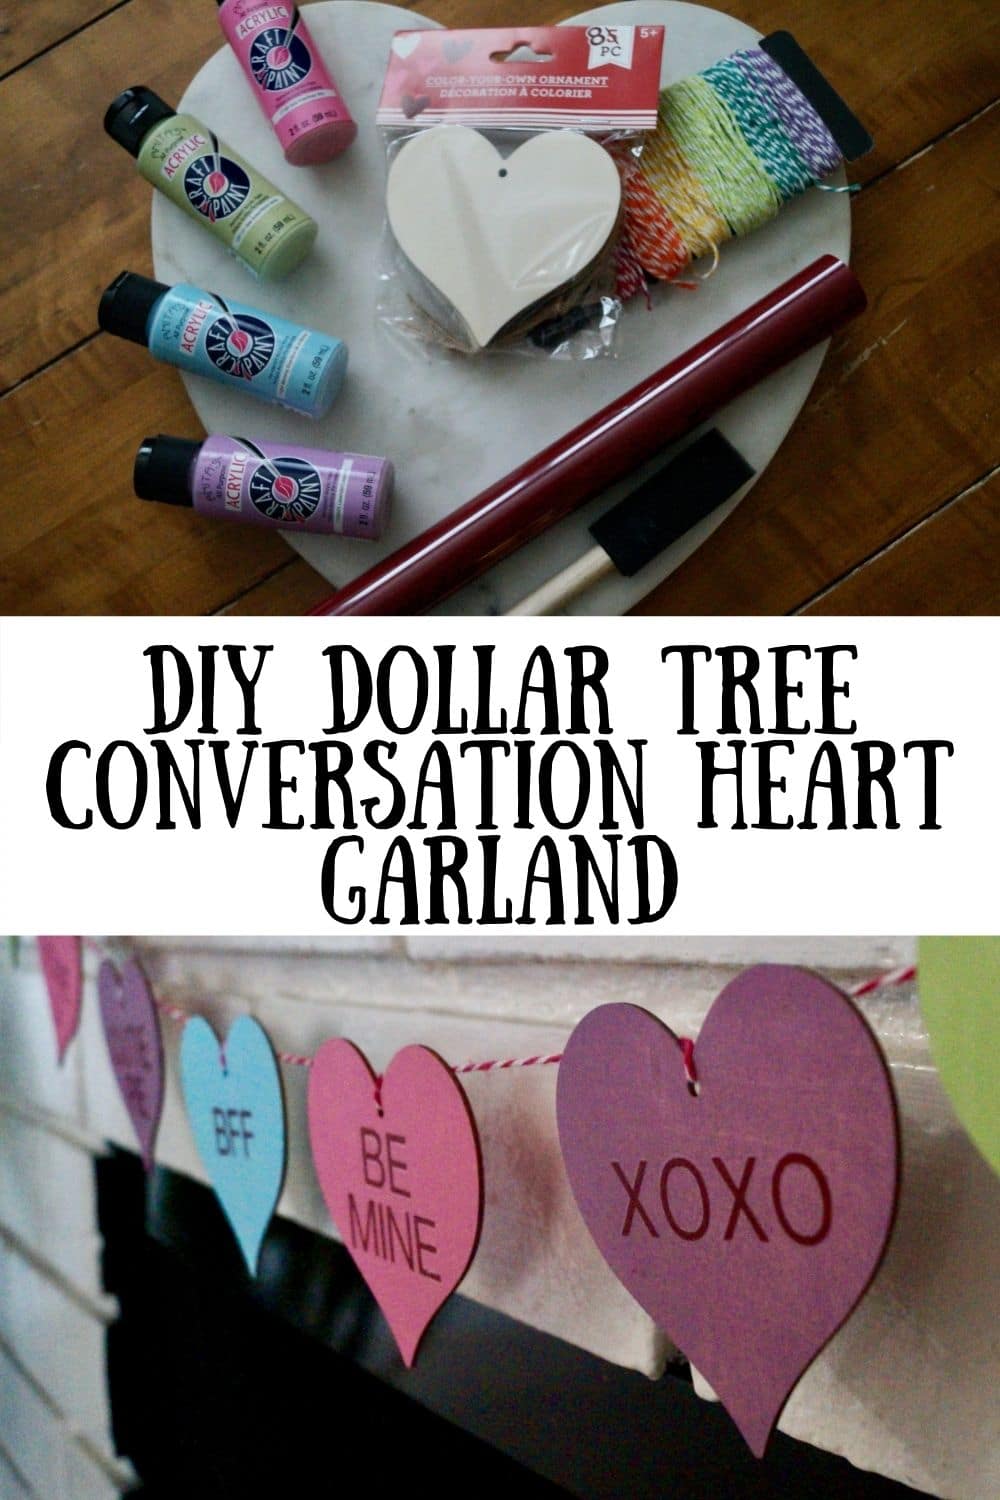
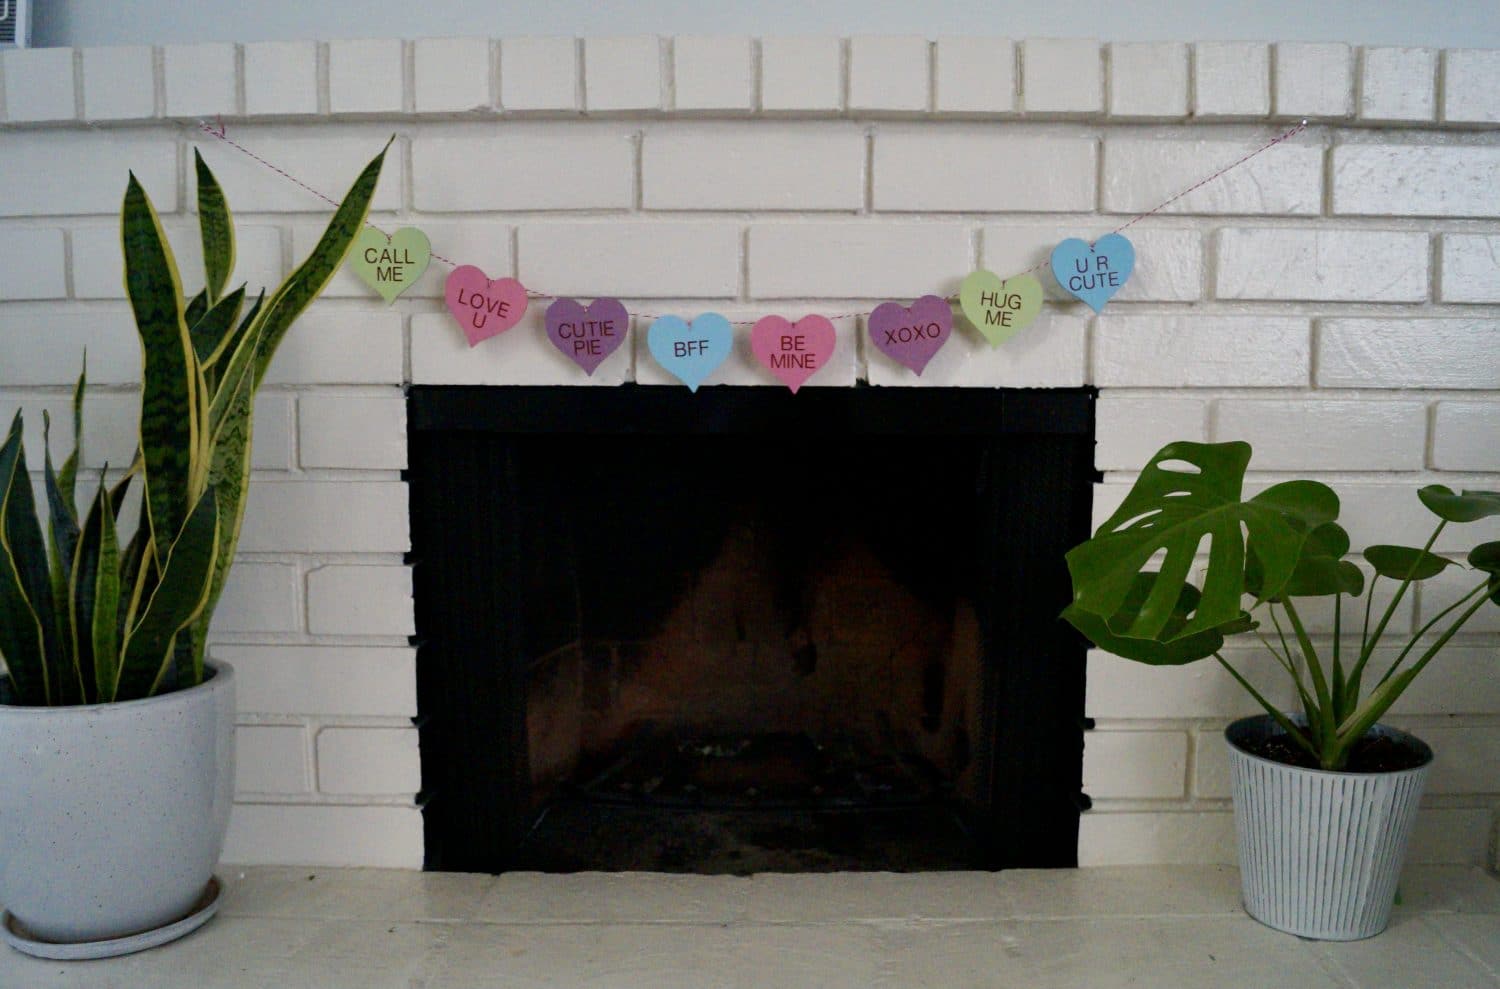
This super easy Conversation Heart Garland will be such a fun addition to your Valentine’s Day decorations. With just a handful of supplies and your Cricut, you will have this garland made in no time!
When I saw these heart-shaped wood cut outs at my local Dollar Tree, I knew exactly what I wanted to make!
It’s so hard to think of Valentine’s Day without thinking of Conversation Hearts. All of the colors and sayings are just so cute, and they make even cuter Valentine’s Day decorations.
What sayings should I put on my hearts?
You can always look up a list online for some ideas or even write your own, but here are the phrases that I used on my garland:
- “Call Me”
- “Love You”
- “Cutie Pie”
- “BFF”
- “Be Mine”
- “XOXO”
- “Hug Me”
- “U R Cute”
What font should I use?
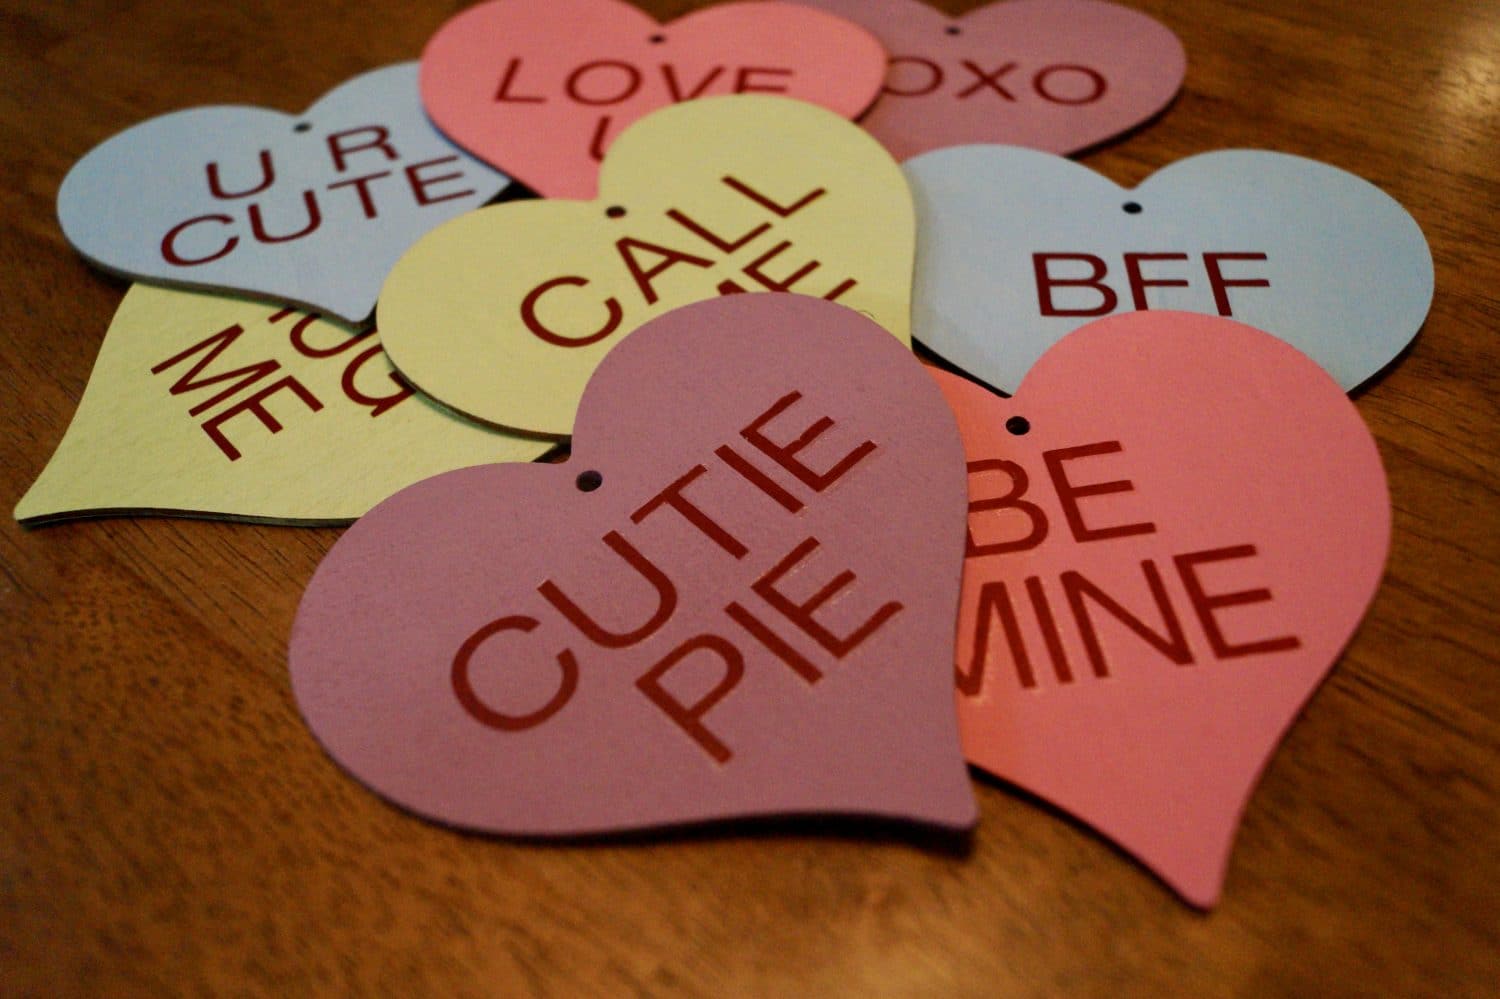
I used Helvetica Neue in all caps to mimic the iconic look of real conversation hearts. My font size was 65, but depending on the size of hearts you find, you will have to change the size of your design.
It is also super important to change the line spacing otherwise you will have huge gaps between your two lines of text. I used -3.1 line spacing, but you can decide what you like best.
Should I use adhesive vinyl or HTV?
Personally, I love using HTV on wood projects like this. When applied, the HTV comes out matte instead of glossy like adhesive vinyl – so it looks more like paint. Because conversation hearts are generally chalky looking, I highly suggest using HTV.
If you don’t have any on hand or you want a cheaper option, I promise that adhesive vinyl will still look just as cute! I suggest applying a glossy polyurethane or high gloss Mod Podge so the glossiness of the hearts matches the shine of the adhesive vinyl.
How to Make Conversation Heart Garland
Here’s what you’ll need:
- Heart-shaped wood cutouts (here is a listing on The Dollar Tree website – be sure to see what your local Dollar Tree has as well!)
- Craft Paint (many Dollar Tree stores carry this now!)
- Sponge brush(es)
- Cricut or other cutting machines
- Vinyl (I used red HTV to match the original conversation hearts, but you can use whatever color you would like)
- String
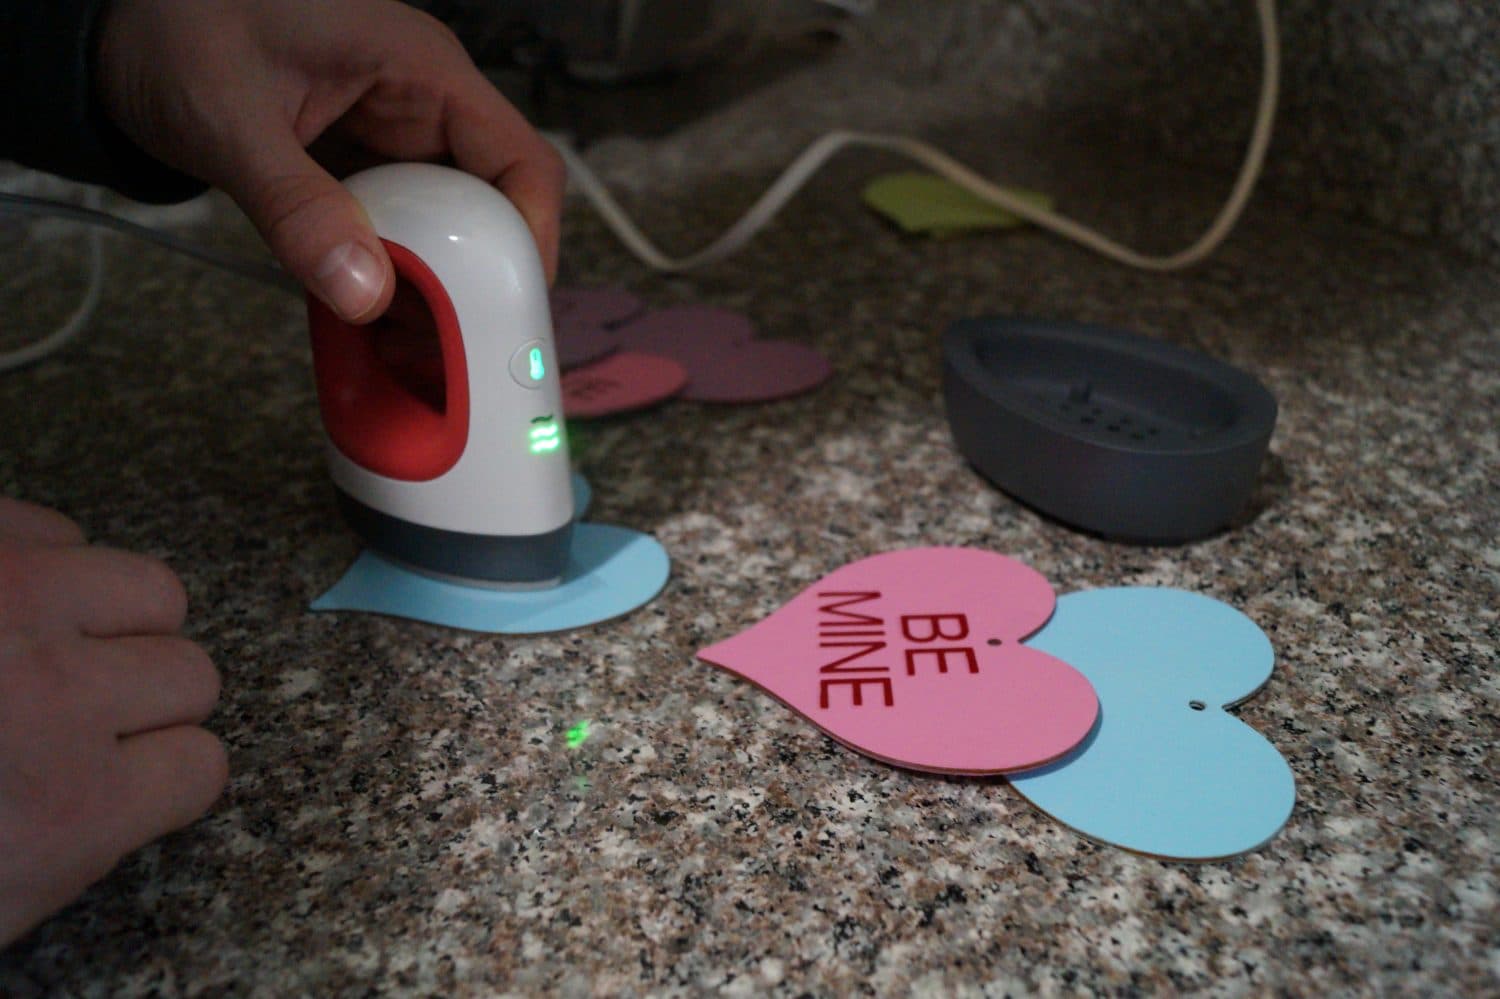
- Cricut EasyPress, if you’re using HTV
Instructions
- Paint the hearts different colors. I had eight hearts and used 4 different paint colors, so I have 2 hearts in each color. Allow to dry for about 24 hours.
- Open Cricut Design Space, and create a new project.
- Add text, and type up any sayings you want on your conversation hearts.
- When you’re ready, select “Make It.”
- Cut the images. *Don’t forget to mirror image if you are using HTV.
- Weed excess vinyl, and apply to the hearts.
- If using adhesive vinyl, use transfer tape to apply designs to hearts.
- If using HTV, check the packaging of your vinyl to make sure that you use the proper settings on your EasyPress. (Temperature, length of time, hot/cold peel, etc.)
- String your hearts onto your desired ribbon, twine, or string. Enjoy!
How to Card

DIY Dollar Tree Mugs
Personalized mugs make amazing gifts that anyone will love. With the help of your Cricut you will have these inexpensive, handmade gifts, you will whip these up in no time!
Materials
- Mug
- Permanent adhesive vinyl
- Transfer tape
- Rubbing alcohol
- Cotton rounds
Tools
- Cricut or other cutting machine
- Oven
Instructions
- Preheat your oven to 300 degrees Fahrenheit.
- Use your Cricut to cut out a design in permanent adhesive vinyl. Weed your design.
- Thoroughly wash you mug, and use cotton rounds to clean mug with rubbing alcohol. Make sure your mug is dry.
- Use transfer tape to apply the vinyl design to the mug.
- Bake mug in oven for 15 minutes.
- Enjoy!
Notes
To preserve the design, hand wash only.
Other fun crafts you might enjoy:
- 70+ Dollar Tree DIY and Craft Ideas
- DIY We Survived 2021 Ornament
- Easy DIY Thanksgiving Glasses with Cricut
- Easy DIY Mouse Ear Headband – Free SVG and PDF Pattern
- DIY Trick or Treat Pumpkins – Free SVG Files
- DIY Cricut Farmhouse Sign – Perfect for Fall
- DIY Handprint Shirt for First Day of School (Cricut Design Space File)