
DIY Baby’s First Christmas Ornaments – Three Fun Ideas!
Make your baby’s first Christmas a little more memorable with this fun DIY Baby’s First Christmas ornaments.
This is a sponsored conversation written by me on behalf of Cricut. The opinions and text are all mine.
One of my favorite parts of Christmas when I was growing up was getting a new ornament.
My mom would always put so much thought into picking out a special one for each child. It was always so fun to see what she chose.
When I got married, she gave me my box of ornaments – all of which go on our Christmas tree every year – and I love being able to share the memories of those with my children.
We also always got an ornament when we would go on a vacation, which is a tradition I continue with my kids.
Because I loved this, I make an effort to pick out a special ornament for my kids each year – and they always seem to enjoy it.
Just as I loved my dad getting down our Christmas ornaments from the attic at the beginning of each December, Jack and Oliver love looking at their ornaments from the past and carefully putting them on the tree.
This year is Andrew’s first Christmas, which means he will get his first ornaments to add to his collection.
I was hoping to order the same blue horse ornament that I got for Jack and Oliver, but I’m having trouble finding it online! So I thought it would be fun to make a couple of personalized baby’s first Christmas ornaments with my Cricut.
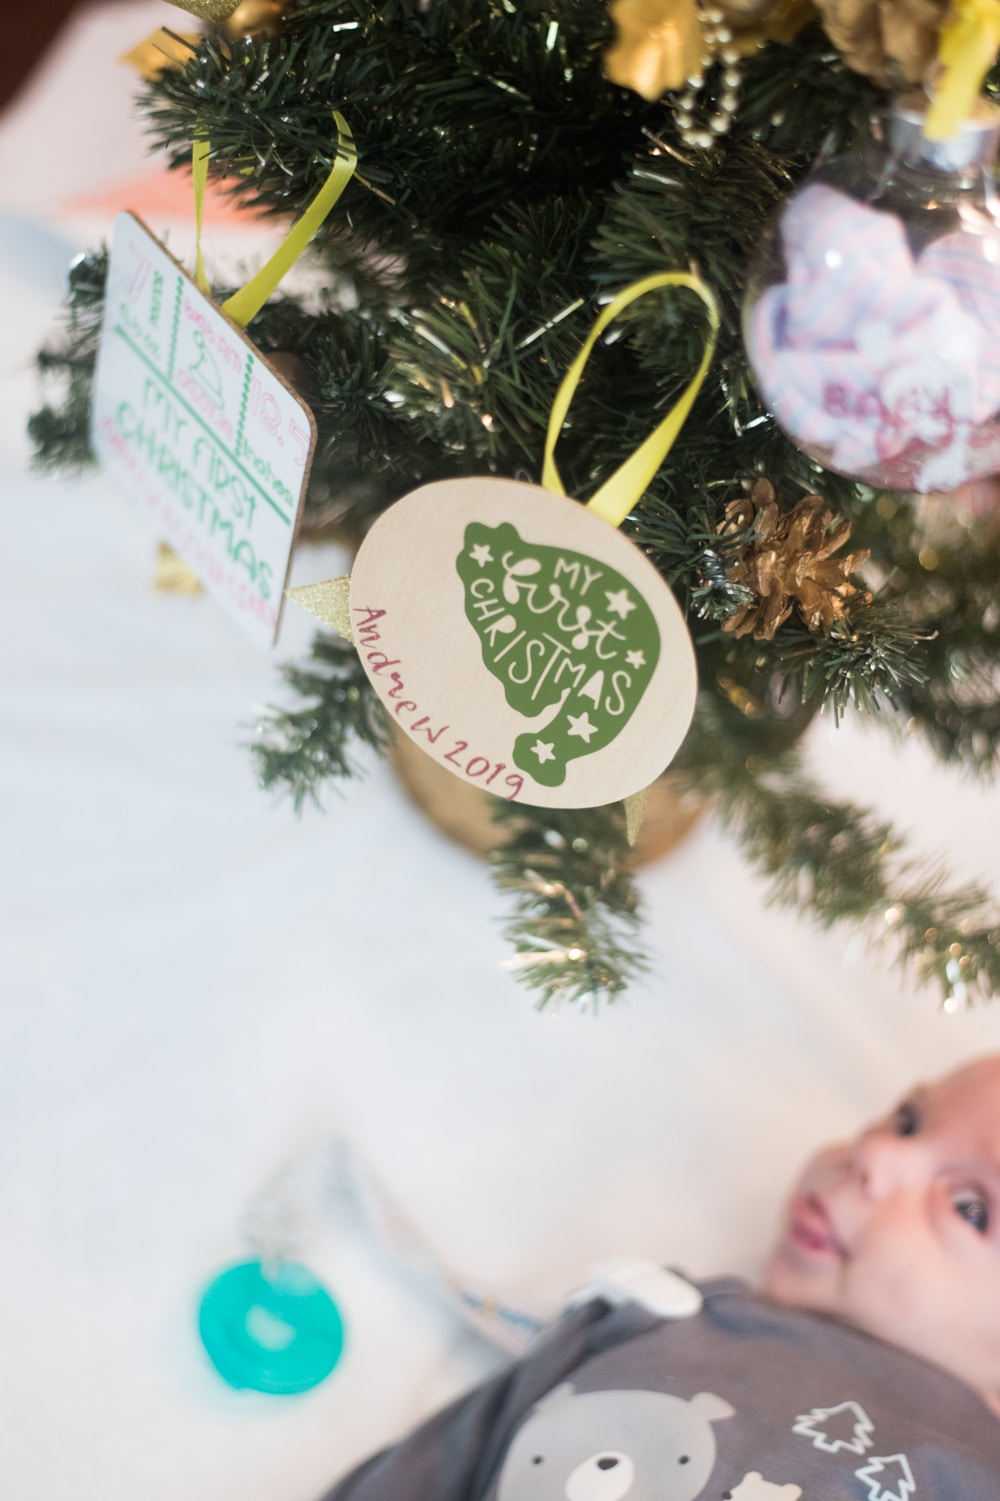
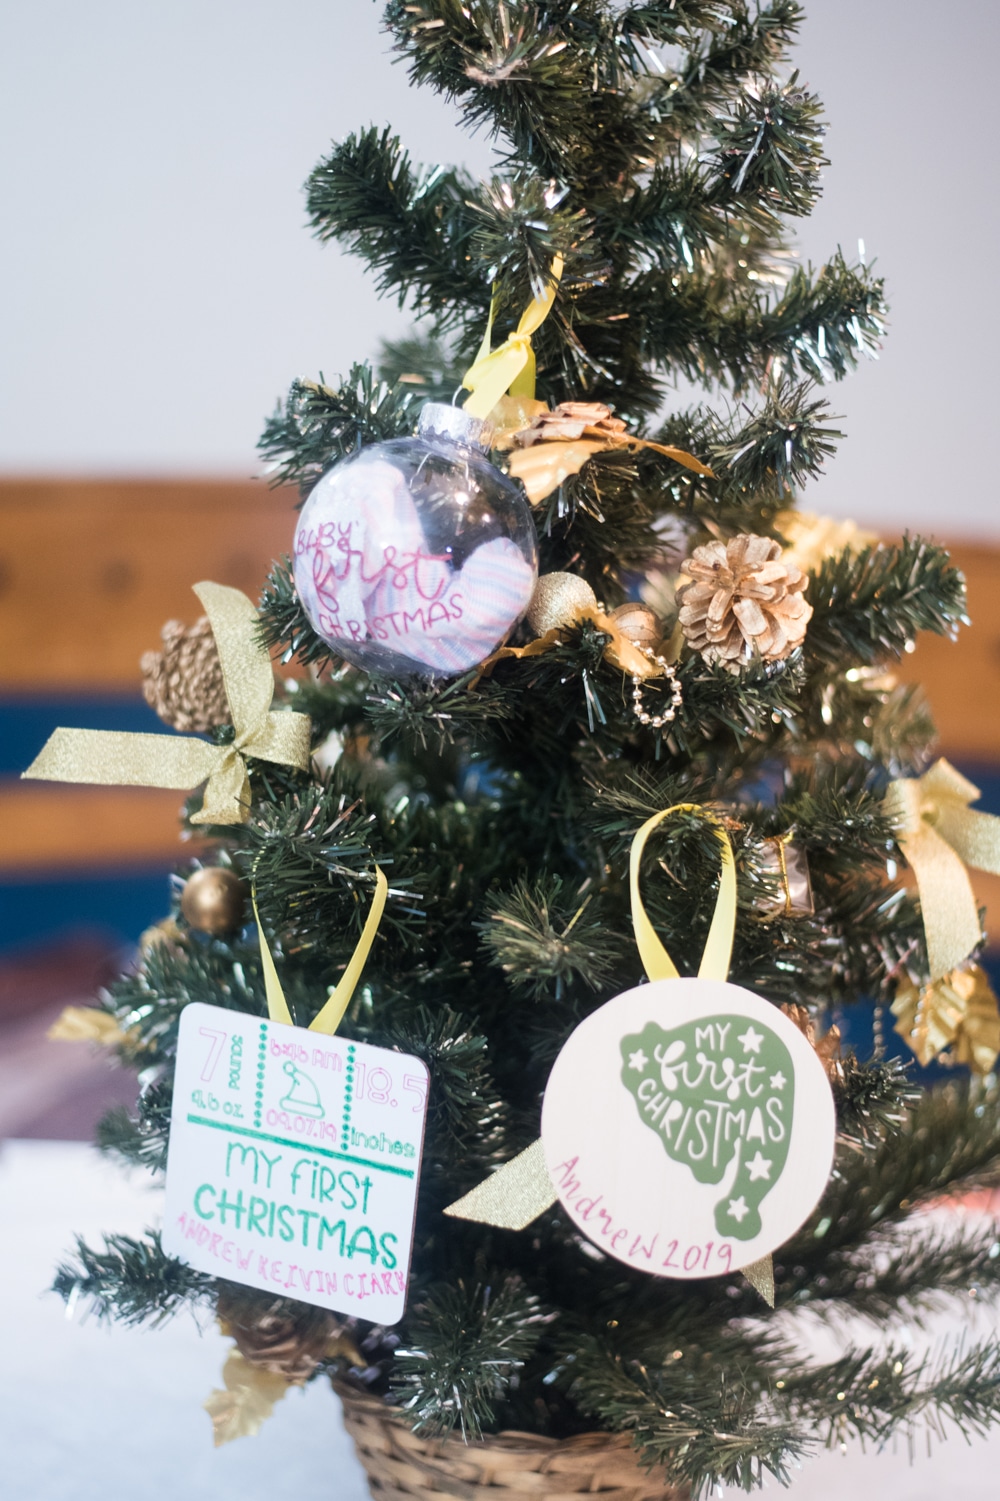
I made three different ornaments that are all unique in their own way – and totally personalized to Andrew.
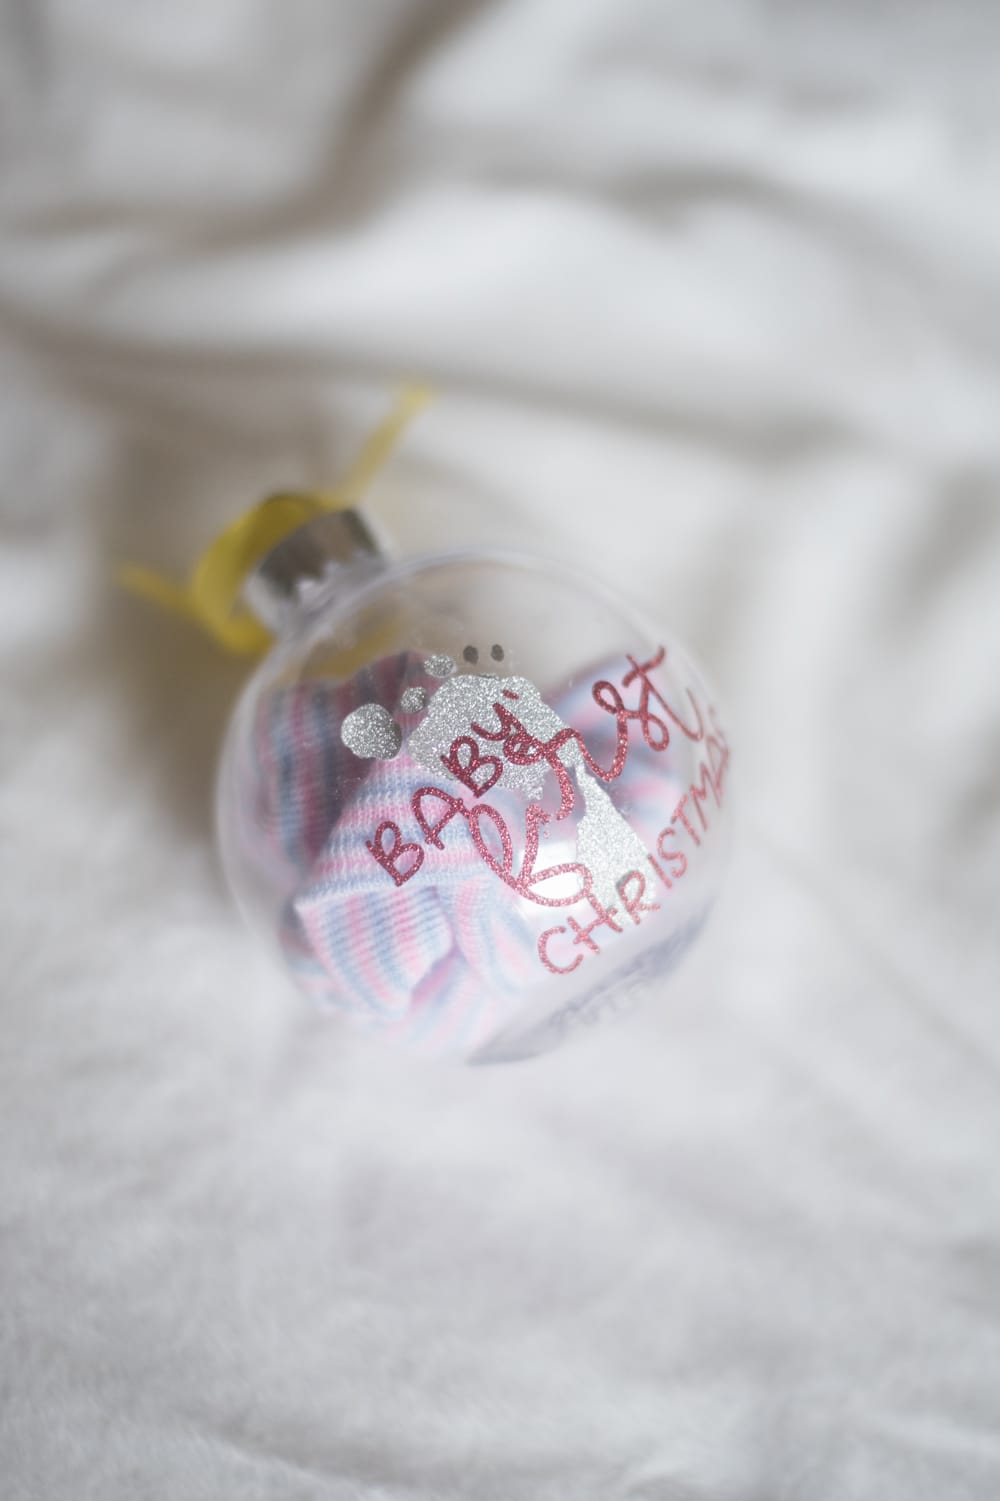
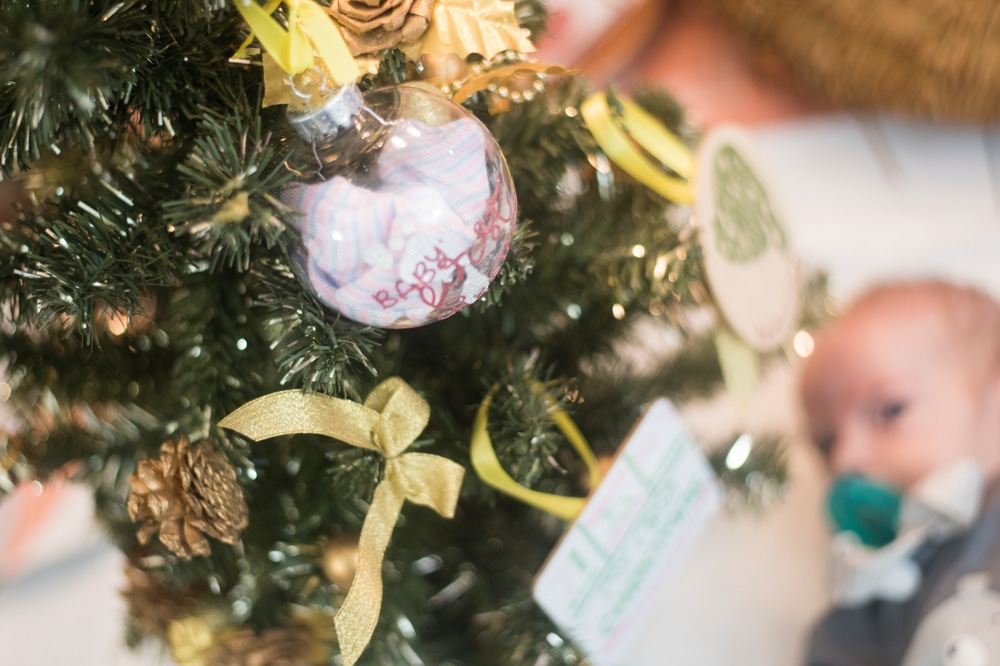
First, I have this ornament that has his hospital baby hat inside. On the outside is his little baby footprint from the hospital that I uploaded to Design Space!
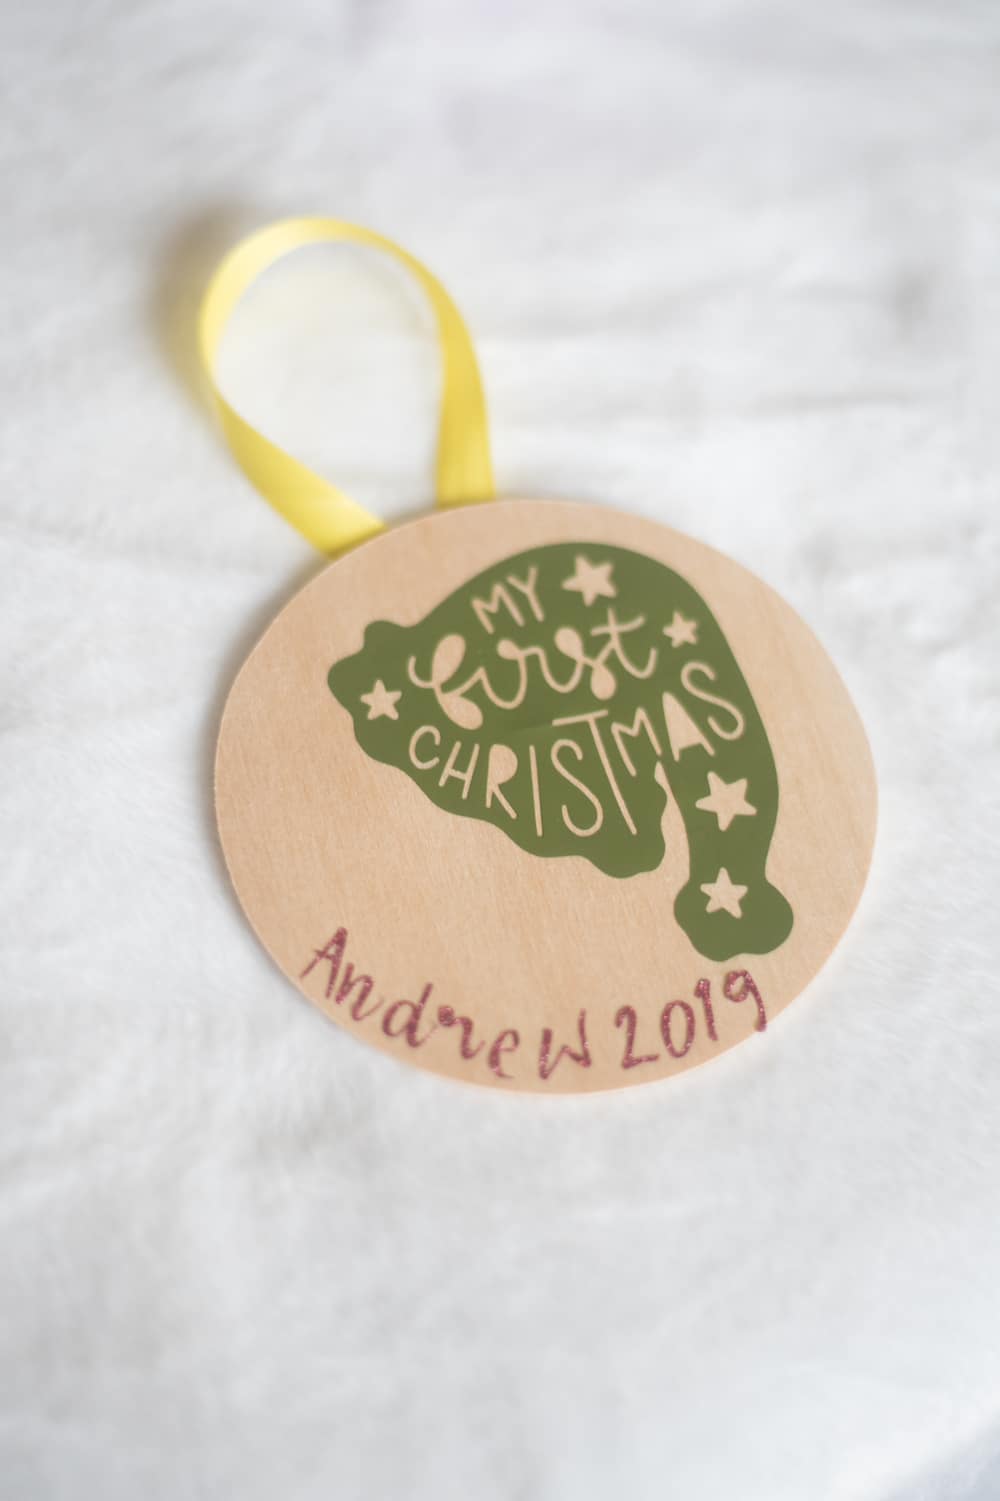
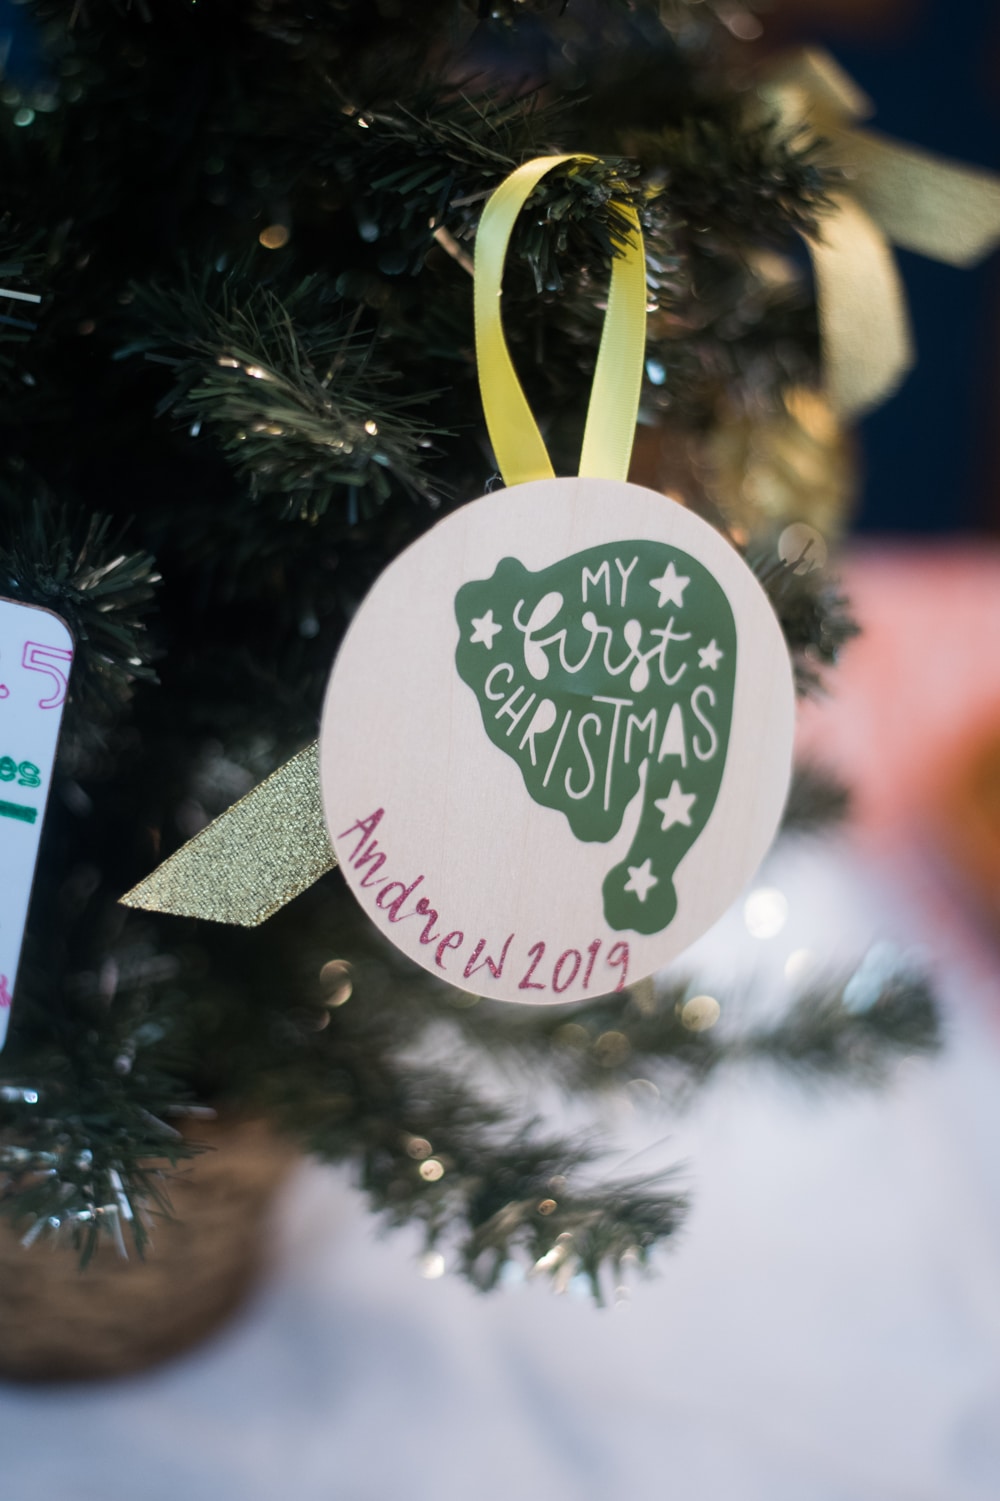
Second, I made one using basswood. I love how easy it is to cut basswood with my Cricut Maker, and I always think wood is nice and rustic. I added his name for a personal touch.
If you have a Cricut Explore Air 2, don’t worry – just follow this tutorial on how to cut wood with the Explore Air.
And finally, a baby stat ornament. I actually do this using Infusible Ink pens on the coaster blanks, and I LOVE how it turned out. I included his birth stats, which is something that was on my other boys’ ornaments as well.
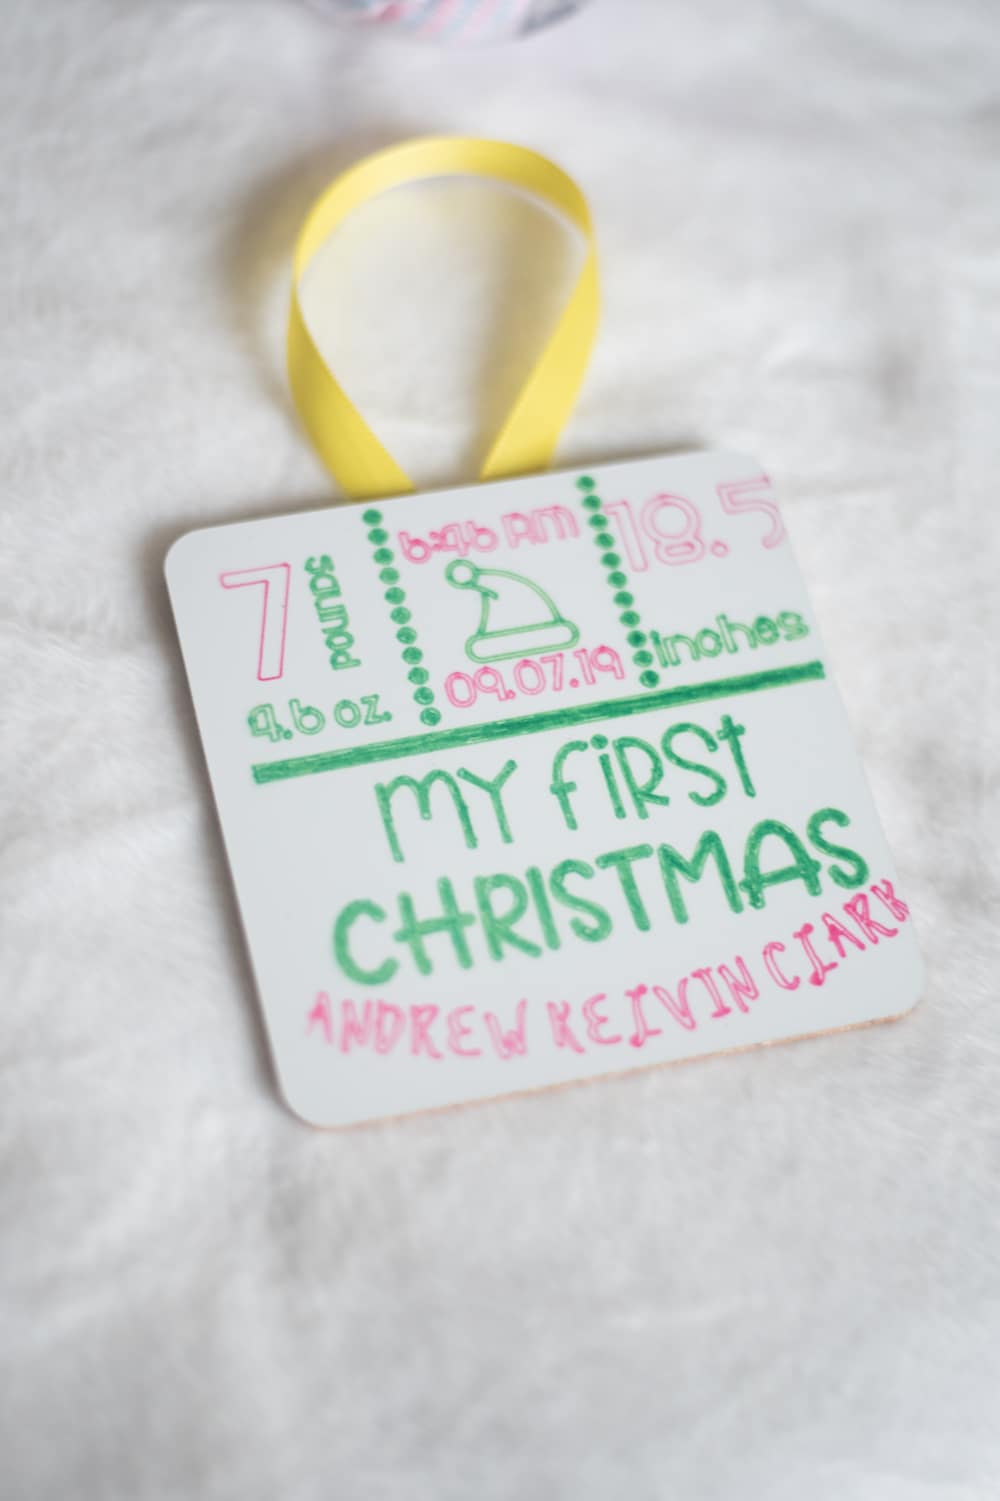
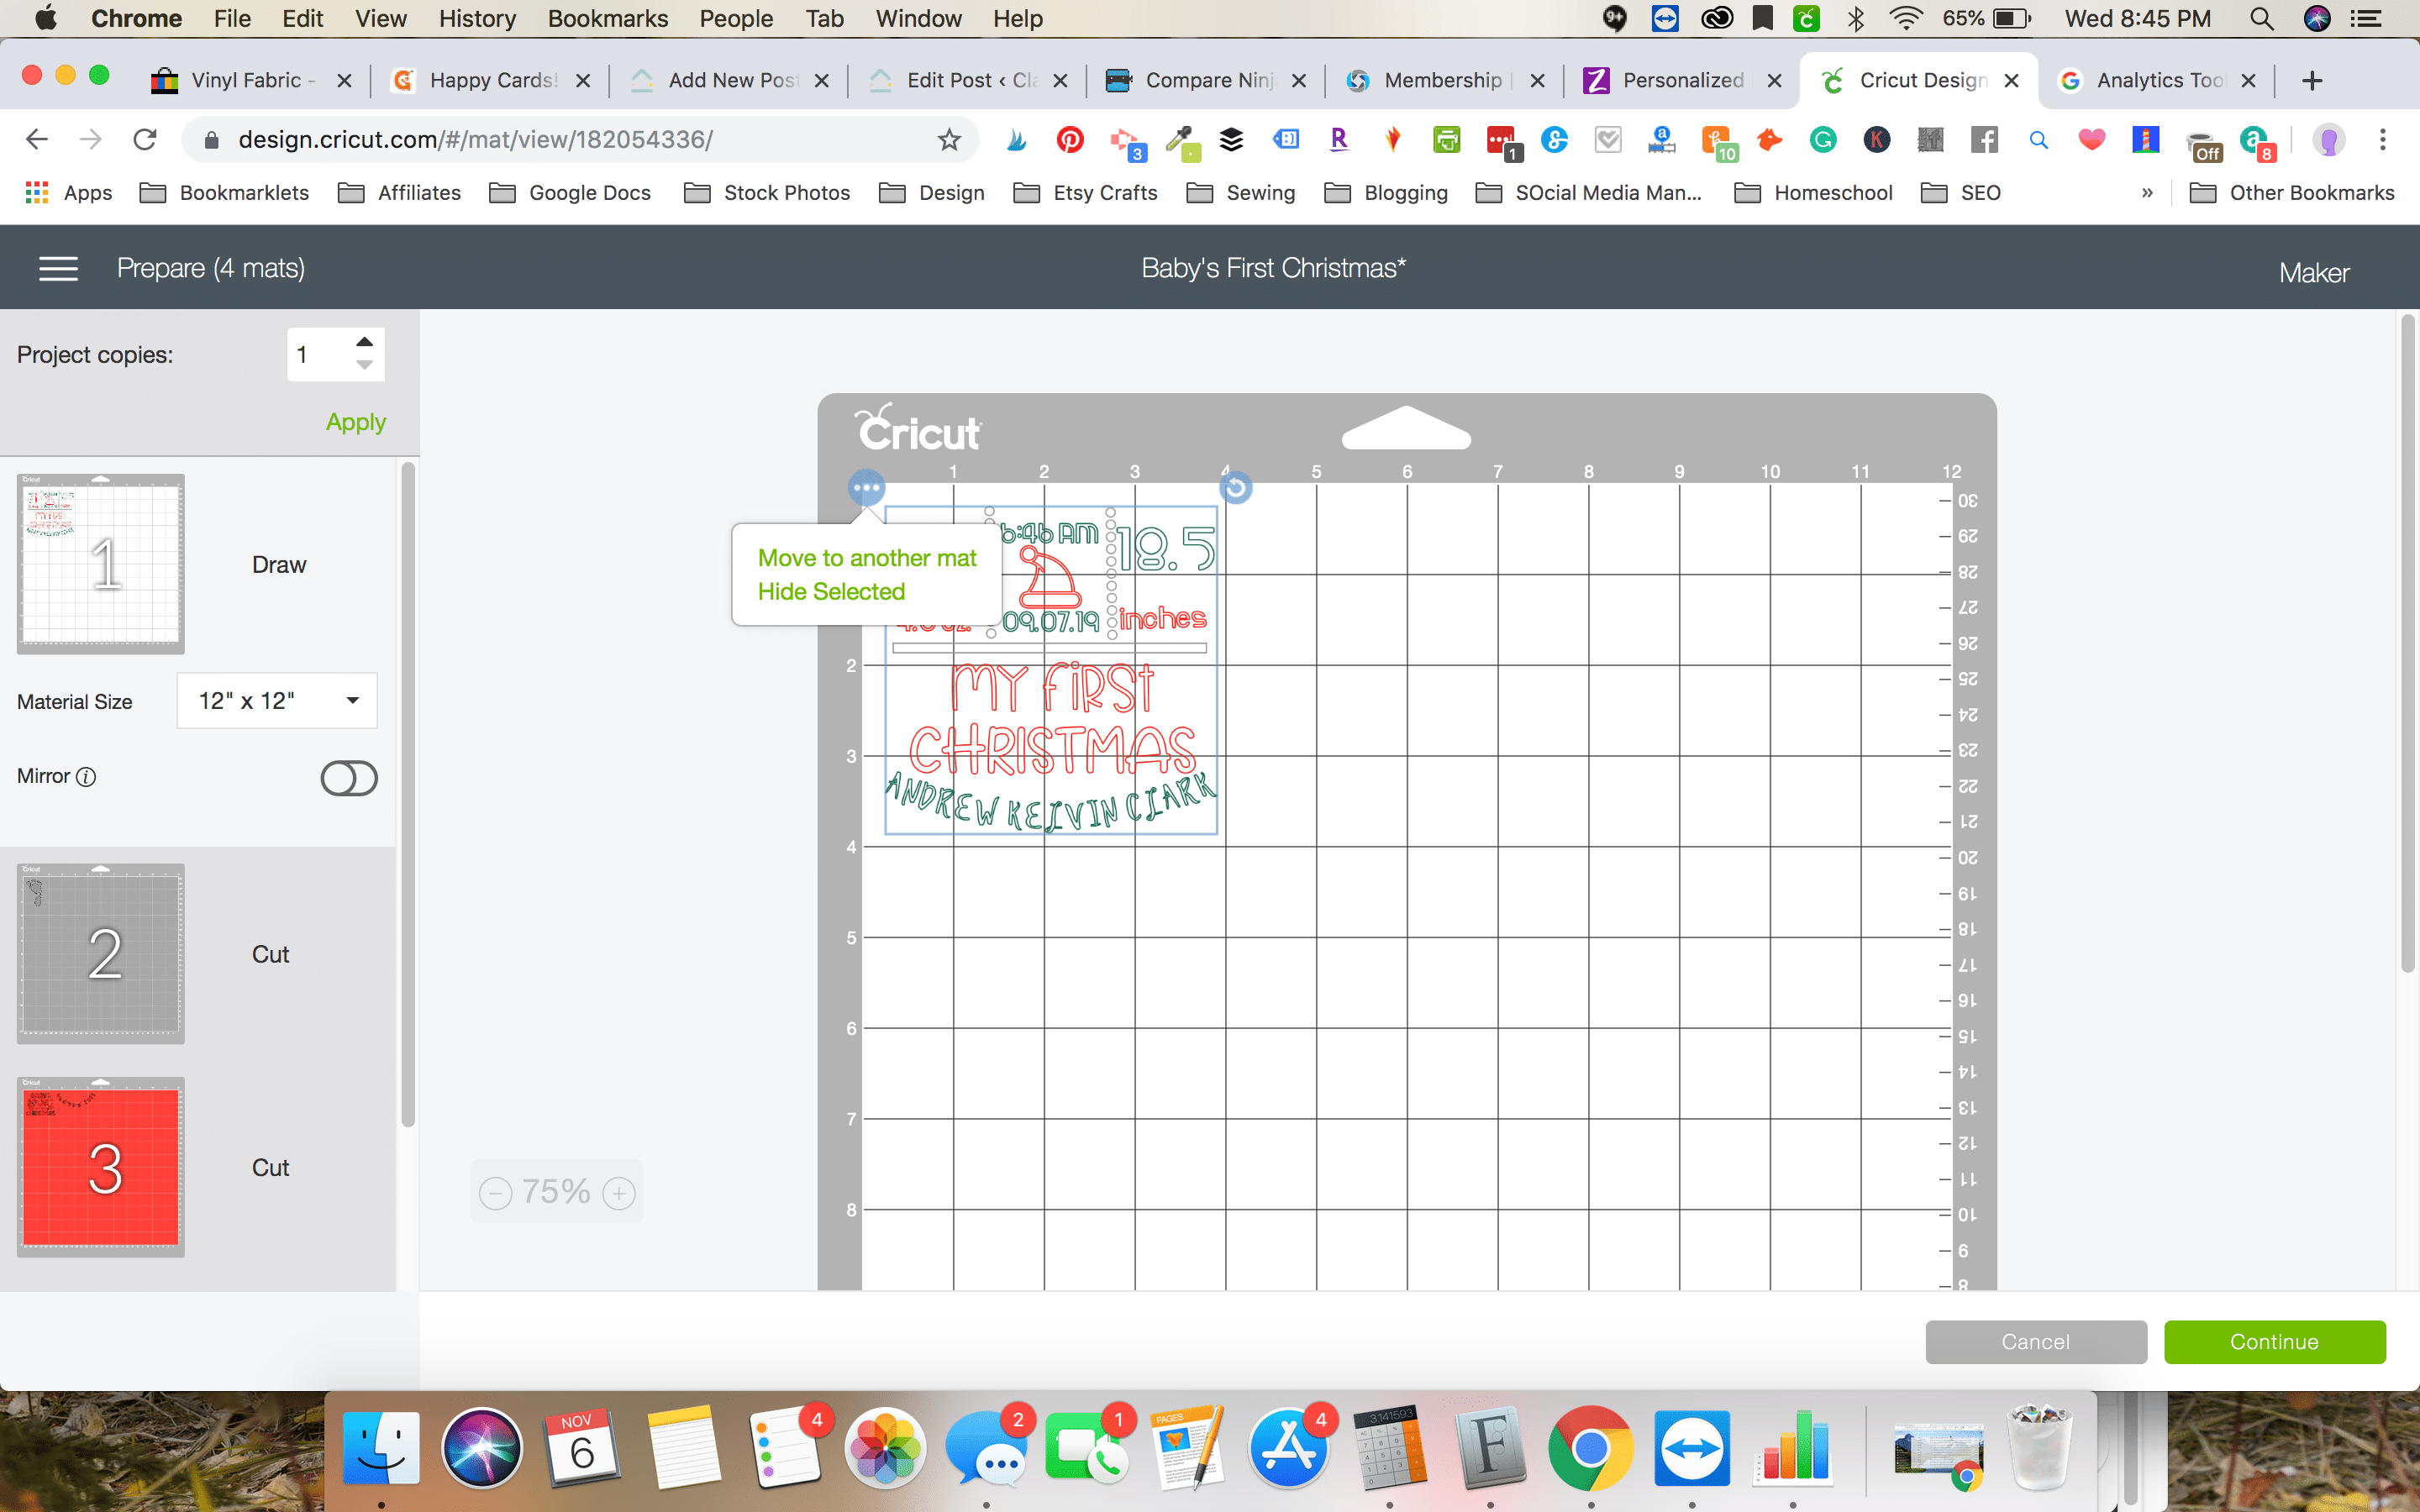
I have the cut files for each of these ornaments in the same Design Space file. Be aware that you will need to upload your own baby footprint image or I’m sure you can find a stock footprint in Design Space’s image library or on Etsy.
If you just want to do one of the files, just press make it, and on the mat, for each image you don’t want to use, click on the image, and then press the three dots in the left corner – press hide selected.
Hospital Hat Ornament
Materials:
- Glass or Plastic ornament bulb
- Two coordinating colors of vinyl (I used red and silver glitter vinyl)
- Baby hat
- Ribbon
- StandardGrip Mat
- Fine Point Blade
Instructions:
Open this file in Design Space.
If you are uploading your child’s footprint, take a picture in a well-lit area of the footprint. Crop it as close as you can and upload to Design Space. It can be a bit tedious making sure it’s perfect, but it’s worth zooming in nice and close to get rid of anything excess.
Put the footprint image behind the text.
Resize the image to fit the front of your ornament.
Press make it.
Put your vinyl on your mat and cut out the materials.
Carefully weed out the excess.

Place the footprint on the front of your ornament and then carefully put the words.
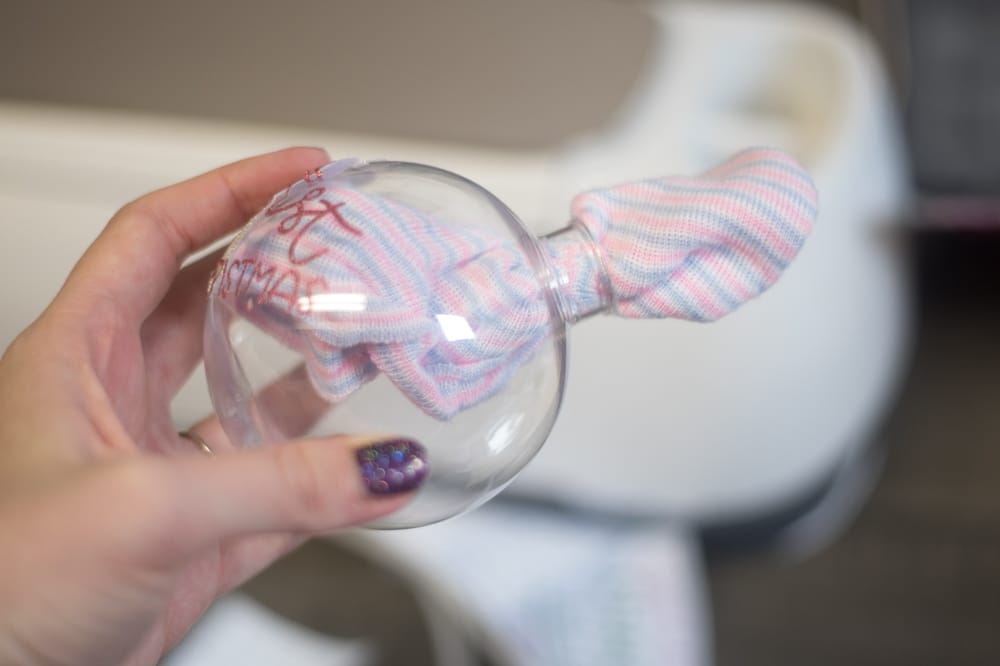
Put the baby hat inside the ornament through the hole in the top (alternatively, you could get an ornament that is plastic and opens into two pieces).
Tie a ribbon to the top and enjoy.
Baby’s First Christmas Wooden Ornament
Materials:
- Cricut Basswood
- Deep cut blade OR Knife Blade (depending on what machine you use.
- Fine Point Blade
- Vinyl in coordinating colors
- StandardGrip Mat
- Masking tape
- Ribbon
- Hot glue and hot glue gun
Instructions:
Open this file in Design Space.
Resize to whatever size you want the ornament to be.
Press make it.
Put vinyl on mat and press cut.
Cut out vinyl.
Put basswood onto the mat and tape down with masking tape.
Switch to the knife blade or deep cut blade.
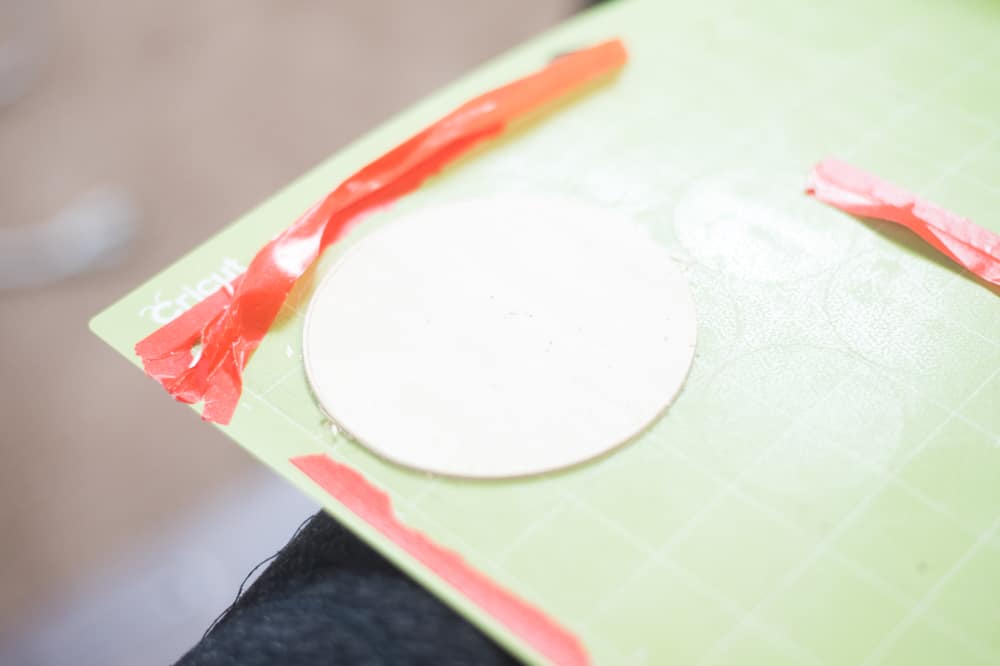
Cut out the circle.
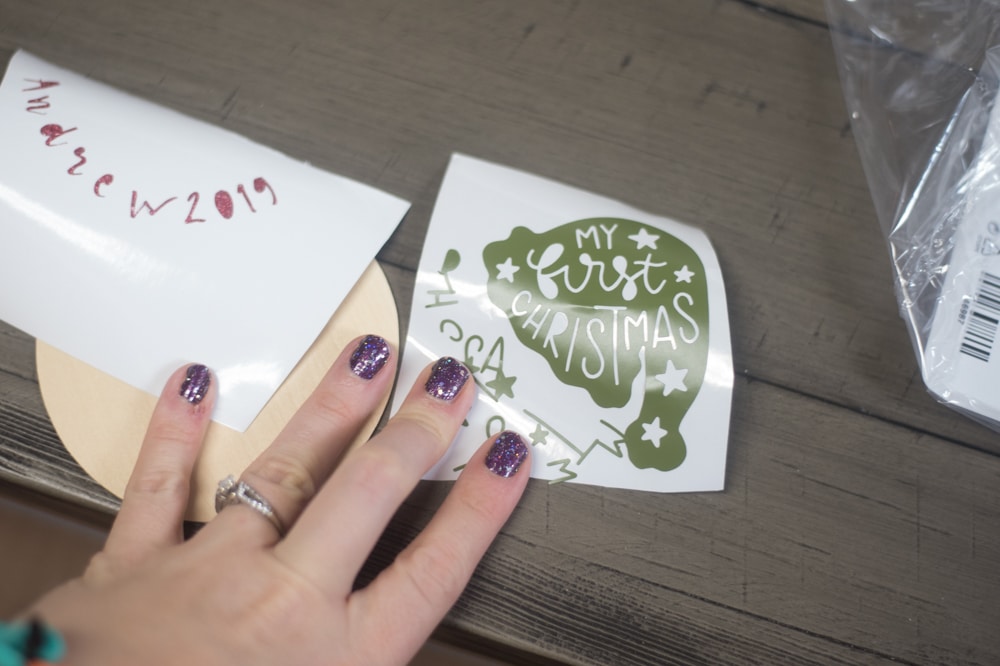
Weed out the excess vinyl.
Carefully transfer the vinyl to the wood.
Hot glue ribbon to the back.
Baby Birth Stat Ornament
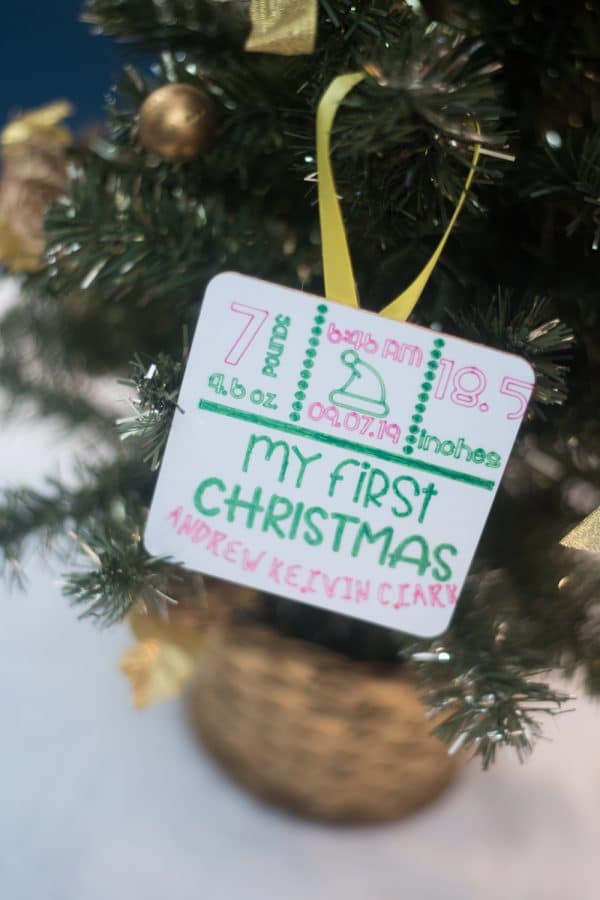
I loved how this one turned out. If you don’t want to use Infusible ink, just change the line type to cut and you can use vinyl instead!
Materials:
- Infusible Ink Pens – .4 tip is ideal (I used red and green – you can use whatever colors you like)
- Infusible Ink square coaster
- Printer paper
- Fine point blade
- EasyPress 2
- Cardstock
- 4 pieces of butcher paper
- LightGrip Mat
- Ribbon
- Hot glue and hot glue fun
Instructions:
Open this file in Design Space.
Press make it.
The file is sized perfectly for the square coaster, so I don’t recommend resizing this.
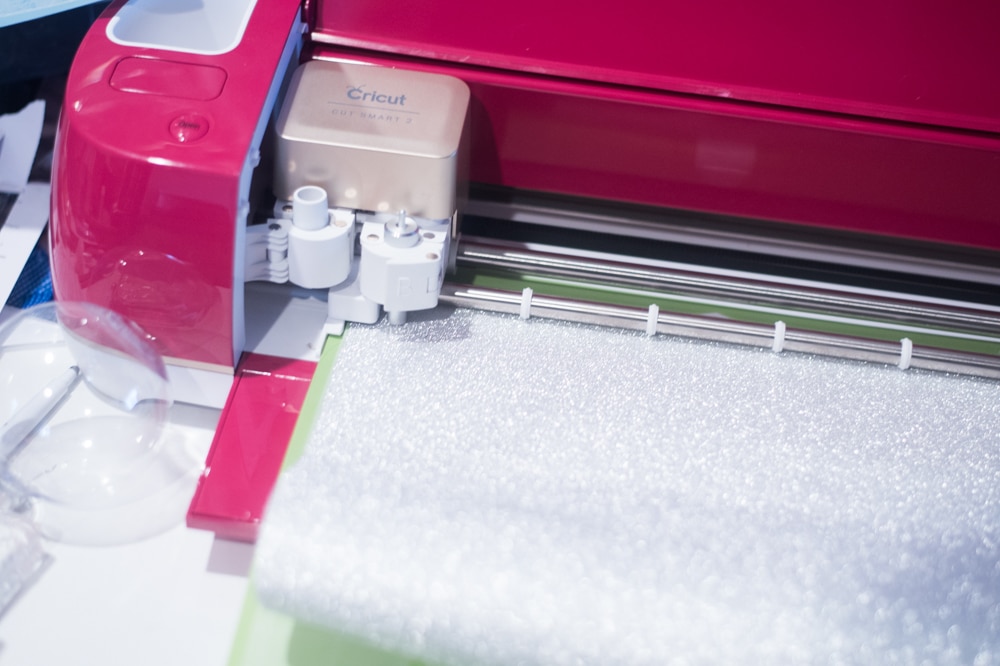
Put a piece of printer paper onto your LightGrip mat.
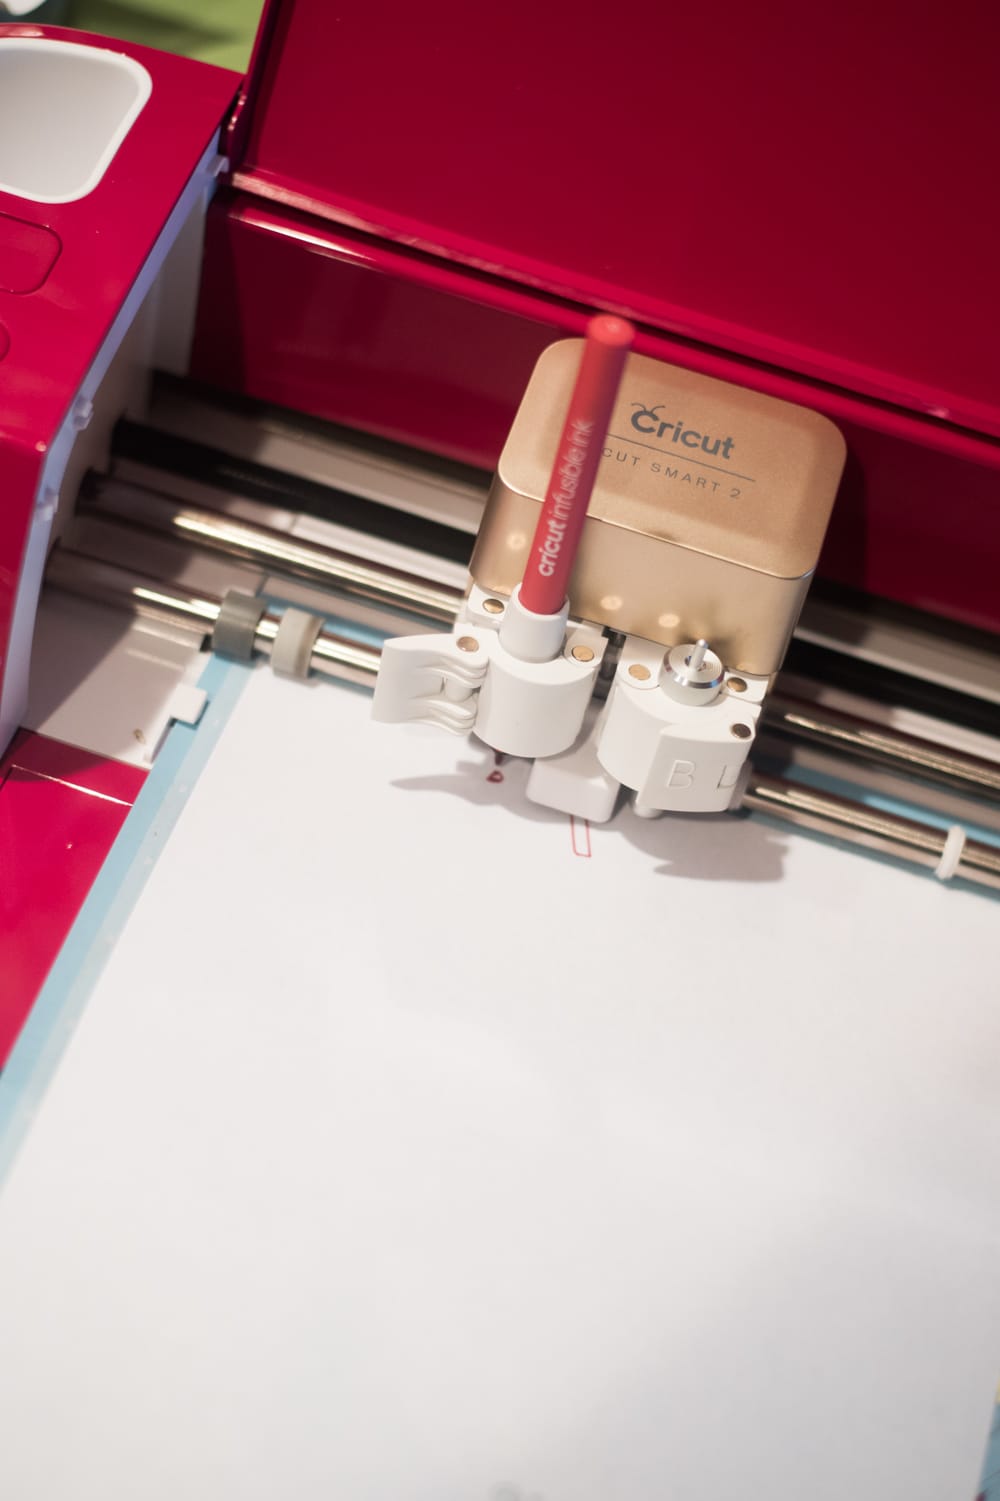
Follow the prompts for when to put in the Infusible Ink pens.
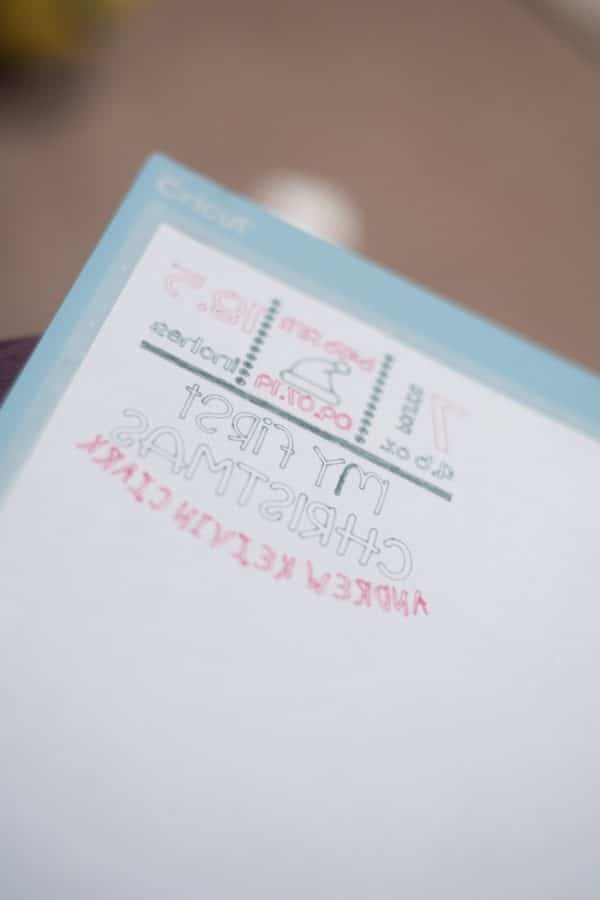
Color in any space that you want to be solid.
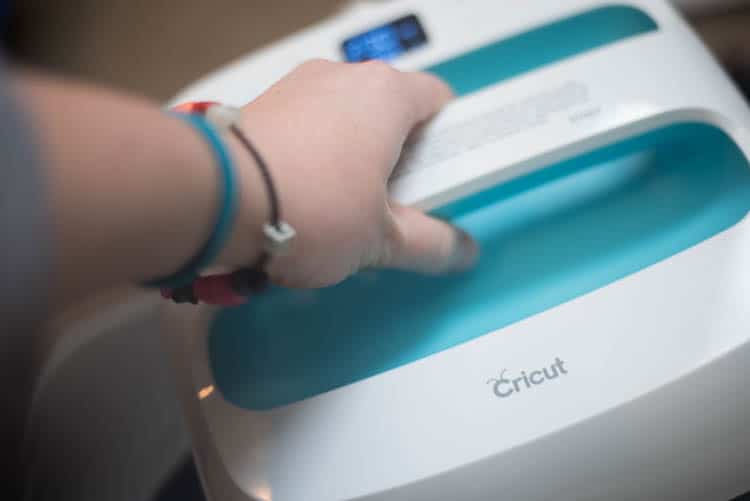
Once you have your piece of paper, turn on your EasyPress 2 and heat to 385 degrees.
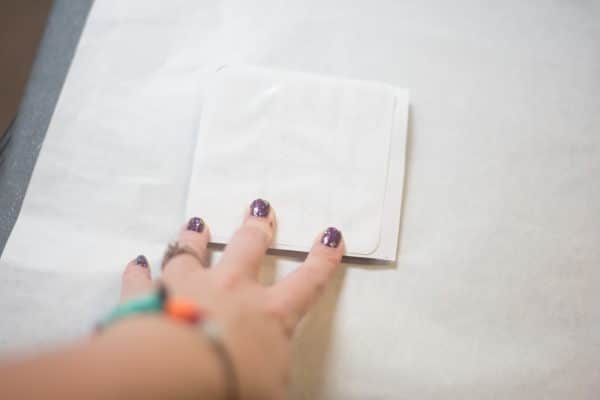
Put a piece of butcher paper on your EasyPress 2 mat, then the coaster, then your design, then either a piece of cardstock or four pieces of butcher paper.
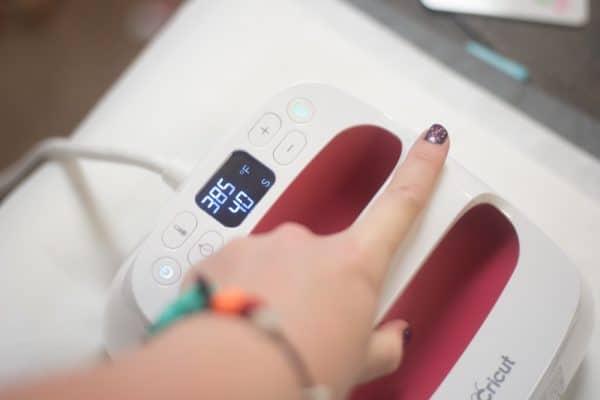
Place the EasyPress 2 on top and heat for 40 seconds with no pressure.
Wait for the coaster to cool and remove. Be careful – it can smear!
Other Posts You May Enjoy:
These are all so cute! What a lucky little boy to get three special ornaments for his first Christmas!