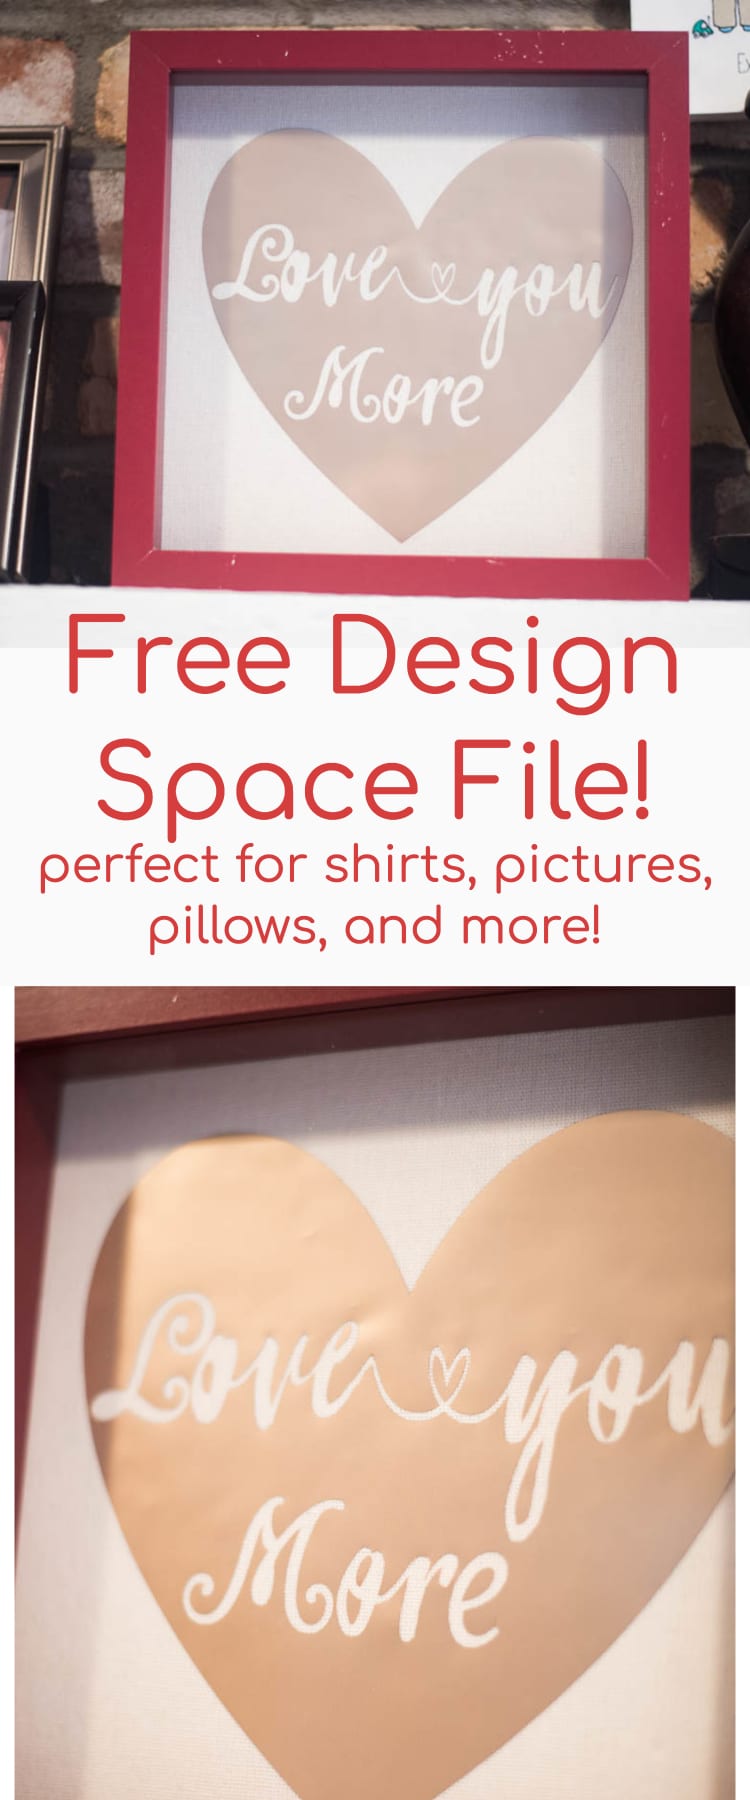
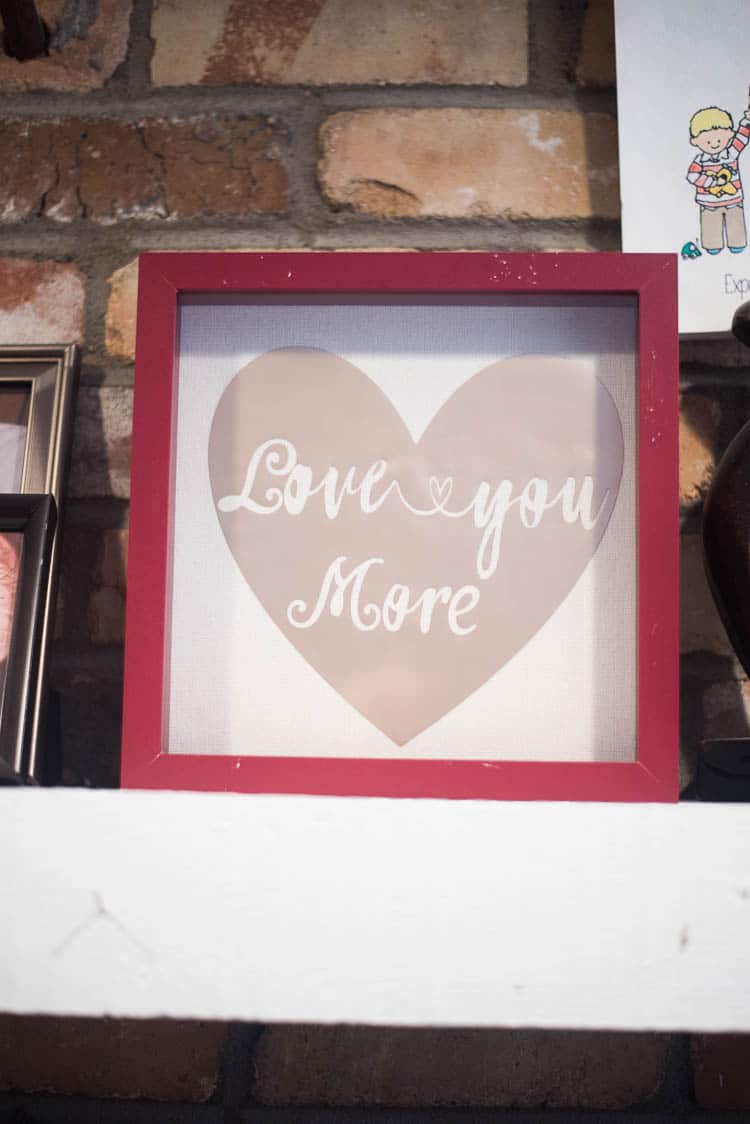
“Love You More” Decoration – Free Cricut Design SpaceFile
I always have grand plans for all these fun Cricut projects I want to make and share with you all…but life happens, and those plans often fall flat.
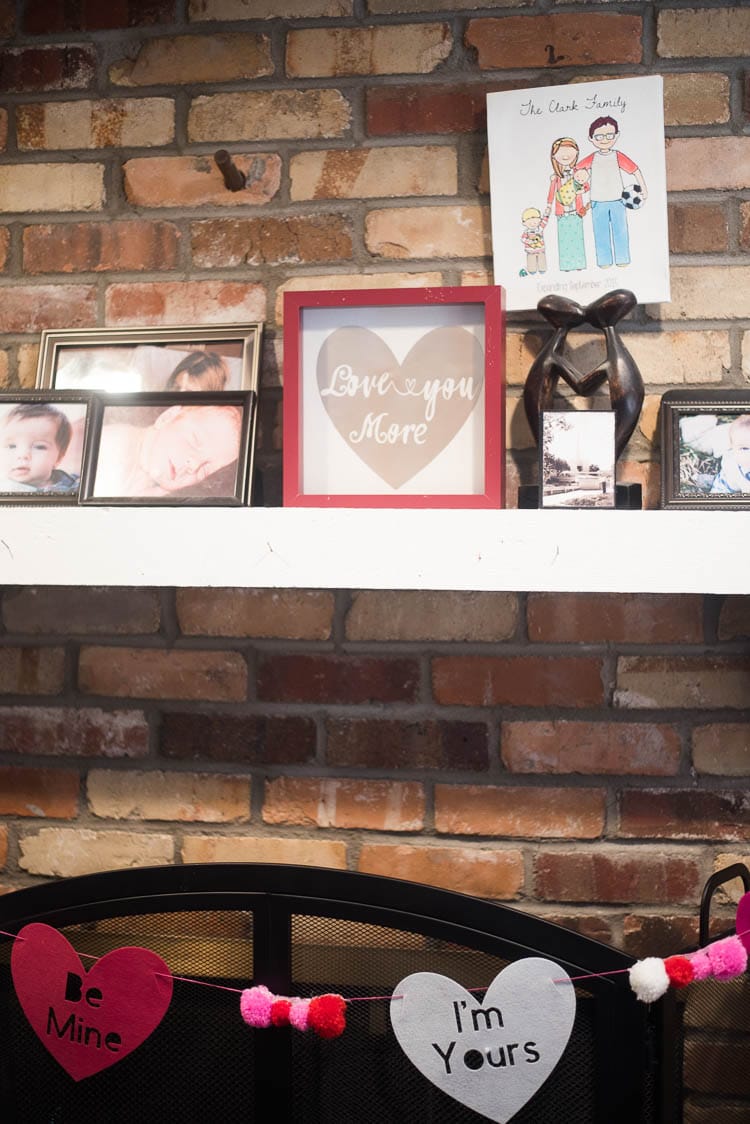
However, this one was so easy to do, and I thought it turned out pretty cute…so I’m excited to have something to share with you all today (though please ignore the chips in the paint. I don’t know how that happened!)
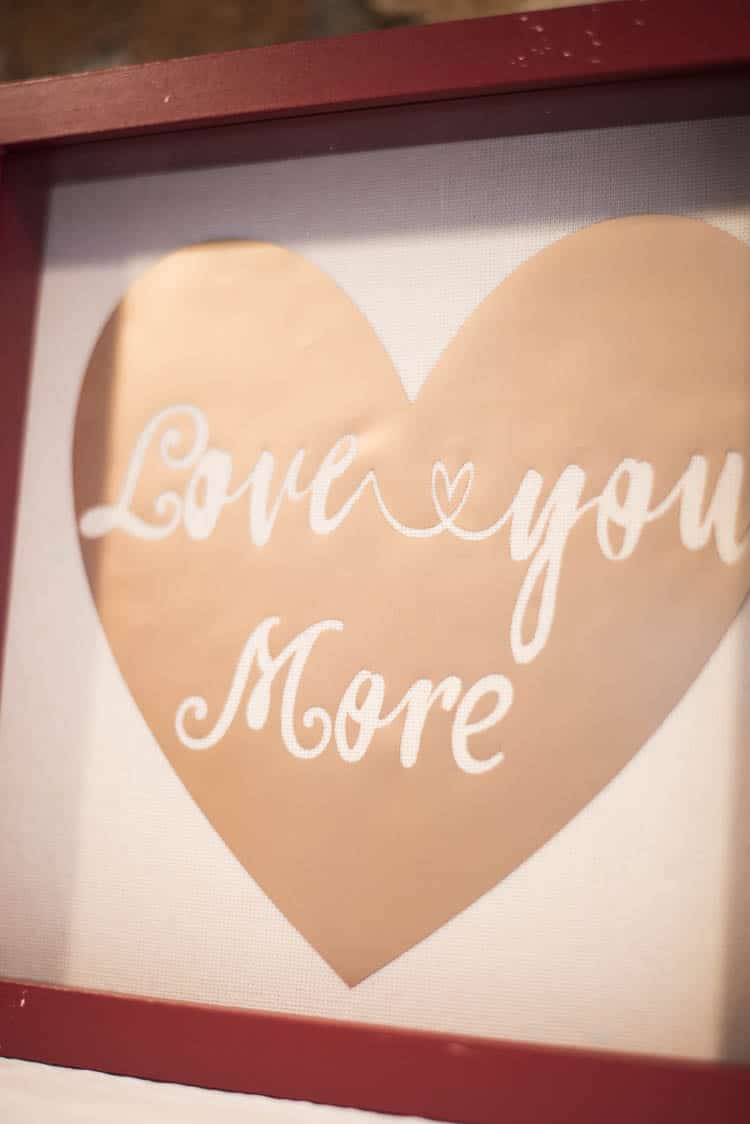
I used the slicing technique to get all the letters in the heart (you can see a tutorial on slicing here), but overall, it was a pretty simple project.
If you like this, all you have to do is click on this Design Space Tutorial, and you will be able to check it out! I’ll give a brief tutorial below on how I made this and what materials I used! You can definitely use this on whatever canvas you want (I think it would make for a super cute shirt!)
MATERIALS:
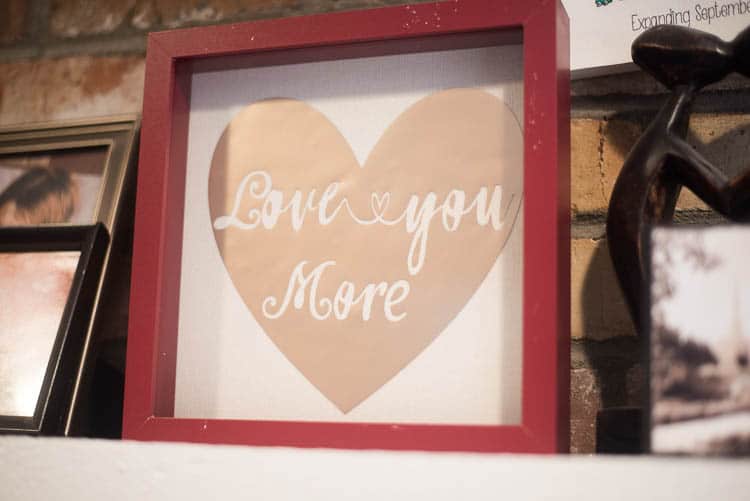
9×9 Shadow Box – I got this one from Michael’s with a coupon. I think the red is a seasonal color, because I can’t find it on their website! However, white or black would look nice (or you can paint a white one red!)
Cricut Maker or Cricut Explore Air 1 or 2
StandardGrip Mat (Green)
Instructions:
Step One:
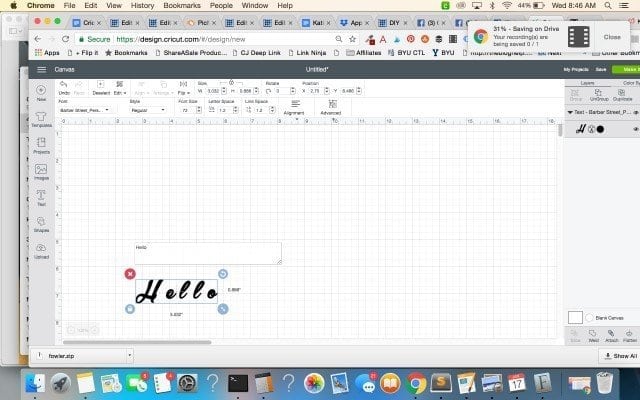
Open this file in Design Space. While I did upload my own fonts, since I sliced everything out, you *shouldn’t* need the specific fonts. It is currently sized to fit perfectly in the 9×9 shadow box, but if you decide to use it on a different type of canvas, feel free to resize.
Step Two:
Place your adhesive foil (pretty side up) on to a MediumGrip cutting mat.
Step Three:
Send the file to cut – you may want to test the settings first before you cut. I originally used the adhesive foil setting, but I had to change it to the matte adhesive foil and selected “more pressure” before I started cutting.
Step Four:
Press go and cut your material.
Step Five:
Carefully weed out the words from inside the heart.
Step Six:
Transfer the heart carefully to your canvas. I tried using transfer tape, and it didn’t work very well, so I just removed it from the plastic and put it on myself 🙂
Enjoy!
If you liked this post, be sure to pin it for later. If you are on Instagram, take a picture and tag katie_clarkscondensed. I’d love to see your take on this!
Other Cricut Posts You May Enjoy:
- How to Use Cricut Foil Iron On: And a Few Things NOT to do!
- DIY Custom Window Cling
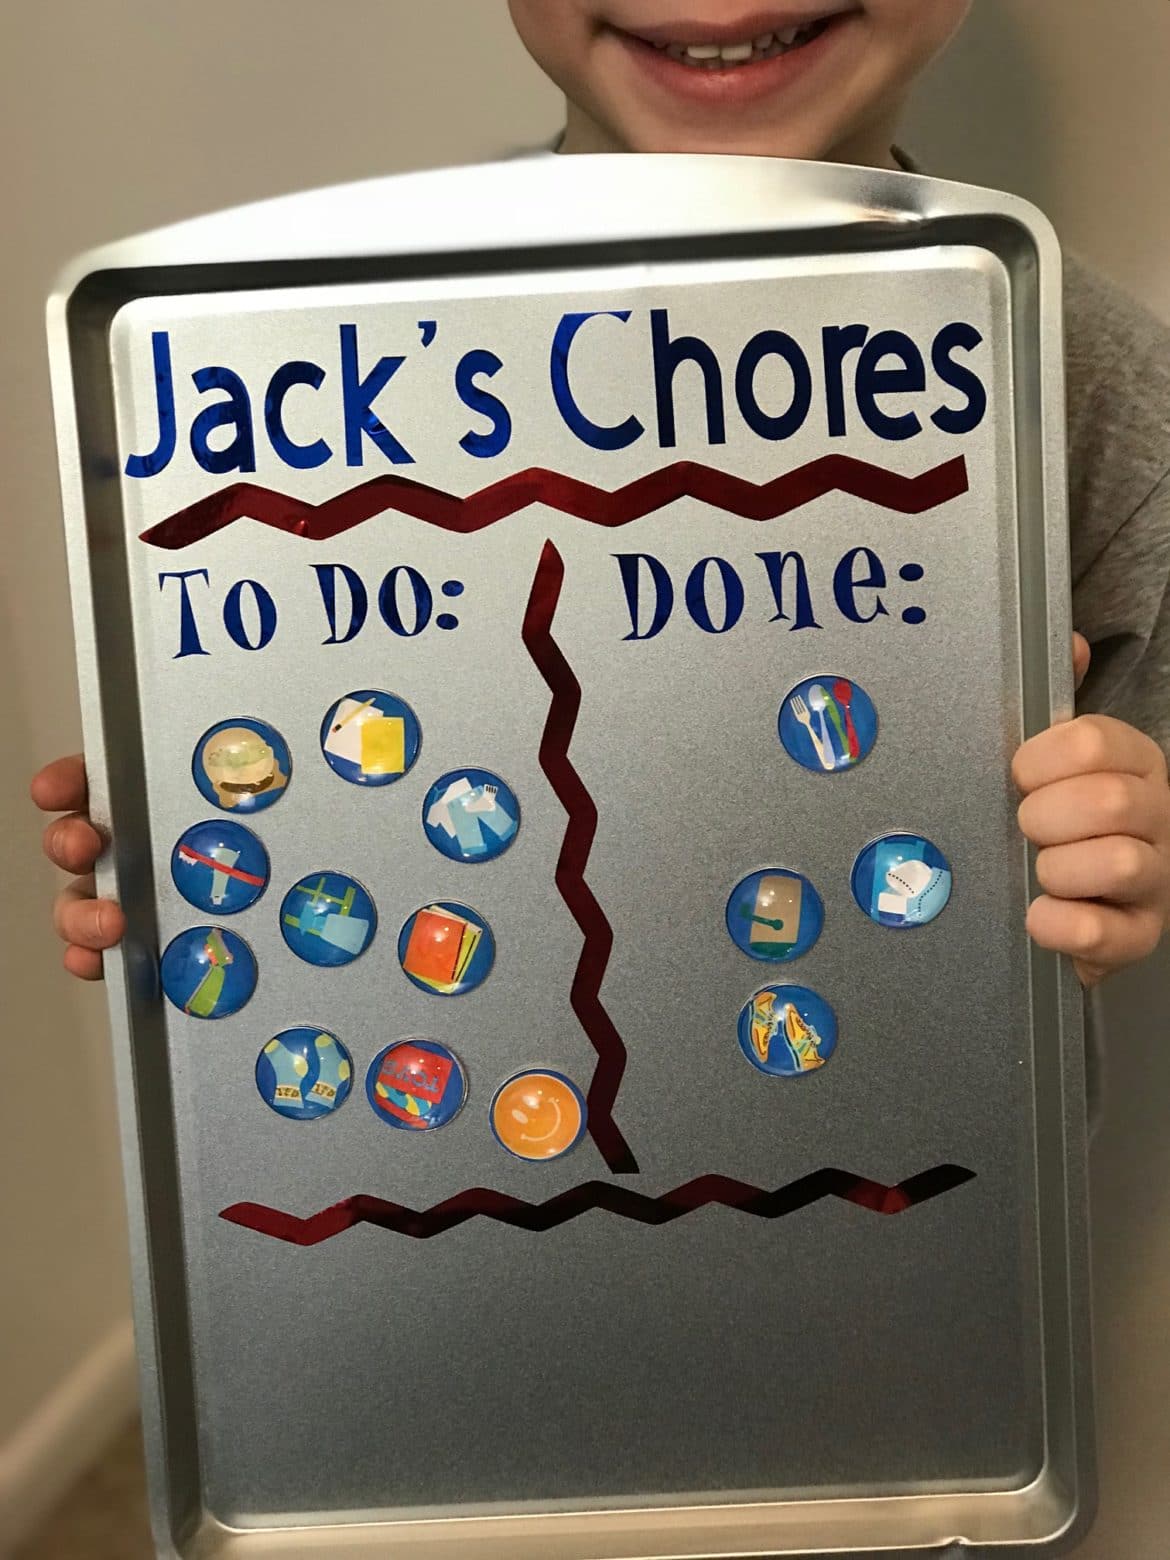
- How to Make Magnets with Cricut