
DIY Dry Erase Calendar and Menu Boards with Cricut
Make your home a little more organized with these two easy projects – a dry erase calendar and menu board – made using the Cricut Maker!
Oh boy, it has been a WEEK.
I feel like every day I become more and more of a hot mess.
I’d like to blame it on the fact that we are moving, and I am pregnant. Hopefully, I’m not just losing my mind 🙂
Earlier this year, I took a great online course called The Organized Home (you can get 10% off with the code CLARKS), and it has really inspired me to get more organized.
I think that if I were to get a little more organized, it would keep my life from being as hectic as it has been!
With us moving (well, attempting to move), I see it as a great time to start over and get our home organized from the start. Get some good systems down and just help things to move more smoothly, especially as this pregnancy progresses, and we welcome a new little one into our home.
One thing I want to do is use the large wall in our kitchen to create a command center. I actually wanted to create it to show all of you for this post…but that will have to wait.
But today, I am going to show you a couple of the elements I created for it using my Cricut Maker – along with the Design Space files so you can recreate them yourself!
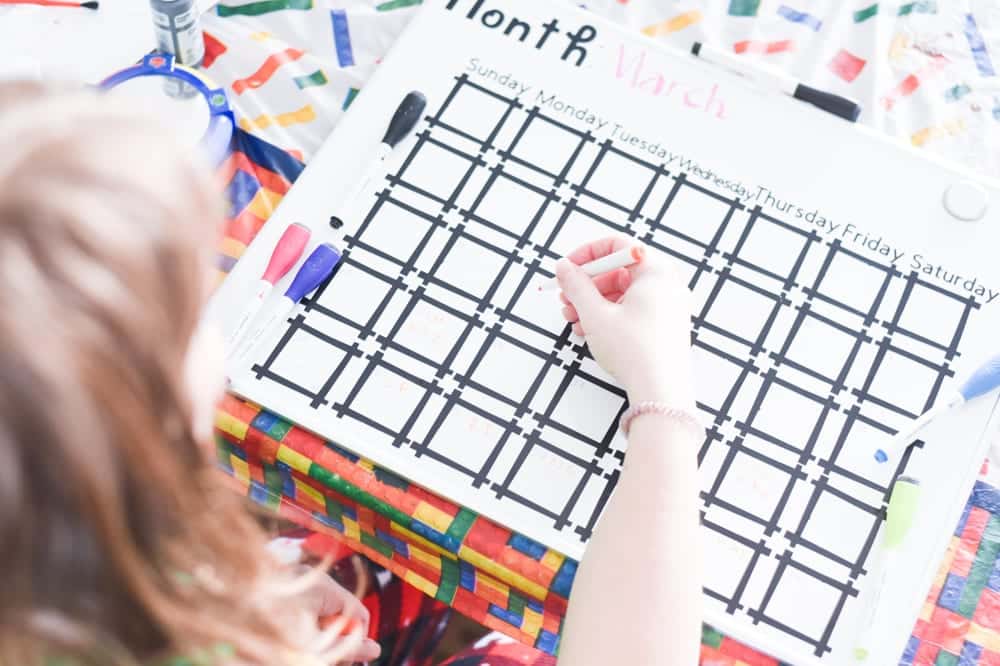
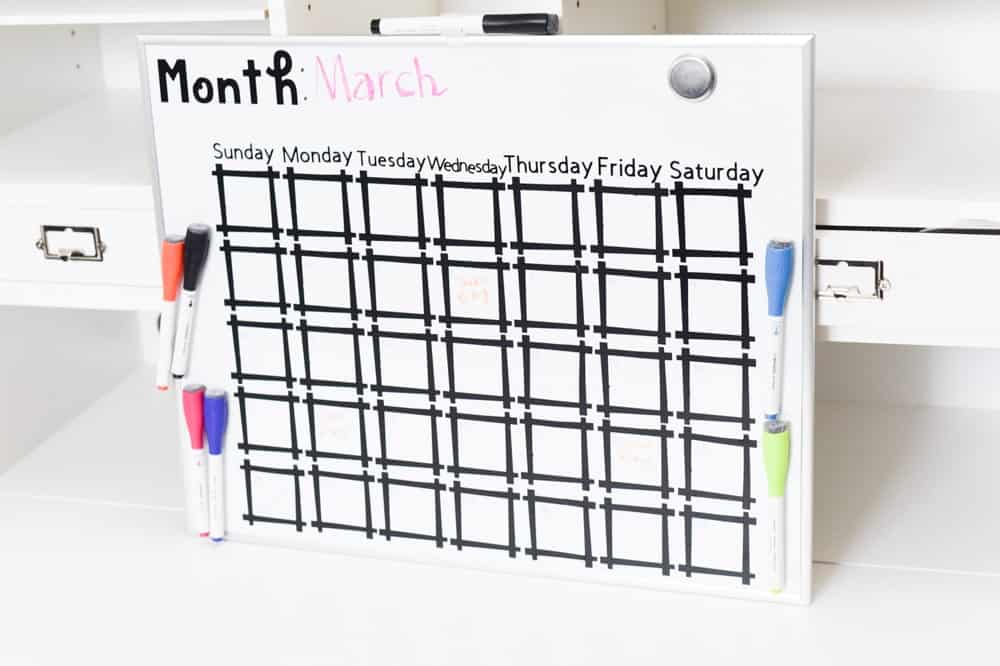
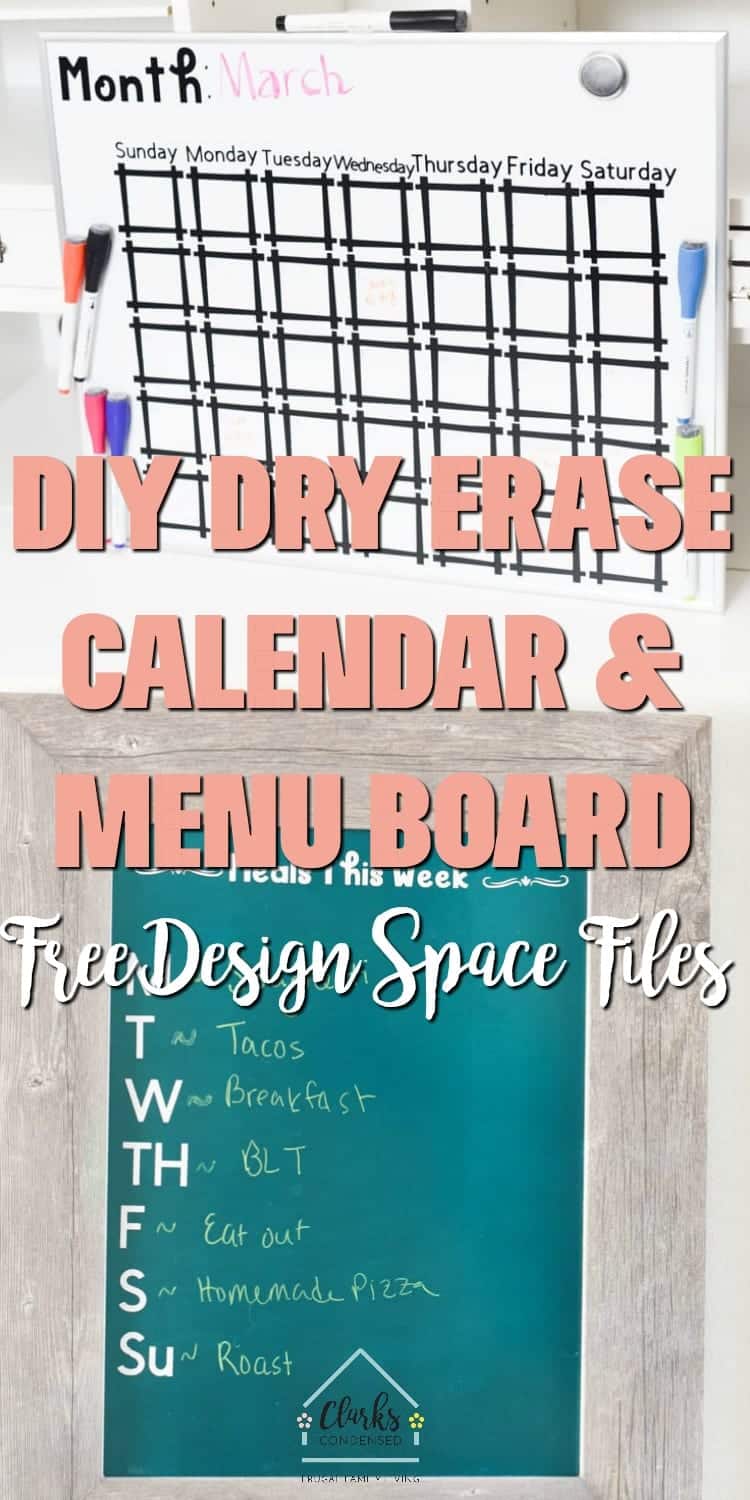
Here is a dry erase calendar that I created. I love how it turned out!
Then I used a dry erase board that has been in our kitchen forever to create a menu board. Love it!

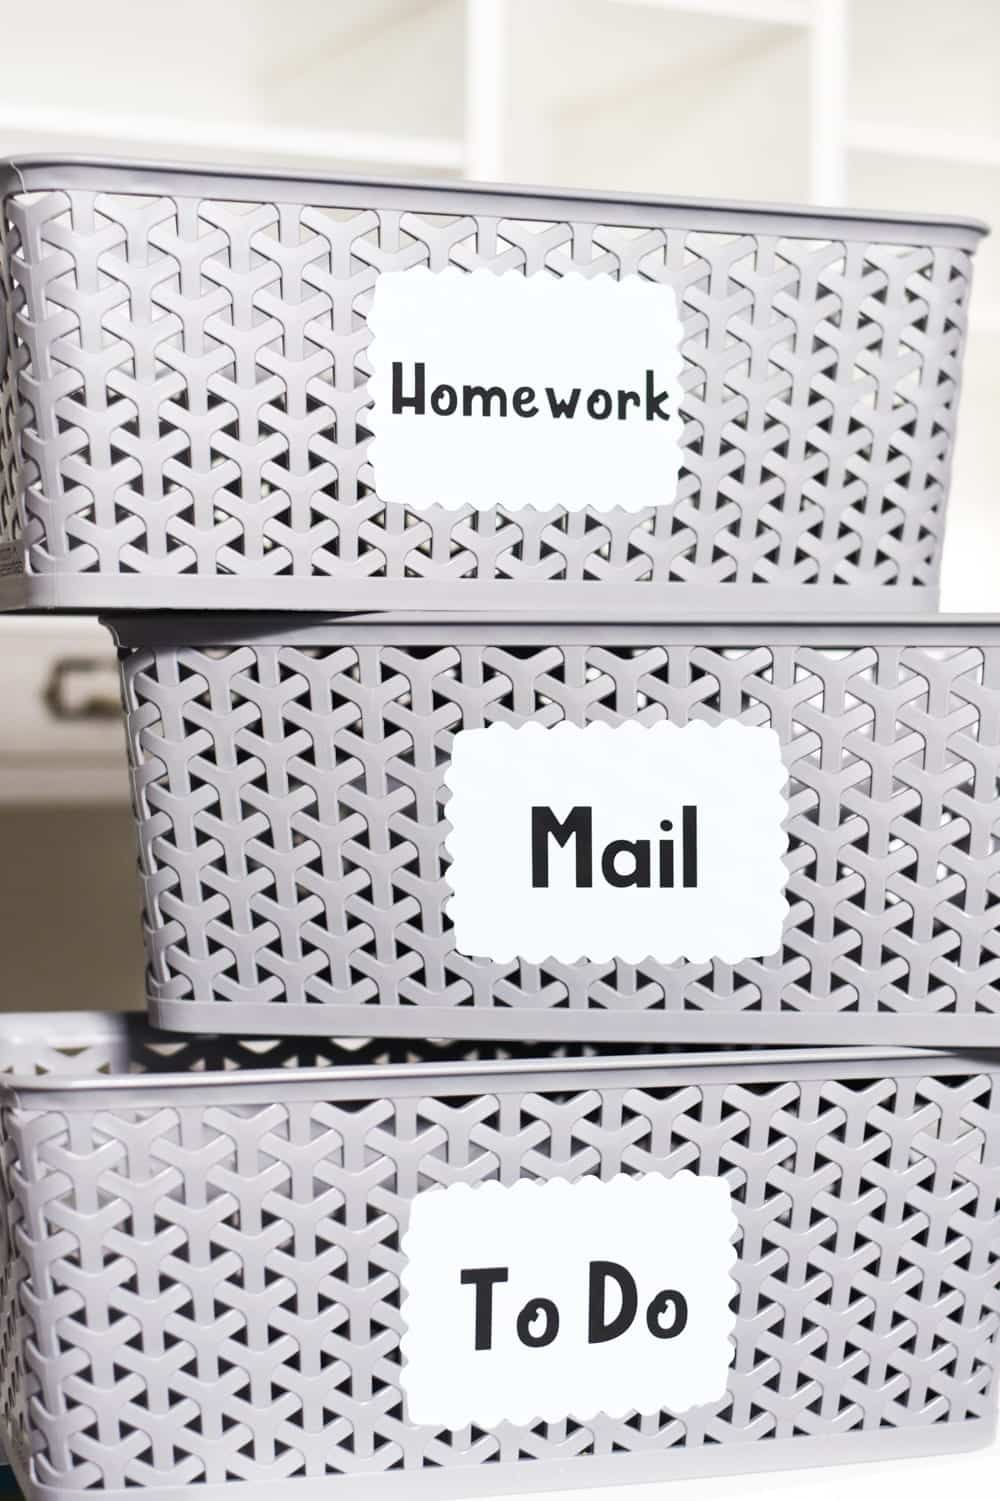
And finally, these baskets will hang on the wall to hopefully reduce paper clutter – which is really one of my biggest problems in our house.
And now for the Design Space files and tutorials.
Dry Erase Calendar Board
Materials:
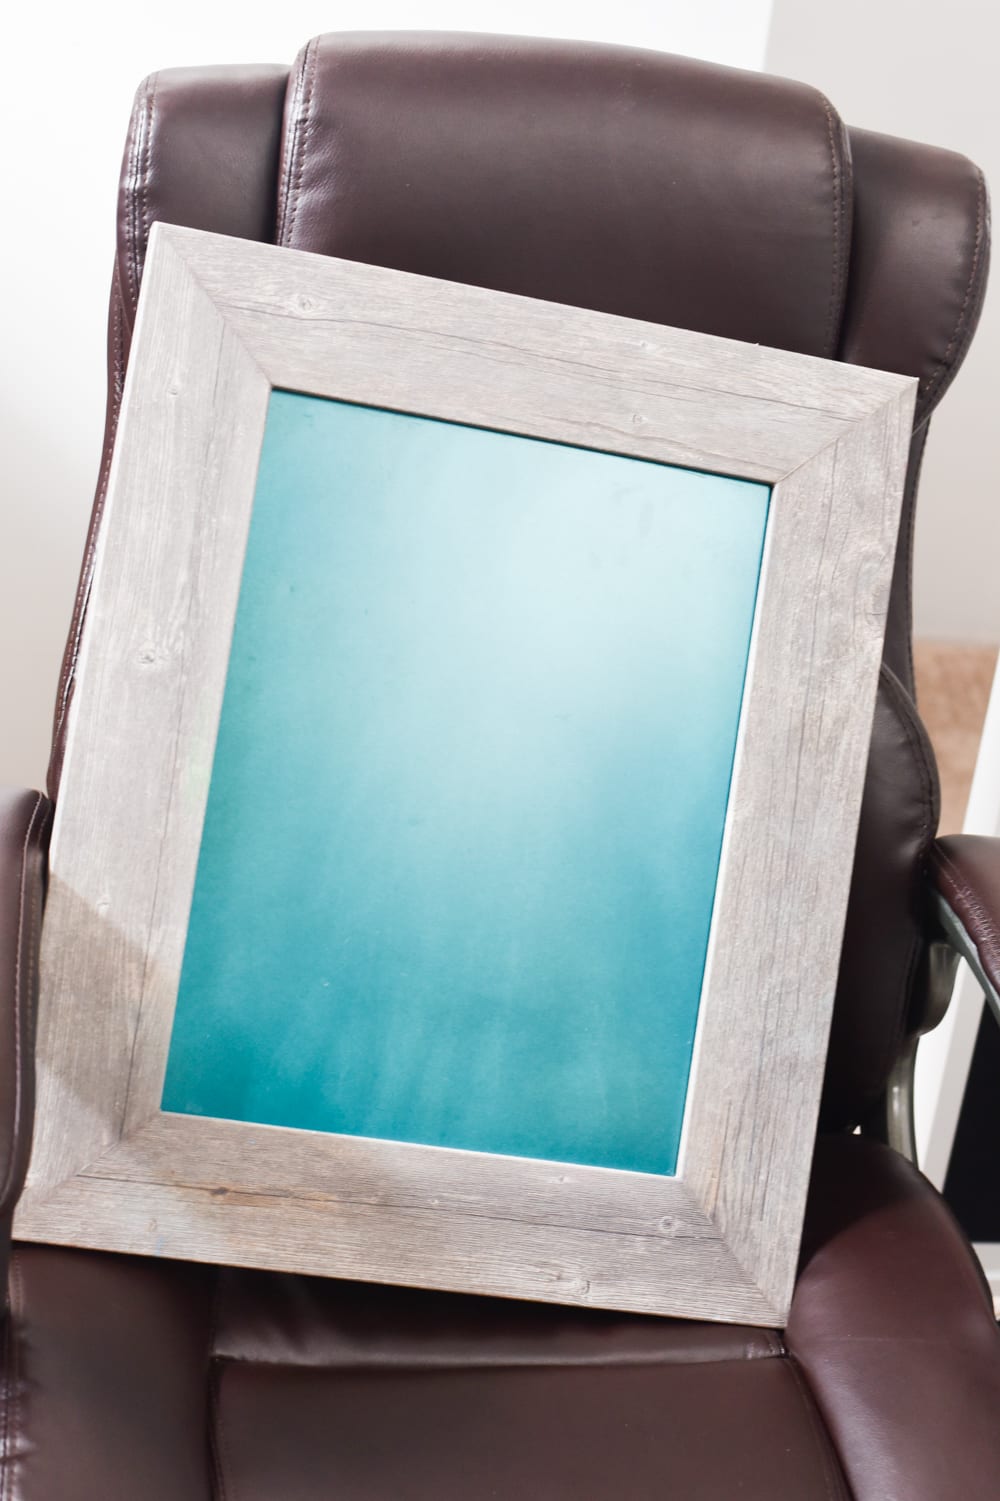
- Blank Dry Erase Board (mine was 16×20)
- Black Premium Vinyl – Permanent (or whatever color you want)
- Transfer Tape
- Scraper Tool
Instructions:
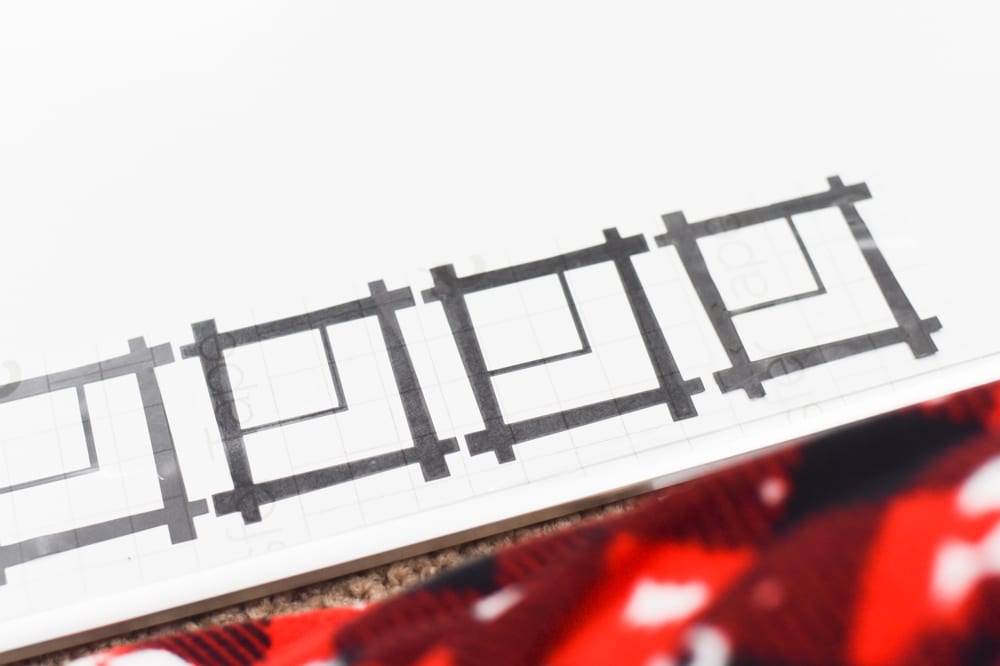
One thing I want to point out – in some of this tutorial, you will see little boxes in each larger box. This was to put the date. However, I realized that I made those WAY too big, and I ended up tearing them out (carefully) after I already put them on my board.
I have resized the boxes so they are the appropriate size in the Design Space file.
Open up this file in Design Space. All of the elements are currently grouped together, but you can definitely ungroup them to resize, change the fonts, etc. It is currently sized for a 16×20 dry erase board.
Once things are how you want them, press make it and follow the prompts to cut out your vinyl.
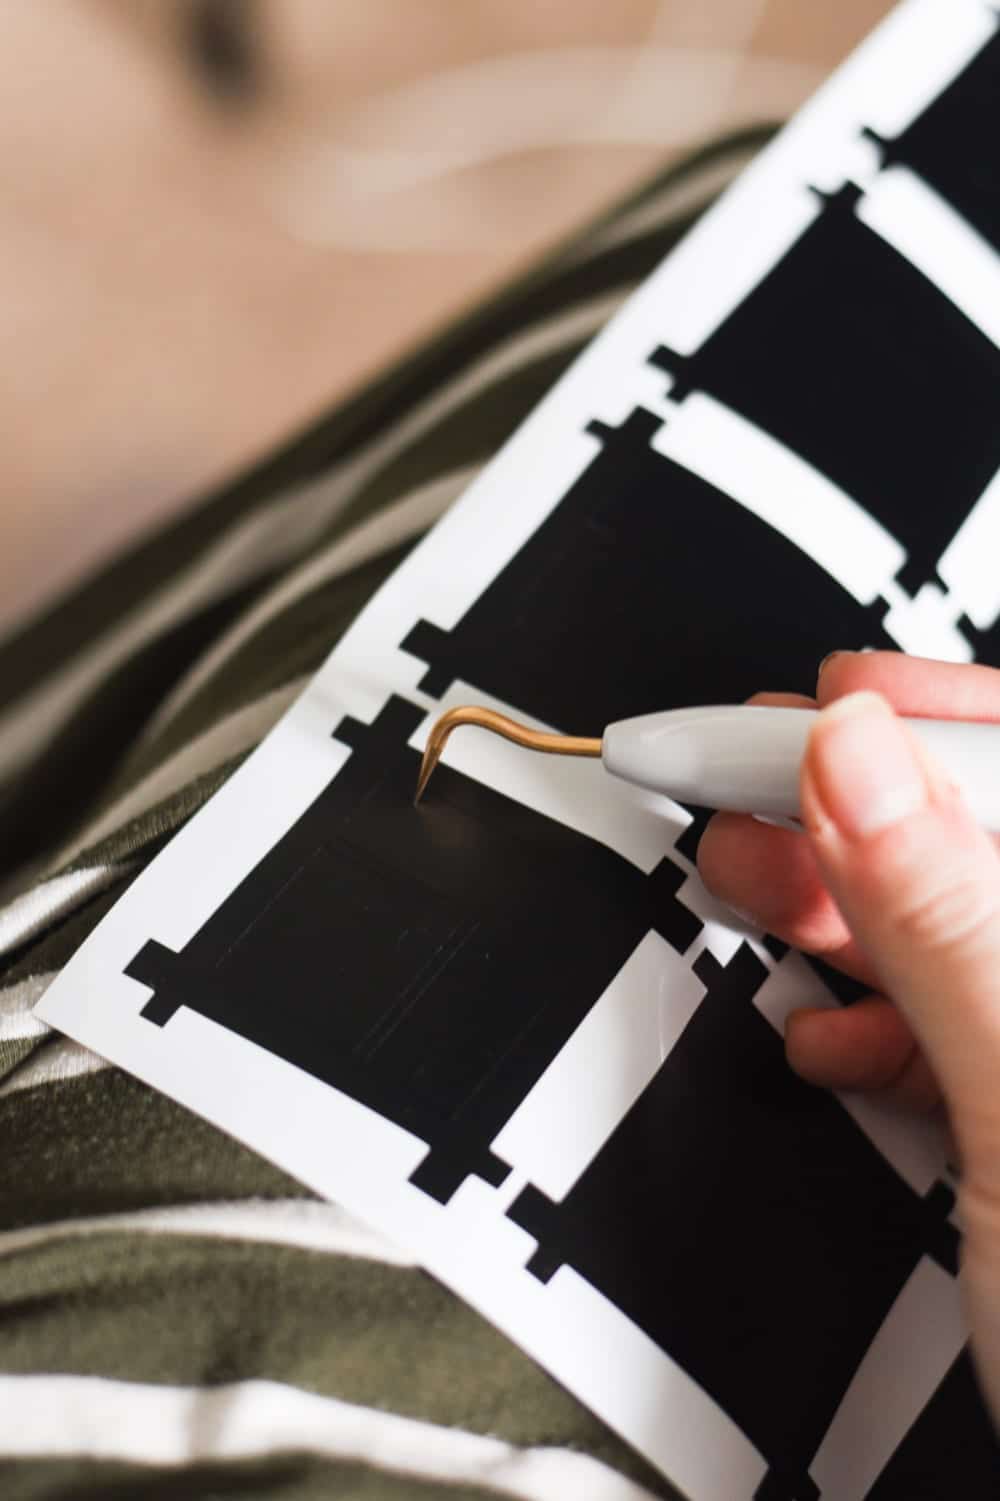
Once your vinyl is cut, carefully weed out all the excess.
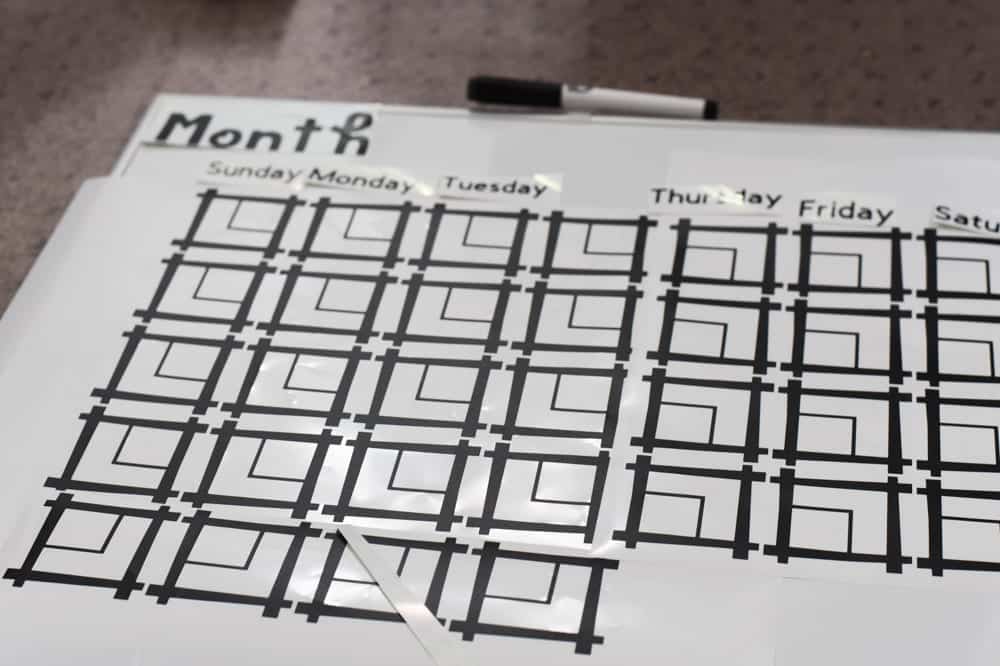
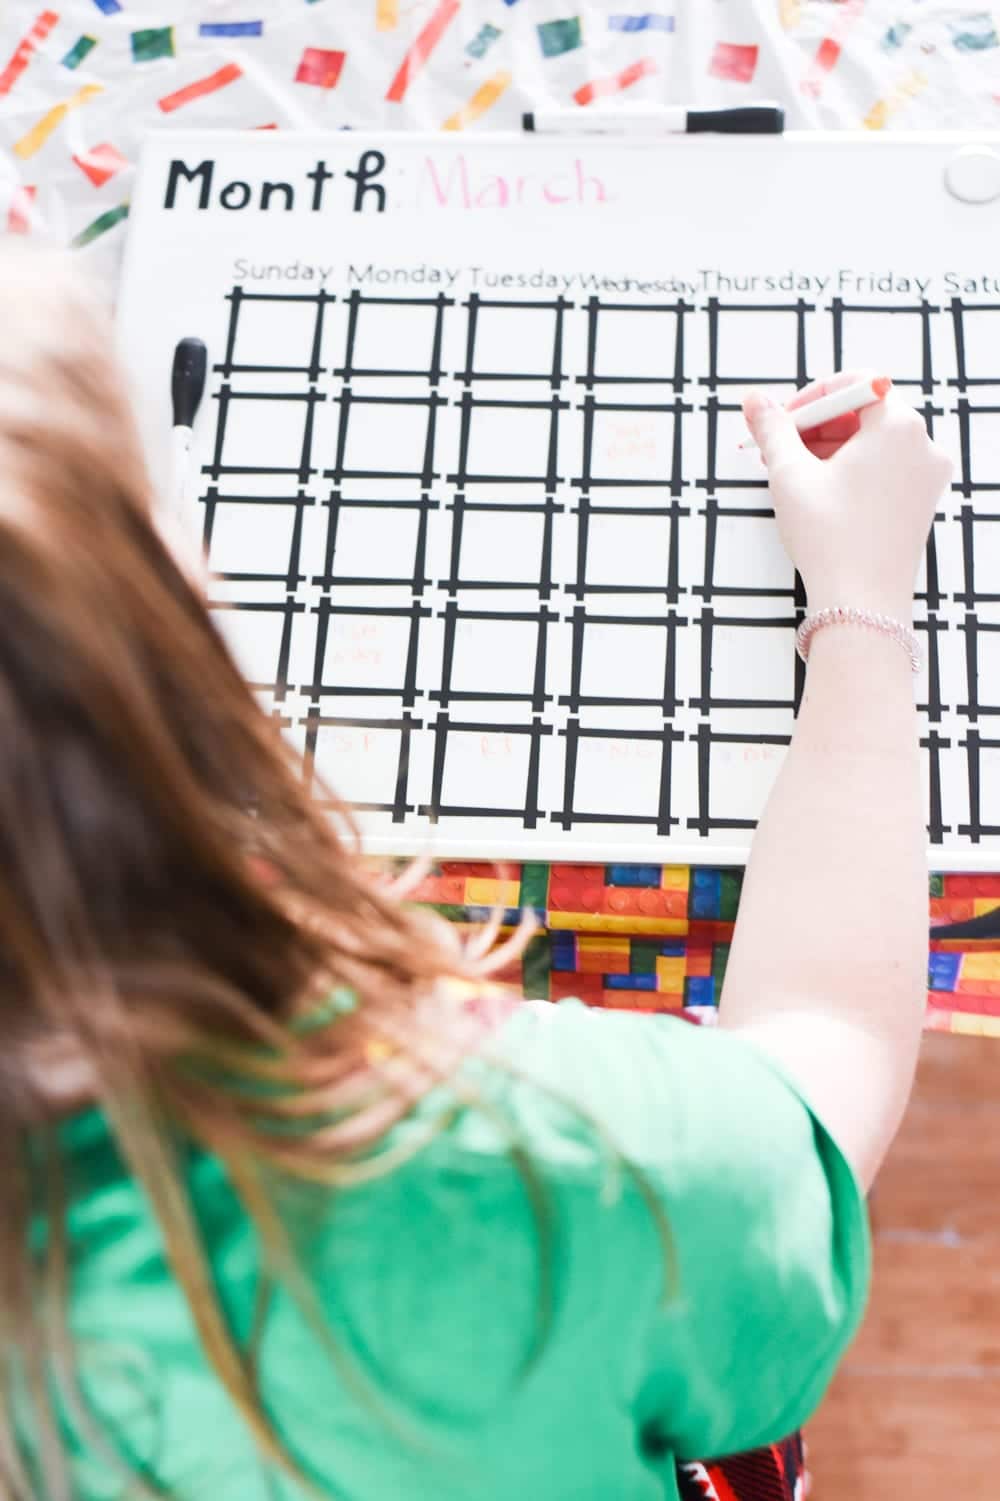
I would start out by laying out your weeded vinyl pieces on your board to visualize how you want it to look in the end. Please note that in the photo above, I laid out some of the squares incorrectly with the square in the wrong place. Pay close attention to make sure you have it laid out correctly!
I suggest cutting out each row/column for the calendar squares, as it is much easier to transfer one row using transfer tape than an entire sheet of vinyl (Trust me!).
I don’t always use transfer tape, but I definitely recommend using it for this project.
Using your transfer tape, transfer your vinyl over carefully.
Peel up the transfer tape and repeat until your project is done!
Enjoy.
DIY Menu Board
Materials:
- Blank Dry Erase Board (mine was 16×20)
- Permanent Vinyl – Whatever color you want
- Transfer Tape
- Scraper Tool
Instructions:
- Open up this file in Design Space.
- Resize the elements to fit your board and press make it.
- Follow the prompts to set up your machine and select your vinyl. Cut out your materials.
- Weed excess vinyl from cut vinyl.
- Place the vinyl on your board to make sure you like how it looks.
- Use transfer tape to transfer to the board.
Labels
Materials:
Instructions:
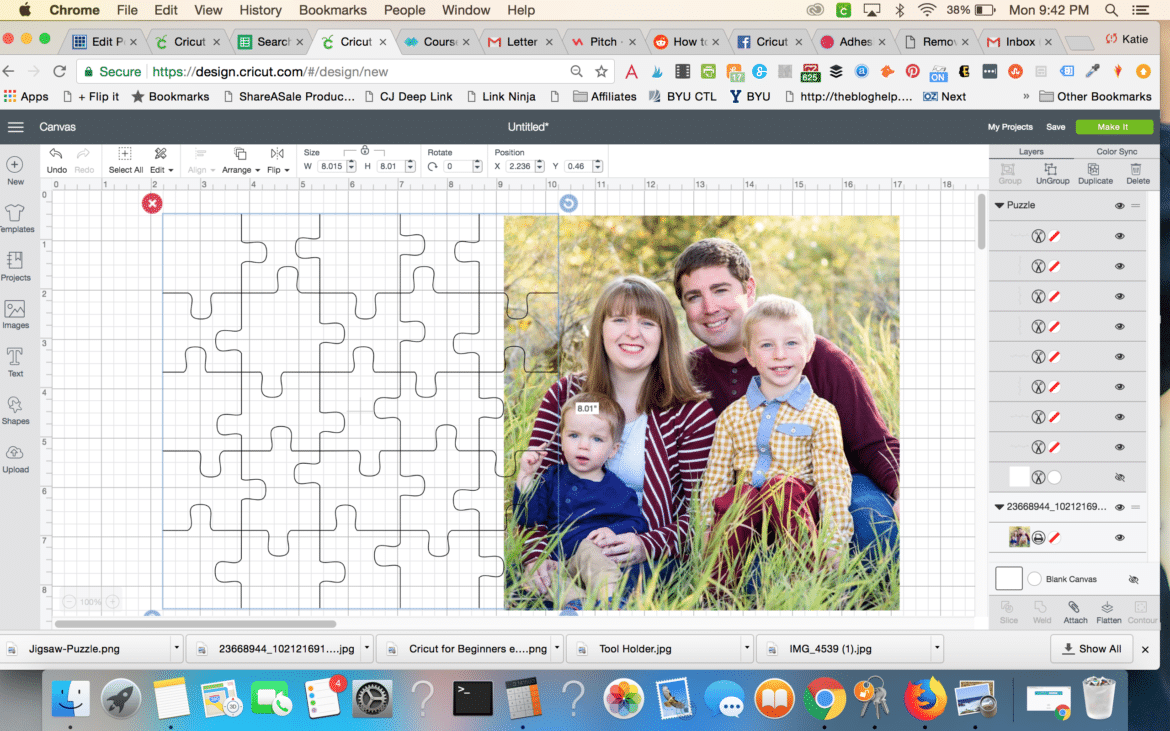
- Make your labels in Design Space. I haven’t created a file for this, because I’m sure what you put on them will vary. However, for these ones I used image #M95A0FD5 (Lacy Labels).
- I wrote the words I wanted, and I placed the words on top of the labels. From there, I flattened the image so I could use the print and cut feature using printable vinyl.
- Follow the prompts to print and cut out your materials.
- Carefully peel off the sheet and put on your bins.
And there you have it! I’ll be sure to put our command center up in a post once I finally get it finished. It’s fun to be able to use my Cricut Maker – they make organization so much easier!
A few weeks ago, I partnered with Cricut to share these fun LEGO Organization Labels and how we are organizing our LEGO blocks in our new house. Be sure to check them out, too.
Other Projects You May Enjoy:
- DIY Magnetic Family Birthday Calendar
- 10 FREE Printable Laundry Signs
- DIY Personalized Necklace WITHOUT Stamping Tools


Where is the file for the dry erase calendar? Only can find the Cricut ones for the menu and labels.
How weird! Here is the file: https://design.cricut.com/#/design/138825285
These are awesome! It makes such a difference to have the menu and calendar for the month written out where you can see them!
It really does!