
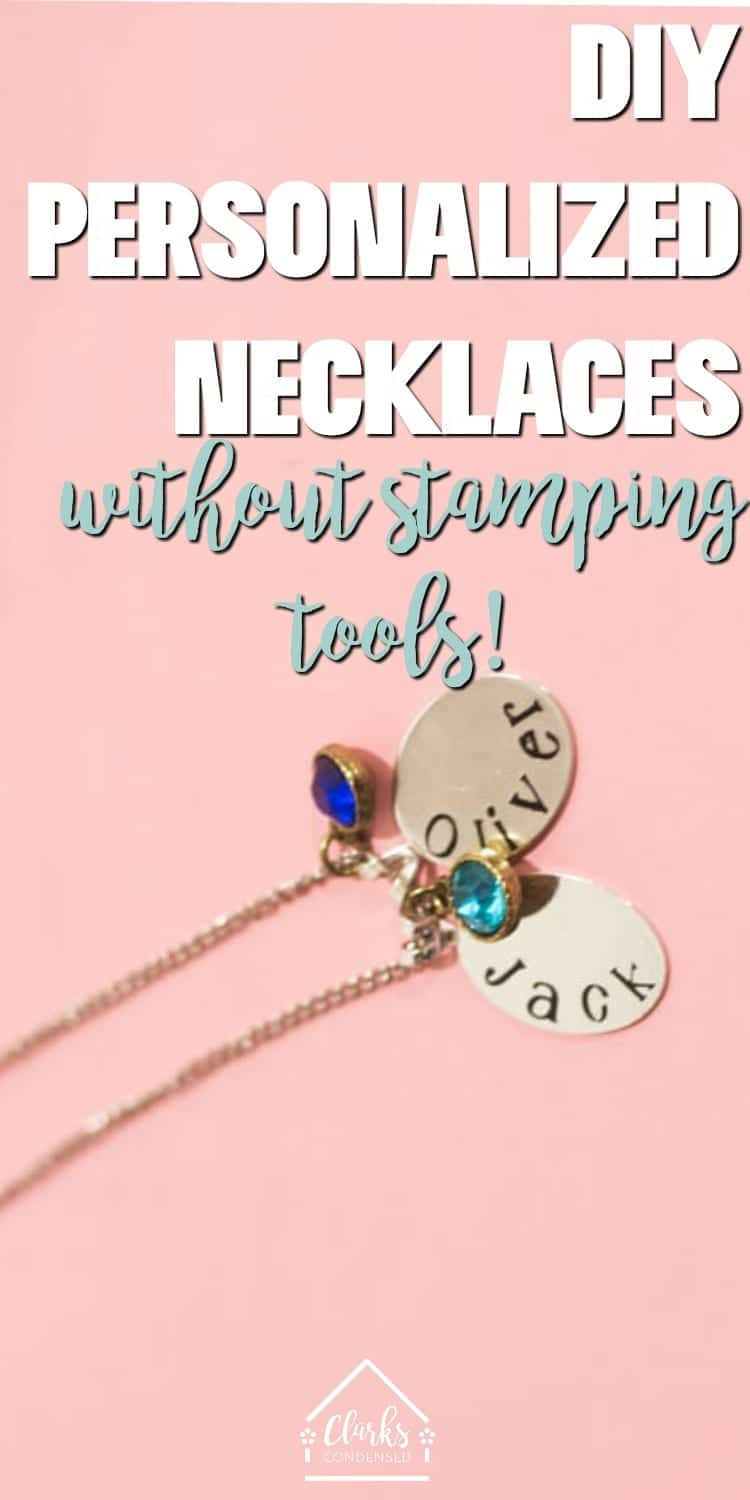
DIY Personalized Necklace WITHOUT Stamping Tools
Make your own DIY personalized necklace using vinyl – no stamping tools required!
DIY Monogrammed Necklace
I love homemade gifts that don’t require a ton of extra effort.
Over the past few years, personalized/monogrammed necklaces have become all the rage.
Especially “mom necklaces”, which usually feature your child’s name, birthstone, etc.
You can order these on Etsy, though they are usually not the cheapest item around. You could also invest in some stamping tools to help you make them as well.
Well, I thought that there had to be a way I could make a cute, personalized necklace using vinyl and my Cricut!
Obviously, if you don’t have a Cricut, engraving/stamping tools might be cheaper. But if you have a vinyl cutting machine, this is a perfect idea.
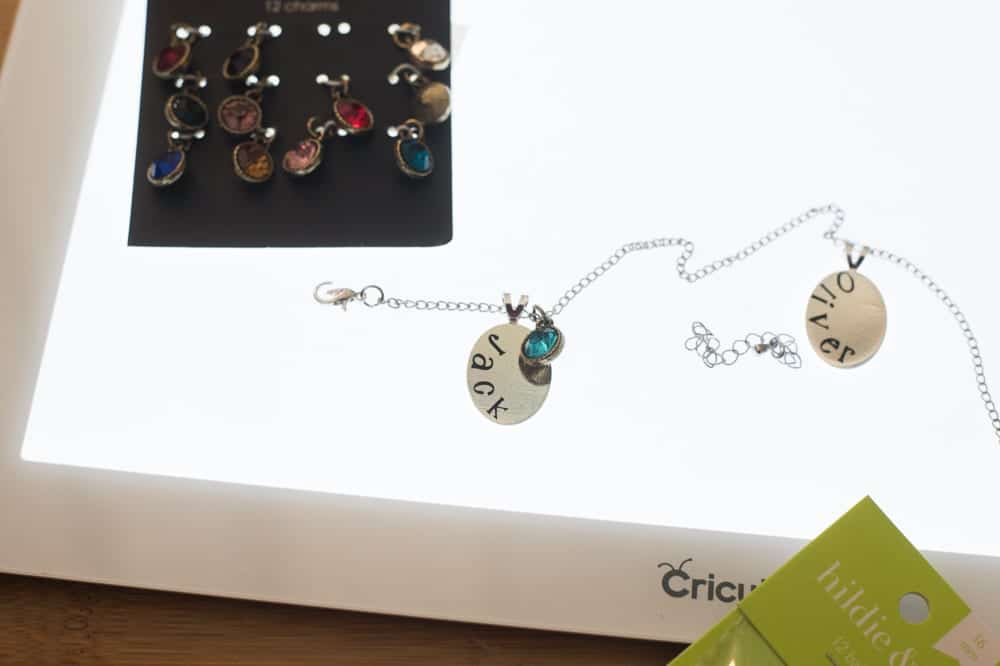
The materials are very inexpensive – I was so surprised at how cheap the metal charms were that I bought. Less than $3 for a package of about ten.
I also bought a set of birthstones for pretty cheap – though I’m sure you can buy all of these items in bulk for even less online if you are wanting to make lots!
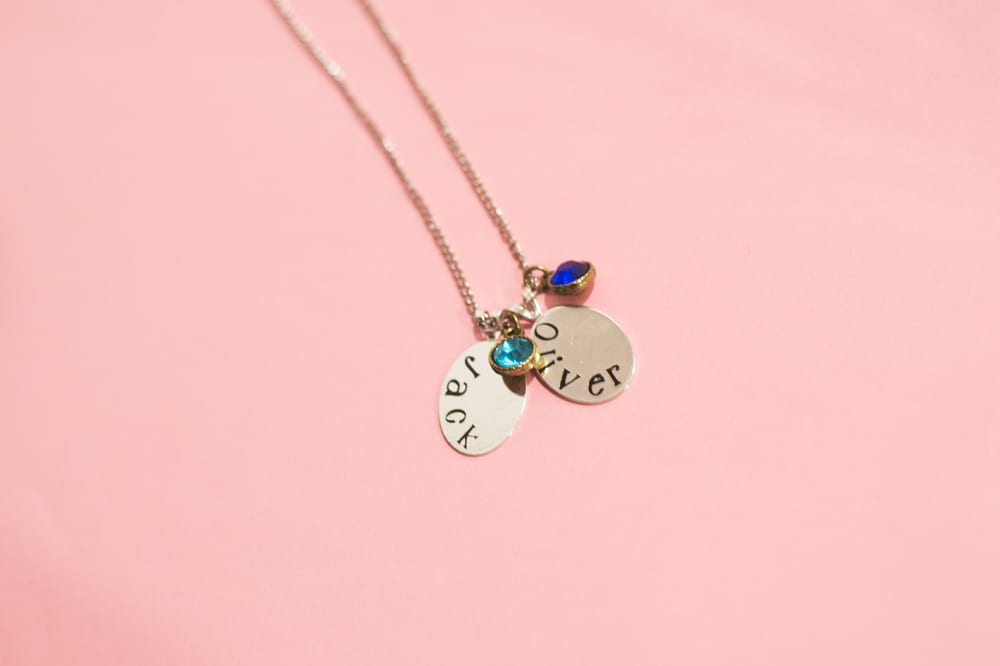
Once you know the basic principals for making a personalized necklace using vinyl, the sky is really the limit. I simply just put my children’s names on them, but you could come up with all sorts of fun ideas on how to personalize these metal charms.
I wasn’t 100% sure what to expect with the end result, but honestly, I think it looks just as nice as my personalized necklace that has been stamped/engraved.

Tips for Success
These are very simple to make, but there are a few things to keep in mind:
- Because the charms are so small, the vinyl is going to be VERY small when it gets cut out. This can be a little tricky to work with, so just be careful. I would not have your machine use extra pressure when doing this.
- You absolutely need to use weeding tools to make sure you get out the tiny pieces easily.
- The BrightPad was a heaven-send when making these necklaces. Not only did it make weeding easier, but it was a great way to put together the necklaces. The BrightPad is seriously so versatile! It was surprisingly tricky to get the charms on to the necklace.
- Make sure your charms will fit over the end of the chain you use. With the chain I bought, it went over the hook easily at the end, but then a few links in, there was a large piece that I could not get over. I ended up having to break it, which was annoying. I’m still able to connect to the clasp to the chain pieces, but it’s just not as seamless as it was before.
- Be patient with transferring the vinyl over to the charm. I had one little piece that just did not want to stick, but I just had to put a little bit more pressure, and it ended up transferring over perfectly. I think if you make sure they are clean and smudge-free, it goes on more smoothly.
- Make sure you measure your charms completely before cutting out your vinyl. I just kind of guessed, and the vinyl ended up being too big for the round charms I had bought – fortunately, the worked well with these oval shaped ones.
Materials:
- Premium Adhesive Vinyl
- Transfer Tape
- Metal Charms – the round ones I got were a little smaller – the oval ones were a better size, but I think I would have preferred round ones that were that size. Just a couple of dollars Joann’s for about 10.
- Necklace Chain – mine was like $2-3
- Birthstones (optional) – the ones I got were about $5 for a package of 12 at Joann’s
- BrightPad (optional)
- Weeding Tools
Instructions:
Open up Design Space. Here is the Design Space file I used, but honestly, it’s going to depend a lot on the size and shape of your pendants. Just make sure you measure correctly!
For reference, I used “A Child’s Year” font.
When you go to cut your file, make sure you delete the ovals or circles. Those are just there to help you make sure you get your font looking the way you want.
Press “Make It” and follow the prompts – make sure you select the correct vinyl settings.
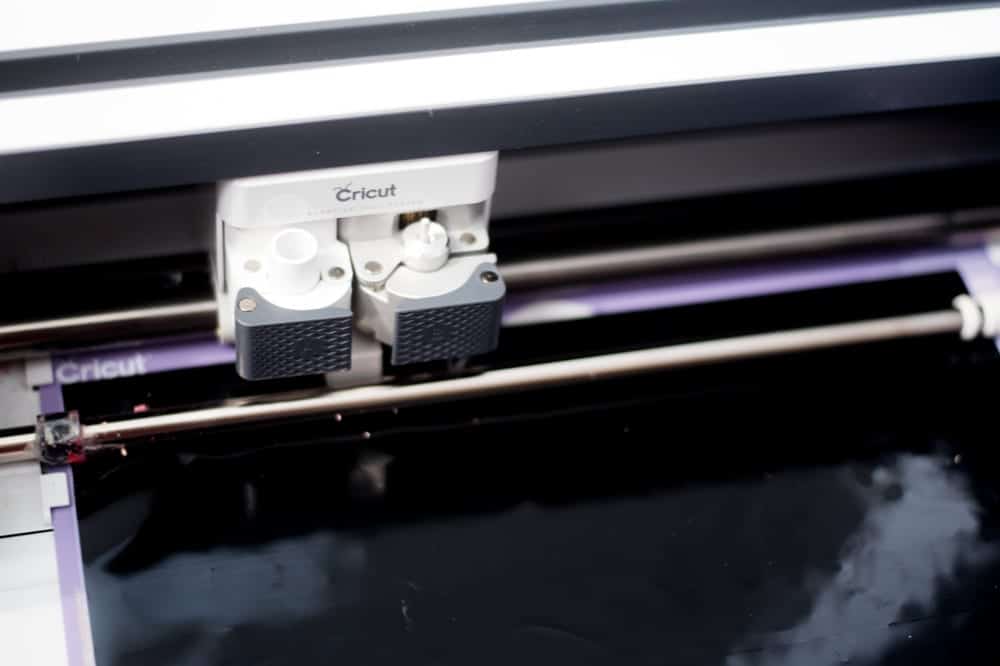
Put your vinyl onto the mat and press cut.
Once it comes out, carefully cut out around the vinyl so it’s easier to handle.
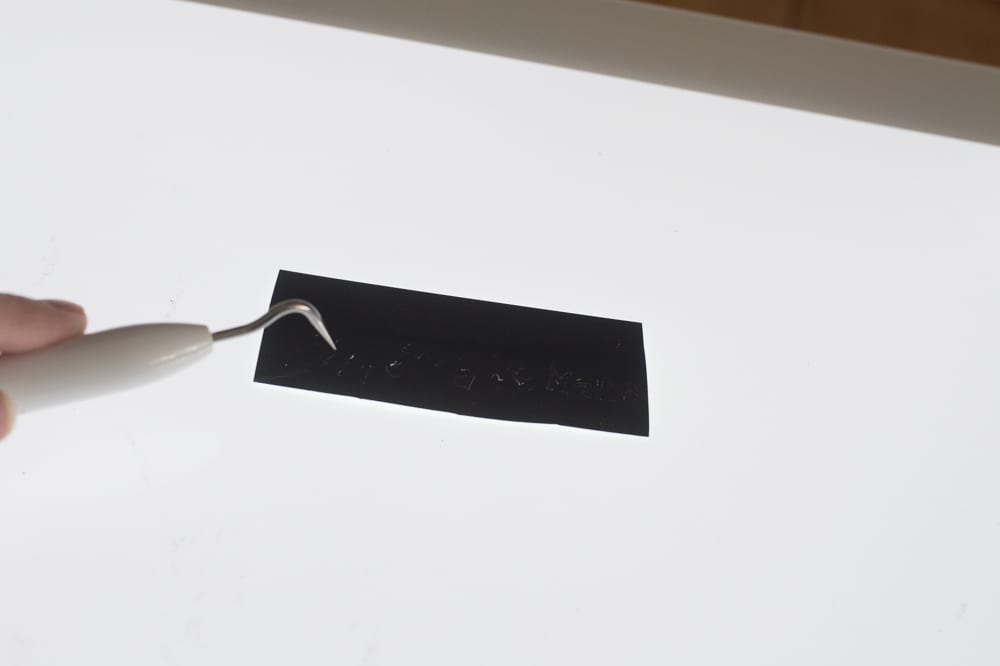
Weed out the excess using a weeding tool very carefully. The pieces will be very small! The BrightPad will come in handy here.
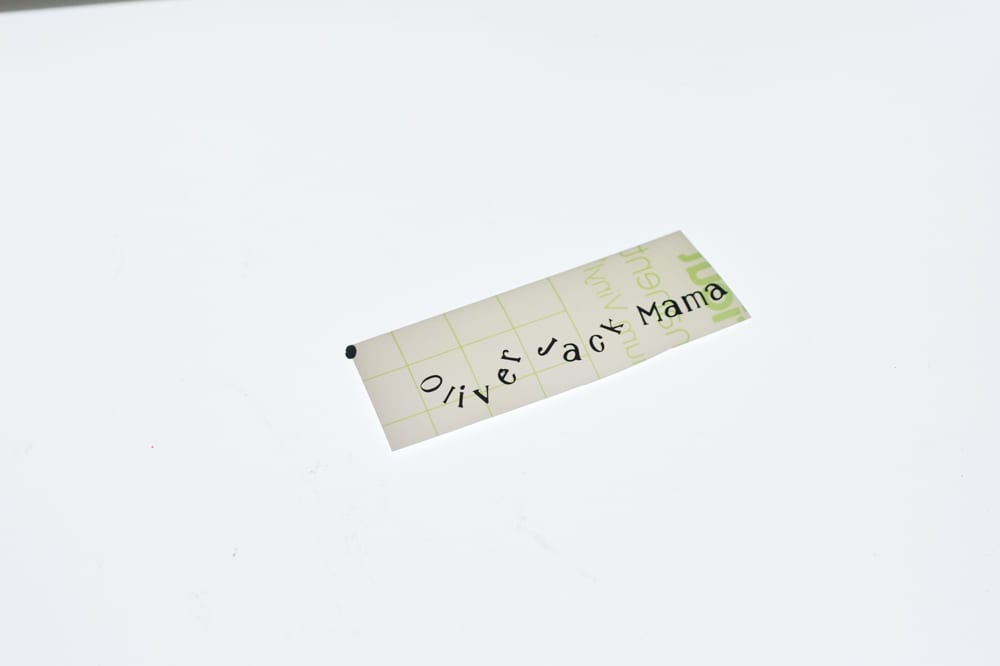
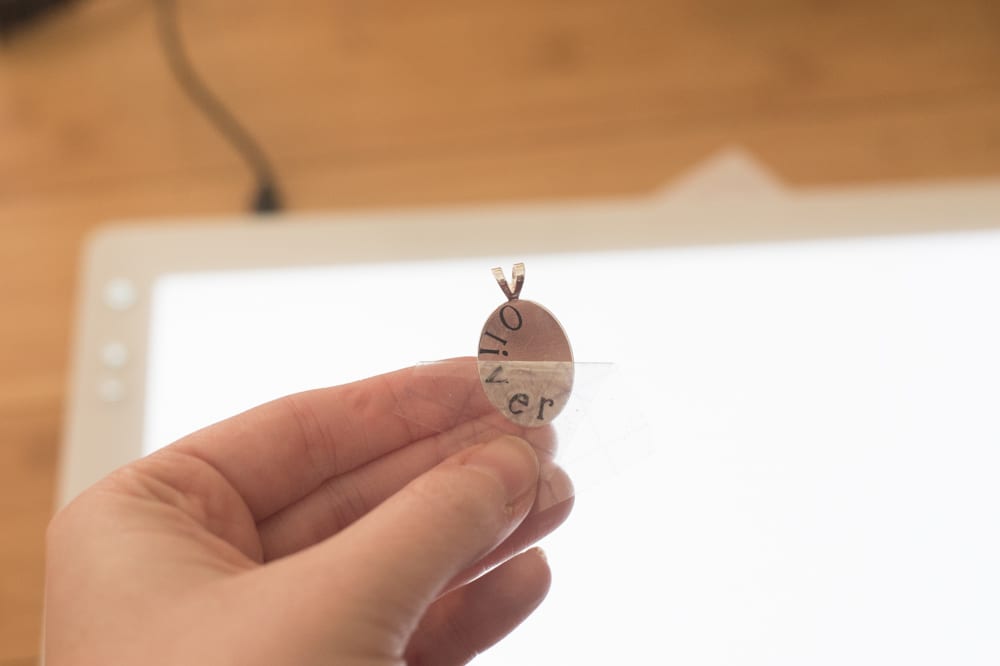
Once you’ve weeded out the excess, apply the transfer tape.
Put the transfer tape exactly where you want it on the pendant and press it down onto the pendant. If you can, use a scraper tool – but the space may be too small.
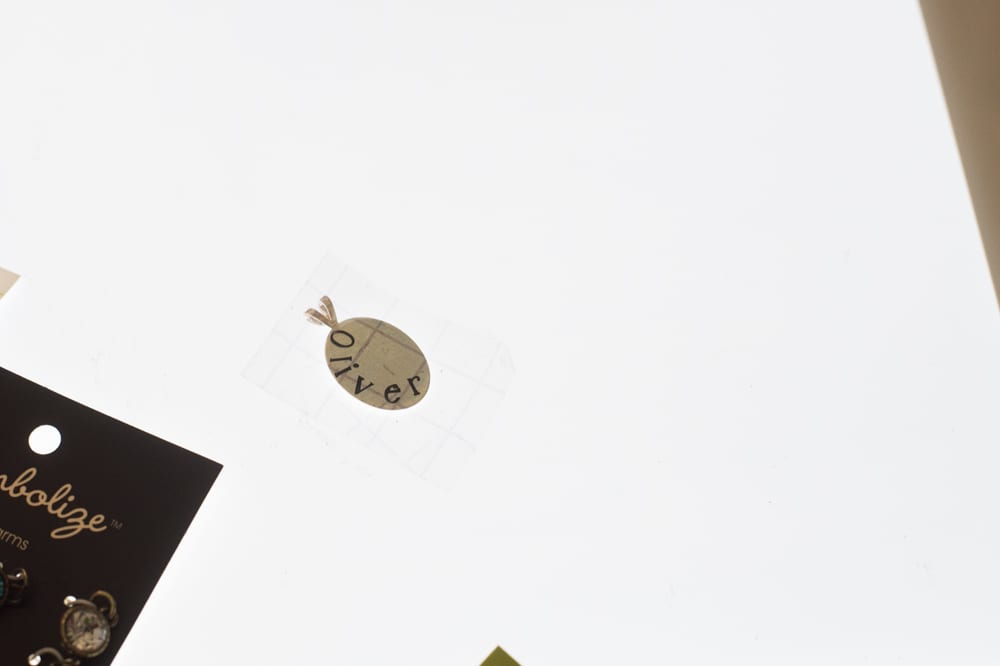
Carefully peel up the transfer tape. If you are having trouble getting it to stay, you can help it a little bit by peeling down a tiny corner of the vinyl and putting it on the metal. Usually, the rest will stay. I only had trouble with one letter.
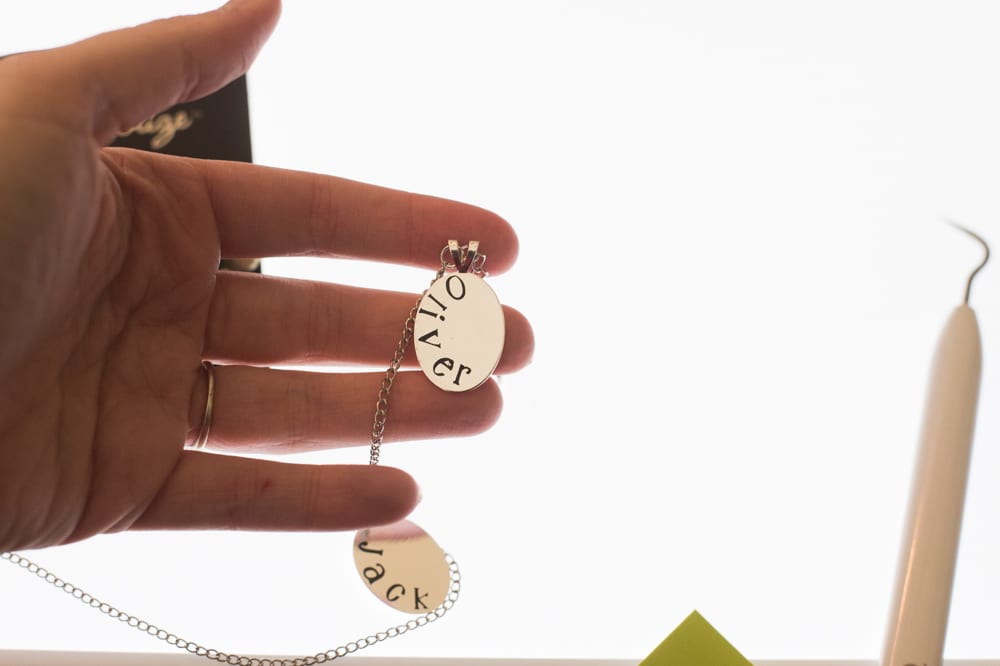
Now, string together your necklace. If you are doing one similar to the necklace I made, I recommend putting the pendant then the birthstone.
Enjoy!


Hi! I want to try this idea and was just wondering if you had to seal it after you applied the vinyl? I wanted to give it as a gift but am afraid the letters might fall off after awhile especially if it gets wet.
Hi! I did not seal mine, but I think it would be a good idea 🙂
These are great. Did you use permanent vinyl please. Also how does the vinyl wear, is it pretty much stay proof
Many thanks
Yep, I used permanently. It has worn well!
I would never have guessed that you used vinyl on these! Great job!
What a great idea! Awesome solution & super cute!