
DIY Thanksgiving Thankful Tree Tutorial + Template
Thanksgiving is a time for gratitude, family, friends, and good food! This cute DIY Thanksgiving Thankful Tree is a simple and fun new tradition that you will enjoy for years to come.
Thankful Tree Template
Our family always have so many traditions for holidays throughout the year – and I realized we really haven’t started many for Thanksgiving.
We are big believers in fully celebrating Thanksgiving though – I mean, it’s such an awesome holiday. I love hearing why people feel grateful! Plus, the food is always top notch.
As I was trying to think of ways to encourage my children to appreciate this holiday a little bit more with some simple traditions when I saw a cute little Thanksgiving thankful tree at Target in Bullseye’s playground. It didn’t look exactly how I wanted, and it looked like something I could easily make with my Cricut, so I went home and did just that.
This was a super simple project using my Cricut Maker and some thick chipboard…but if you don’t have a Cricut Maker, you could easily make it with a Cricut Explore Air using a thinner chipboard and the deep cut blade.
And if you don’t have a Cricut machine at all, you could create a similar design using some chipboard and cut it out with an X-ACTO knife 🙂
I did have some trouble with the pieces fitting together correctly, so I ended up trimming the bottom and the top, but it turned out great.
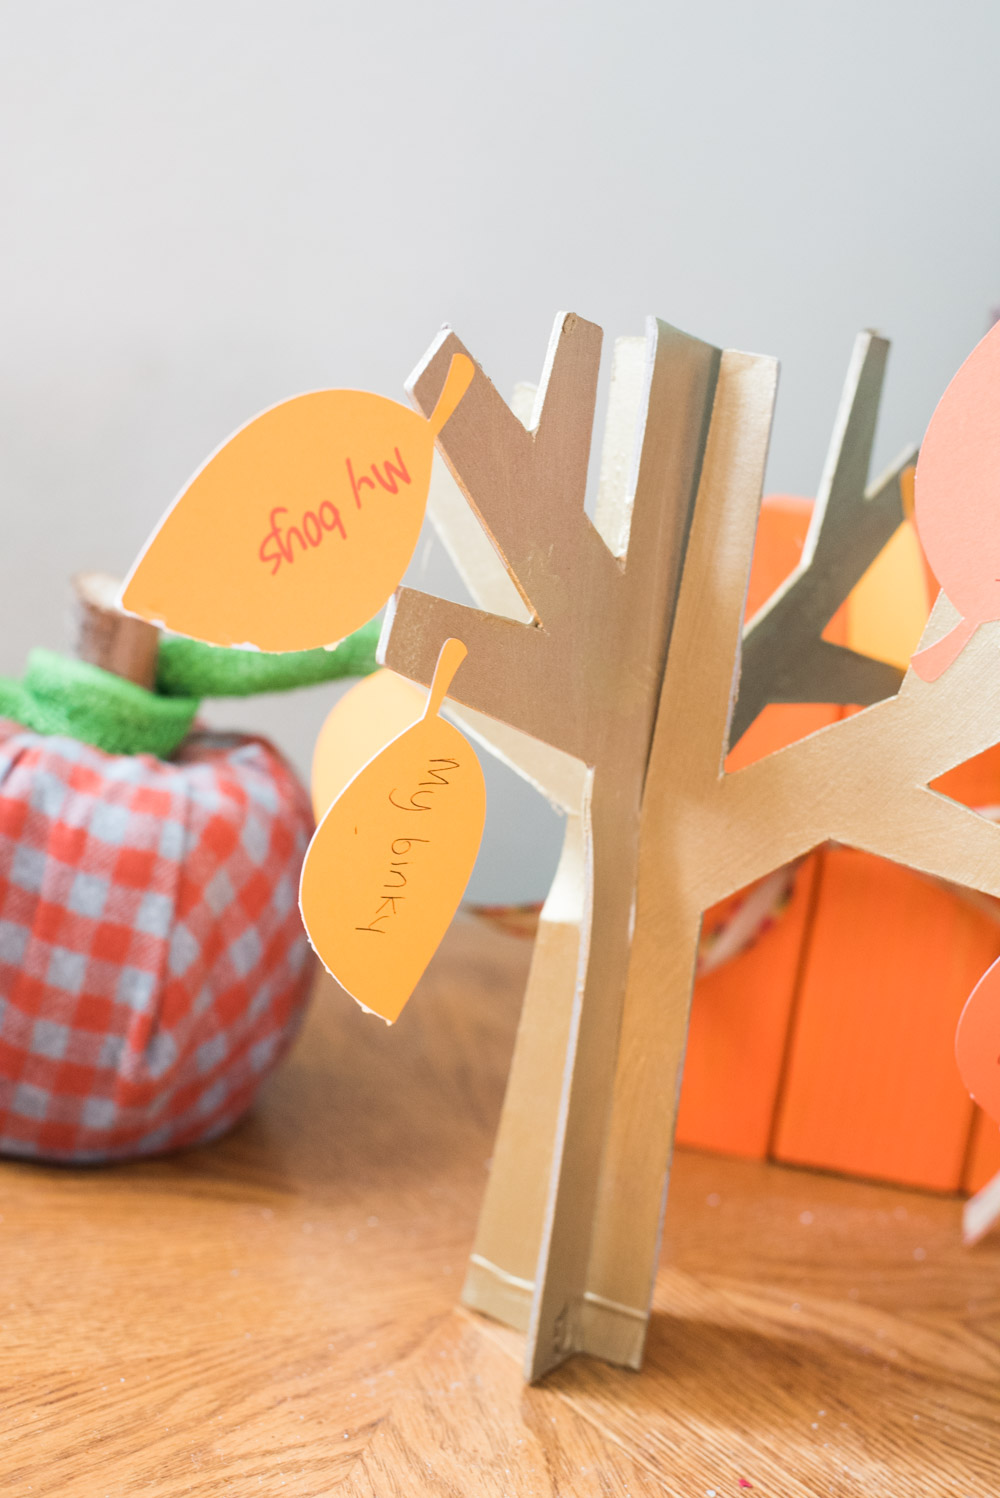
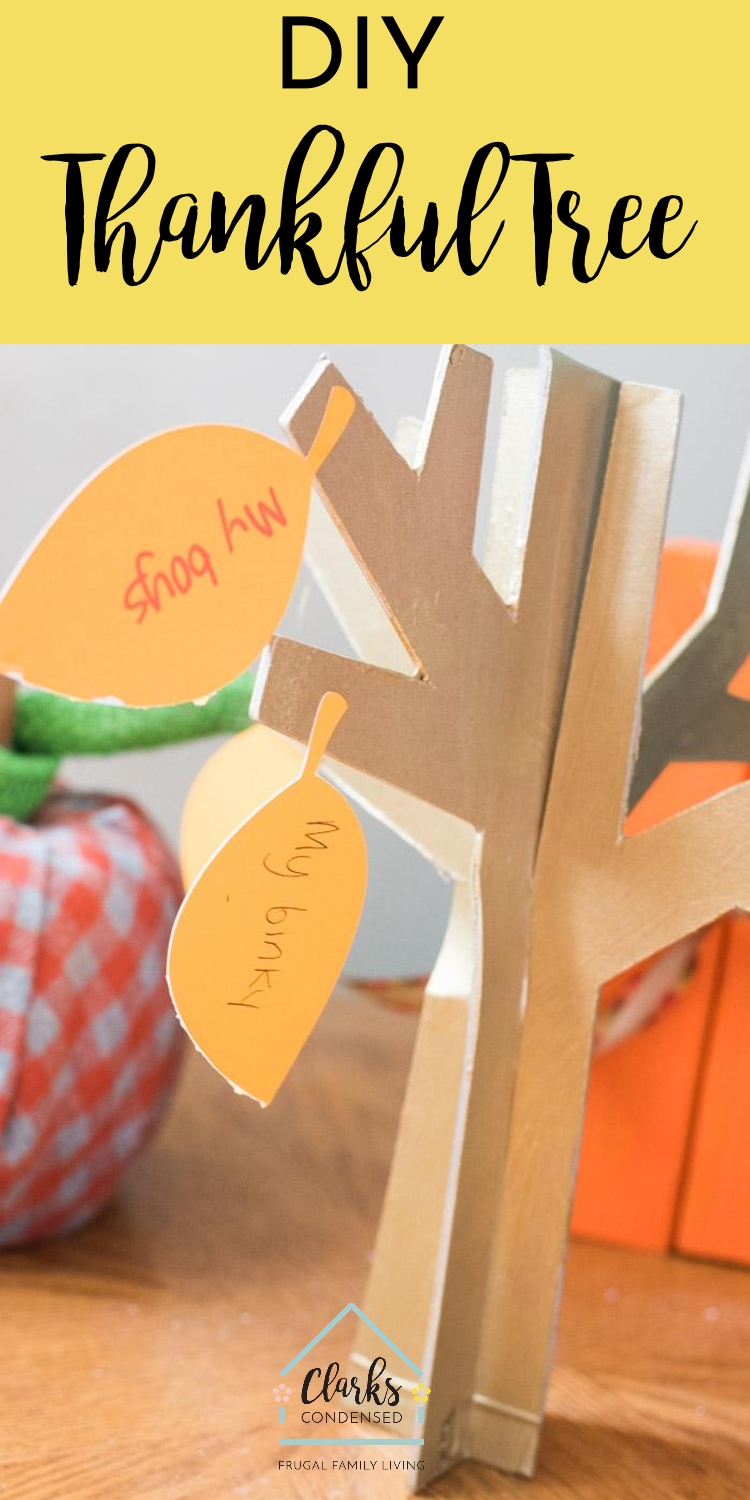
I just used some yellow and orange cardstock for the leaves, and each day we have the boys tell us something they are thankful for. Jack writes his out, and for Oliver, I write his out. I have added a few of my own as well.
It’s been fun to see them try and come up with new things that they are thankful for. It’s really quite sweet.
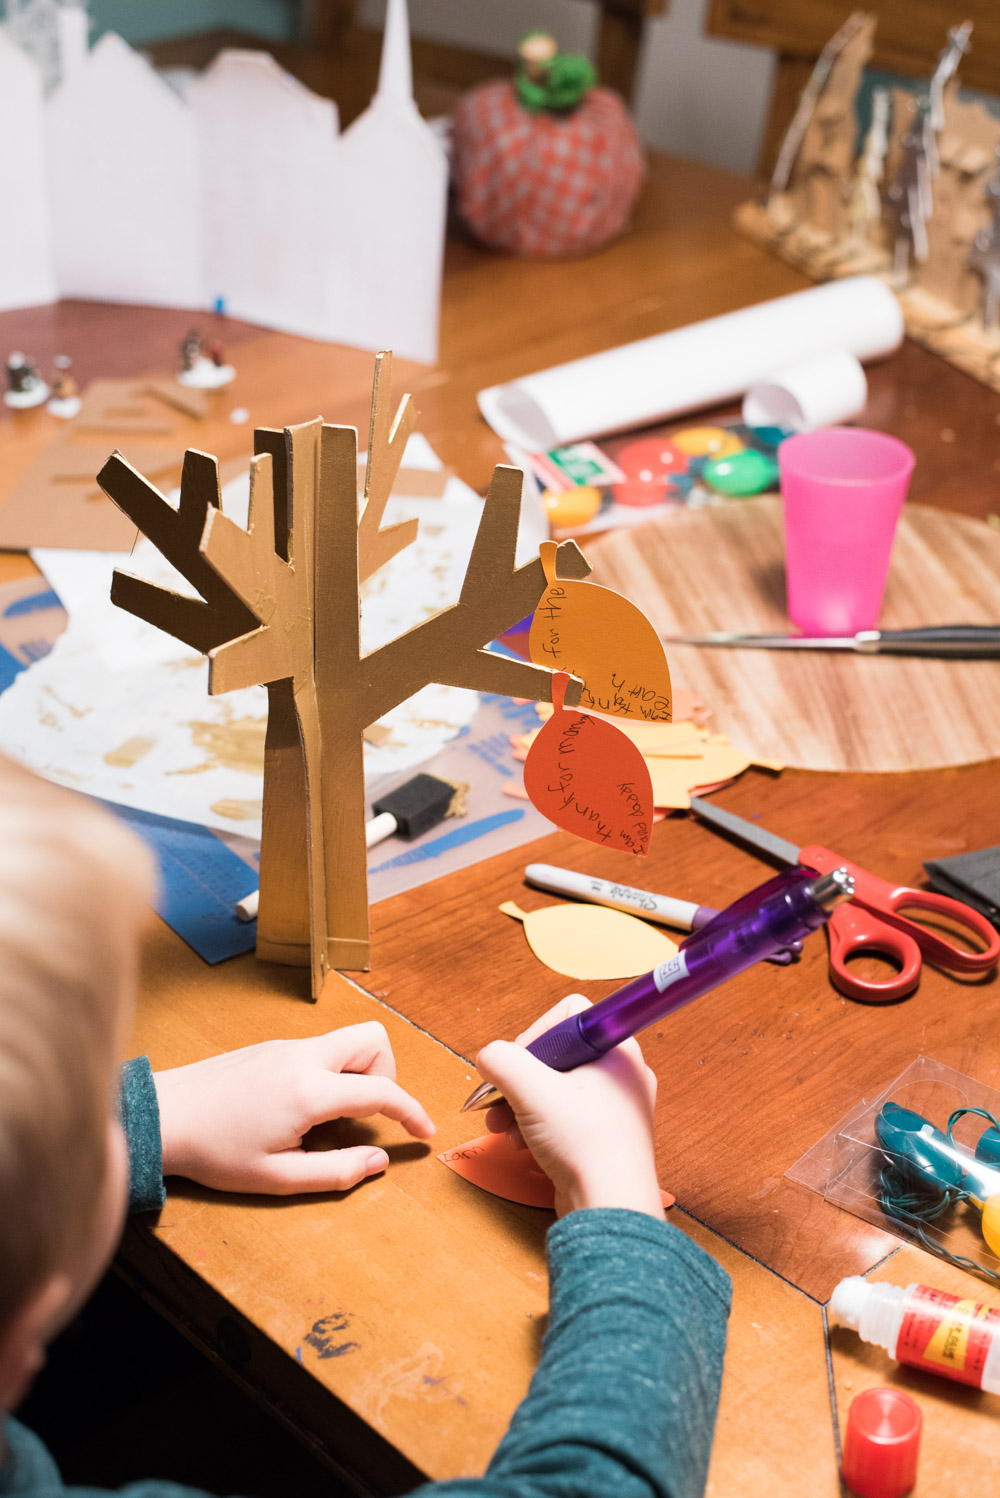
This project is so easy, I will probably just make a new one each year, and the keep the ones from past years in tact 🙂

Anyways, I hope that this will be a fun idea that your family can use as well. Let me know if you have any questions!
Materials
Cricut Heavy Chipboard – Cricut.com / Amazon (or a thinner chipboard if you are using the Explore Air 1/2)
Knife Blade – Cricut.com / Amazon (or Deep Cut for EA – Cricut.com / Amazon)
Cardstock – Cricut.com / Amazon
Sharp Knife or X-ACTO Knife
Glue, tape or glue dots (to attach the leaves)
StrongGrip Mat – Cricut.com / Amazon
LightGrip Mat – Cricut.com / Amazon
**DON’T FORGET TO USE THE CODE CLARK10 FOR 10% OFF AND FREE SHIPPING ON MATERIALS AND SUPPLIES ON CRICUT.COM**
Instructions
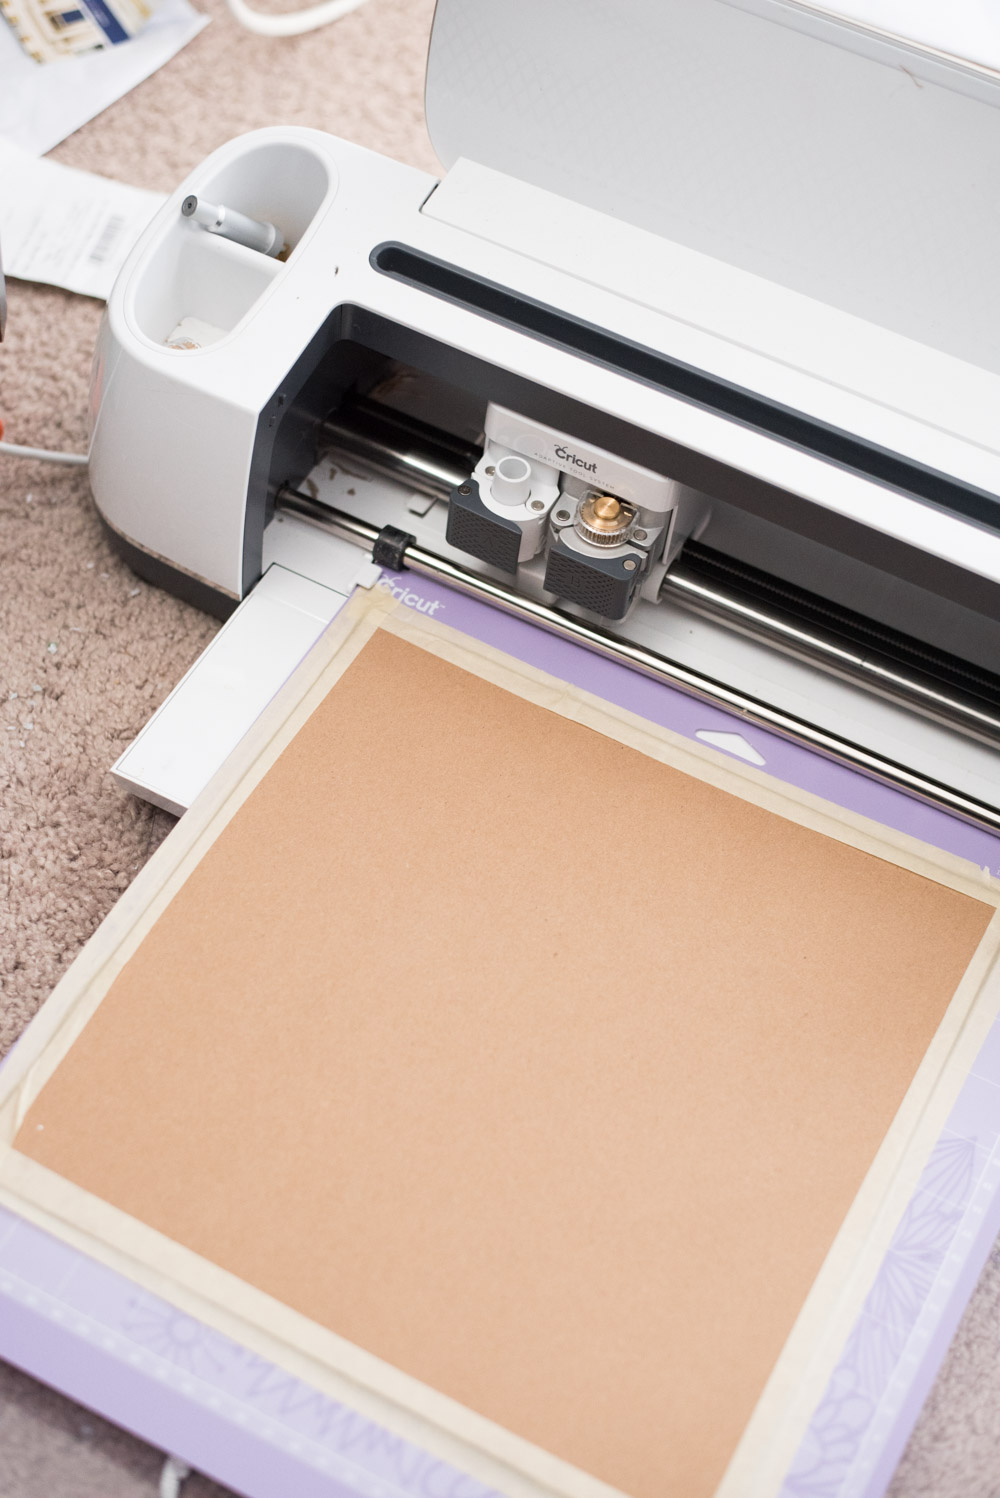
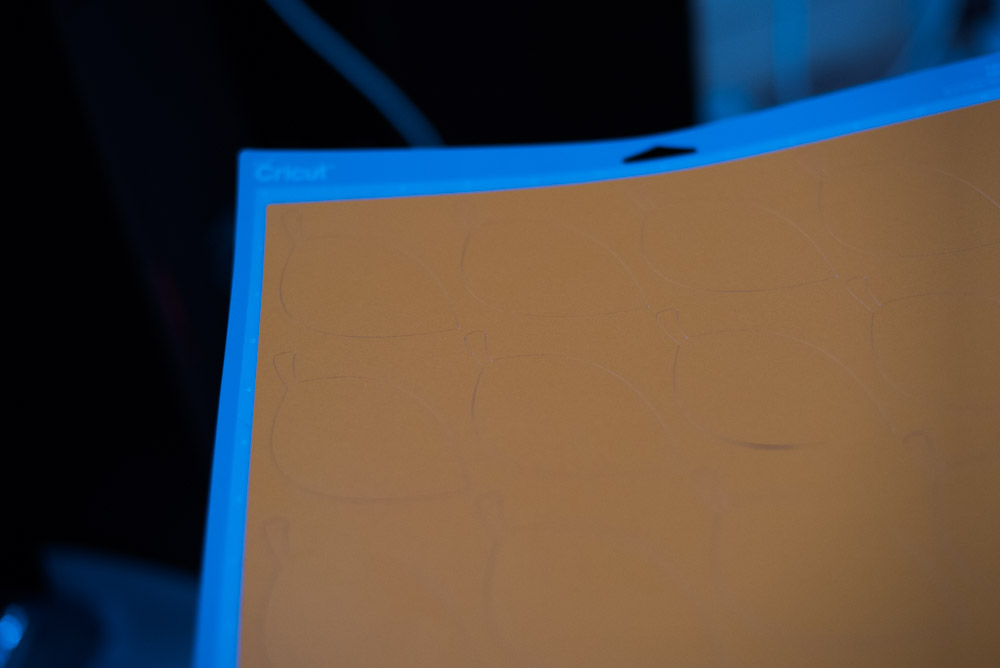
Open up this Design in Design Space. This has been sized perfectly for a piece of Cricut chipboard.
Press make it. Select the correct materials for each cut, and then cut it out. If you have never cut with the chipboard before, you will need a StrongGrip mat (purple), and you will need to secure it down with masking tape or painters tape.
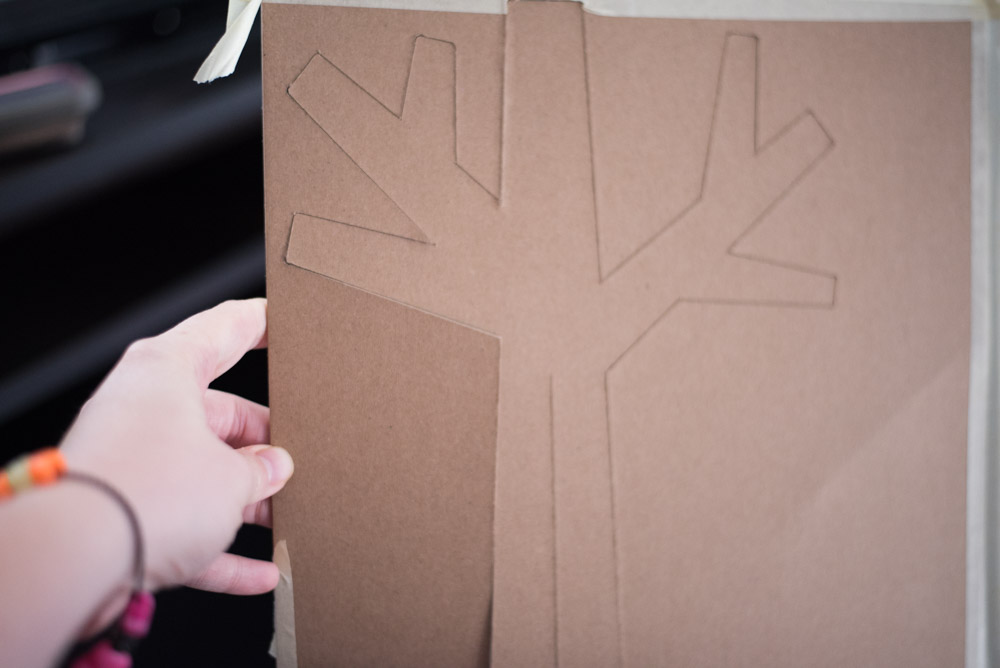
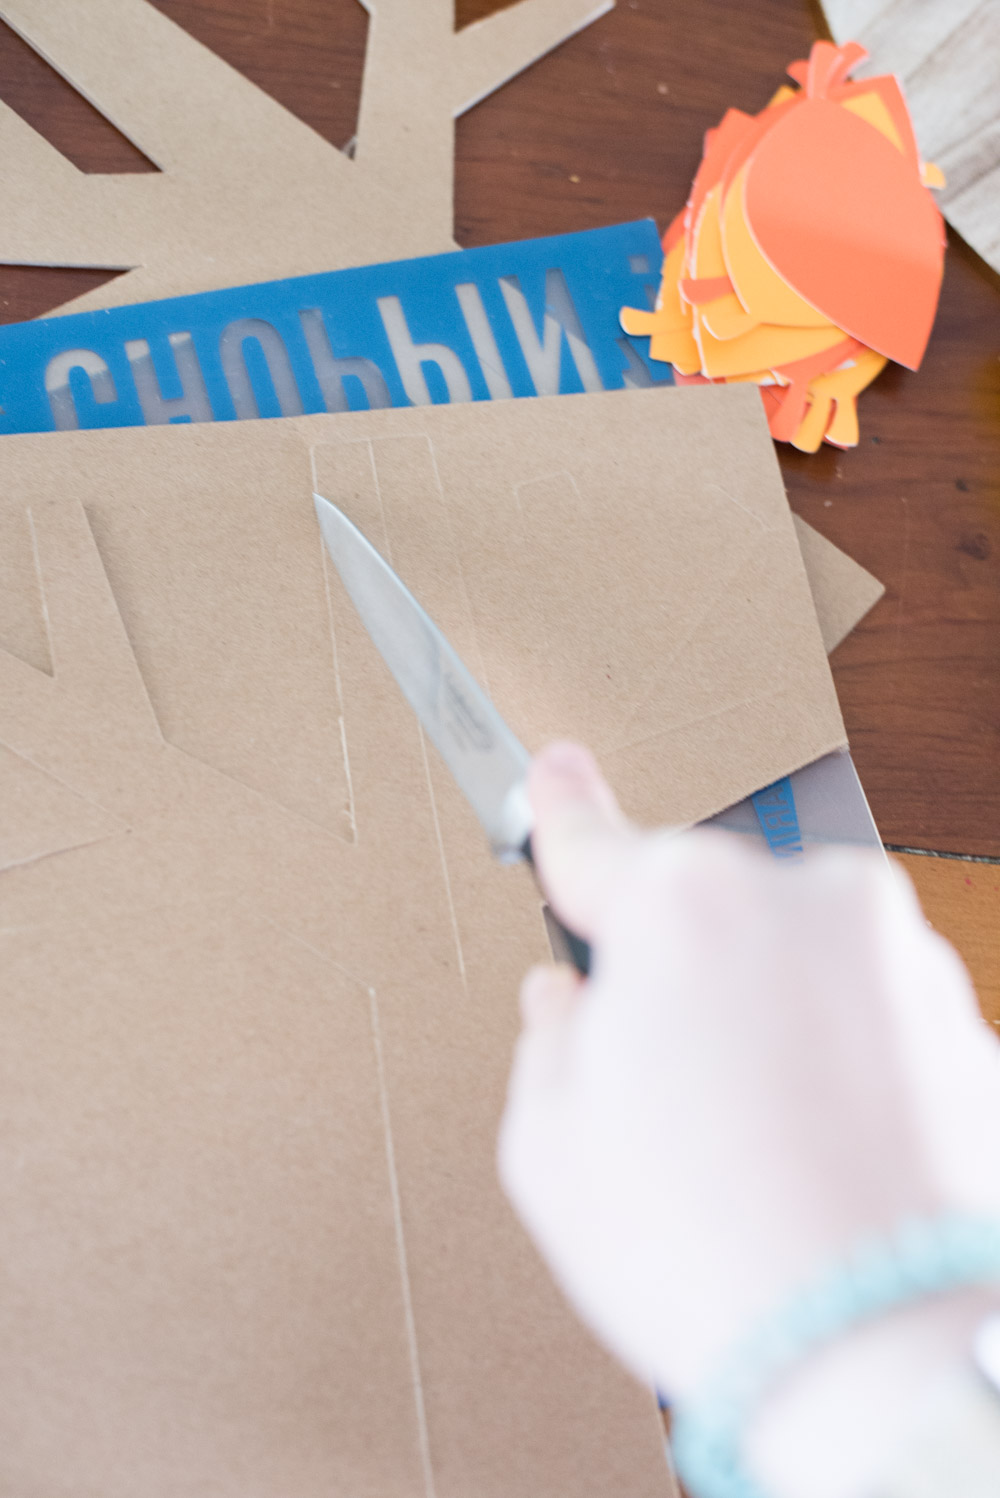
Remove the excess material around the leaves and chipboard. A couple of areas on my trees didn’t get cut all the way, so I had to use a knife to set those free.
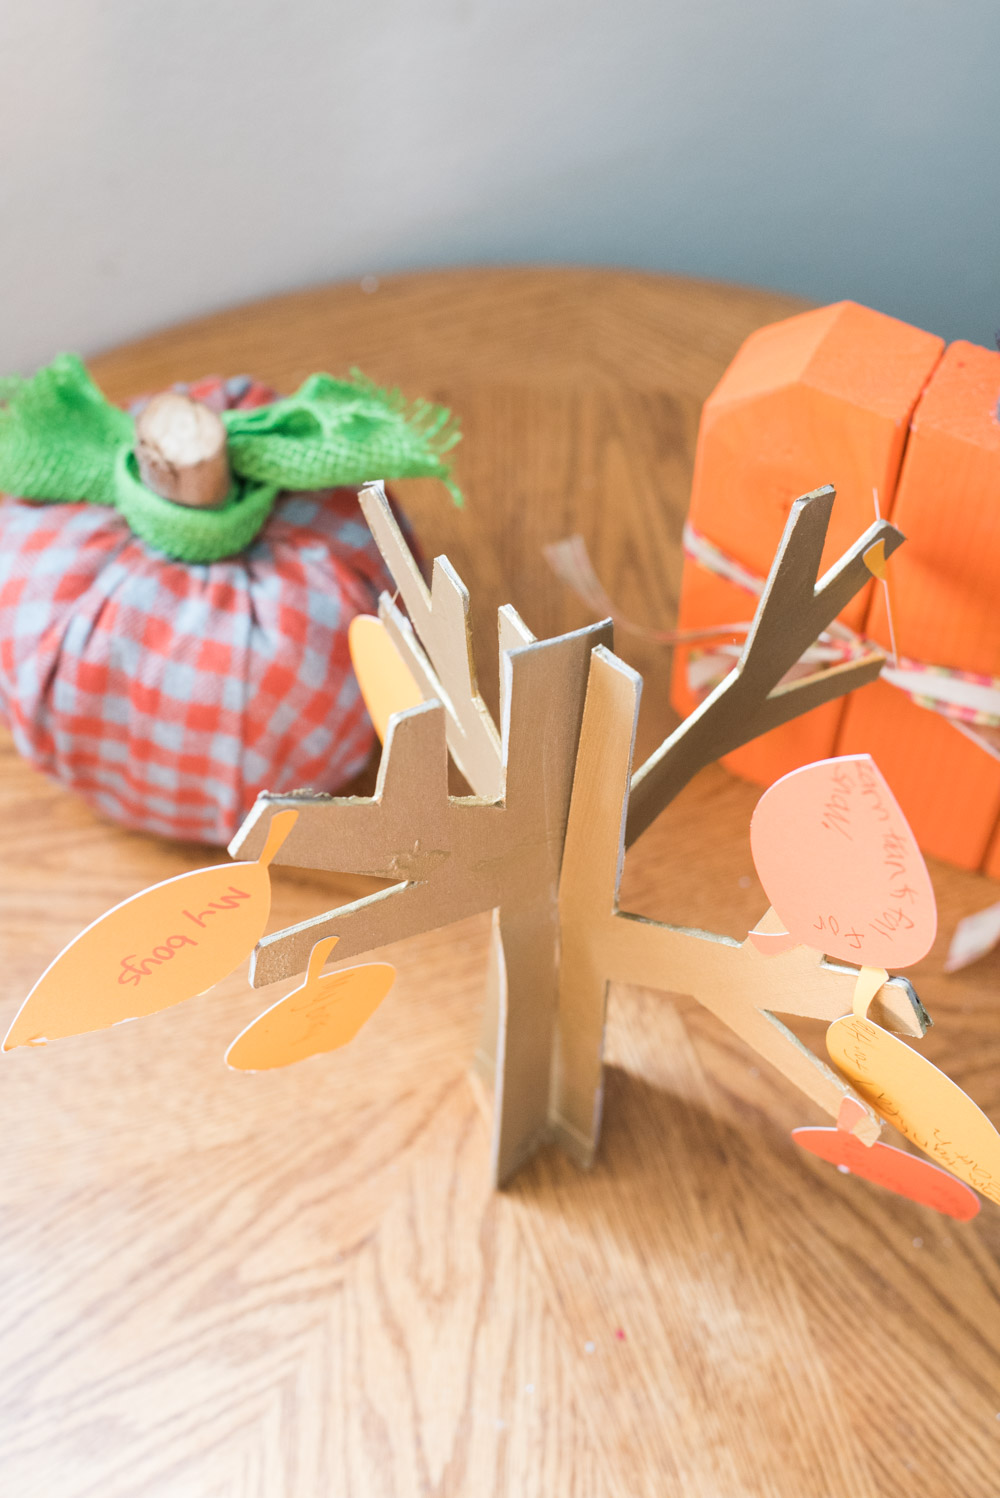
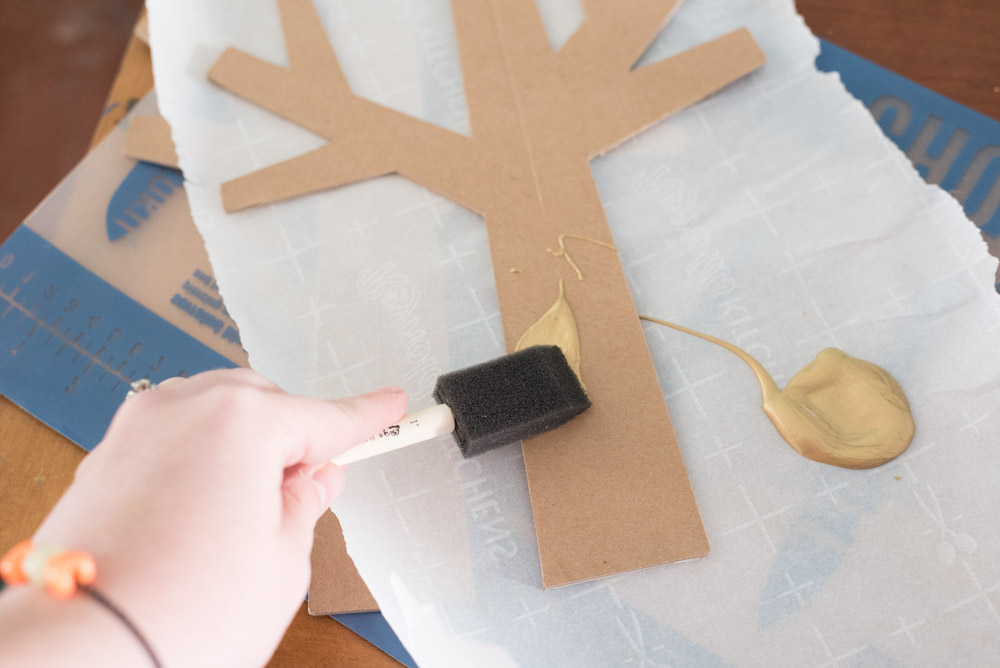
Paint the tree. This is optional, but I didn’t really love the plain look of the chipboard. I painted it gold on both sides. Dry completely.
Put the tree together. When I put my tree together, it didn’t fit correctly – so I ended up cutting off the bottom of part of the tree, and the top of another, to make it fit. It still turned out great!

Enjoy! Put the leaves up using glue, tape, or glue dots.
Other Posts You May Enjoy:
- Iron vs Cricut EasyPress vs Heat Press: Which One Should YOU Get?
- DIY Month by Month Baby Onesies: Cricut Baby Onesies
- 50+ Cricut Christmas Projects; Easy and Jolly Ideas!


This is so clever! We don’t really have any Thanksgiving traditions other than eating a ton and shopping, but this would be so fun with kids!