
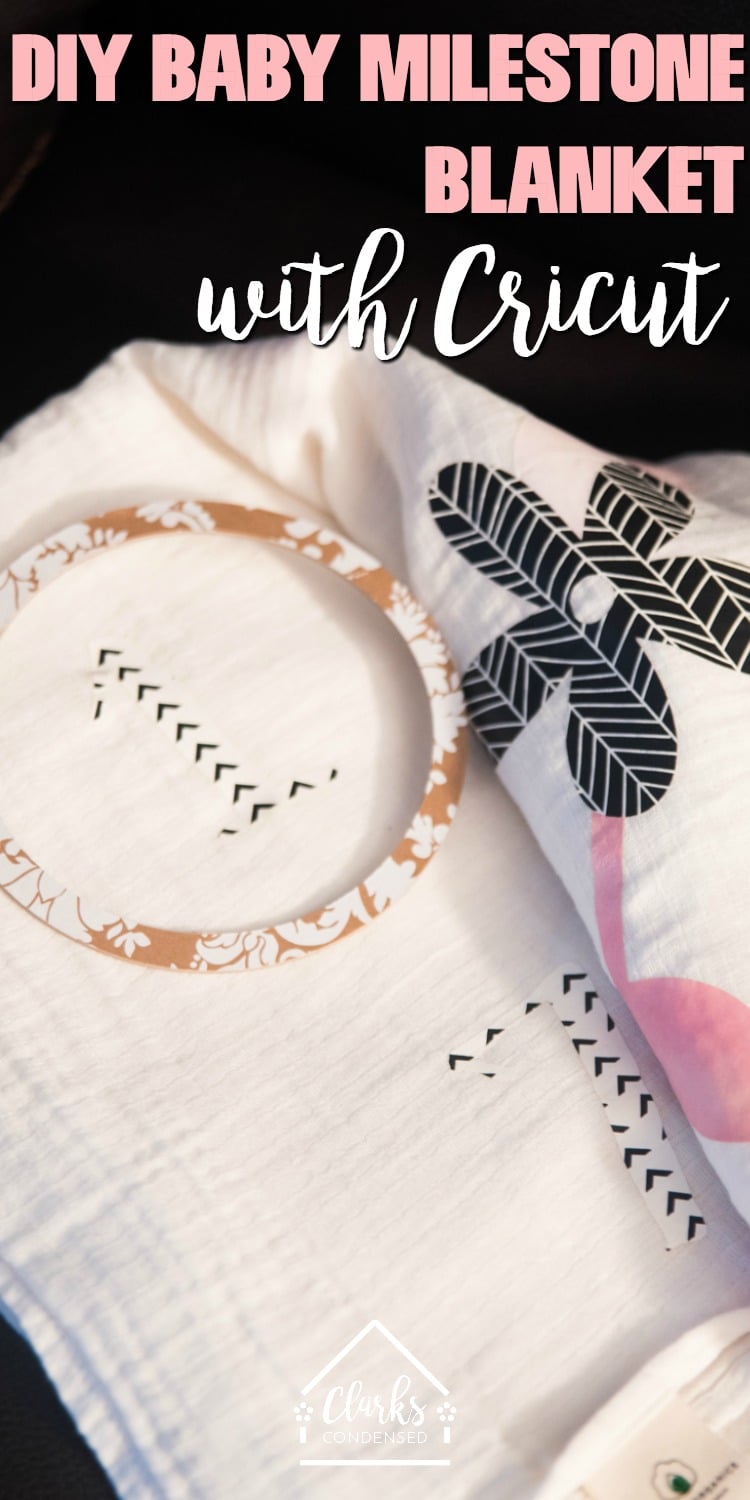
DIY Baby Milestone Blanket Tutorial
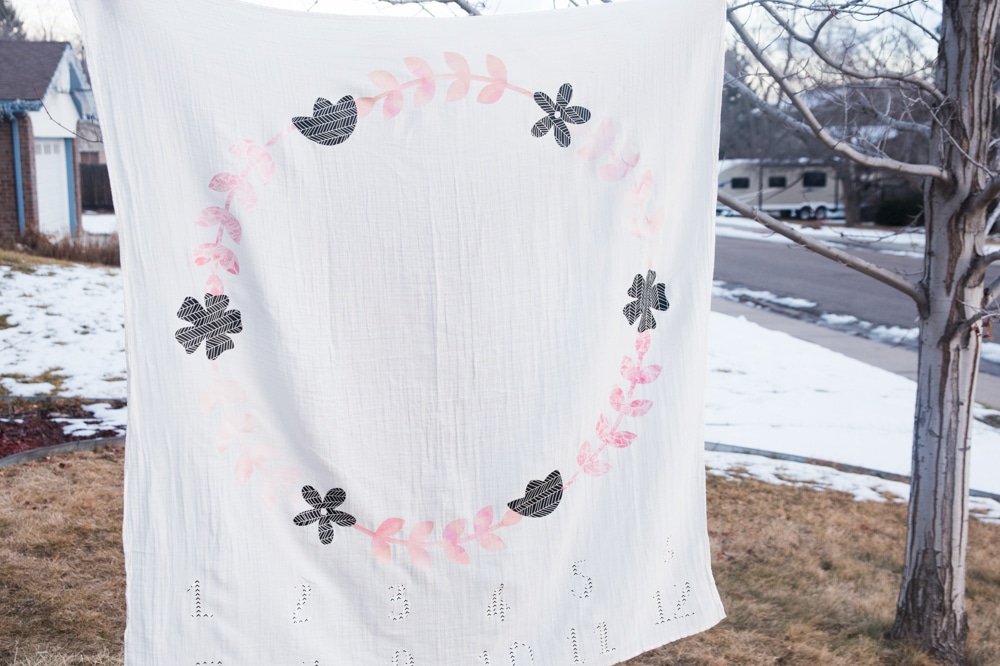
Make your own baby milestone blanket for your monthly baby pictures !
I think there's nothing more exciting than the impending arrival of a new baby.
In just a few days, I will have a new niece born - and I can hardly wait to meet her! She's been wanted in my sister's family for many years, and the excitement of her arrival is building with each day.
I had my last child almost three-and-a-half years ago, and since then, there have been lots of "baby trends" that have come around during that time.
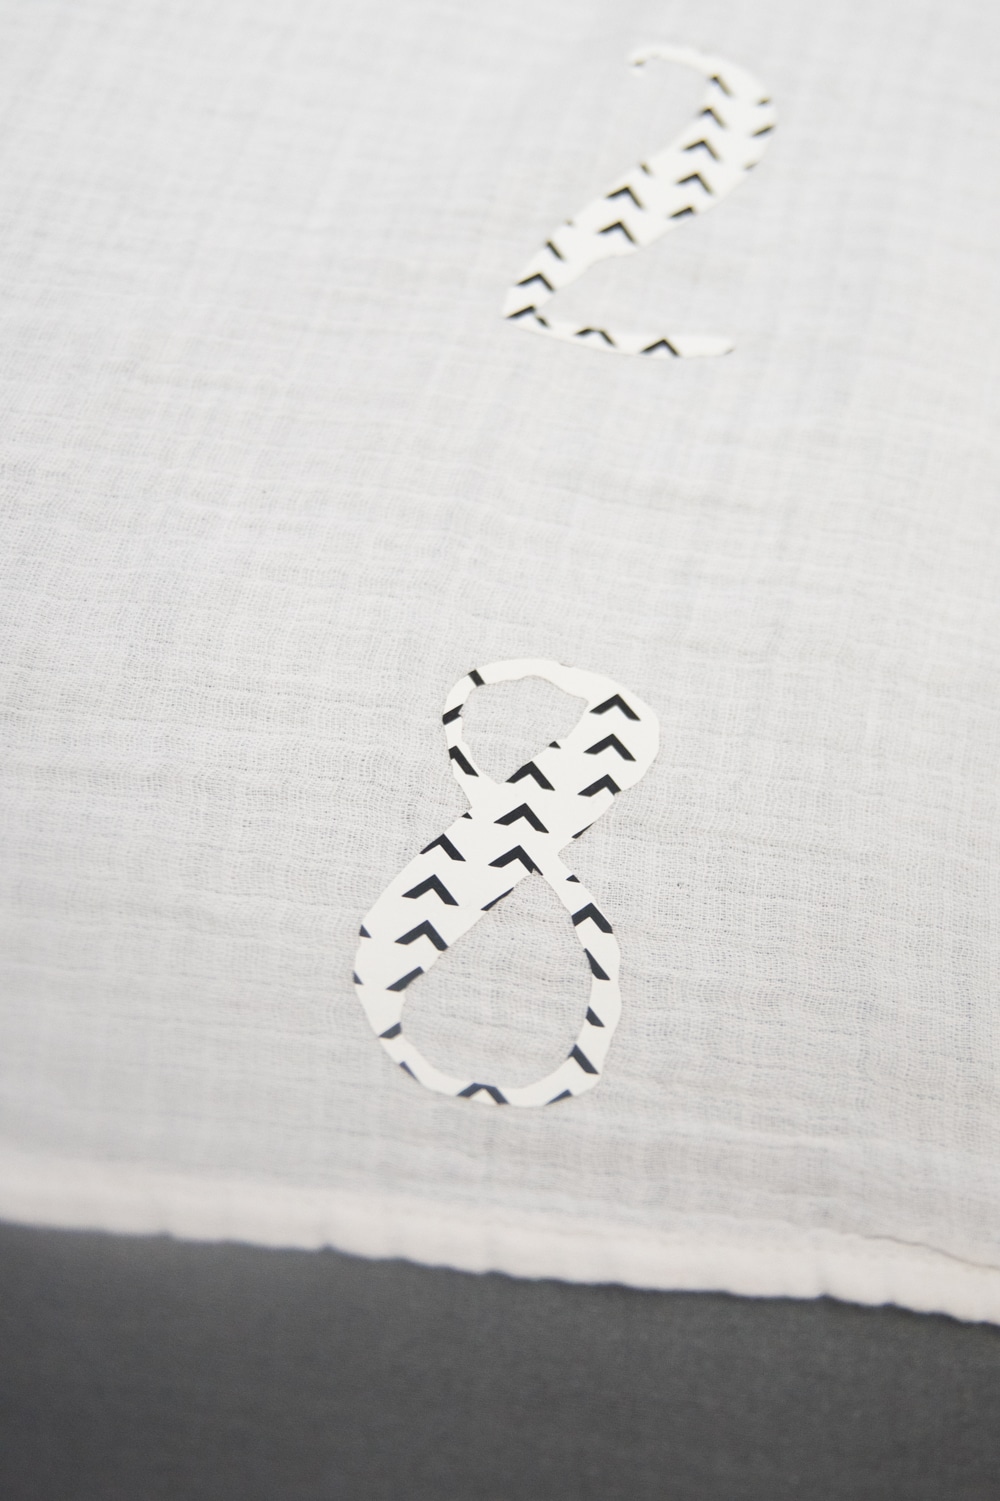
One of my favorites is a "Baby Milestone" blanket that you can use with monthly baby pictures to track your baby's growth.
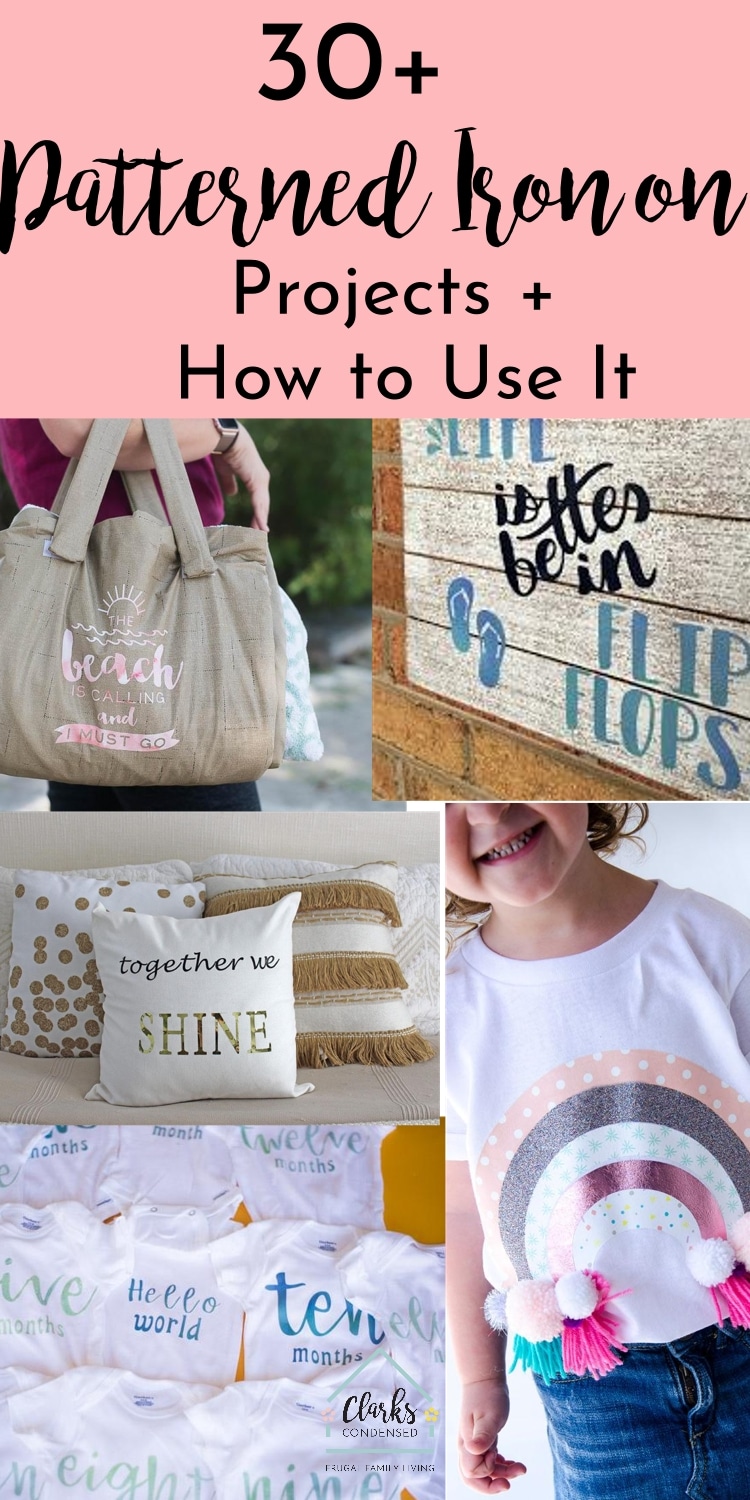
A while back, I shared these monthly baby onesies I made using patterned iron-on...and today, I'm sharing a DIY Baby Milestone blanket.
I decided to make this to give to my sister so she can have something fun and cute to put her little baby on each month. Plus, I am always looking for a good reason to use Cricut patterned iron-on.
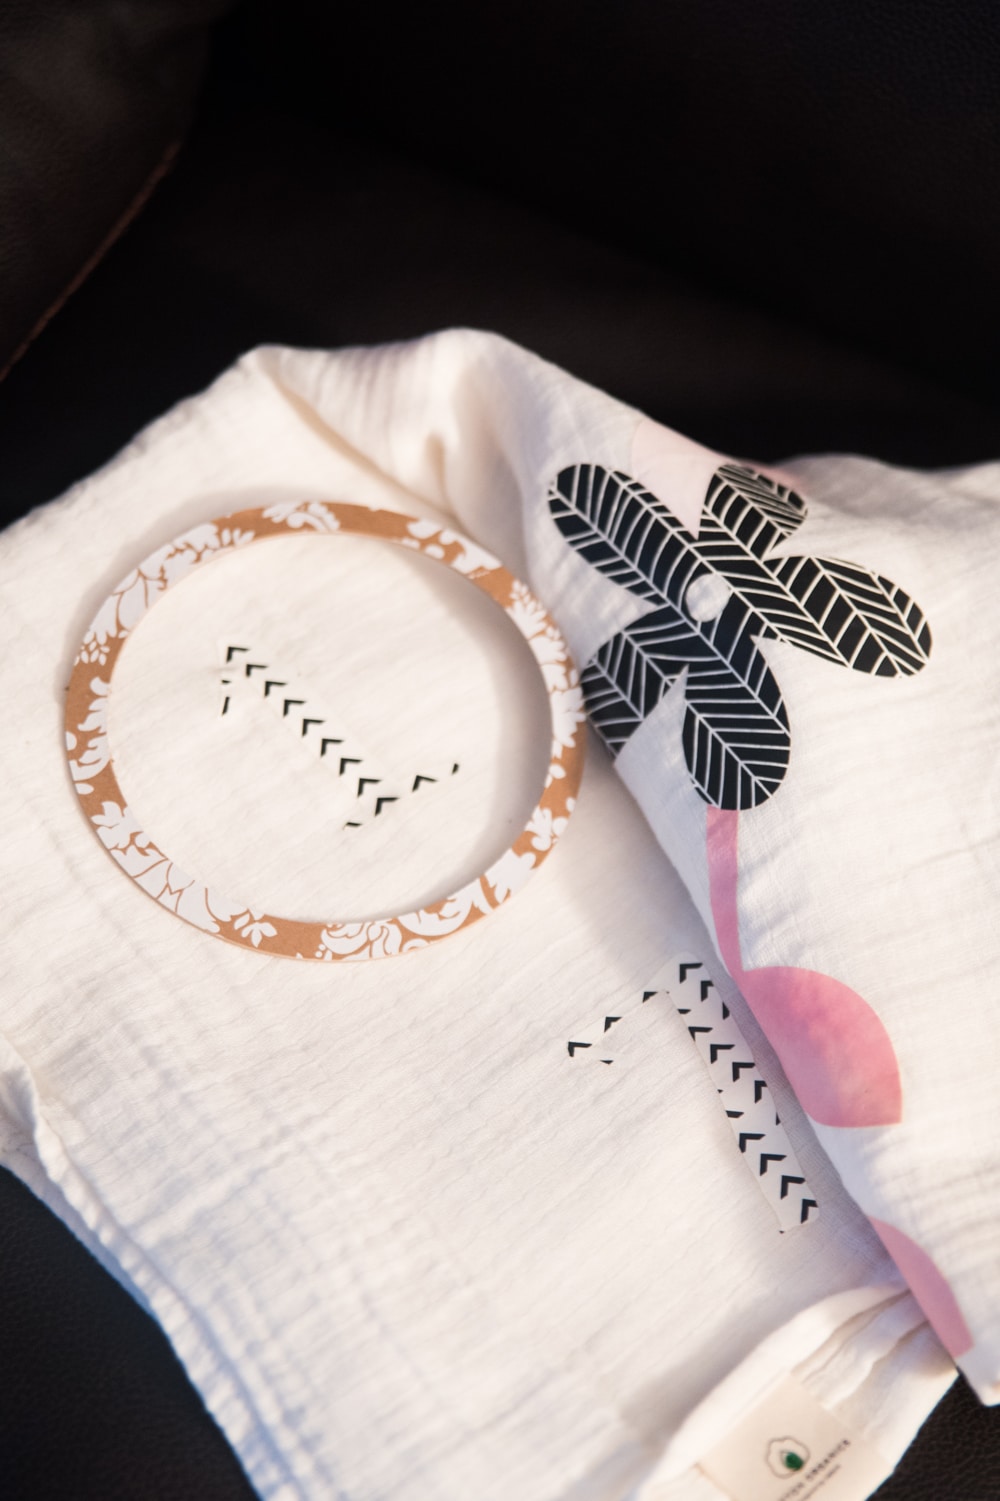
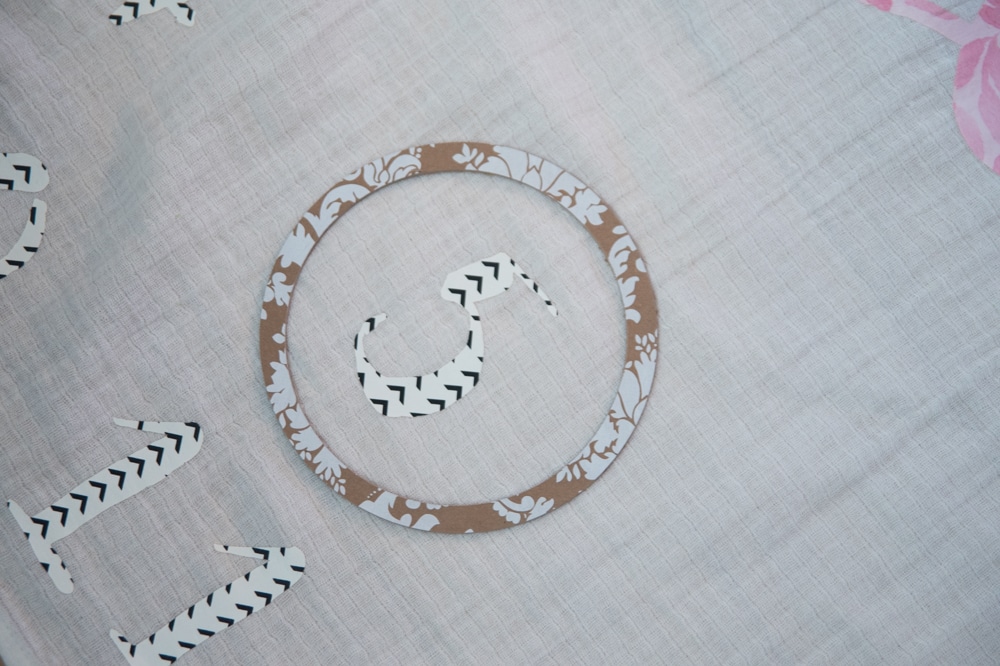
I also made a fun little chipboard marker to circle the month for each picture using Cricut's Damask Chipboard...which is SO fun and pretty.
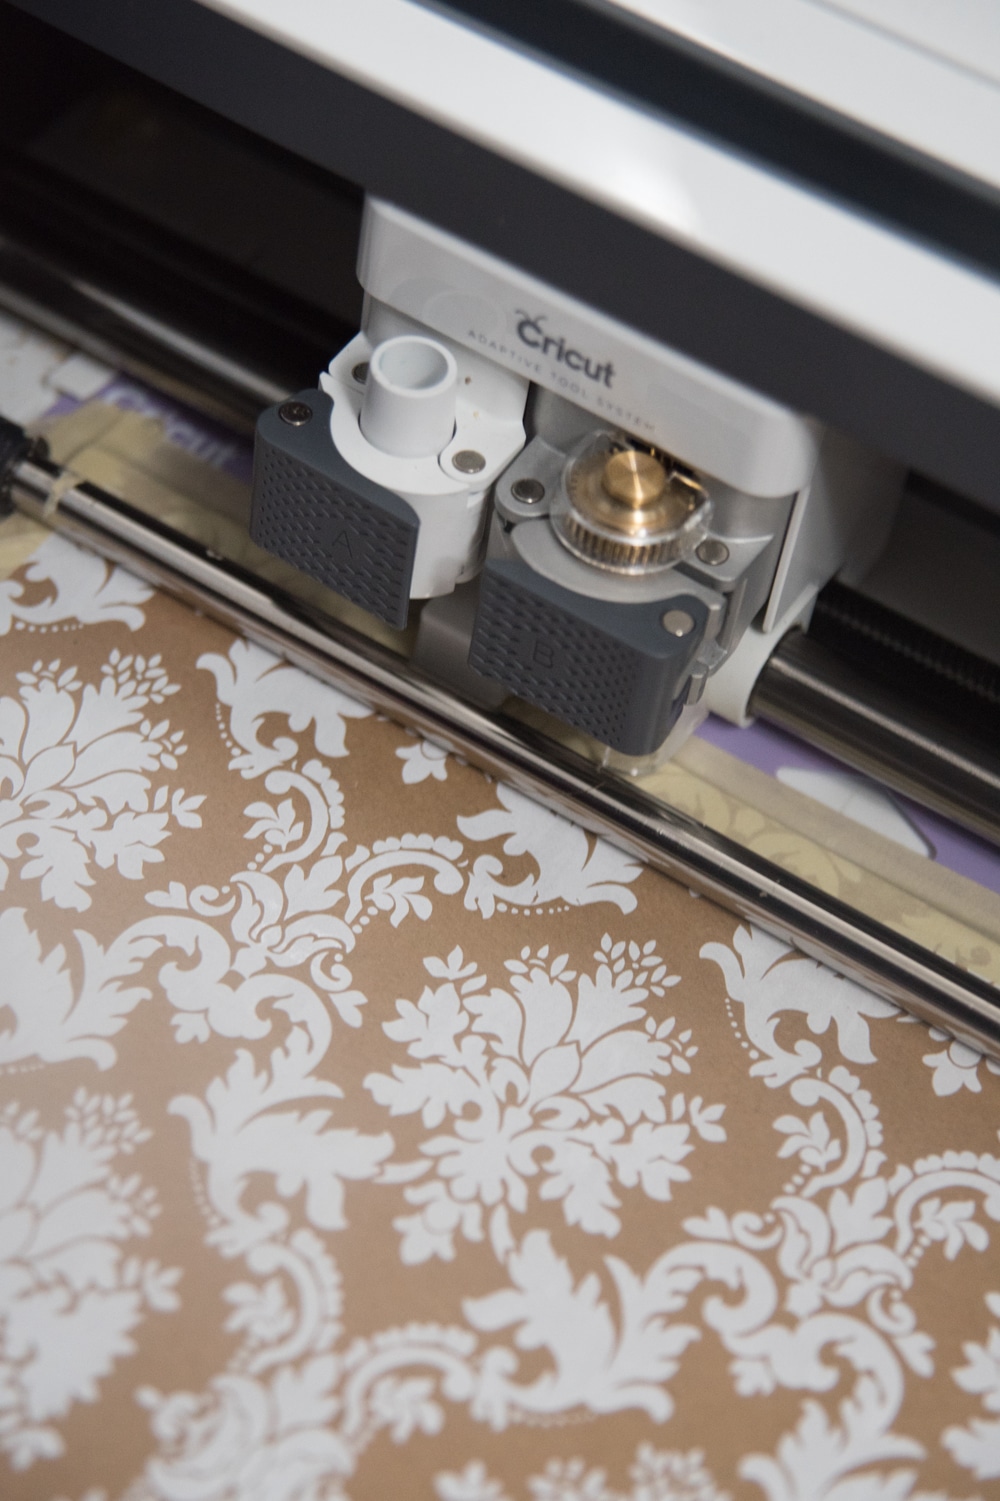
I was able to use my Knife Blade to cut it out, and I think it's just the perfect finishing touch for this blanket.
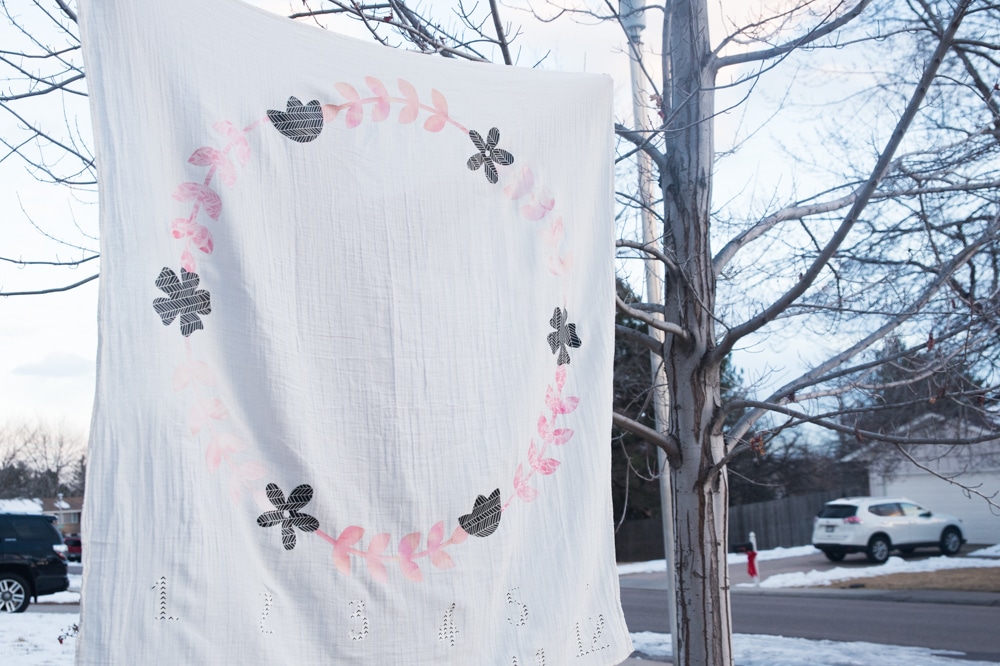
Because this blanket is so large, it took me a little while to figure out a design that I could reasonably cut out. I found lots pretty floral wreaths in Design Space...but they were all one element, and the Cricut can't *quite* cut out that large of a circle.
I finally came across some vines, which I was able to size correctly so they fit on one mat, and then I also found a variety of little flowers I could sprinkle throughout it.
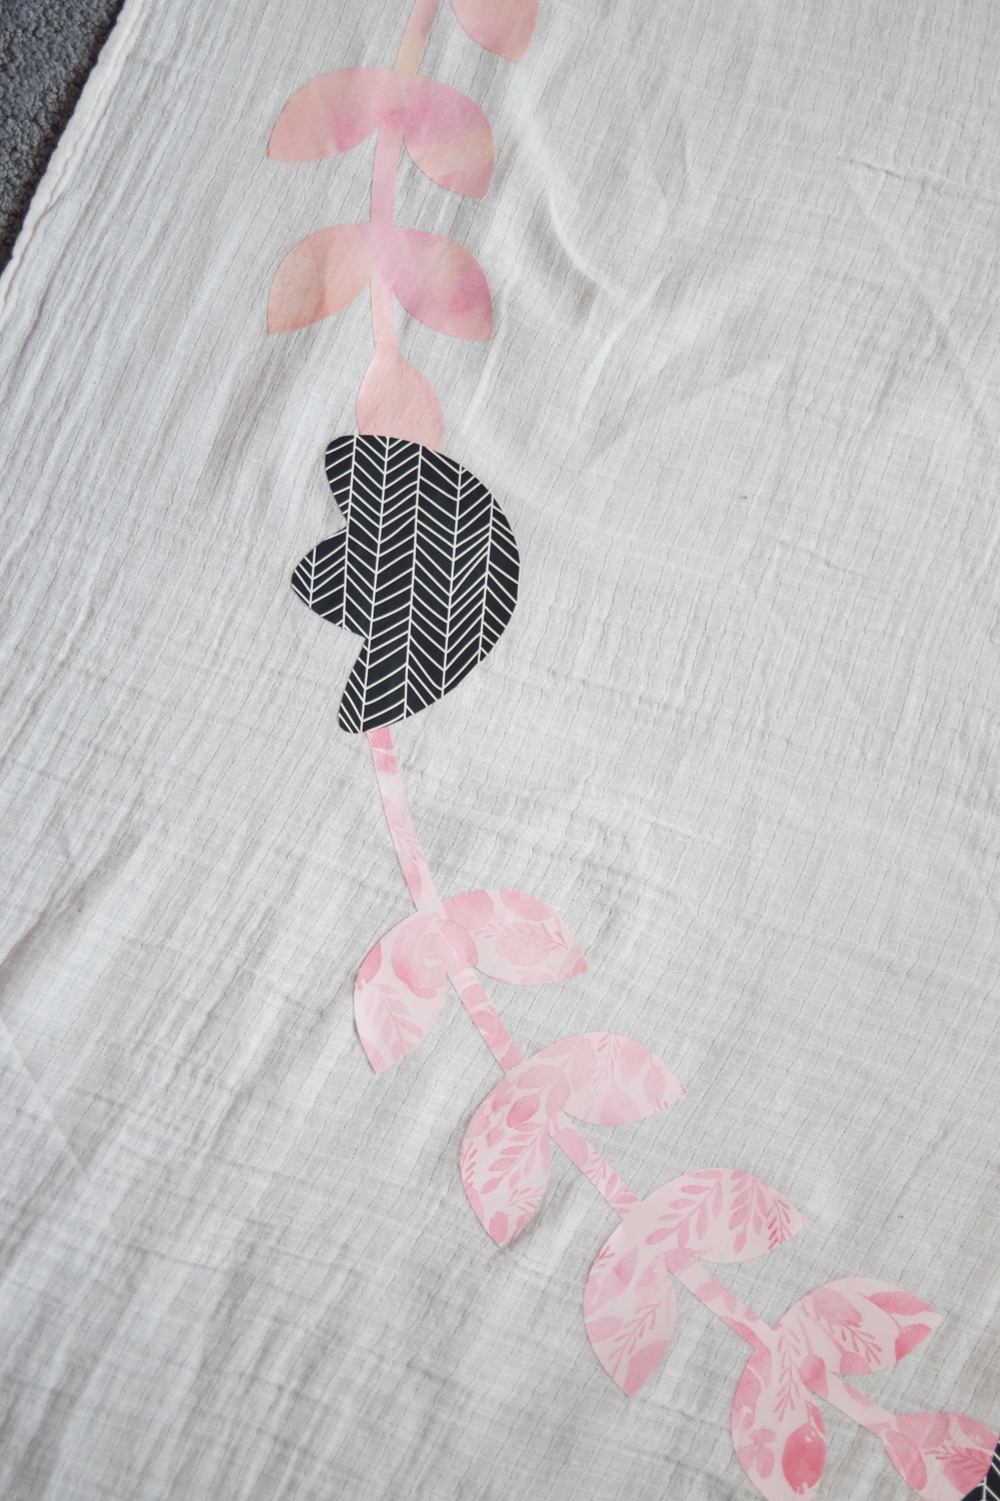
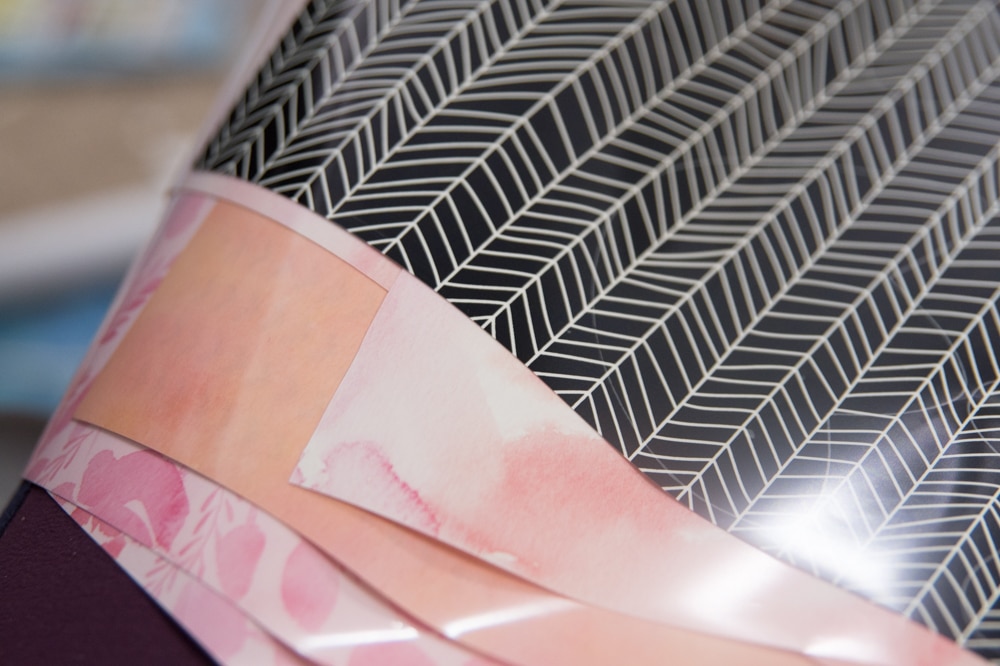
I used two different Patterned Iron-on samplers, and although I wouldn't have initially put them together, I love how they turned out.
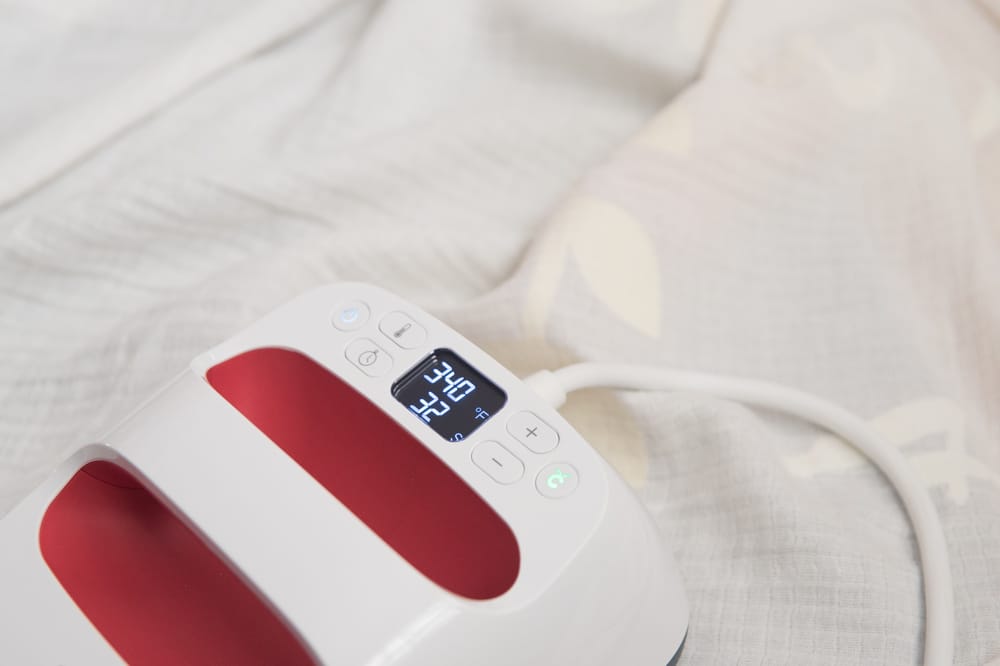
I used both my 6x7 EasyPress and my 10x12.
Honestly, I thought I would have liked using my 10x12 for this project more, but it proved to be a little trickier. I used the 6x7 for the numbers, and it worked perfectly. However, with the 10x12, I had a really hard time getting it to stick to the muslin.
I eventually switched back to my 6x7, and I was able to finish up the project pretty quickly.
There were a lot of elements to this project, but once you get them all cut out and put on your blanket, it's really not that hard to piece together.
I was really happy with how this project turned out. There were a few times I wasn't sure I'd be able to get it to work out, but it did, and I hope my sister will love it.
Tips:

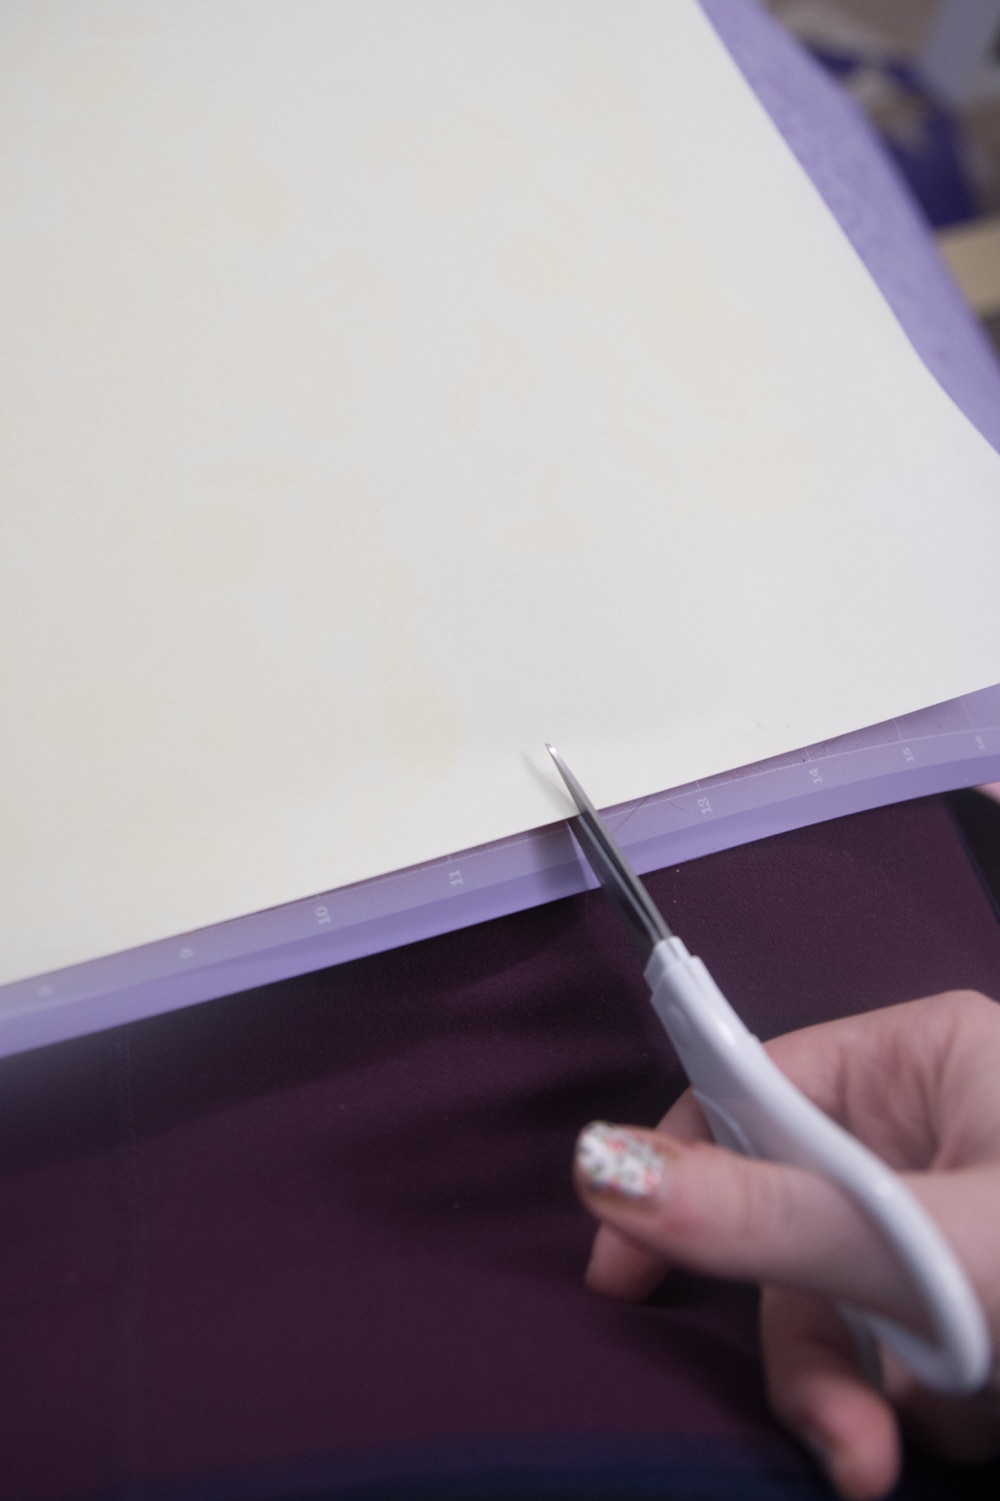
- When you pull up this project and press make it, it will divide two vines per 12x24 mat. The patterned iron-on sheets aren't 12x24, so you will need to trim some pieces a little bit. I used two rolls of the Natalie Malan patterned iron-on, and I just used one full sheet and cut another sheet. I edited the mats and pushed one of the vines a little bit down below the 12" mark to make it easier to cut.
- Don't forget to press the "mirror" toggle button.
- When you open up the design, it will probably be far over on the canvas because of it's size. You can press the magnifying button at the bottom left part of your screen to more easily edit it.
- I didn't put a name on the one you see pictured in this post because the baby isn't here yet! But I do have a name in the
- Make sure you do the back press when doing your iron-on. This is the only way I was able to get the iron-on to adhere properly to the circle.
- Lay out all of the vinyl how you want it before you start to iron it on.
- When you have your blanket, figure out the dimensions and put a box or rectangle in the design to resize the other design elements properly. The design is, by default, for a 47x47" muslin blanket.
Materials:
[the_ad id="93378"]
- Muslin swaddling blanket (I used a 47x47" blanket)
- Patterned Iron-on (I used two rolls of Natalie Malan Sunset Blossom and one roll of Nature Walk Basics. They have SO many options!). If you want it to be plainer, you can just use Cricut's every day Iron on.
- Damask Chipboard
Equipment
- Cricut Maker (if you opt not to make the chipboard circle, you can use your Explore Air 2). (Cricut / Amazon)
- EasyPress or Iron (Cricut / Amazon)
- Fine Point Blade (Cricut / Amazon)
- Knife Blade (Cricut / Amazon)
Design File
You can click here to get the exact design that I created in Design Space, sized for a 47x47 blanket. As mentioned above, if you have a different sized blanket, you can put a rectangle or square for that dimensions on your canvas to help you resize it (just make sure you delete it before you cut!).
The circle and numbers are all grouped together, but you can ungroup them to move them around and resize individually.
Instructions:
Open up the design file in Design space to make sure the design looks just how you want it.
Press make it, make sure all the mats are turned to mirror, and continue with the prompts.
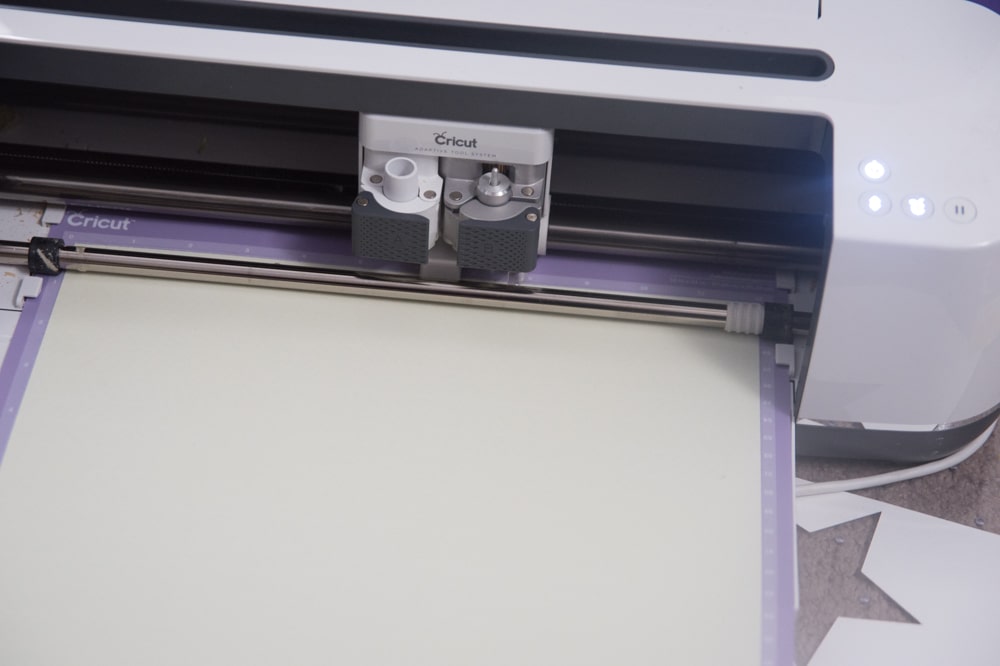
Select patterned iron on (or whatever kind you are using for this project) from the drop-down and prepare your mats.
When you get to the circle when cutting, replace the fine point blade with the knife blade.
Cut out materials, weed out excess.
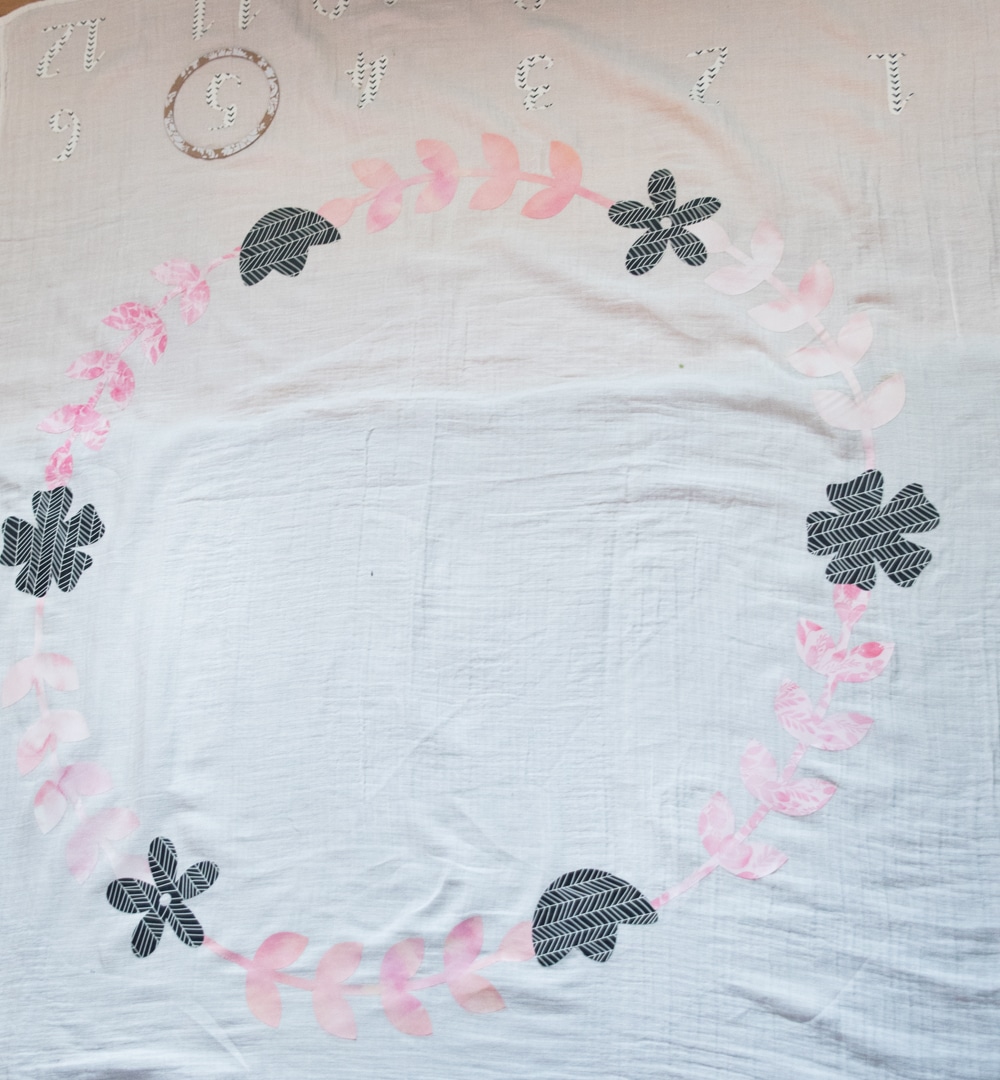
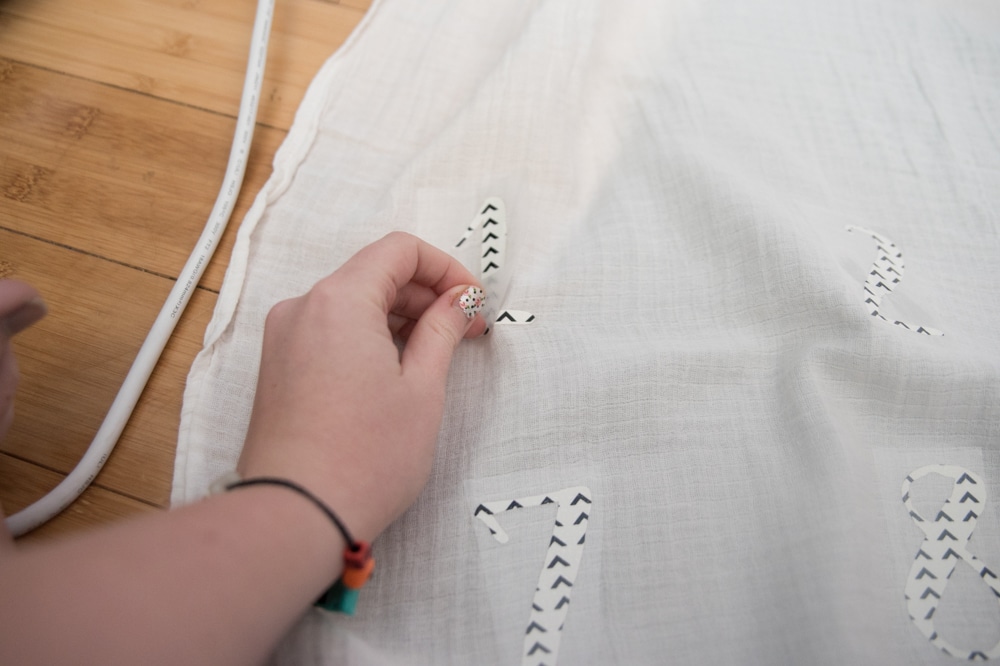
Place your blanket on the ground and arrange all of the pieces to decide how you want them.
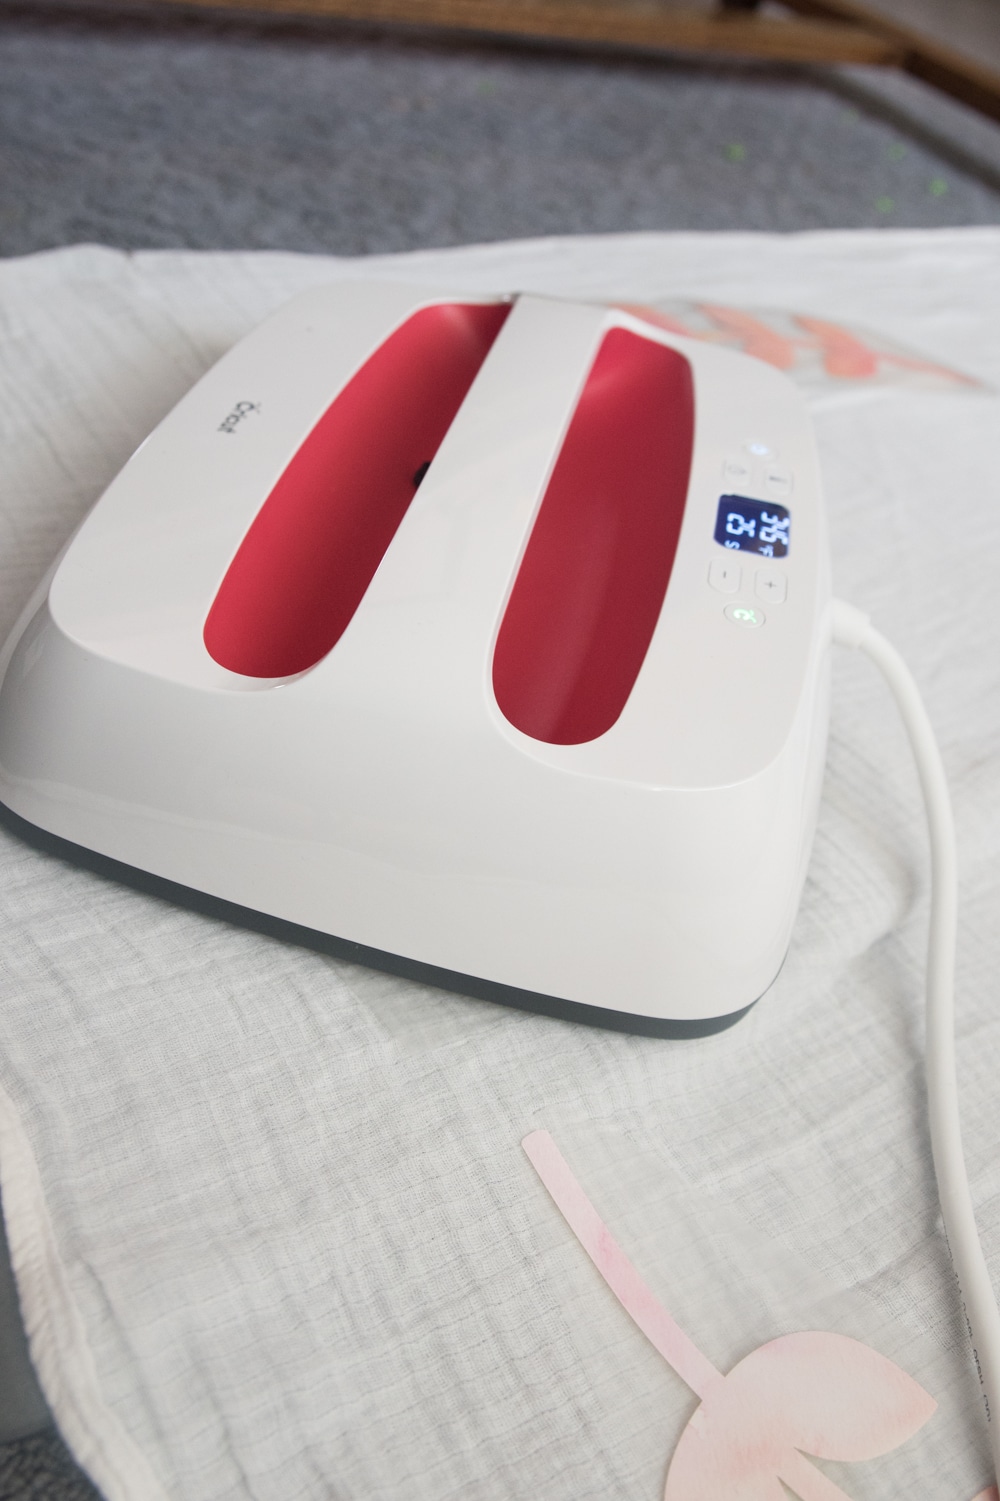
Start by ironing on the numbers, one at a time. If you are using an EasyPress machine, the correct settings for patterned iron-on and the EasyPress is 340 degrees, pre-heat the area for 5 seconds, press with firm pressure for 50 seconds, and then press on the back for 15 seconds.
I recommend doing all of the numbers on the front first before you flip it over to press the back.
Make sure you let the plastic cool COMPLETELY before you peel it up.
Once you've done the numbers, arrange the circle of flowers again to make sure you have it the way you want, and then remove the flowers.
Press on the vines following the instructions above, and when they are cool, remove the plastic.
Add the flowers.
And you are done!
Other Posts You May Enjoy:
- The Best Dollar Tree Baby Shower Ideas
- Iron vs Cricut EasyPress vs Heat Press: Which One Should YOU Get?
- DIY Pregnancy Countdown Shirt with Cricut
This is SO CUTE! I never would’ve thought to use a Cricut to make a milestone blanket! I love this!!!