Be sure to check out these other great PicMonkey Tutorials:
Changing Backgrounds With PicMonkey
Removing Shadows With PicMonkey
PicMonkey is very affordable — even the free version has awesome features. If you want to buy Royale though, head over here. It is $4.99 a month, or $33 a year.
Last week, I talked about removing shadows with PicMonkey. And while I still totally endorse that tutorial, and probably will still use it the majority of the time, I actually discovered another way to remove shadows that may be easier in some instances. And not only does this tool remove shadows, but it can remove objects completely, without leaving a trace behind, as well as duplicate items perfectly. It’s the clone tool. I’d heard of this before, and even attempted to use it in Photoshop, but I never could quite get it to work the way I wanted. It’s awesome though, and so easy to use.
Let’s take this picture here:
This was me just a few days before I delivered Jack. I chose this picture because of the picture frames in the background, and the solid color background. No, I’m not going to make my belly disappear (though that would be kind of funny.) But I am going to remove the picture frames in the background.
And here’s how.
1. Open the photo you want to edit in PicMonkey
2. Navigate to the clone tool:
3. Adjust the brush size, hardness and fade. I don’t really ever mess with the hardness or fade, but I will adjust the brush size, depending on the size of the area I’m adjusting.
4. When you hover over your photo, this tool will appear. Click on the area that you want to duplicate (in this case, I wanted to remove a photo and make it the same color as the wall.)

4. After you do this, a circle will appear. Click on the area that you want to remove, have an item duplicated, etc. When you select a new point, the distance between the circle and the tool from step 3 will remain constant. At this point, you can start coloring over that area. As you move your mouse, it will “color” the area the circle is over, with whatever the white cursor is over.
You can duplicate an object totally. So if you hate the way your photos look on the wall, at least you can rearrange them in a picture of that wall (because it would be so much harder just to rearrange them in real life, right? ;-).Here is the final product:
When using this tool, you have to be very careful. It can be very easy to accidentally pick up parts of something you don’t want to duplicate. Also, if you are duplicating a background, you may have to play around with it awhile to make sure everything blends together well. Even if something looks like the same color, the shade can vary so slightly, that it makes a big difference when you try and duplicate it.
Here are a few other photos that I’ve used this tool for, just to give you an idea of the possibilities:
Removing Shadows:
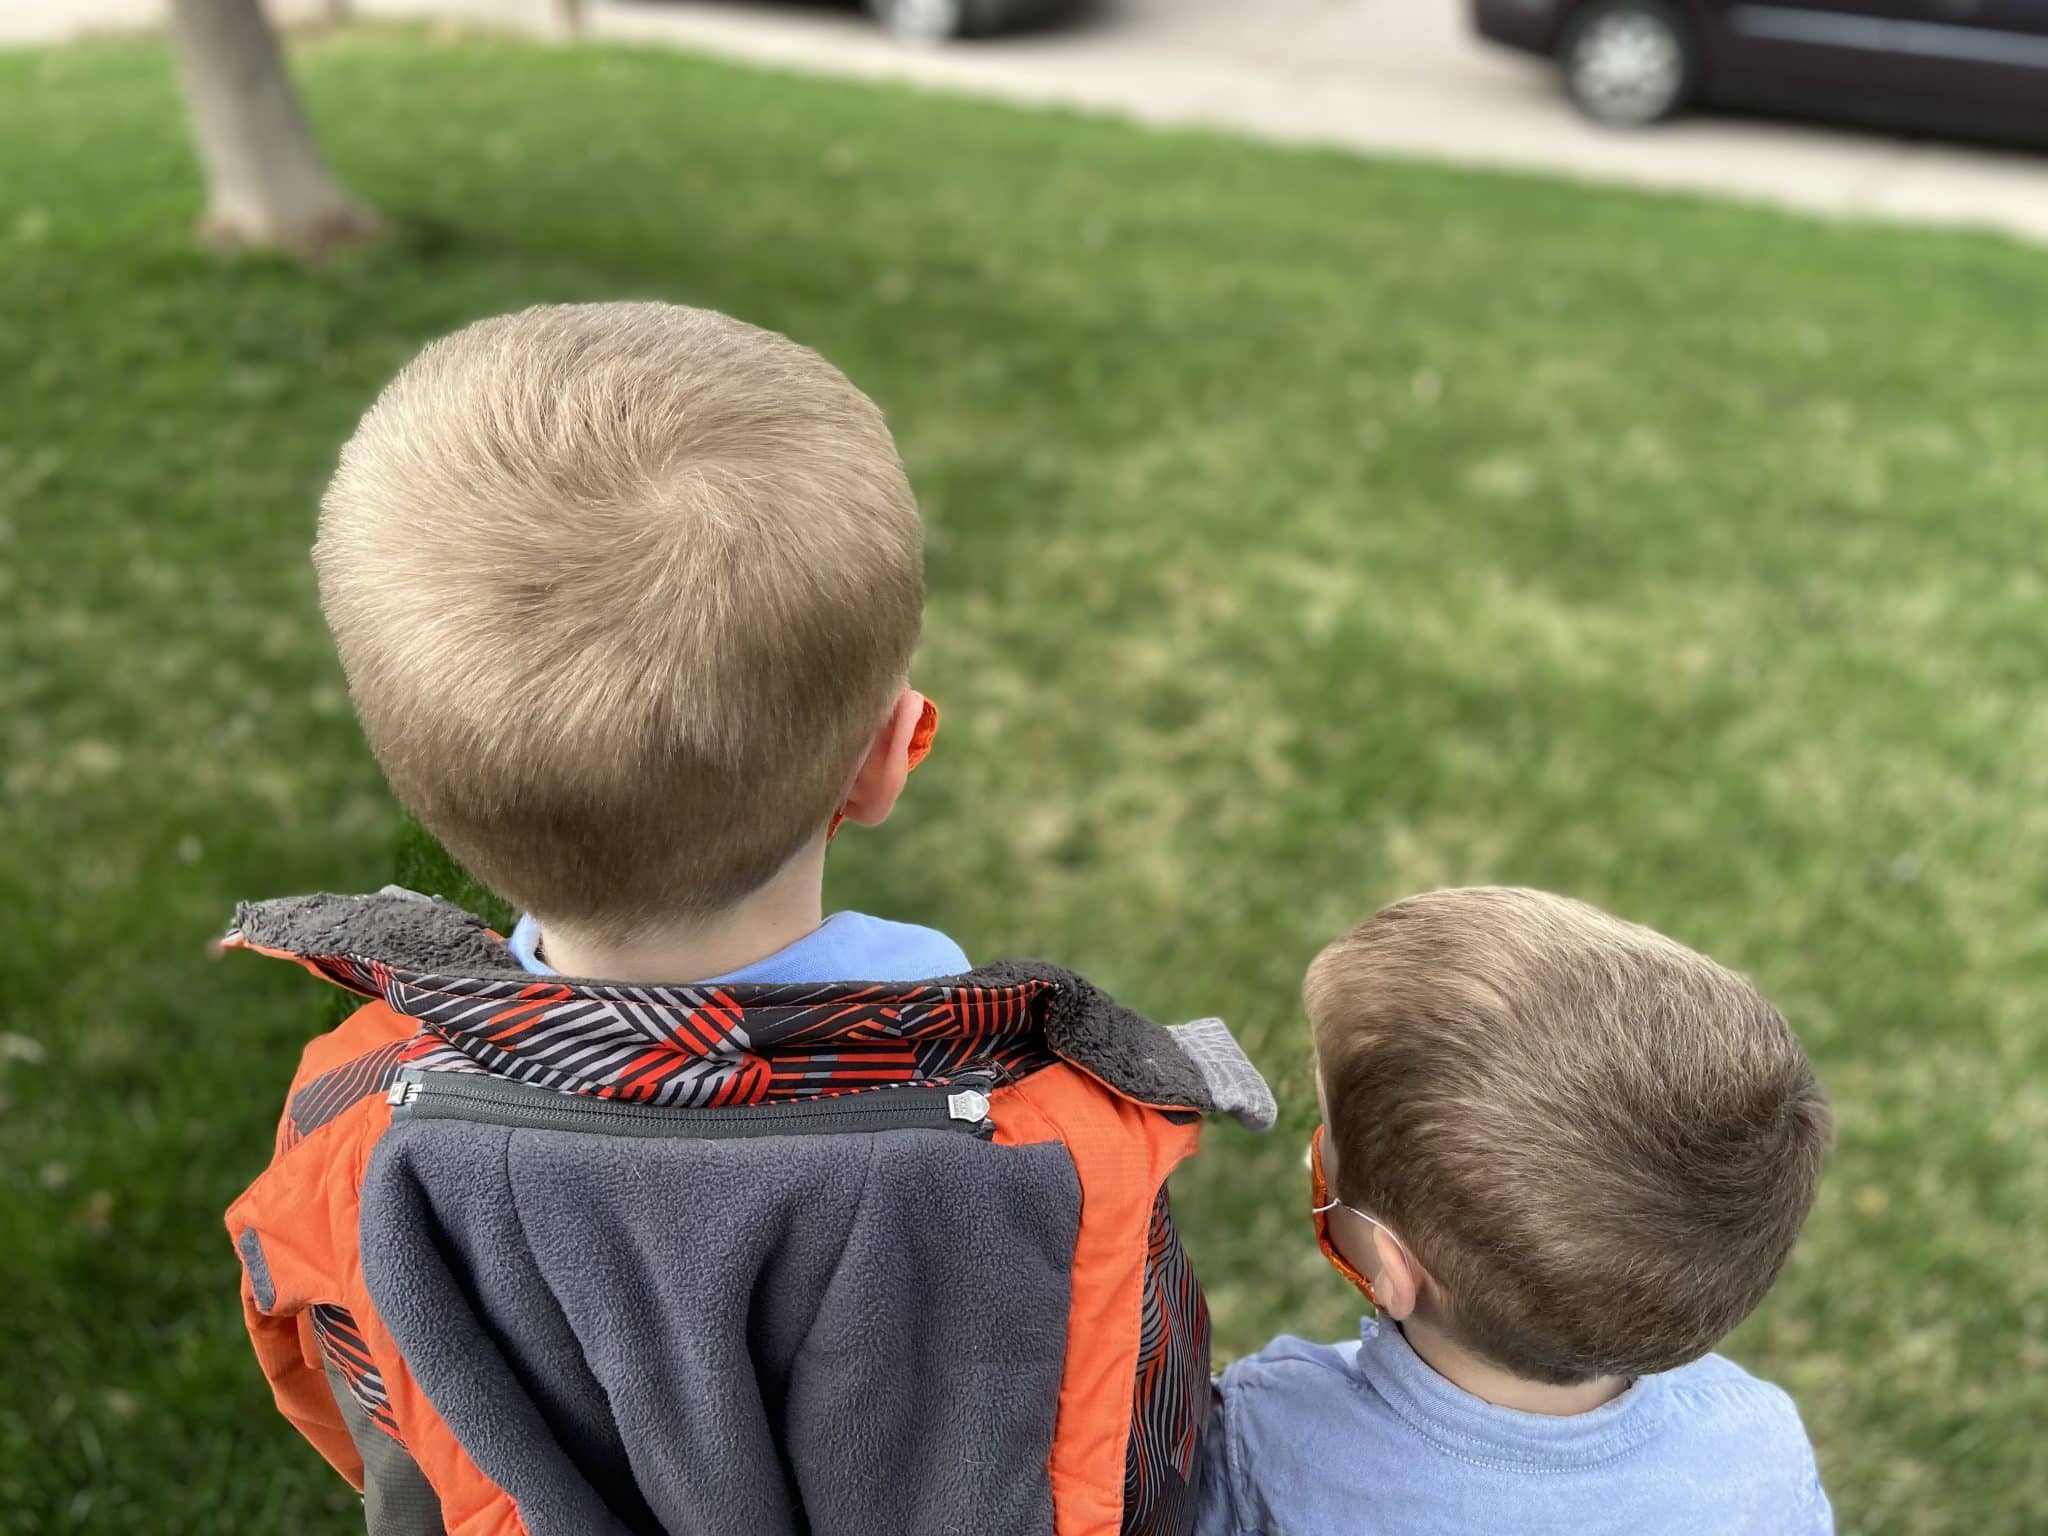
Remove unwanted object (like a toy!):
Duplicating objects:
because, who wouldn’t want to duplicate a goal post?!
I hope you are enjoying these tutorials — if there’s anything you’re dying to learn how to do, please leave a comment. I’m more than happy to help! Next week, I’ll be talking about the burn and dodge functions.
–>


Thank you! I can’t actually thank you enough! I am a HUGE fan of PicMonkey! I have been “monkey-ing” around with it for some time now, but have been unable to understand or “get” how to use the cloning tool. It seemed that no matter how many tutorials I read and re-read, the information just didn’t seem to want to “click” with me.
That was….until you! I am elated that finally I was able to follow a tutorial and actually learn and be able to use the cloning tool on PicMonkey! You have no idea how excited I am to be able to do this- Thank you so very much for being “you”. You are a very good teacher!
I am so glad that I could be of help!
great tutorial!!
Thank you!!
great tip… I need to investigate picmonkey more it looks like.