
Minky Fabrics: 13 Secrets That Every Sewist Should Know
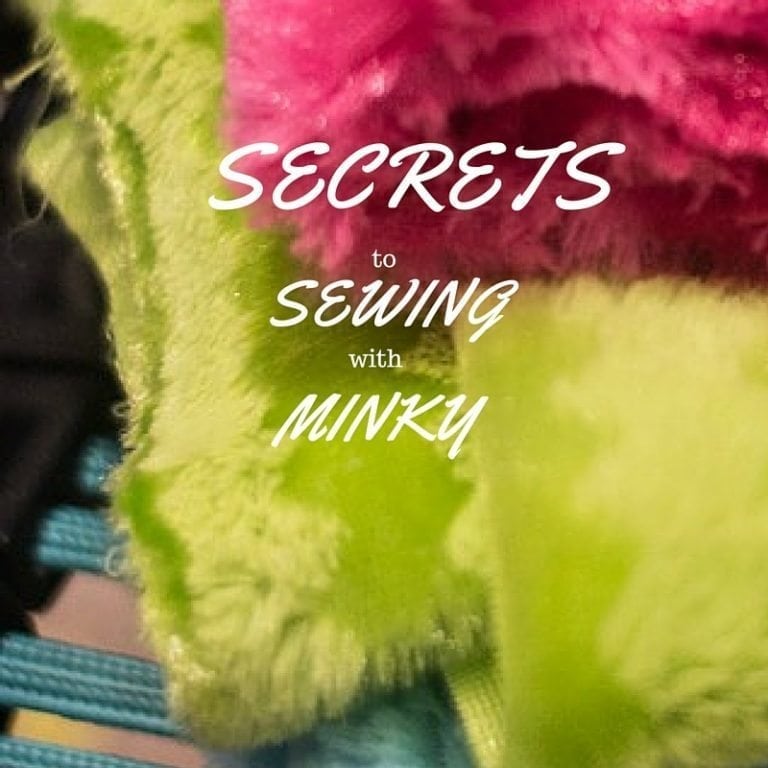
Tips for Sewing with Minky Material
While I would never claim to be a great sewer (or really, even a good one), I do enjoy sewing and expanding my skills.
My seams may not always be straight, and I have far too many unfinished projects sitting in my closet, but it’s something I’ve really come to enjoy.
And if there is one type of fabric I have a love-hate relationship with, it’s minky.
Minky is oh-so-soft, and it makes for amazing blankets, but boy, is it hard to sew!
I can’t tell you how many times I’ve had to start projects with minky, only to have to start over again. Frustrating!
However, through a lot of trial and error, I feel like I’ve finally mastered the art of sewing with minky.
In fact, I recently sewed two blankets with minky, and they both turned out perfectly. I also made this DIY Weighted Blanket for my toddler son with minky, and it went off without a hitch.
So if you are looking for some tips on how to successfully sew with minky, hopefully, these will help!
Minky Fabric
https://app.birdsend.co/forms/2353/hosted
Good Quality Minky
First off, make sure you have good quality minky. To be honest, I haven’t met any bad minky, per say, I’ve definitely used really good minky.
My favorite minky that I’ve bought was from Pick Your Plum. They don’t always have it, but when they do, be sure to get some. It’s a great price, they have a variety of colors, and it is so soft.
I recently made a baby blanket with some of it, and I’m in the process of making Jack a quilt with some of it as well. Beyond that, you could shop the sales from Fabric.com or from Joann’s Fabric to get a good deal. I’d never pay full price, though!
Shake it Off
No, I’m not referring to Taylor Swift’s single (though I admit, it is rather catchy!)
As soon as you pick up your minky fabric to work with it, you will likely notice that it sheds — a lot. I always feel like we have to vacuum and wash our clothes after I use minky because it really gets everywhere.
While you are sewing, you want to eliminate as much of the fluff as possible because otherwise, it might get stuck in your machine.
I recommend either going outside, or holding the minky over a large trash can, and shake off as much of the extra fluff as possible. I actually run my hands through it several times as well to help with ridding it of excess. It definitely makes sewing easier, as well as cleanup.
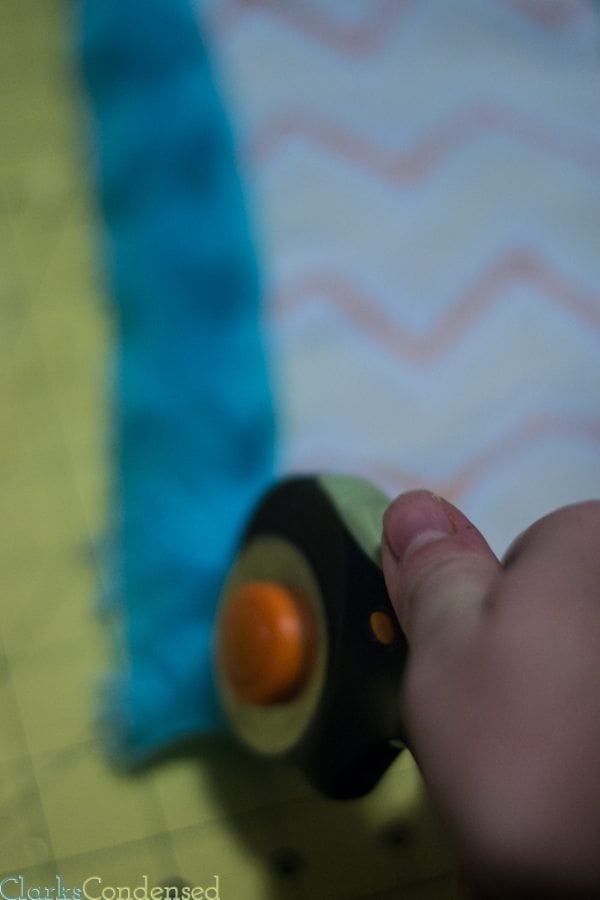
Cut with Rotary Cutter
If you don’t have a rotary cutter and you are wanting to use minky…just go buy one. It’s not even worth it to try and cut minky with regular scissors. My rotary cutter is one of my favorite craft and sewing tools, and I don’t know what I did before I got it.
If you get a rotary cutter, be sure to invest in a self-healing cutting mat as well.
Anyways, cutting minky with a rotary cutter is a lot easier, and it makes for cleaner lines.
Don’t Use Thick Fabrics With It (And Prewash them!)
Minky fabric is already very soft and somewhat thick. I’ve found that using it with a less-thick fabric makes sewing a little bit easier.
My favorite accompanying fabric is a cute flannel print!
Minky fabric also doesn’t shrink, so you don’t need to worry about prewashing it.
However, the fabric you will use it with most likely does need to be prewashed, so don’t forget to do that before you sew them together!
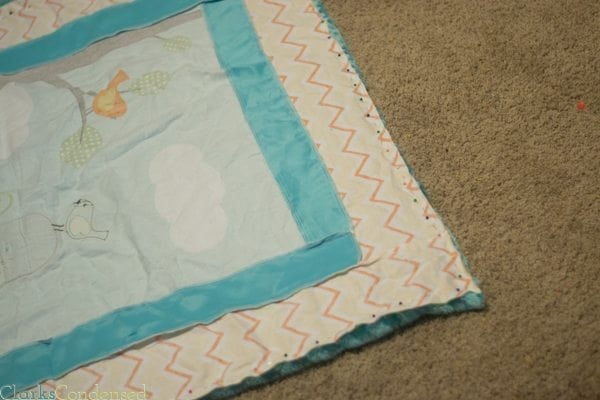
Leave Excess Minky Around Edges
I have found that having a little bit extra of minky sticking out, beyond the other fabric, makes it a little easier to sew.
I wouldn’t leave several inches or anything but maybe a 1/2 inch or so. Minky is notorious for stretching as you use it, and while my next tip will help with that immensely, there may still be some pulling.
I remember with my first minky sewing project, I finished two sides, only to realize that the fabric was not even at all, and I could barely finish it with the amount of minky that had pulled away from the edge.
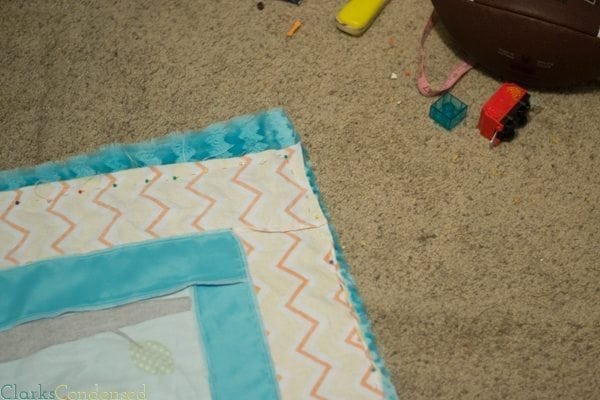
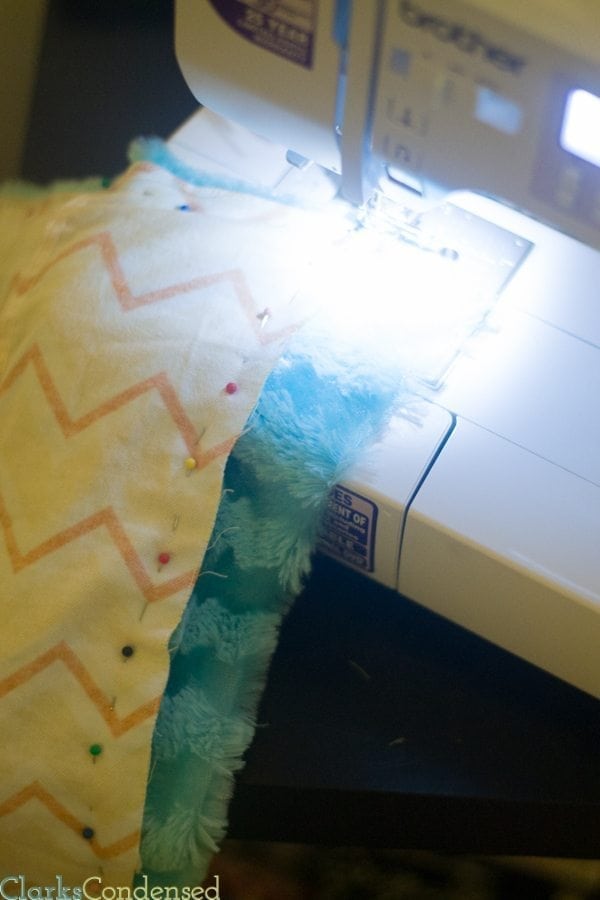
Pin, Pin, and Pin Again!
This is probably the best tip I have — pin like crazy. I’m talking, put one pin right after another. It takes forever, but it will save you a ton of headaches.
I would recommend pinning it so there’s enough room to sew without hitting the pins, because believe me, the last thing you want to worry about is taking out pins while you try and sew with minky.
Just make sure you take them all out in the end! I personally prefer sewing with steel pins with colored heads, however, the plain dressmaker pins are easier to sew around and over.
Slow & Steady
Sometimes when I’m sewing, I seem to get in this mindset that I’m in a race.
A race against who, you may ask? I have no idea.
But I feel like the faster I get the project is done, the better.
Sadly, this has never really worked out very well for me, and I’ve finally started to realize that I’m not in a race! I think going slow when sewing anything is important but especially with minky.
Put Minky on the Bottom
This tip is contrary to some other advice I’ve heard about sewing with minky, however, I have found that it is much easier to be in control of the minky and make sure it doesn’t stretch too much when you have the minky as the bottom layer.
There have been times when I’ve been sewing with it on top, and the fabric on the bottom had gotten pulled away from the minky, and my whole project got messed up.
Combined with leaving a little extra of the minky fabric all the way around the project, sewing with the minky on the bottom makes it a lot easier to sew.
Use a Wide Seam Allowance
I recommend using a seam allowance of about 1/2″.
Walking Foot (if possible)
I actually haven’t used a walking foot (though I do have one), but this apparently helps feed the fabric through more evenly. You can find one specifically for your machine here.
Don’t Iron Minky
Don’t learn this the hard way — irons and minky don’t mix.
High heat from irons ruins the nap.
Fortunately, minky doesn’t really need to be ironed, but if for some reason you need to, place it face down on a towel and use very low heat or steam it.
Iron any fabric that you are using with the minky before you attach them together.
Pay Attention to Nap
It is much easier to sew Minky when it is parallel to the selvage — it will stretch when it’s perpendicular.
When you are first getting your minky out, just pay attention to the nap before you start pinning!
Clean Out Sewing Machine (be careful during sewing as well)
Even if you are vigilant about trying to get all the excess fluff off before you start sewing, you will inevitably still end up with some strewn around your work area afterward.
Because of this, it will likely get down into your machine at some point. Just be sure to do a thorough cleaning job of your machine (especially around the needle area) afterward. Otherwise, you might end up with some jamming.
Know Your Machine
I wouldn’t suggest using minky if you are using your machine for the first time. Every machine is a little different, and while the basic fundamentals of sewing are always the same, machines can take a bit of time to get to used to.
I personally LOVE my Computerized Brother sewing machine.
I got it a few years ago at Costco, and it works really well. I love that I don’t have to use a foot pedal (though it comes with one in case you like being in control), and it has just about everything I need.
With that said, I started out with an entry-level Brother sewing machine (great for beginners), and this one did take some adjustment. I love it though, so if you are in the market for a new one, I highly recommend it.
I hope these tips help! If you have any additional advice, please share it!
Originally written in October 2014; Reposted in January of 2018
Other Posts You May Enjoy:
- The Easiest Hemming Method
- EASY DIY Waterproof Picnic Blanket Tutorial
- Beginning Sewing Essentials: Learn to Sew


I just made a throw pillow with minky fabric. I must have read these tips at least three times and then got up the courage to try minky fabric. Two tips that I have are: purchase a lint roller (like the one used for pet hairs), I used this after cutting the fabric and it was a big help; if possible, fold the fabric and sew the seam (you can then cut the seam open if you need to). Thanks for all of your tips and happy sewing!
Katie, first time sewing minky. I gooogldyour tips and they are wonderful. I am making a baby blanket, can I turn it inside out and top stitch around?
Thanks Cars l
Yep, you sure can! So glad you found this helpful!
these are great tips. I have had the minky for several projects for a few years now because I’m intimidated for sewing it.
By the way, I linked to this article from your JoAnn’s shopping tips, just wanted to give you another. Remnants are marked 50% off always but what I learned recently is that it that same fabric is on sale then they use the sale price and mark that off 50%. I get a lot of great deals on stuff like that. And if you find a bolt that’s almost empty you can get end of bolt discount on the remnant (under 1 yard) left over. Sometimes I look for those when I want 2 yards or less of fabric and I get a little bonus by taking the leftover.
Thanks for the great tips!
I have been making weighted blankets with minky on both sides and a thin cotton batting in the middle. I have a Brother sewing machine and in the thickest parts, it skips stitches. Any advise here?
Fluffing your minky in the dryer for a few minutes on air dry will take a lot of the extra lint out.
Katie, thank you thank you thank you! You are amazing! I love all your helpful links too. Thank you for taking the time to post this!
I was told to throw the minky material in the dryer for a few minutes and that helps rid all the fuzz!
A fabric spray adhesive is a must! I also use my serger and surge all the edges around minky (front and back). Then I sew the minky binding on. It’s another step, but I get excellent results.
Great tips! Thanks for sharing, Susan!
I did fill it in the 2 required fields marked with an *
Hi,
I haven’t sewn for years and wanted to try out sewing with minky and a cotton print for a baby blanket. Everything was going well to the end until after I ironed the cotton side of the blanket and after, looked at my beautiful job to see that some of the puffed minky side was a little flat.
You mention not to iron however, it’s too late for that.
Can I maybe fluff it up by placing in the dryer for 5 minutes or so?
Please advise.
Great info
Sincerely,
Thank you for these valuable tips, although one question hasn’t been asked. What are your suggestions for the type of thread to use? Cotton, polyester?? Does it make a difference?
Thanks so much.
Hi, Trudi! I am not 100% on that question – however, I mainly have just used cotton with no issue 🙂
You might also try an even feed foot. Used often in quilting.
Thanks!
I’ve never sewn Minky fabric but I love the feel of it. A friend recently told me that it’s hideous to sew, so thanks for your tips – the fluff warning and the pinning are hints that I’m grateful to know in advance.
You’re welcome! It’s definitely tricky
My local fabric shop recommended using a spray adhesive in addition to pinning. I lay the fabric out, pull back a corner and spray, working my way around the space. Then I pin it all together. It worked great even with both sides of my fabric being minky. I did a baby blanket and a queen size blanket that way and didn’t have any problems.
Thank you for the suggestions!
In researching the use of fabric spray adhesive, I have read that it does not ever wash out. Also that it gums up your needle. So I would be cautious on what and where I use it.
Thank you posting your comments. I’m doing a double sided minky baby blanket and was looking for suggestions. I’ve spray basted quilts before but wasn’t sure it’d be good to use on minky fabric. I might test a small sample just to make sure. It has not gummed up my needle/machine yet.
I have found success in using basting spray when doing large blankets. It saves a ton of time instead of pinning all that!
I would not have thought of that!
I found you on Pinterest and am so very glad!! Your advice was most helpful and appreciated. I whipped up two lovely little burp cloths this evening for a gift and I don’t think they would have turned out as well as they did without the great tips found in this post! Thank you so much!! 🙂
You’re so welcome!!
Great tips
I have heard using sewer’s double sided tape
Works well holding fabric to fabric
Pick your Plum appears to be a site that sells ready to wear I found no fabric.
I’ll have to look for that! And Pick Your Plum has a variety of products that go on sale each day – some days it has clothes, other days it has fabric. It’s a little hit or miss 🙂
As a tip, I think things would go a little easier in sewing if you pin perpendicular to your sewing line instead of parallel. When you pin parallel, the fabric shifts more; perpendicular holds the layers more securely.
Thank you for the tip!
This is great advice! I actually have minky from about 5 yrs ago that I was afraid to touch< but now I will feel more confident working with it now that I have your tips!!
Thank you!
You’re very welcome! I hope you have success!
When you say make sure that it’s parallel to the selvage because it stretches so much when its perpendicular, I’m wondering how I can take advantage of that. Do I have the minky selvage parallel with the cotton selvage? Is that what that means?
After reading that sentence, I confused myself a little bit! Yes, minky selvage parallel to the cotton selvage.
Great tips. Regarding shaking it out well, a tip I received was to run it on air dry in the dryer for just a few minutes. It works beautifully! And, if I make a bunch of cuts, I do it again so it is still pretty fuzz free as I work. Maybe a tip for you!
That’s a great tip! I need to definitely try that.
Great tips! I wish I had known this when I made my first minky blanket. Thank goodness my mother knows how to handle fabric better than I 🙂
– Krys
Thank you!! And thank goodness for mothers 🙂 Minky is so tricky!
Thanks for the great tips! I pinned them for later
You are very welcome! I hope they are helpful 🙂
Great tips, Katie. I was thinking of making a blanket for one of my girls. Glad I read this first. Pinning!
Thanks so much Heidi! Your girls will love a minky blanket 🙂 Good luck!