Join Our Free Cricut Crafting Community + Freebies!
What is your skill level with your Cricut machine?
Cricut mats can get dirty so easily and lose their stickiness. However, just because they get dirty doesn’t mean you need to throw them out. Here are the best tips and tricks for Cricut mat cleaning to help you get even more life out of your mats, as well as how to resticky your mats!
If you’ve had your Cricut for a while, you may have noticed that your cutting mat has become a little bit dirty and a little less sticky over time.
While it’s normal for your mat to start collecting dirt and grime as you use it, letting that grime stay on your mat can have negative effects down the road.
That means the longer you wait to clean your mat, the harder it will be to make your favorite Cricut projects in the future!
Instead of worrying about your Cricut mat losing its effectiveness, take a few minutes to clean it. These simple cleaning methods will help you keep your mat clean between uses so you never have to worry about your mat losing its stickiness again.
This will also help save you money in the long run so you don’t have to keep buying a new mat every time it gets dirty or unsticky! I’m all about saving money whenever possible, so I love making sure my Cricut mats get all the life out of them possible!
Before and After
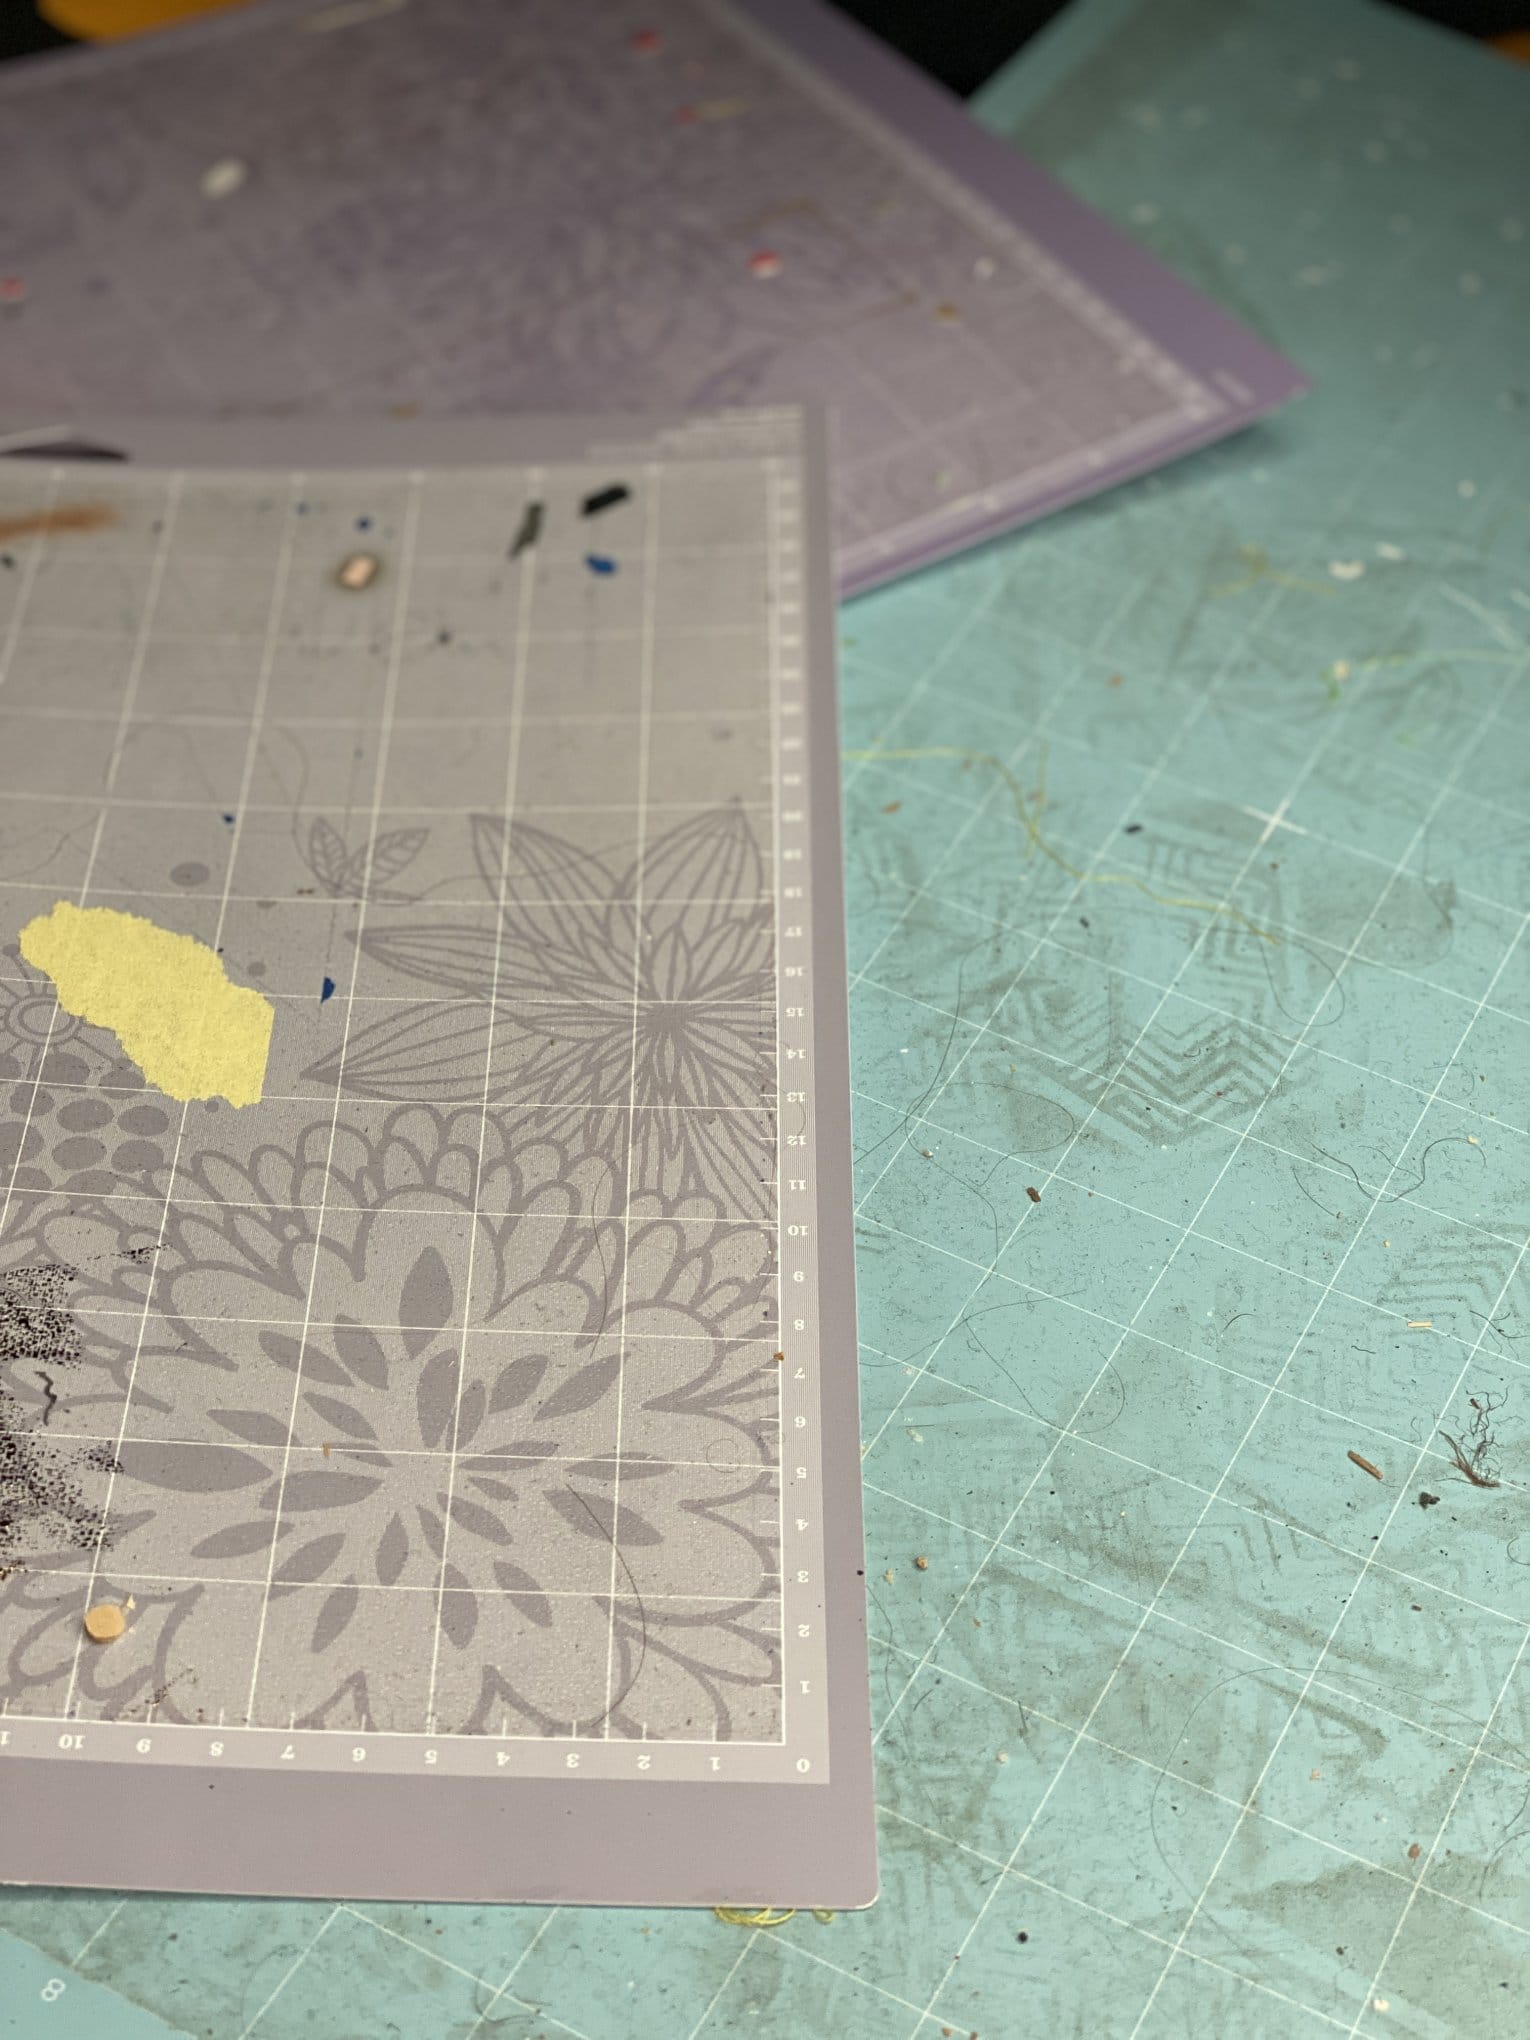
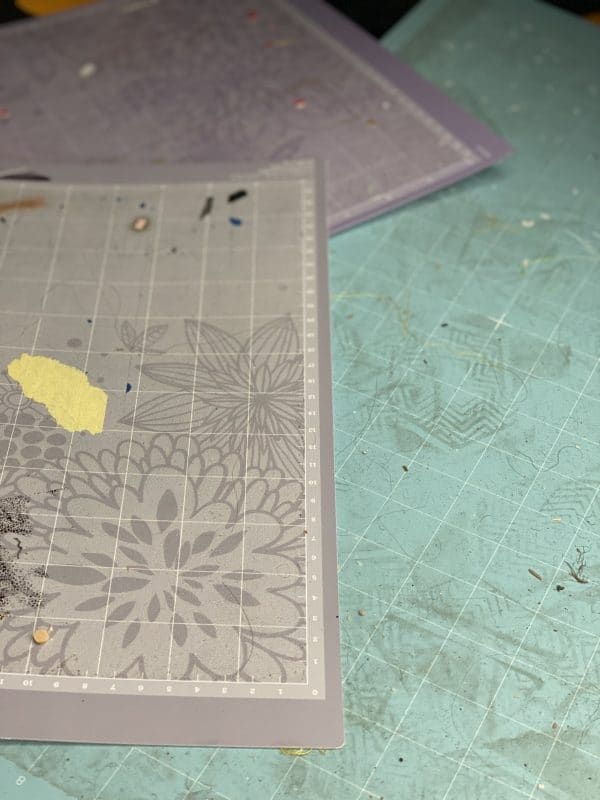
Before sharing the methods for cleaning, I thought I would share a before and after of one of my most grimy mats. This mat was left on the floor and got a lot of extra dirt and grime that probably wouldn’t have been there otherwise.
I actually don’t have the best before picture – but it is that blue mat on the right side of the picture. The after picture shows some scratches that were permanent, but it’s clean, sticky, and perfect for use!
Before After
Supplies for Cleaning Your Cutting Mat
Getting your Cricut mat clean is a pretty easy process if you have the right tools on hand. To clean your mat, you’ll need:
- Mat scraper: Use your Cricut mat scraper to remove stuck on pieces of paper and other small debris that could be stuck on the top of your mat. If you don’t have a scraper, a hard plastic scraper, like a kitchen spatula, will also work for this step of the cleaning process.
- Lint roller: To get the smaller pieces of debris, like dust and pet hair, off the sticky side of your mat, a lint roller is a great tool to have on hand.
- Baby wipes: The damp, soft texture of baby wipes is great for cleaning your Cricut mat when it starts to get dirty.
- Soapy water: To deep clean your Cricut cutting mat, you may need to give it a bath in soapy water to thoroughly clean the mat.
How to Clean a Cricut Cutting Mat
There are four basic steps to cleaning your Cricut cutting mat.
And the good news about this process is that your mat may not need every step. To see if your mat needs a light cleaning or deep cleaning, just follow each step in order. I have included a few different options for each step, and they are all easy and budget-friendly!
If you find that your cutting mat looks clean enough after completing step one or two, you can stop there and start crafting. But if your mat is still dirty and dull, you’ll probably need to finish all the steps to thoroughly clean your cutting mat.
Step 1: Scrape off the debris.
If you just started using your Cricut or have cleaned it recently, your mat may just need to be lightly cleaned to remove some of the stuck-on debris from the sticky side of the mat.
If that’s the case, all you have to do is run your scraper along the sticky surface of the mat to help loosen that stuck-on debris. Continue moving the scraper along the mat until you have cleared away all that extra stuff that may be keeping your projects from sticking to the mat.
Other Options:
Don’t have a scraper? Here are a few other tips:
- Credit Card
- Masking Tape
Step 2: Roll off the Lint.
After getting the visible debris off your cutting mat, your mat may still not be a sticky as you’d like. That’s because there might be small pieces of dust and hair still stuck to the mat that your scraper wasn’t able to clean off. That’s where a lint roller comes in handy.
To remove those stubborn small pieces of debris, roll your lint roller over the sticky part of the mat. The roller will help pick up all the lint stuck to the top of your mat. And as an added bonus, it may transfer some of its stickiness to the mat’s surface.
Cricut Mat Cleaner
Option One:
Before you grab a wipe from your baby’s wipes container, check the package to make sure those wipes are bleach and alcohol free. Those two ingredients will damage the sticky surface of your mat, so it’s essential that you’re sure the wipes you’re using don’t contain bleach or alcohol. Once you’re sure those wipes are safe, simply rub the wipe over the mat slowly, making sure to wipe in a straight line.
Option Two: Soapy water soak.
Even after scraping, rolling, and wiping, does your mat still look dirty? It’s time to give it a bath!
Fill a container big enough to hold your mat with warm water and add a couple drops of plain dish soap.
Place the mat in the water and allow it to soak for five to 10 minutes.
If there is still stuff stuck on the mat, use a soft bristled toothbrush to lightly scrub the mat until all the debris has been removed.
Rinse the soap off the mat and allow it to air dry completely before using it.
Avoid drying the mat with a cloth or paper towels because the lint from the fabric will probably stick the mat, and you’ll be forced to start the cleaning process all over again.
Option Three: LA’s Totally Awesome Spray
This is an amazing all-purpose cleaner that you can get at The Dollar Tree (it tops our favorite Dollar Tree cleaning supplies). I actually ran out of it when I was working on this post, so I tried the degreaser from LA’s Totally Awesome, and it worked awesome.
Even though this is listed as my option three, I usually use it before soap and water, just because it works so well. I just spray it on and scrub the mat with a microfiber cloth.
Finishing Step
Let it dry!
After it looks nice and clean, it’s time to let it dry. Air drying is usually best, rather than trying to use a rag or paper towel. You can hang it up to dry or just have them lay flat!
How to Restick Cricut Mat
Cricut mats don’t always stay sticky for super long – especially as you clean them. But don’t worry – you can resticky them for even longer use!
Here are a few options to consider:
Option One: Zig 2 Way Glue
This is my go-to! It’s super easy to use, and I find my. mats are as good as new (if not better!) when I use this. You can get this at Amazon or many craft stores.
Option Two: Krylon Easy Tack Repositionable Spray
I own this spray but haven’t actually used it myself – I’m just not a big fan of sprays, and I really love the 2Way Zig Glue. However, this is something that I’ve seen highly recommended from other Cricut users, so it’s definitely something to consider! You can buy it here on Amazon.
Option Three: Scotch Super Adhesive Spray
This is another popular option to consider using. Just spray it on and let it dry! Buy it here.
Storing Cricut Mats
One of the best ways to keep your mats in good condition is how you store them! Obviously, keeping them off the ground is a good first step (one that I am not always the best at).
I find that command hooks are great for hanging them up. You can hang them on a wall, on a door, on a cupboard…whatever!
I personally have a command hook on my DreamBox. The DreamBox is pretty much the best organizational tool for any Cricutter, and I customized mine to have it so I could have a great spot for all my mats! Obviously, that is a pretty big purchase, but if you decide it’s right for you – make sure you use the code CLARKS100 to get $100 off!
I would also recommend putting the plastic that comes with the mats back on after use. Another one of those “do as I say, not as I do” things, but it will help improve the longevity of your mats.
More Cricut Posts You May Enjoy:
- Create Room DreamBox Review: Everything You Need to Know
- 20+ Amazing Cricut Hacks to Make Crafting a Little Easier
- 23 TikTok Cricut Hacks That Blew My Mind
- The Best Online Cricut Courses For Every Budget
Leave a Reply