
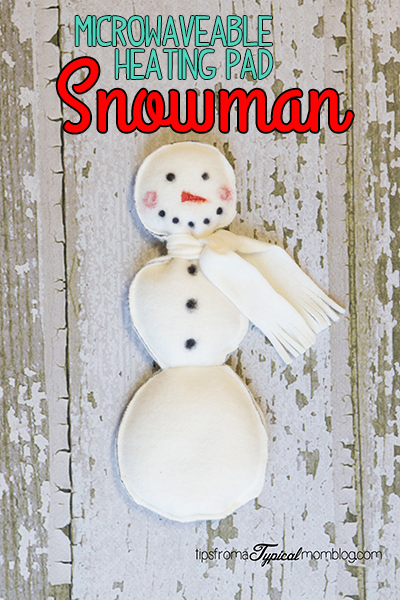
Microwaveable Heating Pad Snowman
Hey everyone! It’s Annette from Tips From a Typical Mom. I’m excited to be guest posting on Clarks Condensed.
I have a fun tutorial for you today! We’re playing with fabric. You love me now because I just gave you a reason to go to the fabric store, right?
There’s nothing better than a homemade Christmas gift in my opinion especially if it’s something my kids made. These would be the perfect Homemade Christmas gift and the perfect size for a stocking stuffer.
Materials:
White fleece (about 1/4 yard)
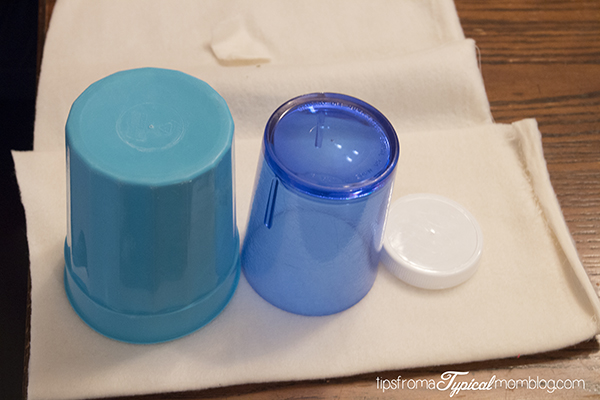
3 different size cups
Black, Red and Orange Sharpie (this multi-pack would work great)
Orange Thread
Hand Needle
Scissors
White Thread
White Rice
Pinking Sheers
Funnel
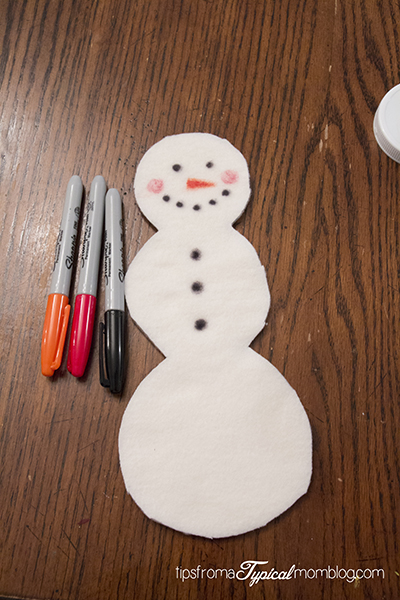
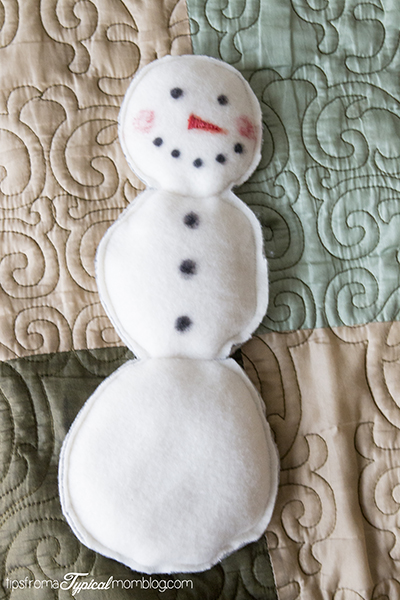
We are starting out by using some leftover white fleece and three different sizes of cups. This will make the pattern for the snowman.
Set the cups on the fabric and trace around them with a sharpie marker.
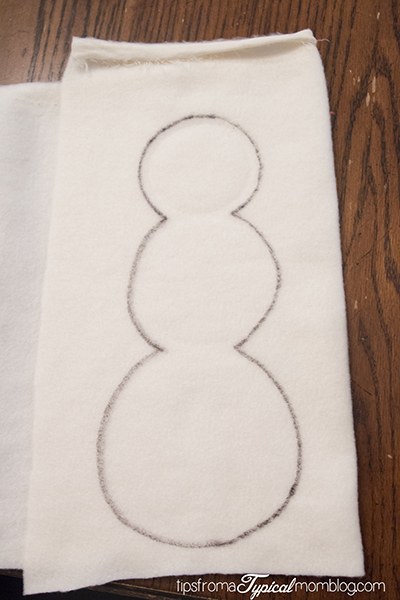
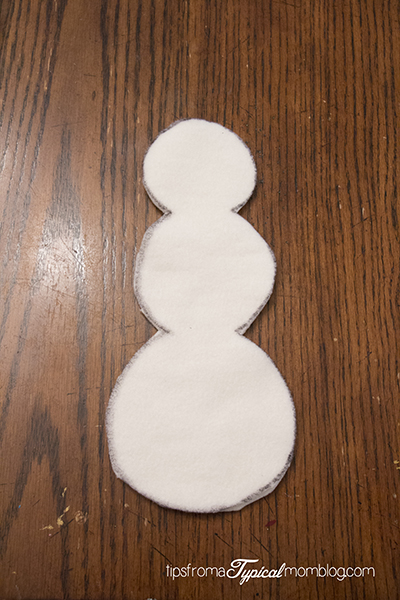
Cut out the snowman shape.
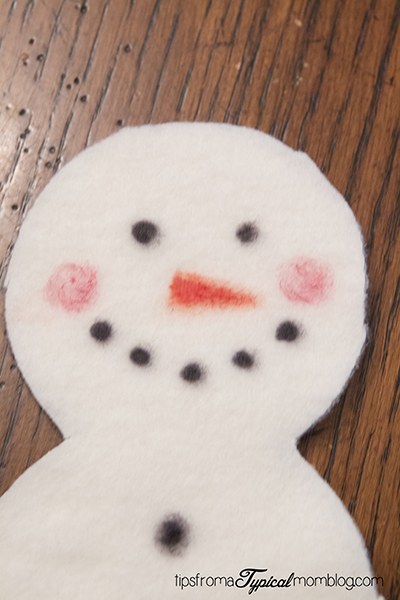
Using a black sharpie, draw the eyes, mouth and buttons. With a red marker lightly make rosy cheeks and with an orange marker make a long sideways triangle for a carrot nose.
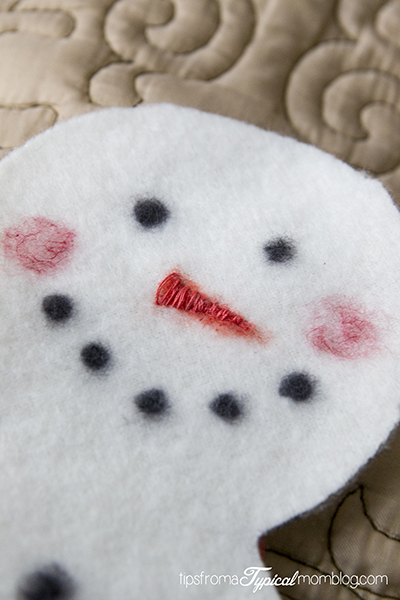
Then if you want to go the extra mile, use orange thread and stitch the nose.
I like my heating bags with the hem on the outside so I start sewing just off center at the bottom of the snowman and stitch all the way around until about 2 inches away from the start. Leaving a hole to fill it with.
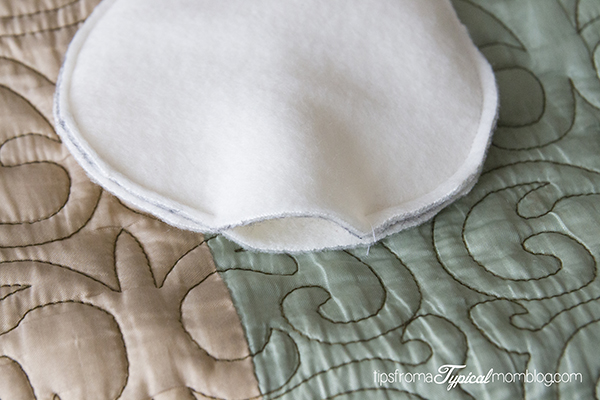
Using a funnel, fill the snowman with rice. Leave it loose. Don’t fill it all the way tight. You want it to be flexible when using it as a heating pad. Once full, sew the opening shut.
Then sew a line in between each circle so the rice stays distributed evenly.
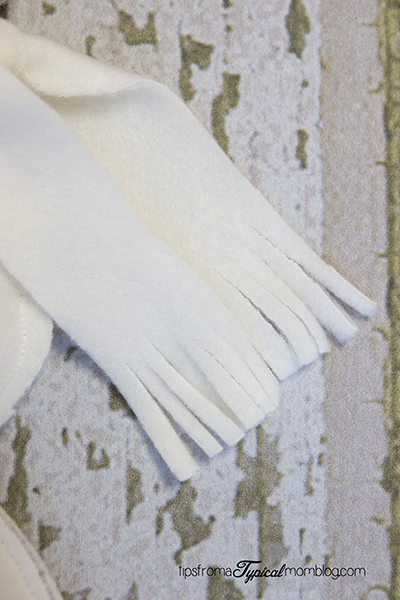
Now cut a long, skinny rectangle for a scarf cutting fringe on the ends. Then tie it around the snowman.
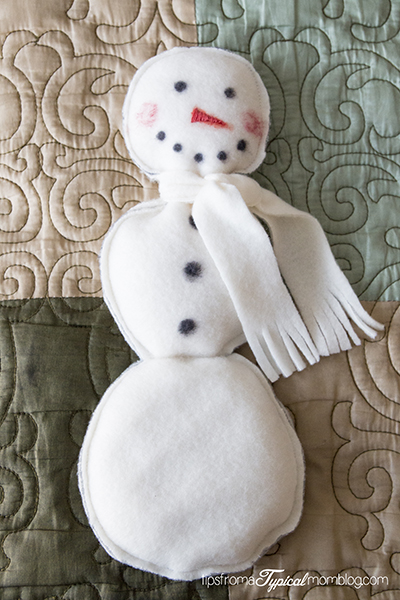
And you’re done! You can heat it up in the microwave starting at 30 seconds up to one minute until it’s as hot as desired.
~Annette
Visit Annette’s Blog for parenting ideas, free printables and recipes!
![]()
Join her on social media too:
Facebook
Twitter
Pinterest
Instagram
END HTML—–
I absolutely love this fella, cute job on this project!
I’m glad you like it! So fun!