
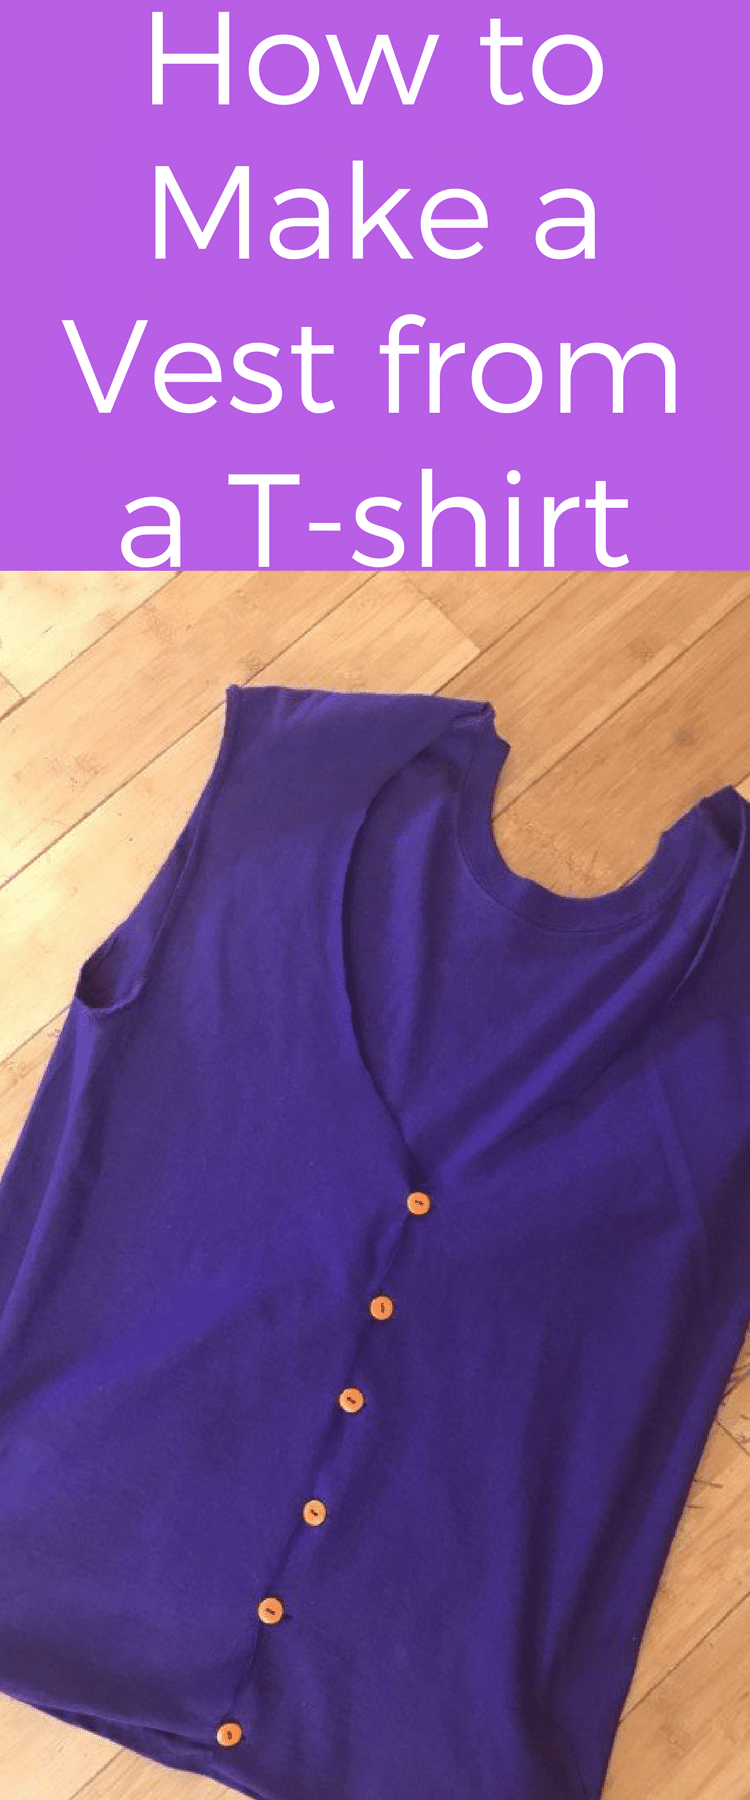
How to Make a Vest out of a Shirt
Making a DIY vest doesn’t have to be hard – all you need is a t-shirt and some buttons. Here is a DIY vest tutorial that will take you just under an hour to complete!
How to Make a Vest out of a T-shirt
This year, our family took on the theme of “Lego Batman characters” – as chosen by Jack. Here is the. tutorial for Batman and Robin costumes for kids.
Forrest had the choice between Alfred and the Joker…and while it was such a hard decision, he went with The Joker 😉
I spent awhile trying to decide the best way to go about this costume. I put it off until just a few days before it needed to be done, so ordering a bright purple vest was out of the question. I was thinking about heading over to Goodwill when Forrest suggested I make the vest from a t-shirt.
I wasn’t quite sure about this at first…but the more I thought about it, the more it made sense – so I went for it.
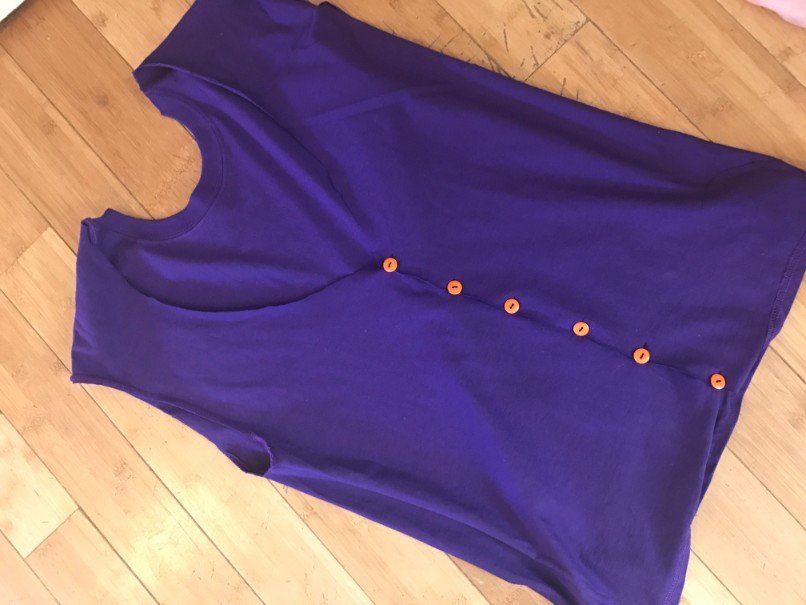
It ended up turning out really good – and it was fairly simple. This is a no sew project (minus sewing on a few buttons), and it can be done in probably about 30 minutes.
We made a Joker vest using this method but you can easily use it to make any vest you want out of a shirt. I’m sure most of you aren’t hoping to make a purple vest with orange buttons 🙂

Materials:
T-shirt (in regular size – maybe a little tighter) – we often use Gildan brand, though if you want something a little nicer looking (for kids), I highly recommend Primary.com. You can also use just any random t-shirt you have laying around!
Buttons in coordinating color
Thread
Needle
Scissors
Instructions:
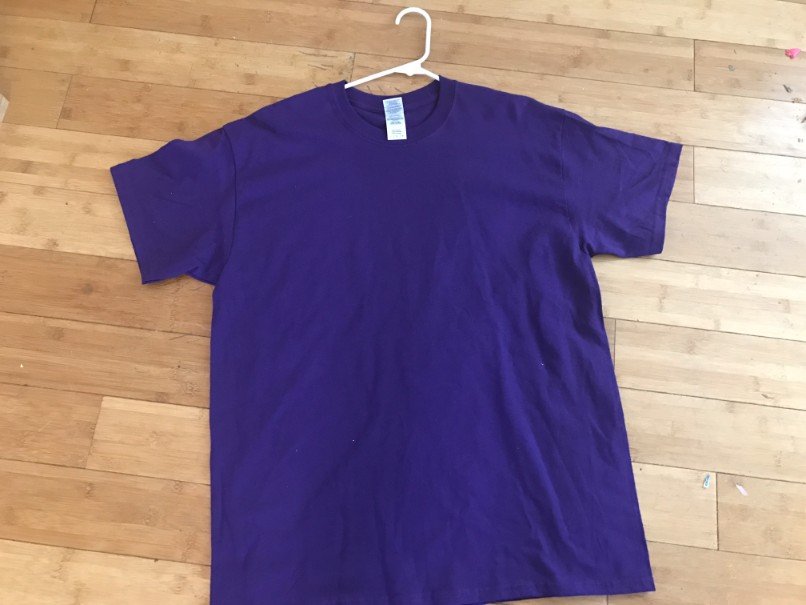
Turn the t-shirt inside out.
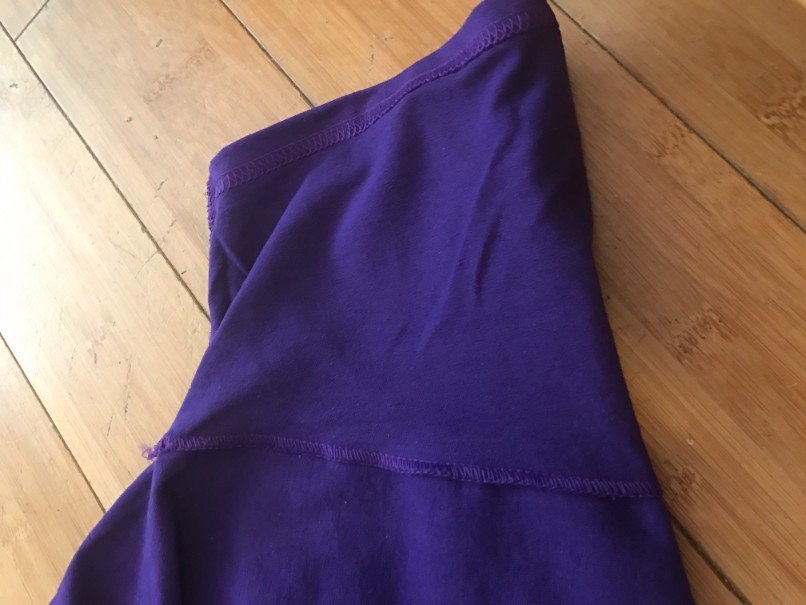
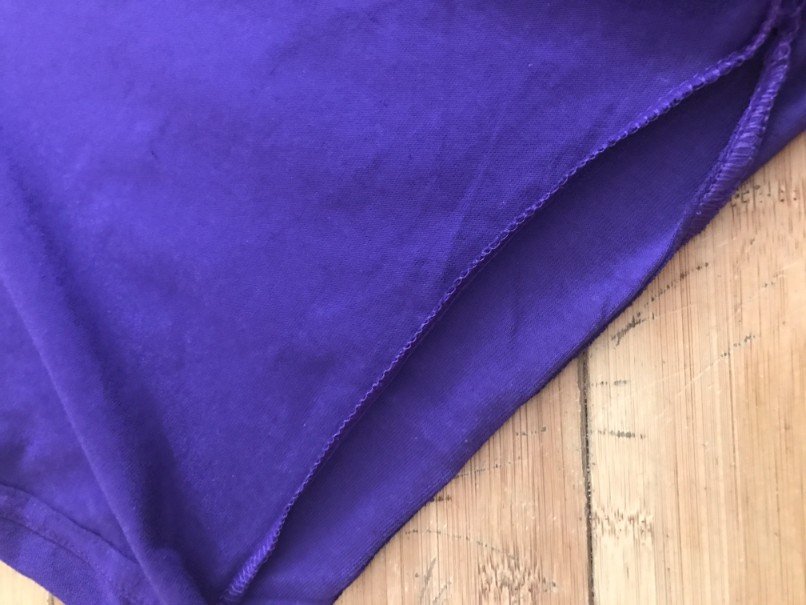
Cut the arm holes off each side leaving the seam. This will leave a nice finish.
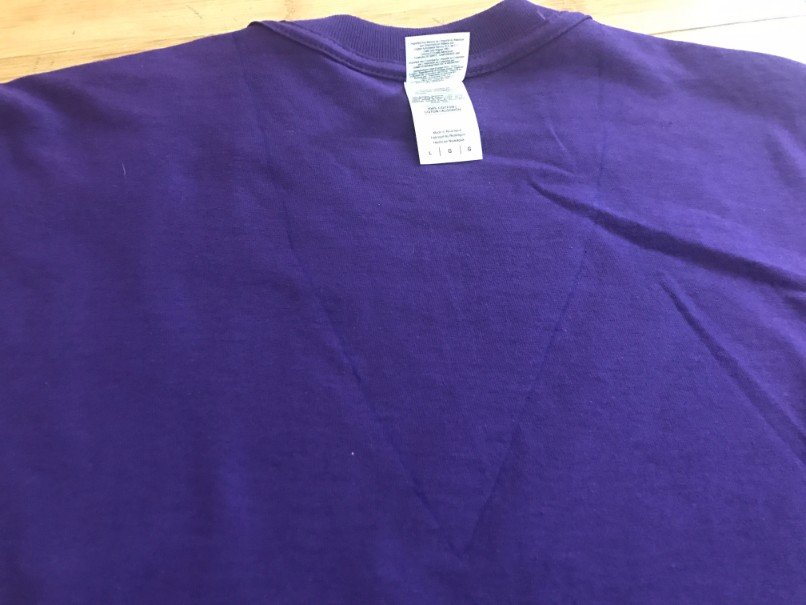
Flip the shirt over to its back and, using a washable pen (or crayon, chalk, etc.) draw the shape and how deep you want the vest opening to be. You will be removing the back collar.
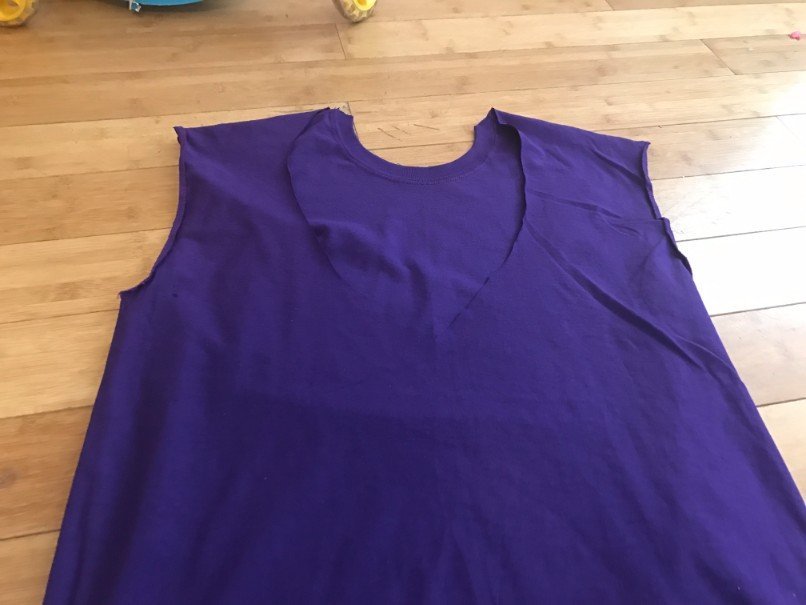
Using fabric scissors, cut down the line carefully and remove fabric.
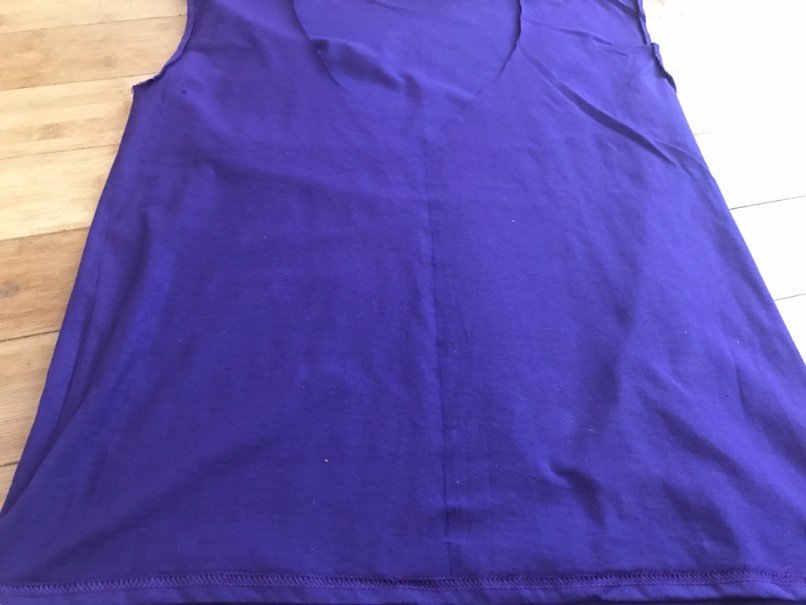
Draw another line from the center of the previous cut line down to the bottom of the shirt. This is where you will put your buttons.
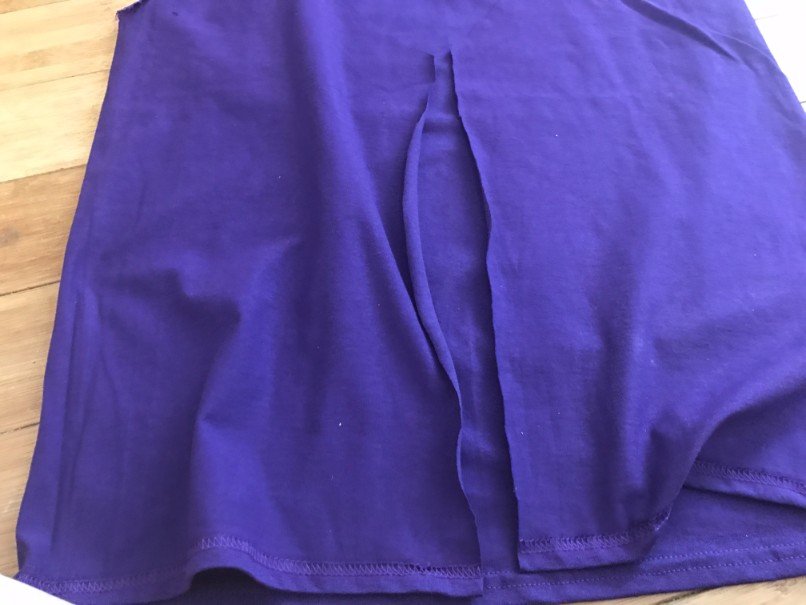
Cut down that line.
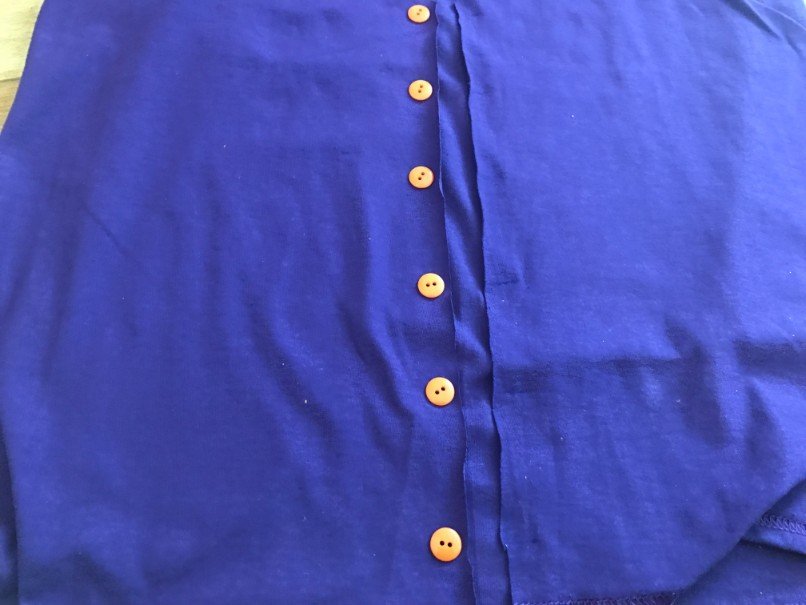

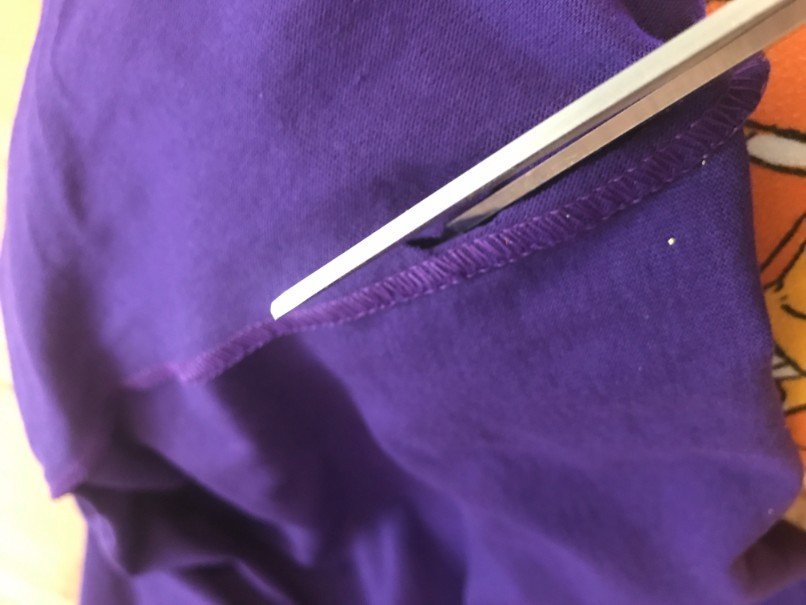
Line your buttons up where you want them. On the opposite side, draw a small line across from the button where you want the button hole to go. Make sure the hole isn’t too big (you can always make it bigger if the button doesn’t fit). Draw a dot under each button so you know where it goes.
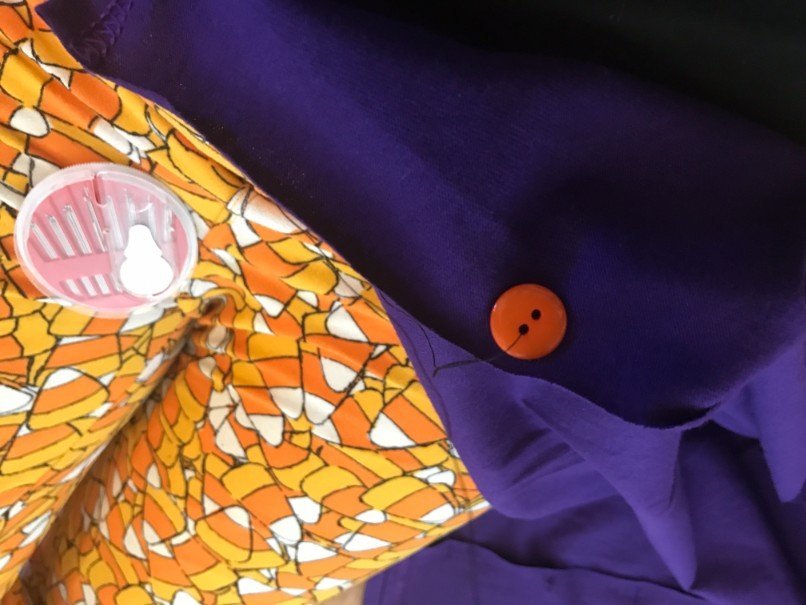
Remove buttons and sew each one in place. Here is a great tutorial on how to sew on a button.
Carefully cut each line for the button hole.
Button up the shirt and enjoy!


What a nice experiment to do for the winter. Thank you.