
Easy Etched Glass Halloween Candy Jar
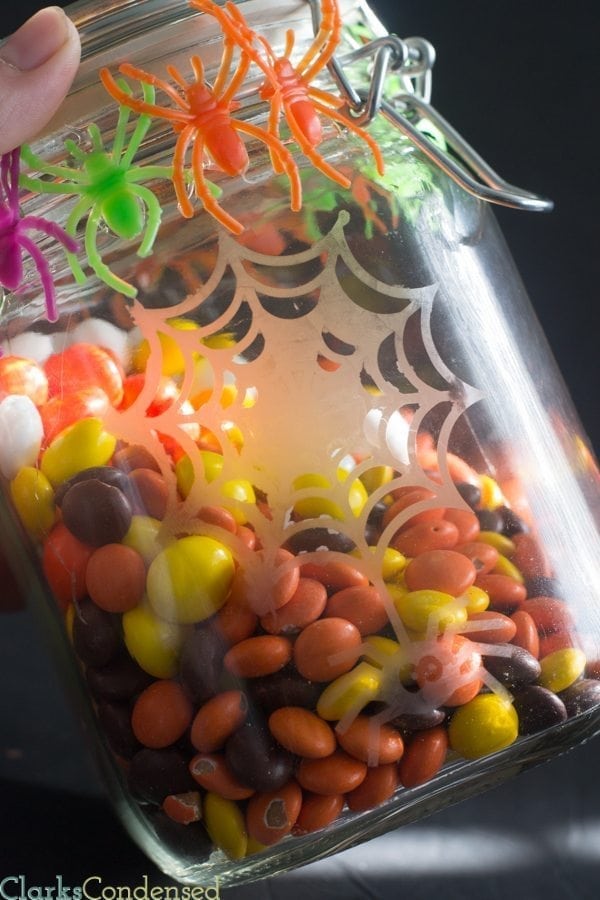
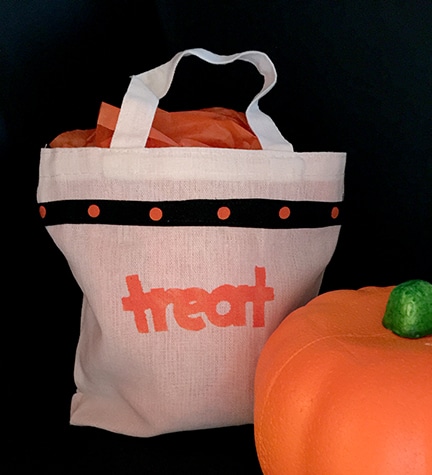
Halloween is only a few weeks away, but today, I’m excited to share with you a pretty simple craft that I just finished up — an easy Spider Candy Jar.
Growing up, my mom always had (and really, still has) a candy bowl or jar sitting out, typically on the piano. It was always filled with seasonal candies! That is something that I’ve carried on into my own home. Obviously, not the healthiest tradition, but it’s something our guests always enjoy. Just the other day my sister-in-law commented on how she loves coming to our house because we always have candy.
Something I really enjoy doing is having a seasonal candy jar or bowl, so this year, I had an idea to make a spider-themed one. Since I just got my Silhouette machine, I thought this would be a simple project that I could test glass etching out with. I always love the way glass etching looks, but after a few less-than-easy attempts a few years back, I kind of gave it up. However, my Silhouette machine makes it so much easier, and this project shows that!
Materails
Plastic Spiders (I bought colored spider rings at the Dollar Tree)
Hot Glue & Hot Glue Gun
(I was sent the Silhouette Glass Etching Starter kit, which I highly recommend. It comes with everything you need!)
These techniques can be used for any etched glass projects!
Step One:
Download the Spider Web Design Shape. Open a new project in your Silhouette Design Studio and put the image in it. Resize it to be a little smaller than one of the sides of your glass jar. The design I used has a web with a spider, and then a web without a spider. I had both cut out, but I ended up only using the spider with the web.
Step Two:
Turn on your Silhouette machine. Place your stencil vinyl on your cutting mat and insert it into the machine. Send your design to cut.
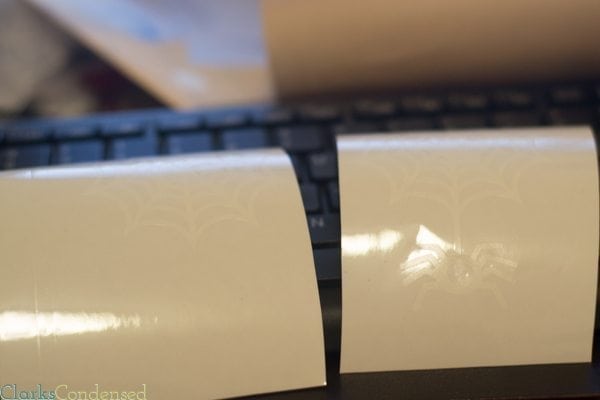
Step Three:
Using the hook tool, weed out the negative space of the image. You are wanting to create a stencil. I tried to take a good picture of what I mean (without much success.) If you look below, you will see that the spider and the web had been weeding out, leaving a stencil of that.
Step Three:
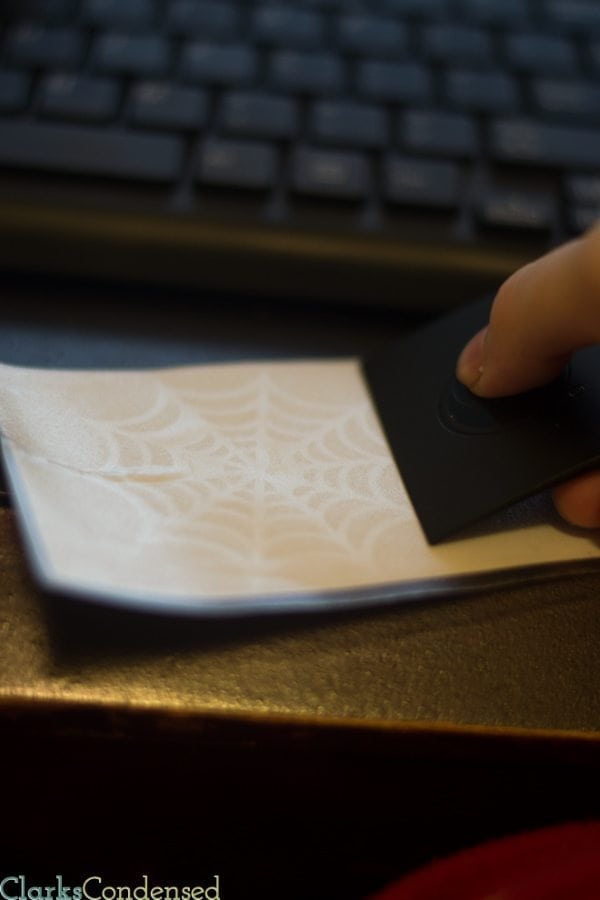
Apply the transfer paper to the stencil (make sure the transfer paper is larger than the stencil paper.) Using your scraper tool, remove any bubbles.
Step Four:
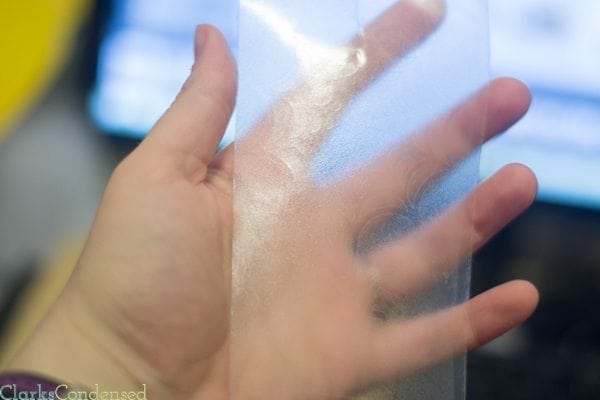
Carefully peel back the transfer paper, making certain that the stencil comes up with it.
Step Five:
Place the stencil and transfer paper directly onto your glass. Use the scraper tool to smooth out any bumps or bubbles.
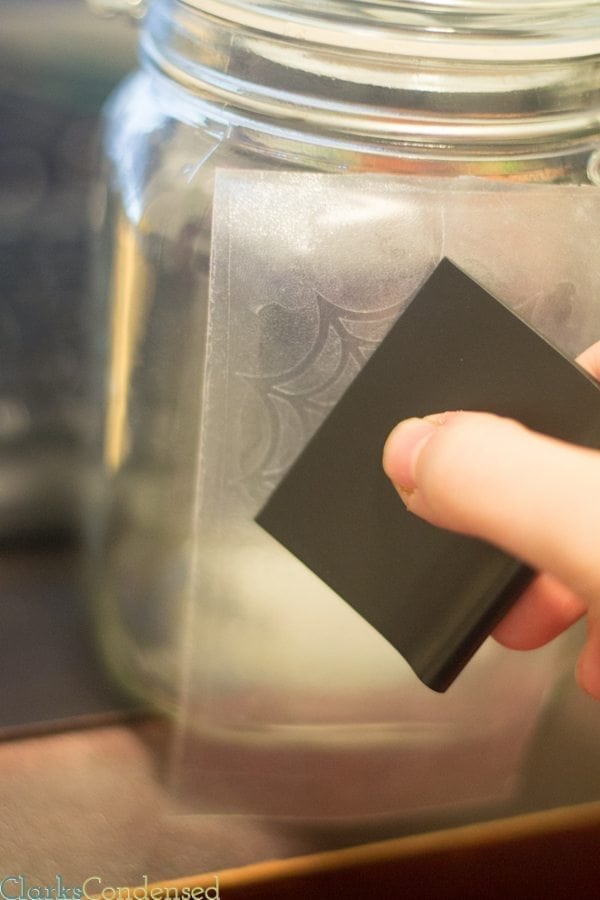
Step Six:
Remove the transfer paper. Be very careful not to lift the stencil off as well.
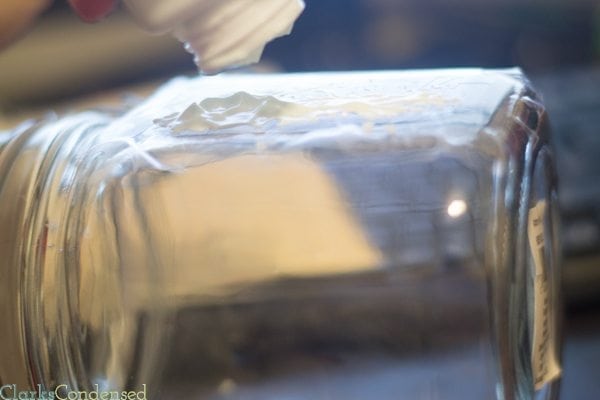
Step Seven:
Apply the etching cream. Make sure you don’t let it get anywhere but on the stencil. Don’t be afraid to be generous with the cream — you can scrape off the excess and put it back in the bottle to use another time!
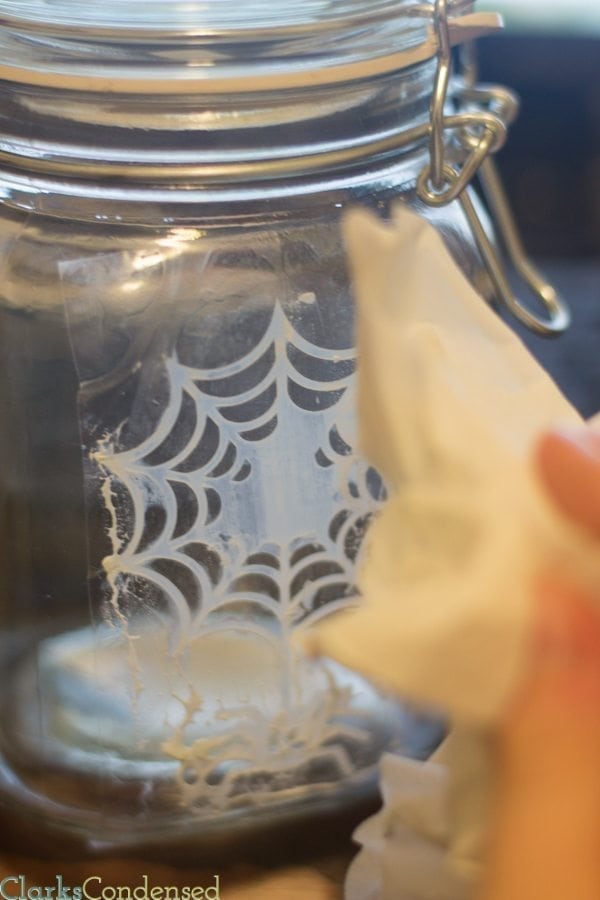
Step Seven:
Use your scraper tool to make sure the cream gets applied to the stencil. Then, remove the excess cream and put it back in the bottle, and wipe off as much of what’s left.
Step Seven:
Remove the stencil.
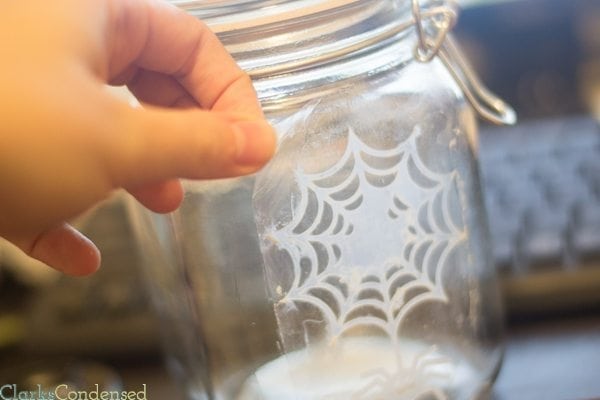
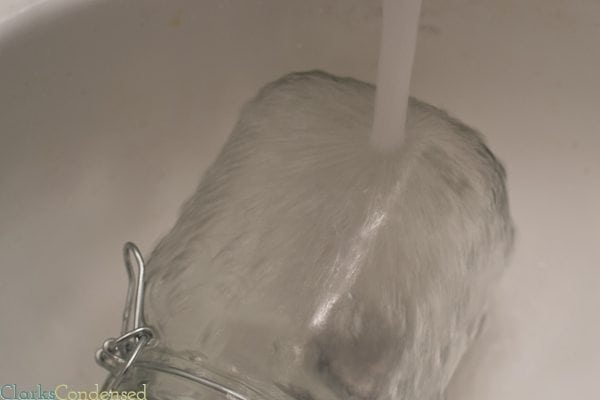
Step Eight:
Wash the jar clean and then let it dry.
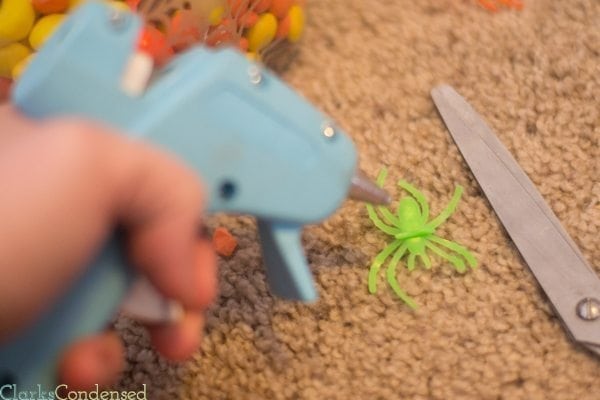
Step Nine:
After the jar is nine, take out your spiders. I used spider rings, so I cut off the ring part. Add a little layer of hot glue to the back.
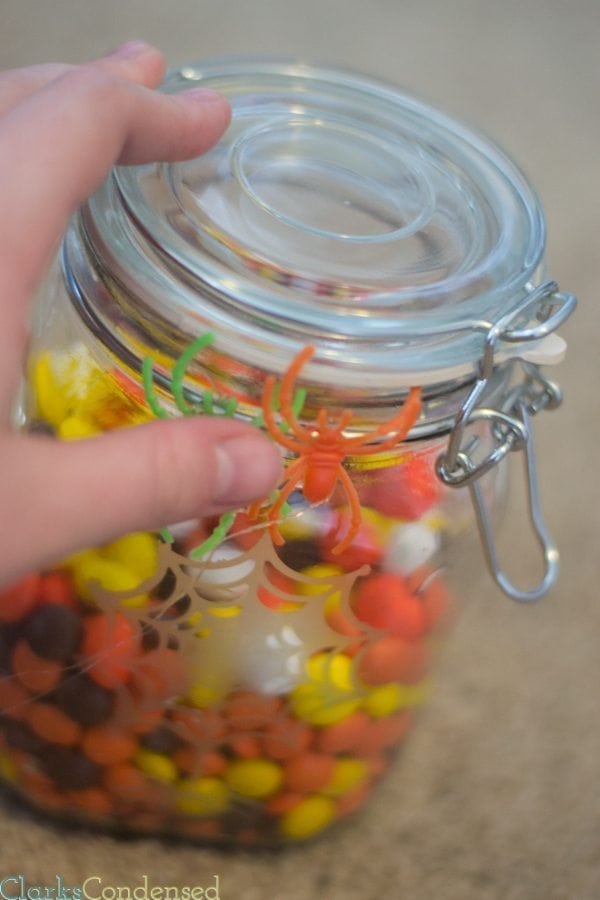
Step Ten:
Place the spiders onto the rim of the glass jar and hold down until they stick!
Step Three:
Fill with candy and enjoy!
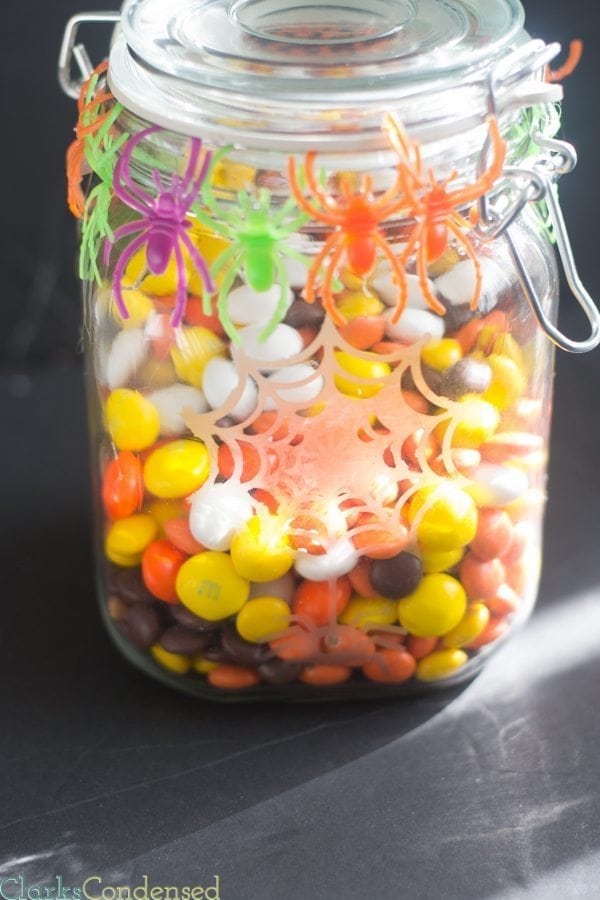

I love this! It looks so festive. I like glass etching it’s so fun and you can personalize it to anything you’d want. So fun!
Agreed! Glass etching really is such a fun activity 🙂 You can make gifts for others more personalized, and for things around your house, too. Thanks for commenting! 🙂