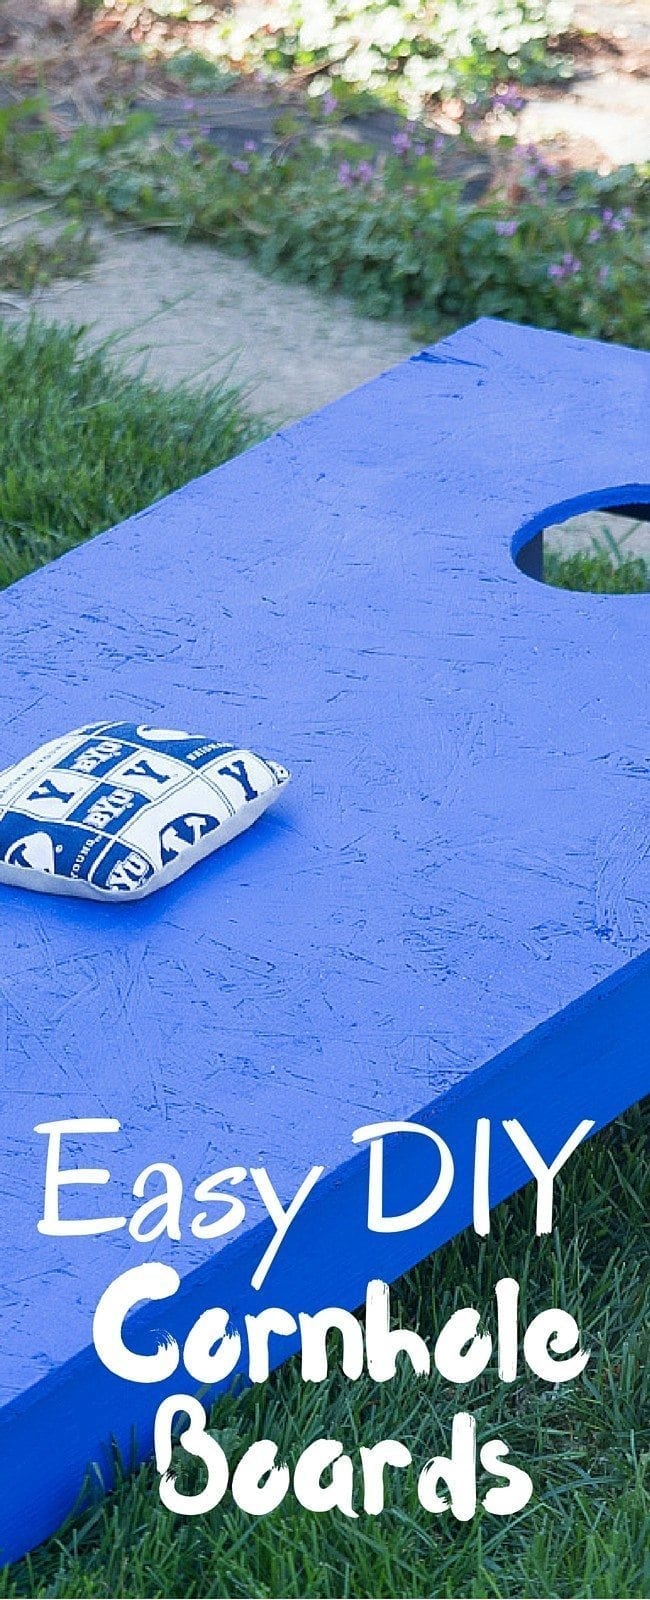
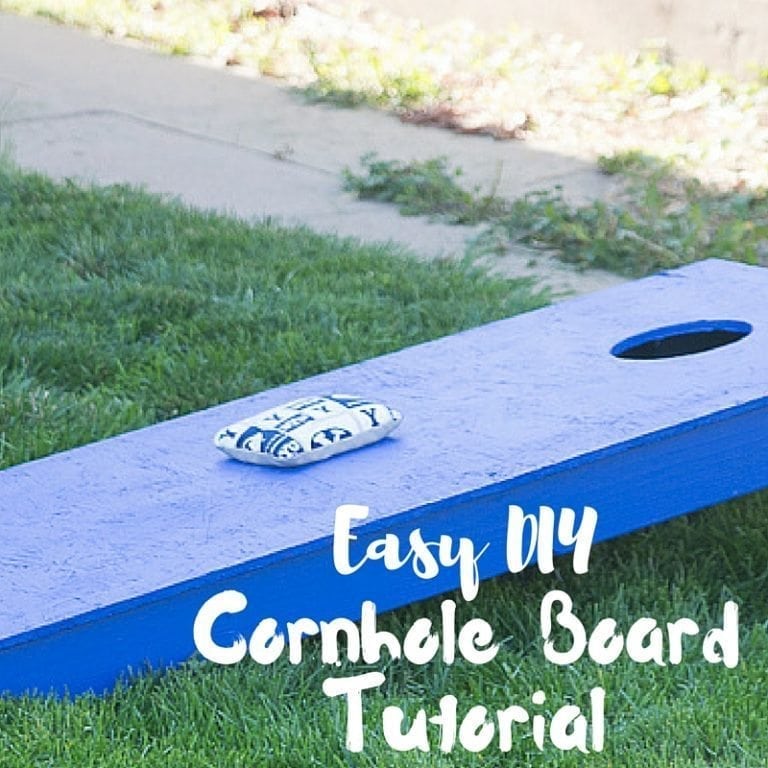
Easy DIY Cornhole Board Tutorial
This DIY Cornhole board tutorial is featured on DIY Idea Center!
A couple summers ago, we were introduced to the game of Cornhole.
Never heard of it? Well, you’re missing out!
It’s really quite the simple game – throw bags filled with corn kernels into the hole of a board. It’s popular at tailgating parties. I’ll admit, when I first saw it, I was a bit underwhelmed.
Then we brought some boards to a family reunion, and it ended up being one of the most popular activities. We had to return the boards, but Forrest and I have always wanted to have some of our own.
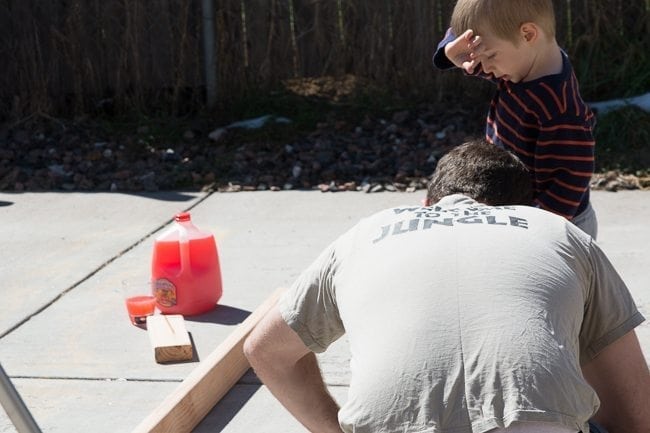
Unfortunately, they are super expensive to buy! Fortunately, they are NOT super expensive to make. One of these boards can be made for under $15 (well, after you buy the circle cutter, which is the most expensive part of the product!) Forrest was able to throw these together in an afternoon (though it was kind of hot outside!)

There are Cornhole Regulations in order for a board to be official. A Cornhole board is 48″ x 24″ rectangle with a 6″ wide hole centered 9 inches from the top edge. The bottom edge is supposed to be 4″ from the ground, and the top is to be 12″ from the ground. You can read more of the nitty gritty details here.
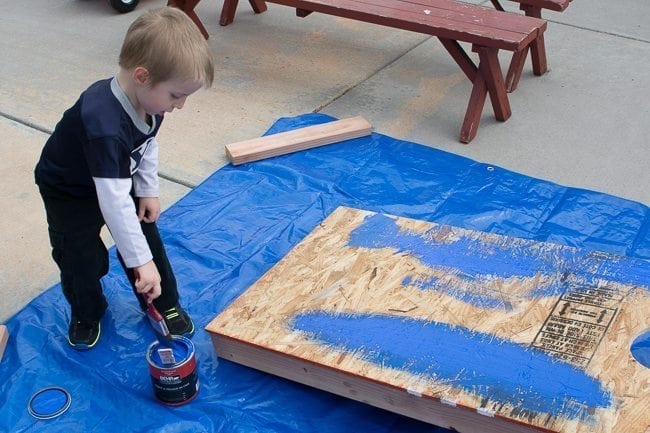
This is a pretty easy project – don’t let all the steps scare you away. Jack even helped make it, and it’s a great outdoor game to have!
Materials:
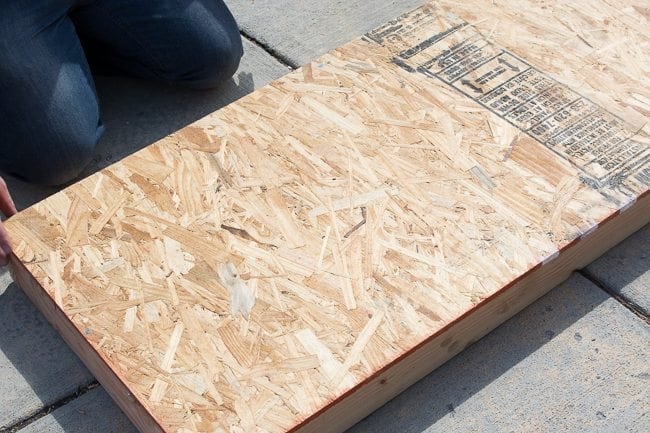
4′ X 2′ piece of wood (we got a piece of 12′ plywood for $10 at Home Depot that was about 1/2″ thick- it was cut to make four pieces! We ended up making two boards. They can cut the wood for you there – I believe the first two cuts are free.)
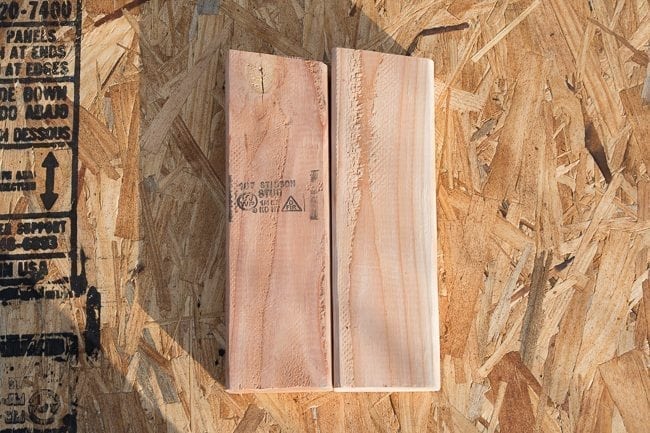
2 – 21″ cuts of a 3.5″ X 1.5″ piece of wood
2 – 4′ cuts of a 3.5″ X 1.5″ piece of wood (we bought four of these)
2 – angled cuts for wood (11 1/2″ length on one side and 11″ length on the other edge.)
16 – 3″ wood screws
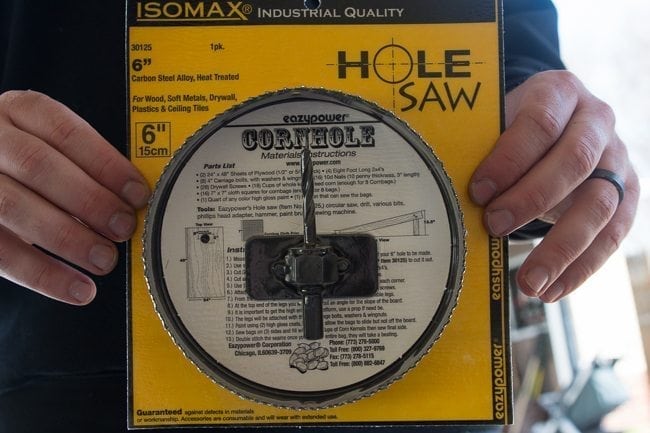
6″ hole saw (they were around $40 at Home Depot – we found this one that is specifically for Cornhole boards on Amazon for around $25.)
Electric Screwdriver
Drill bits (we have and used this Ryobi drill bit set)
Sandpaper
Paint (a shinier paint might help the bags slide better)
Here is a quick video overview of Forrest making the Cornhole board. Hopefully, the video, pictures, and written instructions will work together to make it clear what you need to do to make your own Cornhole board.

Directions
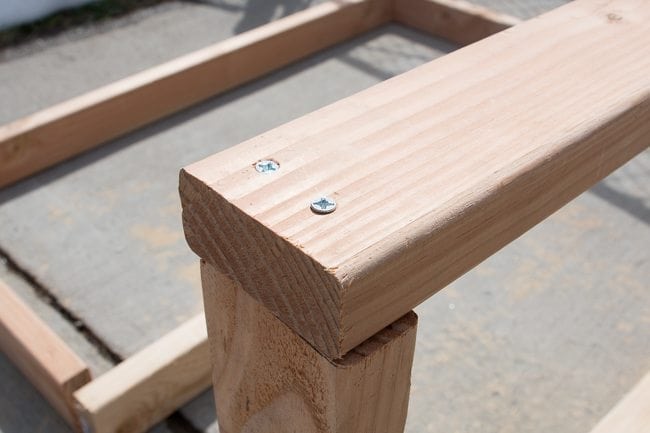
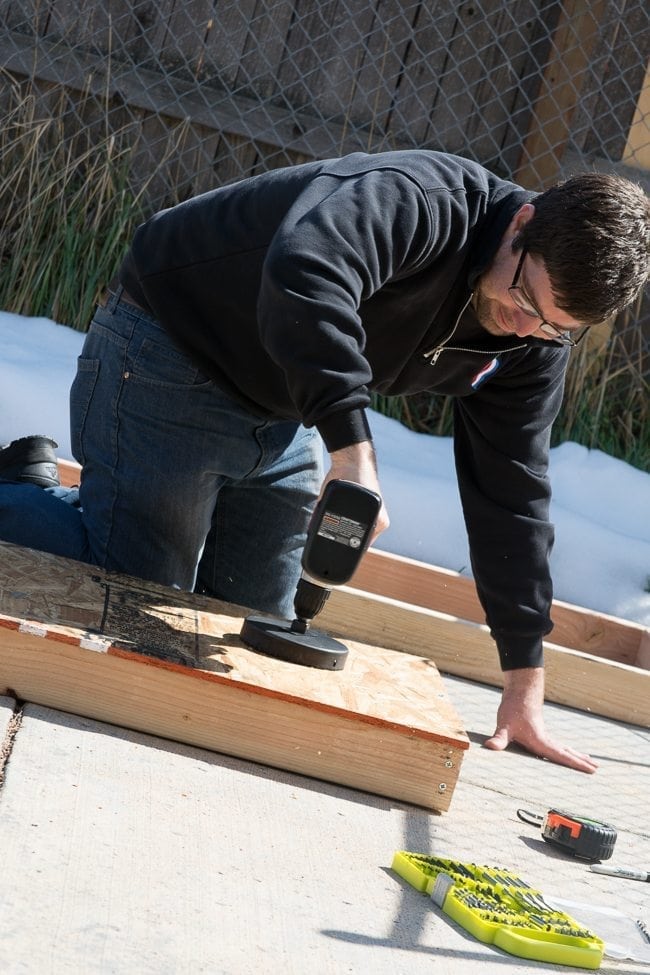
Assemble rectangular frame by drilling pilot holes (use a drill bit to make a small hole, so it’s easier to put the screw through) through the 4′ cuts into the ends of the 21″.
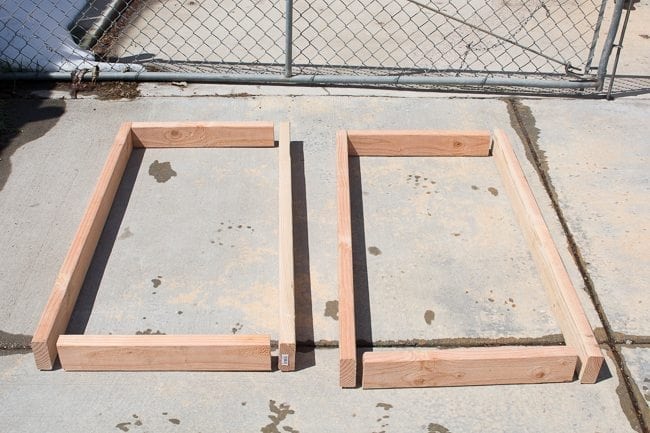
Screw in the screws into the pilot holes.

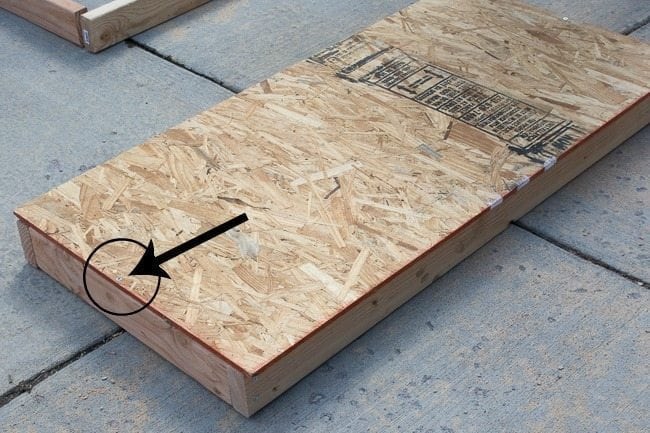
Place a 4′ by 2′ piece of plywood over your frame. One of the sides of my plywood was clearly smoother, so I placed the smoother side face up.
Screw the plywood into your frame, but avoid the corners where you already have screws in the wood.
Screw the plywood into the frame at the centers of each length.
Mark a dot 9″ down from the ‘top’ edge and 12″ from the side. Create a pilot hole at that point to guide the hole saw.
Cut your hole there with the hole saw.
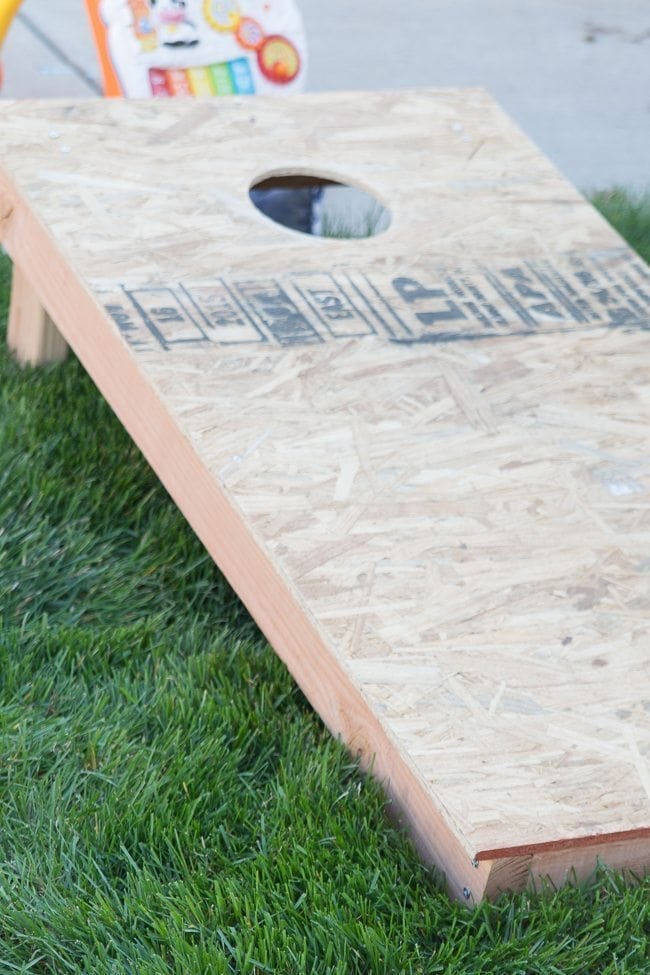
Place the angled cuts into the top corners so the bottom of the cuts are flush to the ground.
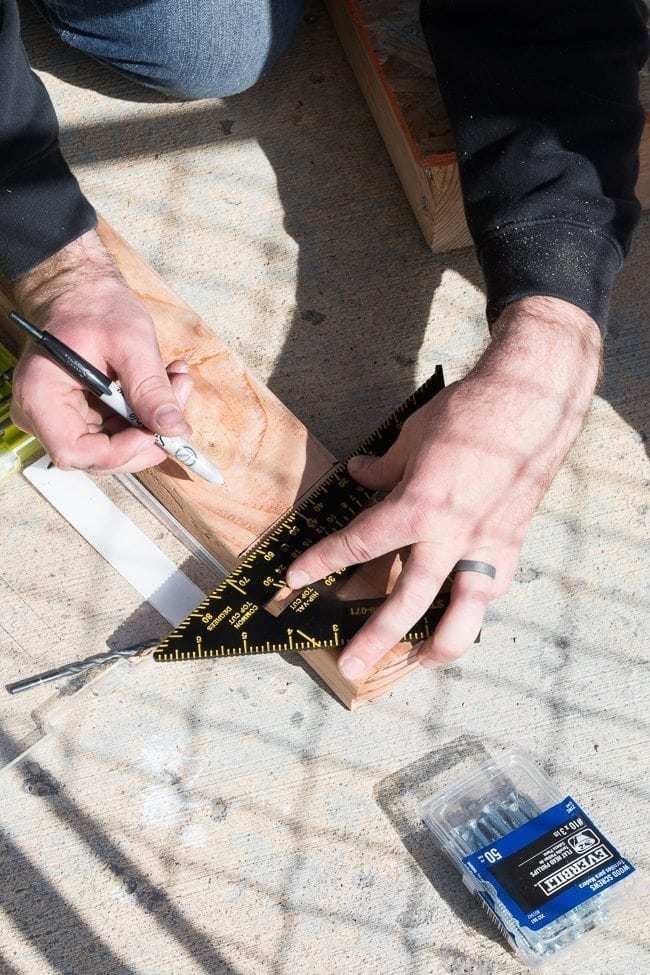
Drill two pilot holes through the plywood into the tops of the legs.
Screw your screws into the pilot holes.
Sand any extra rough edges.
Paint.
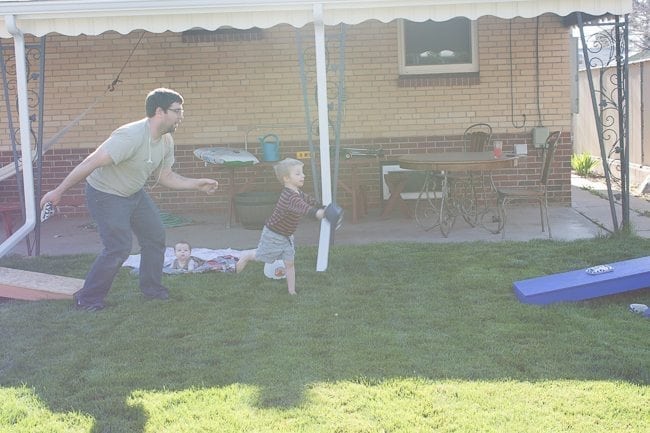
Get some corn hole bags and play!
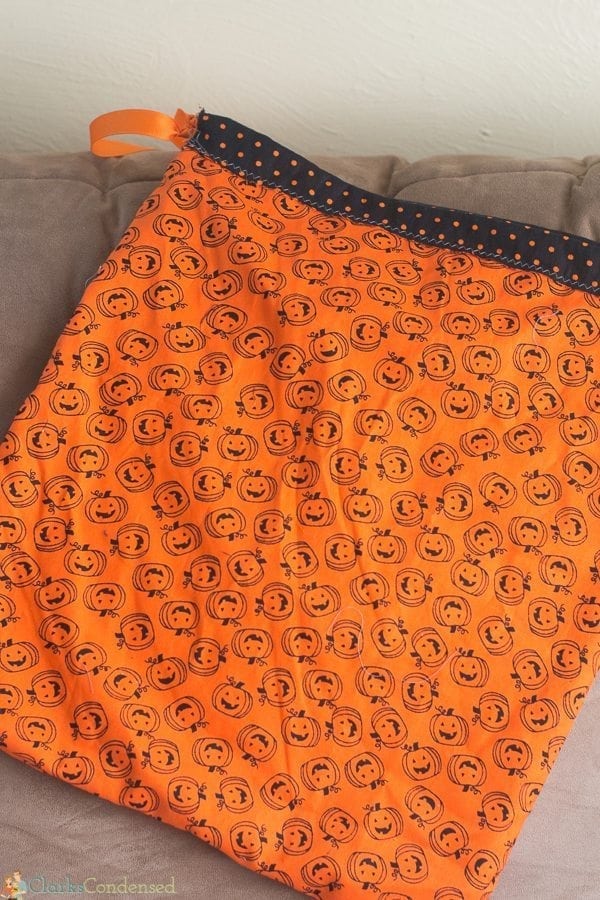
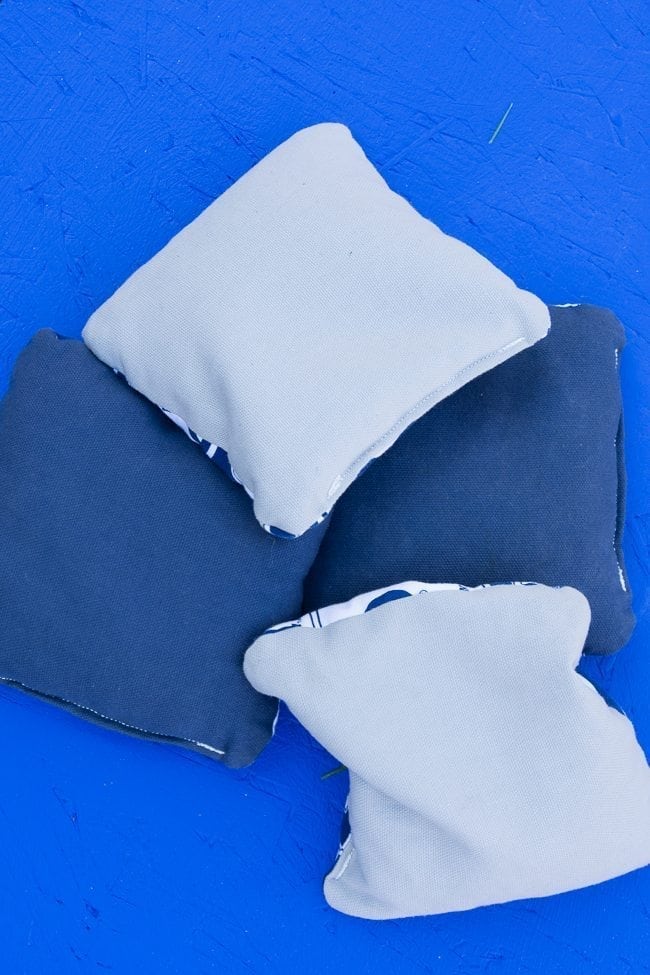
This design is very basic, and you can make the legs capable of folding up for more contact storage. You’ll have to look elsewhere for that. Cornhole bags are fairly simple to make – I’ll provide a more in-depth tutorial later, but you basically can make them from two fabric squares (at least 6″ X 6″) sewn together and filled with 2 cups of corn feed. There are official rules for how much they should weigh and how large they should be over here.
Don’t want to make your own? Here are some great pre made corn hole boards!
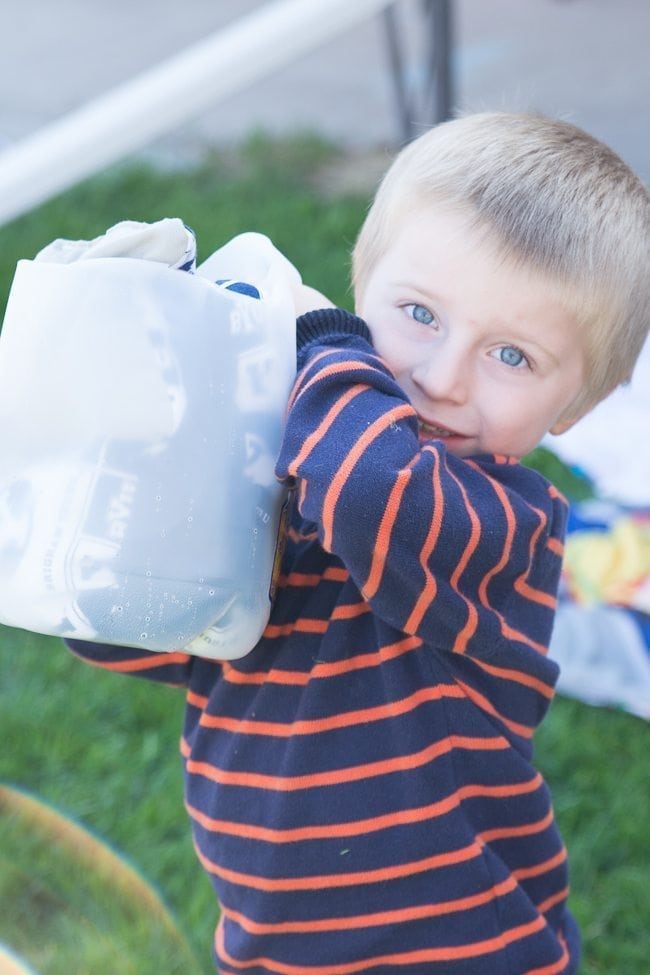
Thanks to Tampico for sponsoring this post!
I cut off the top of an empty Tampico jug, which made it into the perfect container for picking up the cornhole bags.
It is fun to hang outside and relax, drink some delicious Tropical Punch Tampico, and play some rousing games of Cornhole. I can’t wait to play with some friends!