
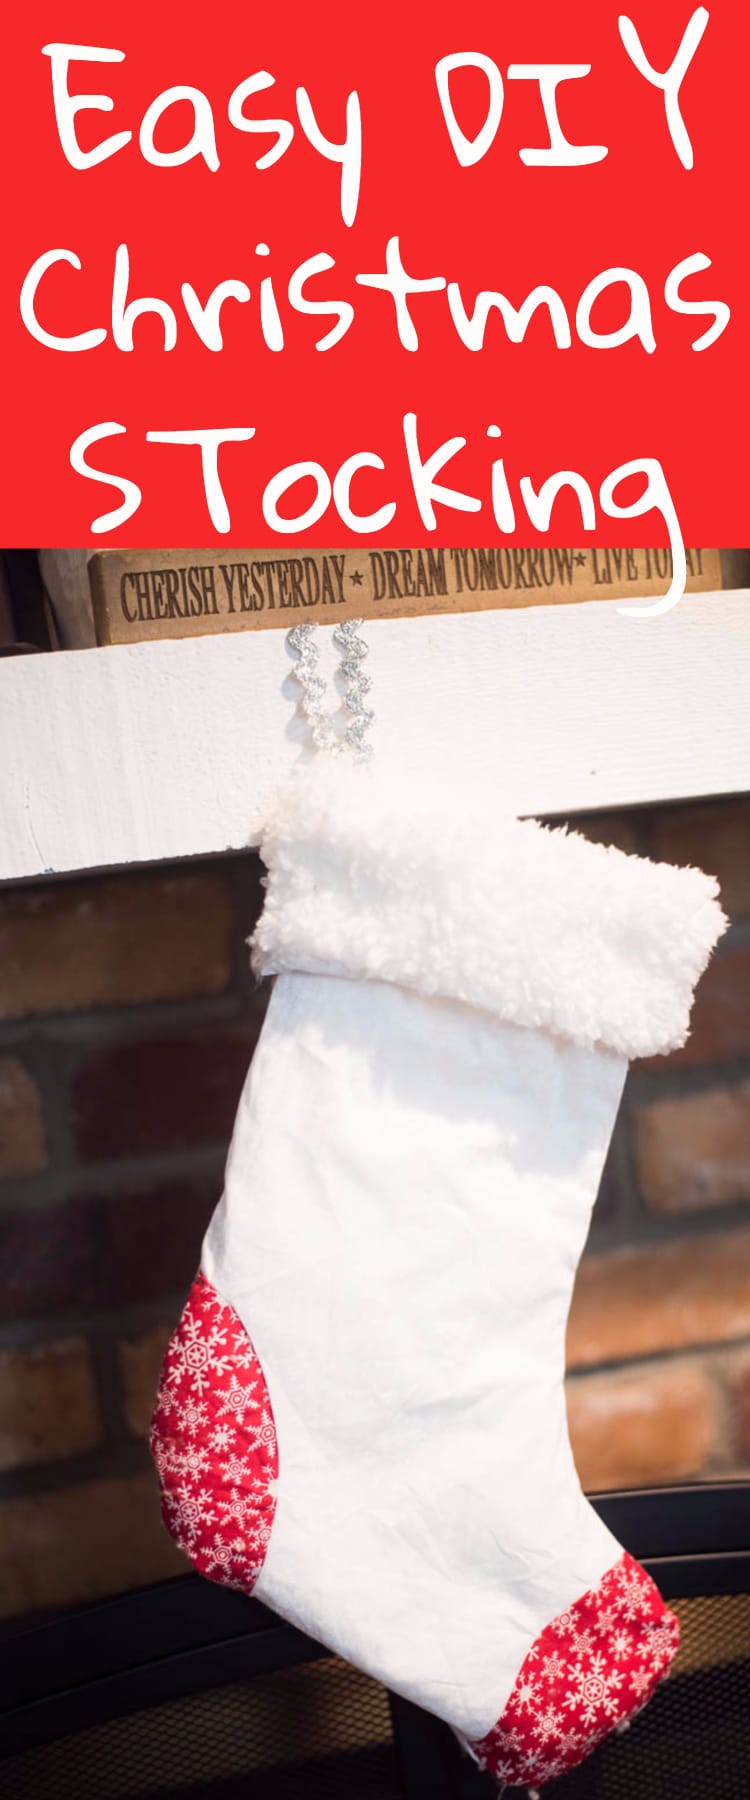
EASY DIY Christmas Stocking
This Christmas stocking tutorial is one of the best Cricut Christmas projects out there. It is fun and creates a beautiful, lasting stocking.
DIY Christmas Stocking Tutorial
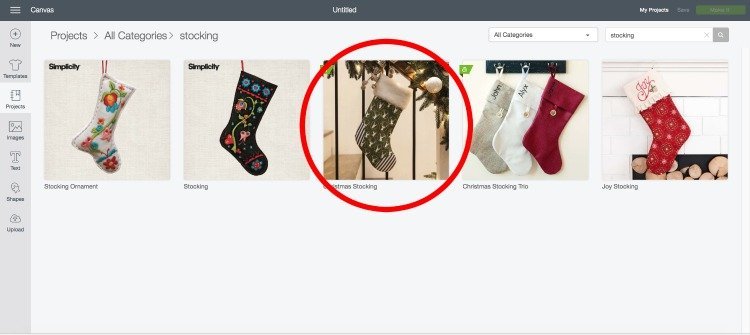
When I first heard about the Cricut Maker, I crossed my fingers that there would be a stocking pattern available.
My wishful thinking paid off, because shortly after I got my machine, I spotted this cute stocking that looked pretty easy.
I am partnering with our friends at Cricut to share this tutorial today to show you how fun and easy they make sewing with their new patterns!
When Jack was a baby, I made stocking for all of us – and I made Oliver one for his first Christmas (it was Christmas Eve – but I got it done!)
I love them!
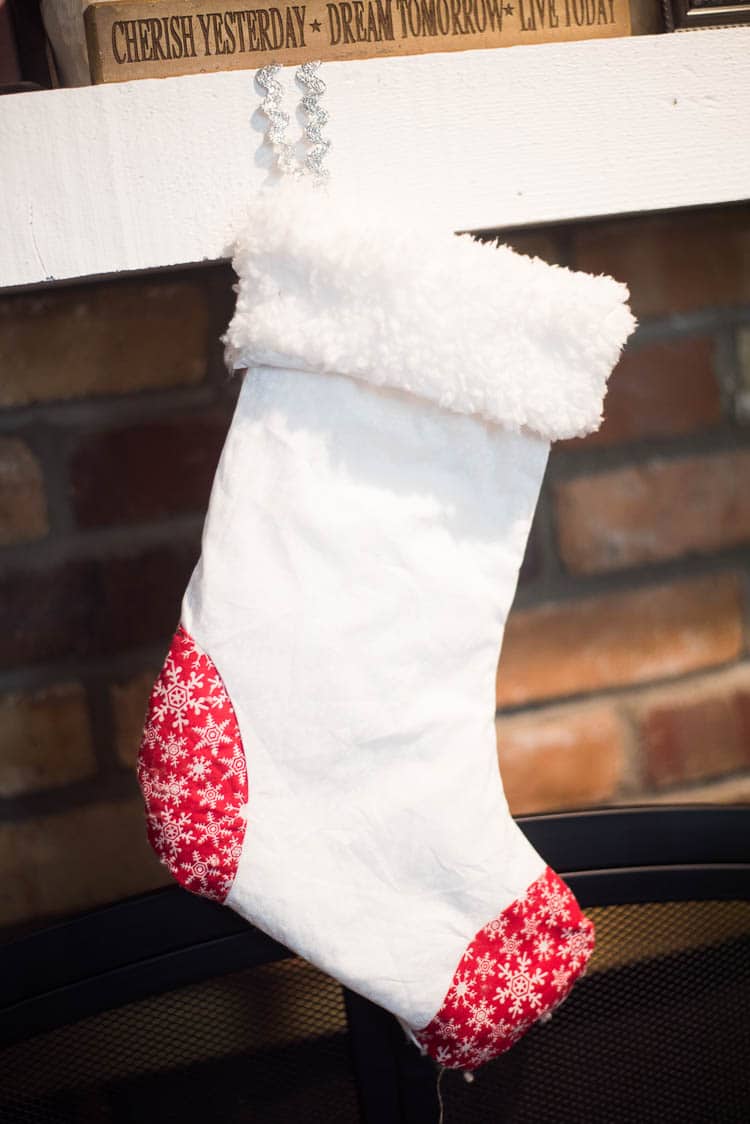
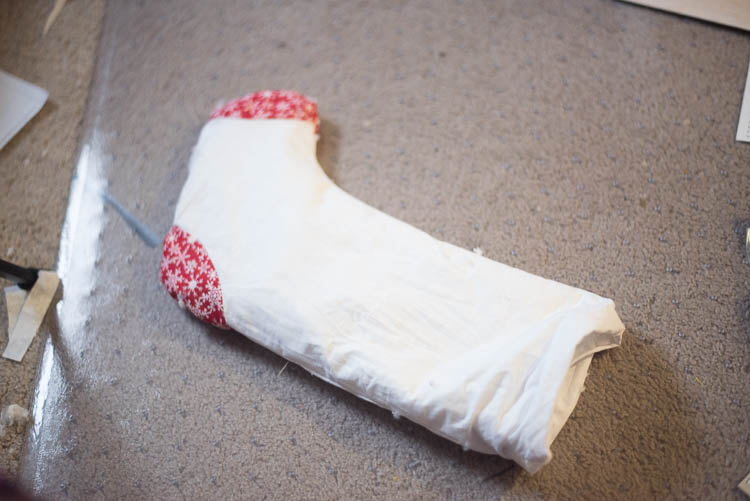
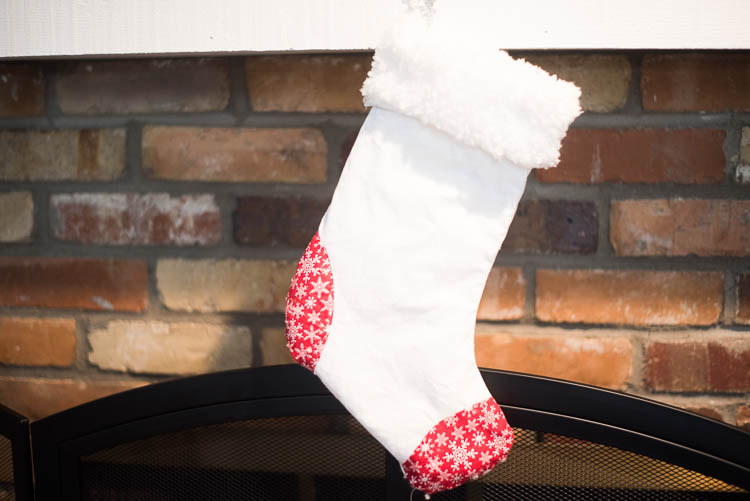
I decided to make a “white stocking” for our family, which is a Christmas Tradition my mom started years ago that really helps to Keep Christ in Christmas. I picked out some pretty and classy fabric from Joann’s, and I grabbed some red fabric just to make it pop a little bit.
This project does have a bunch of steps (but what sewing project doesn’t?!), but it’s not really that hard when you know what you are doing.
However, if you are like me and have trouble following text instructions and prefer more of a visual tutorial, I hope that this post will be helpful.
I am just not someone who can read instructions for sewing projects and totally “get it” the first time through. I had to read through these instructions and look a few things up before I felt totally confident in what I was doing.
So, hopefully that extra time I spent will help save you time in the long run. I have a photo tutorial (with my commentary) below along.
I am working on a video tutorial, but I’ve run into a few hurdles….so stay tuned 🙂
Make Your Own Stocking
Materials:
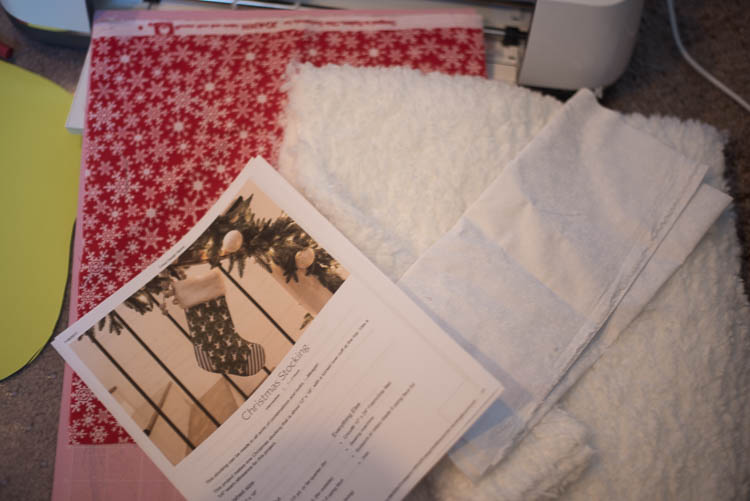
1/3 yard fabric for main exterior of sock
1/3 yard fabric for toes and heal
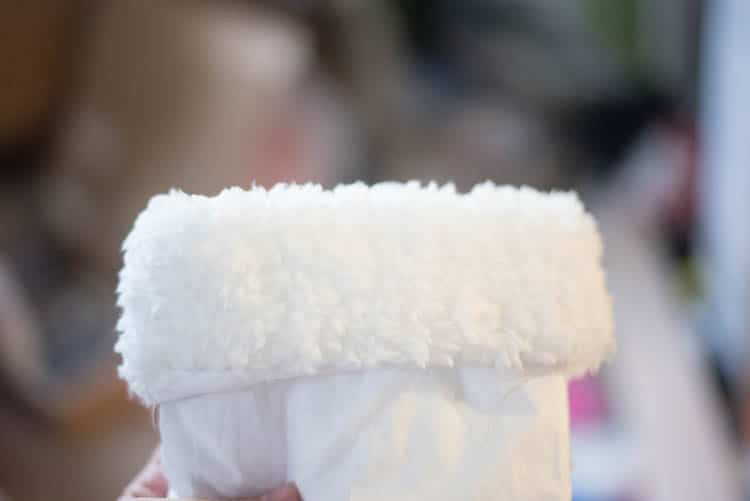
1/3 Faux fur for cuff and lining (you may use regular materials as well)
(I like to use Joann’s or Fabric.com for material)
12×24 cardstock if you are using the fur (I taped together two pieces of 12×12 cardstock)
Sewing Machine (if you need a good one, SewingMachinesPlus is a GREAT website)
Sewing Scissors
Pins
If you are like me, a seam ripper (the Cricut Sewing kit has scissors, pins, a seam ripper, and more. highly recommend it).
Cricut® 12″ x 24″ FabricGrip Mat
Cricut Rotary Blade
Cricut Fine Point Blade
Iron (I just used my EasyPress)
Cutting
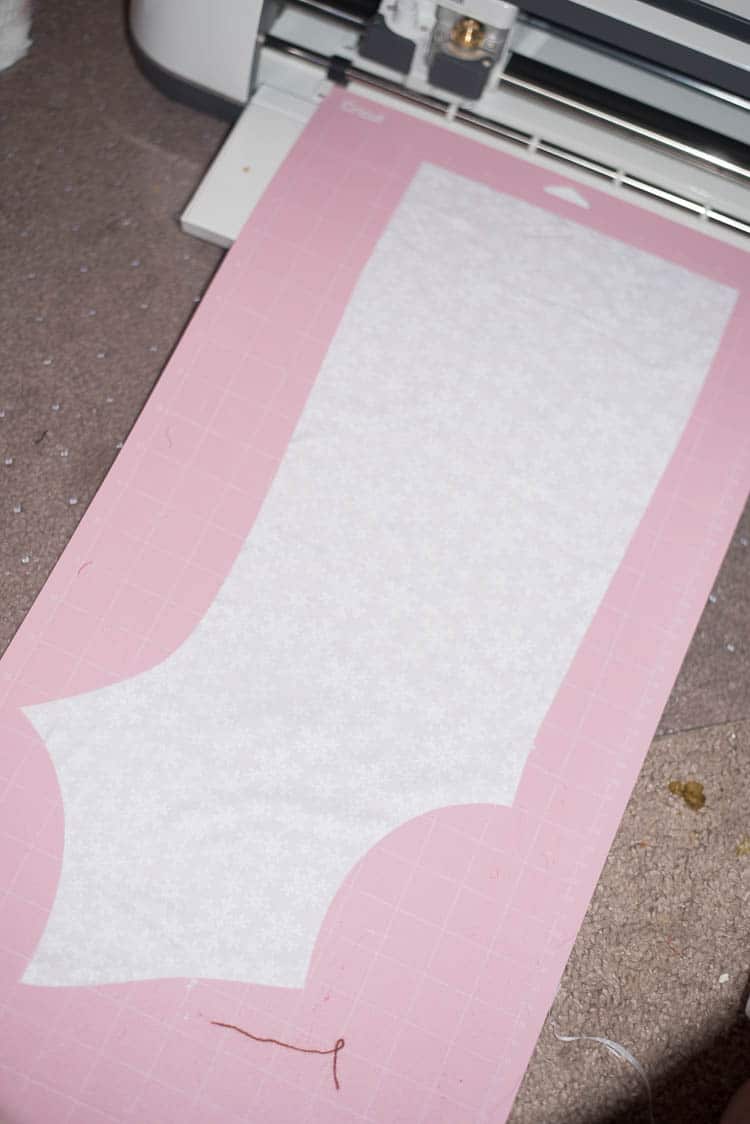
At this point, you will be shown a preview of what you will need to cut. First, you will cut in the interior of the stocking.
If you are using fur, like I did, you will use a piece of cardstock to cut the pattern and then hand cut the fur. You will need cardstock that is 12″x24″. I couldn’t find anything bigger than 12×12, so I just taped two pieces together.

You will need two mats of the 12×24″ to create these templates:
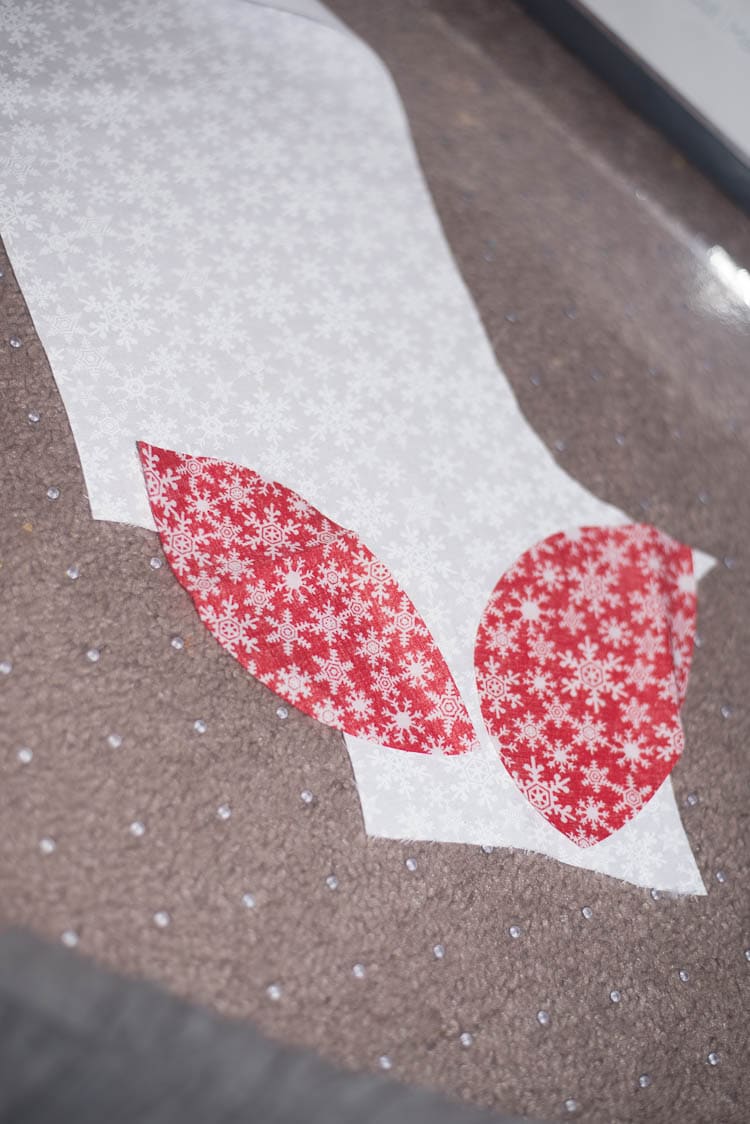
Then you will need a 12×12″ piece of fabric for the toe and heel, which will cut on the third mat.
And finally, on the fourth and fifth mats, you will need a 12×22″ piece of fabric for the main exterior of the stocking.
Once everything has been cut, you are ready to assemble and sew. At this point, you will want to cut out the fur interior if you are using that material (which I highly recommend. I LOVE how soft it feels when it’s done!)
Assemble
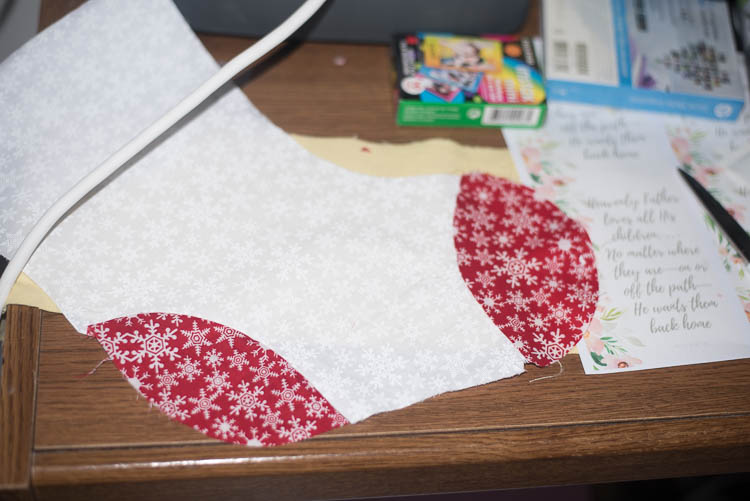
Exterior of Stocking
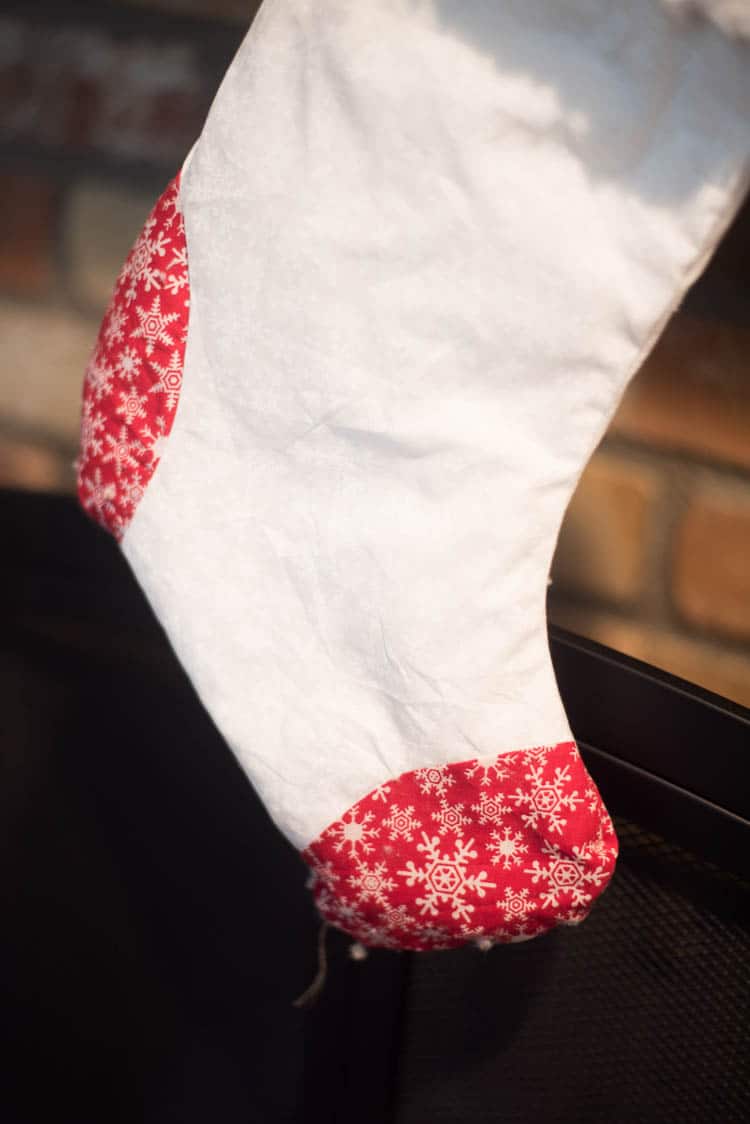
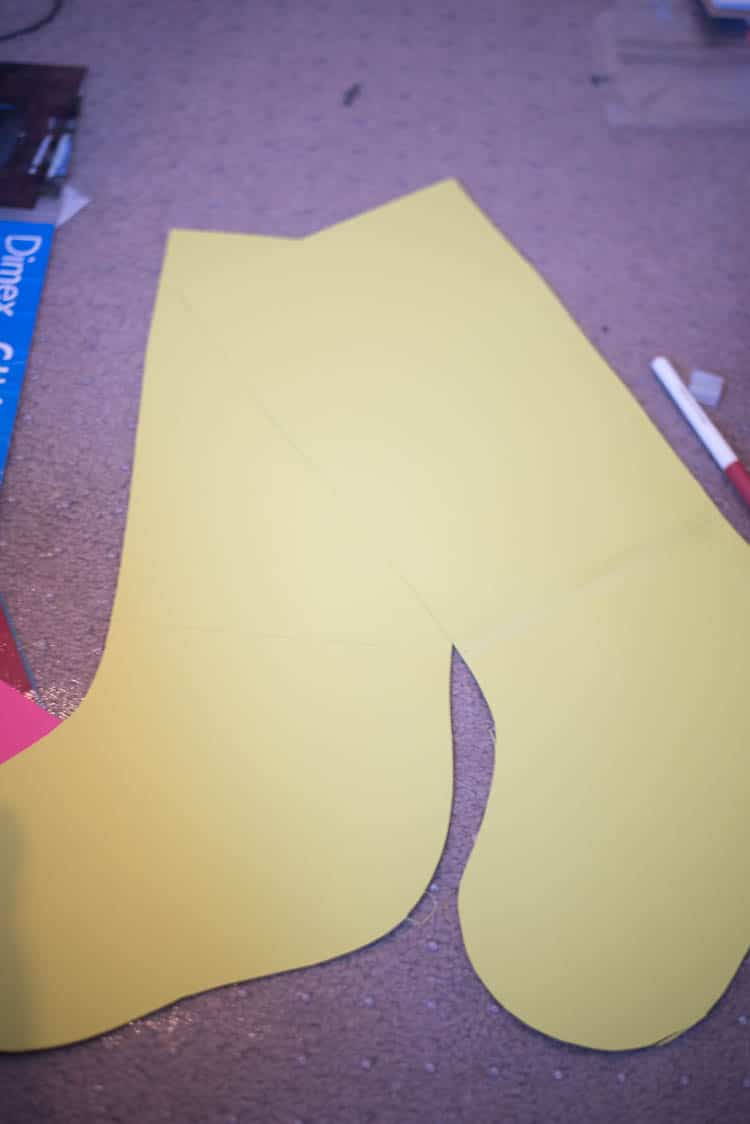
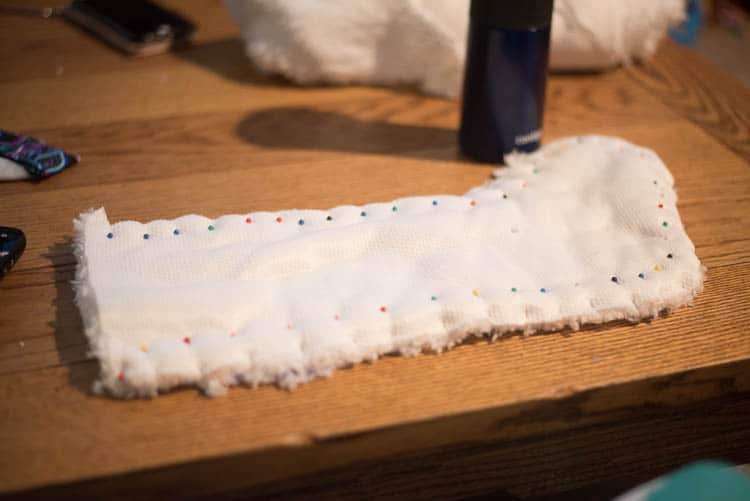
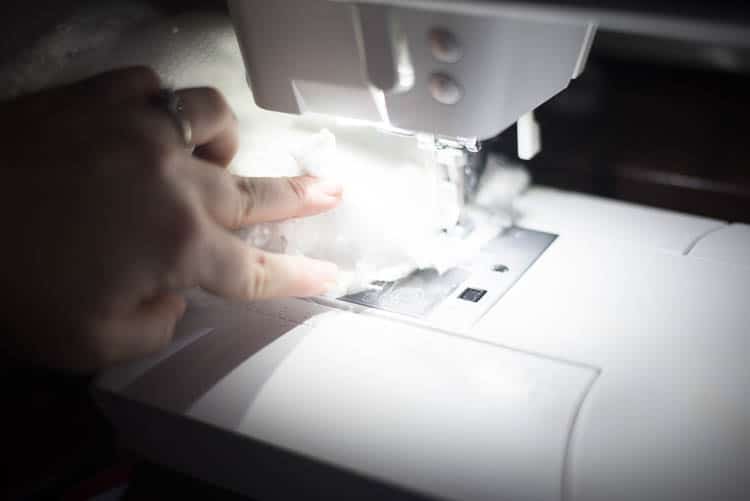
You will start by sewing the toes and heel to the exterior of the stocking. This can be tricky because you are sewing a curve to a curve – it won’t look like it will match up when you lay them together – you have to use lots of pins!
First off, take the heel piece and pin it to the heel. They need to be right sides together (so, the pretty sides of the fabric).
I would start by pinning the corner of the heel piece to the top end of the heel gap in the exterior piece, and then pin the other corner of the heel piece to the opposite end. Then you will pin everything in between.
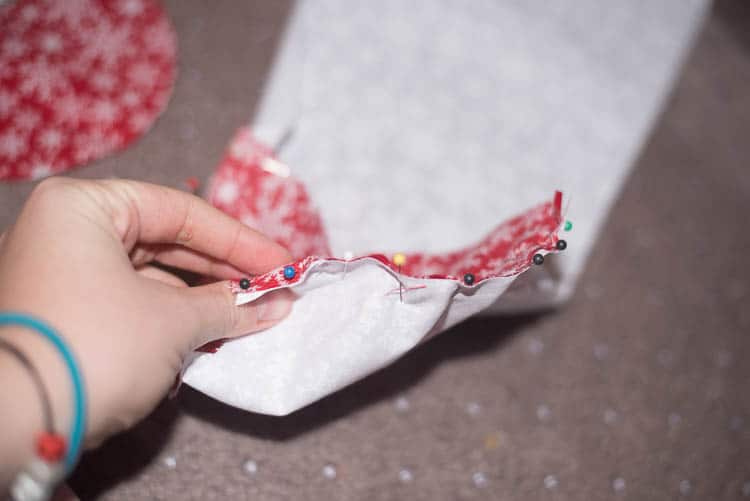
Do this with the toe as well, and then repeat on the other piece of the exterior stocking.
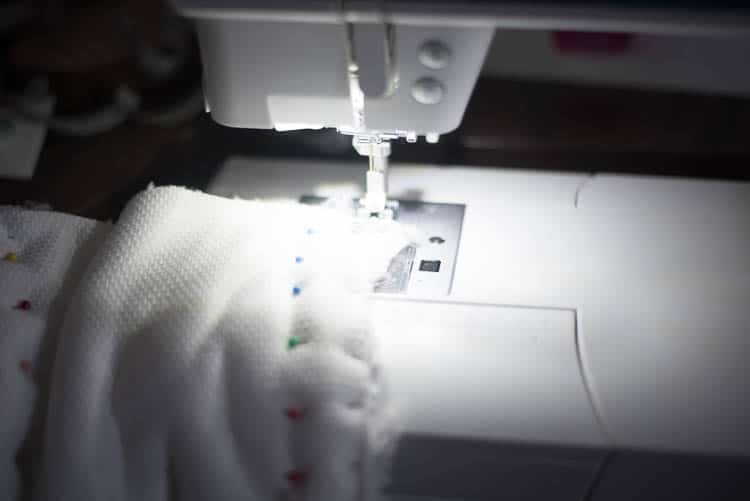
Sew along the edge with a 1/4″ seam allowance.
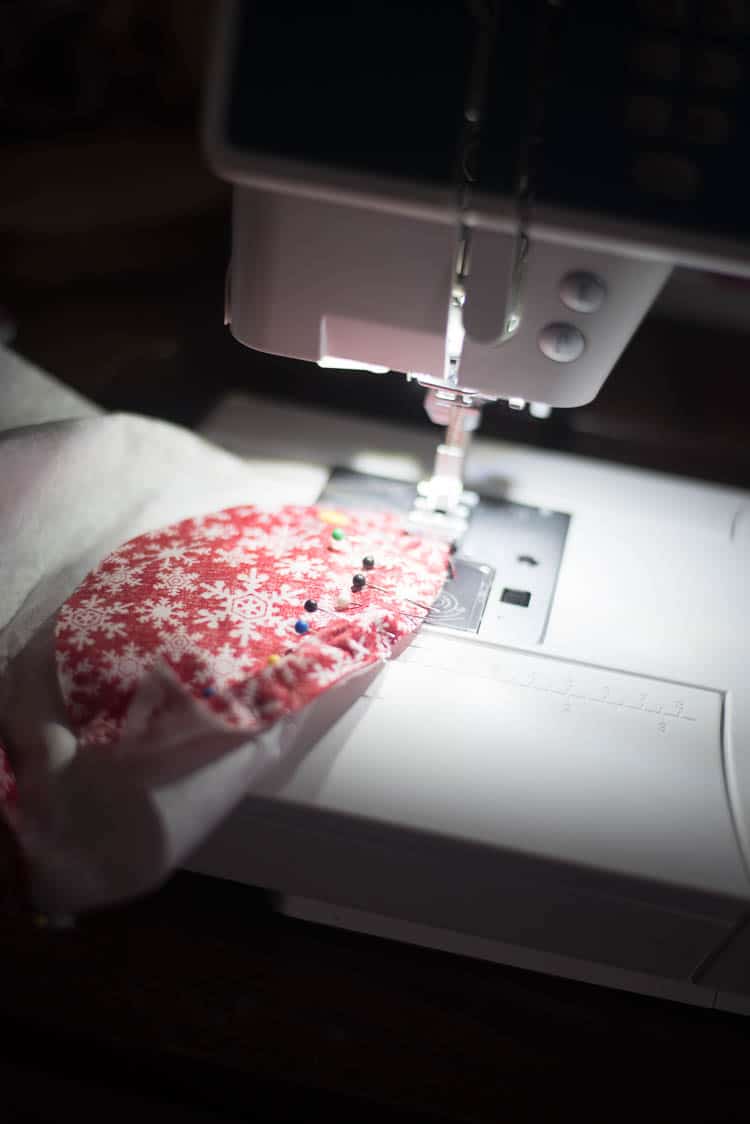
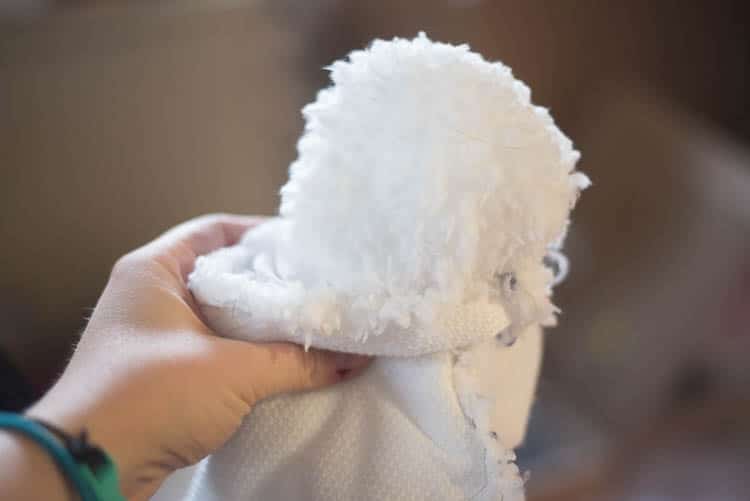
Before your turn the toe and heel outward, clip the corners of the fabric so it lays flat. Most of you probably know what this means, but here is a good tutorial on what it means to sew and clip a corner.
Once you turn the toe and heel outward, press everything flat.
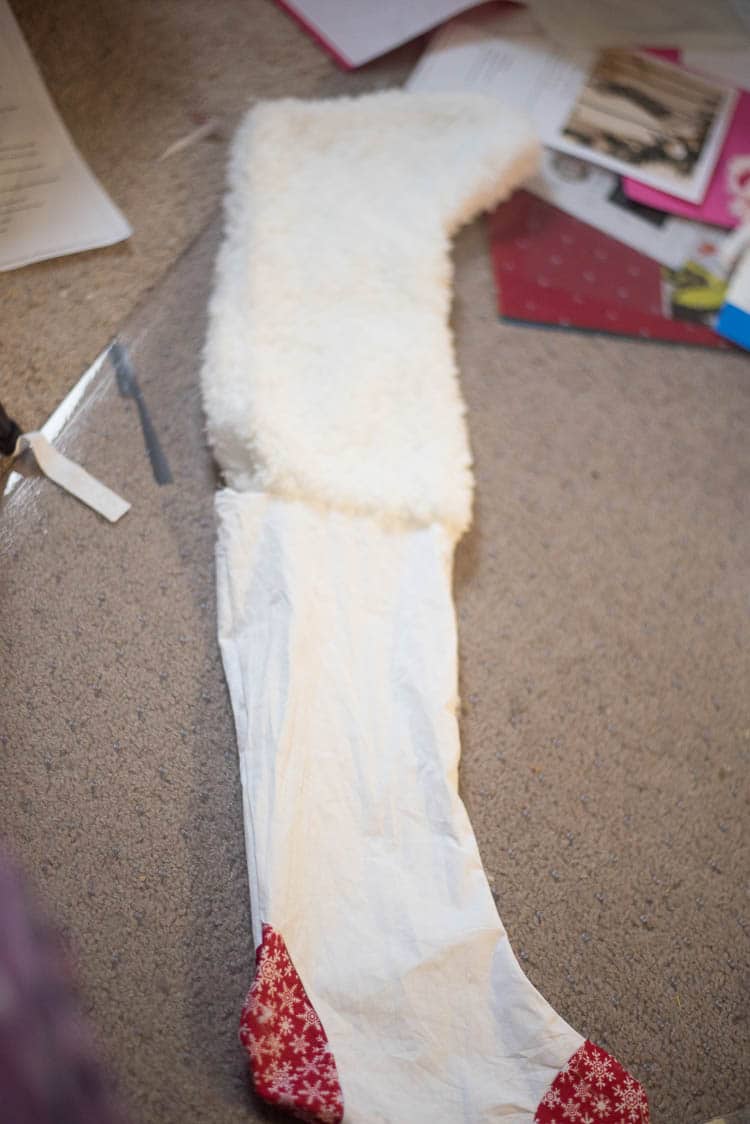
Put the two complete exterior pieces right sides together and pin around all the edges except the top edge.
Using your sewing machine, sew around the edges with a 1/4″ seam allowance. Sew everything about the top. Set aside.
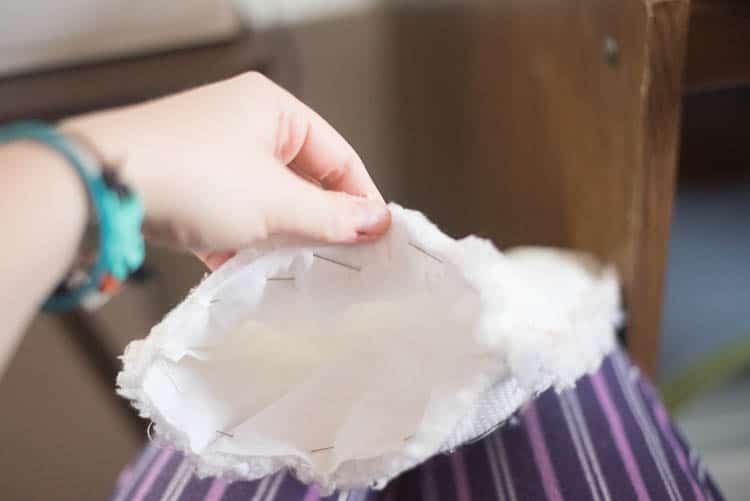
Interior of Stocking
Place the stocking insides right side together. Pin around all the edges (except the top).
Sew with your sewing machine around those edges.
Clip the curves. DO NOT turn right side out yet.
Combining the interior and exterior
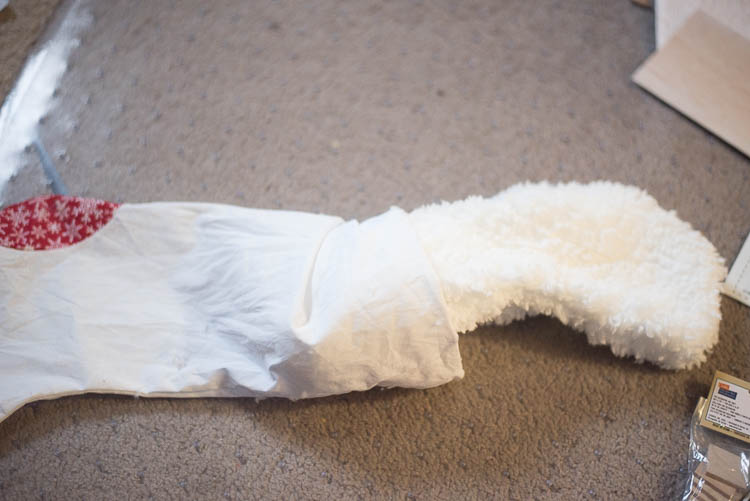
Turn the exterior of the stocking right side out. Place it inside of the interior of the stocking, which will still be inside out.
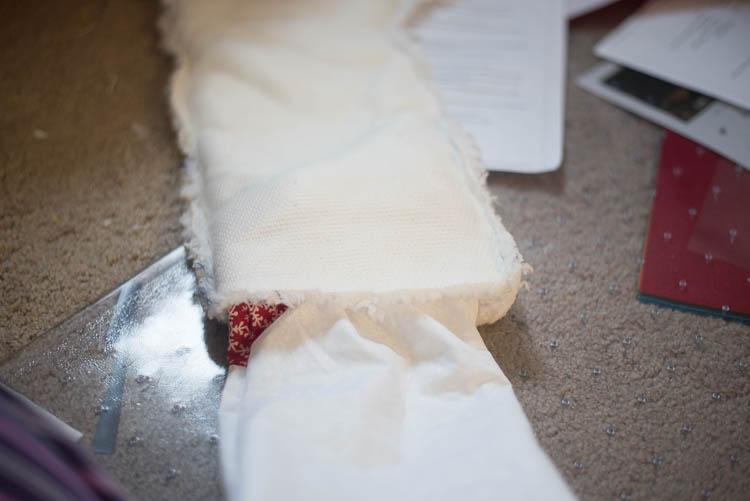
Pin the top edges of the interior and exterior together.
Sew around the edges, leaving a 4″ space unsewn.
Turn the stocking right side out.
Push the interior into the exterior of the stocking until everything is in place.
Stitch the turning hole.
Turn down the stocking cuff.
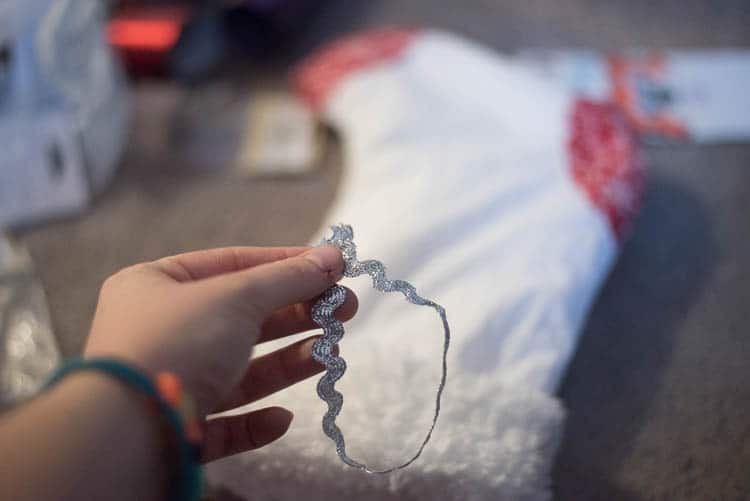
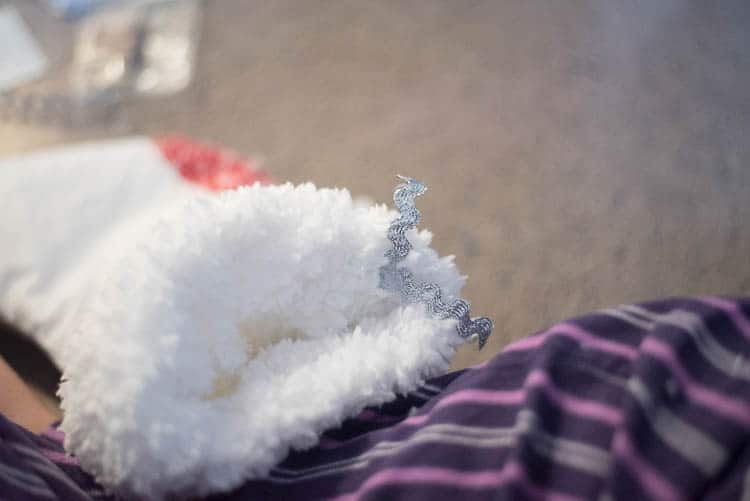
Make a stocking hanger using your choice of material. I used some rick rack that I glued to the stocking (though I think it would have been better to sew).
Enjoy!


Cute! This turned out great! And reminds me I need to make a stocking for baby boy!