I always have grand plans for all these fun Cricut projects I want to make and share with you all…but life happens, and those plans often fall flat.
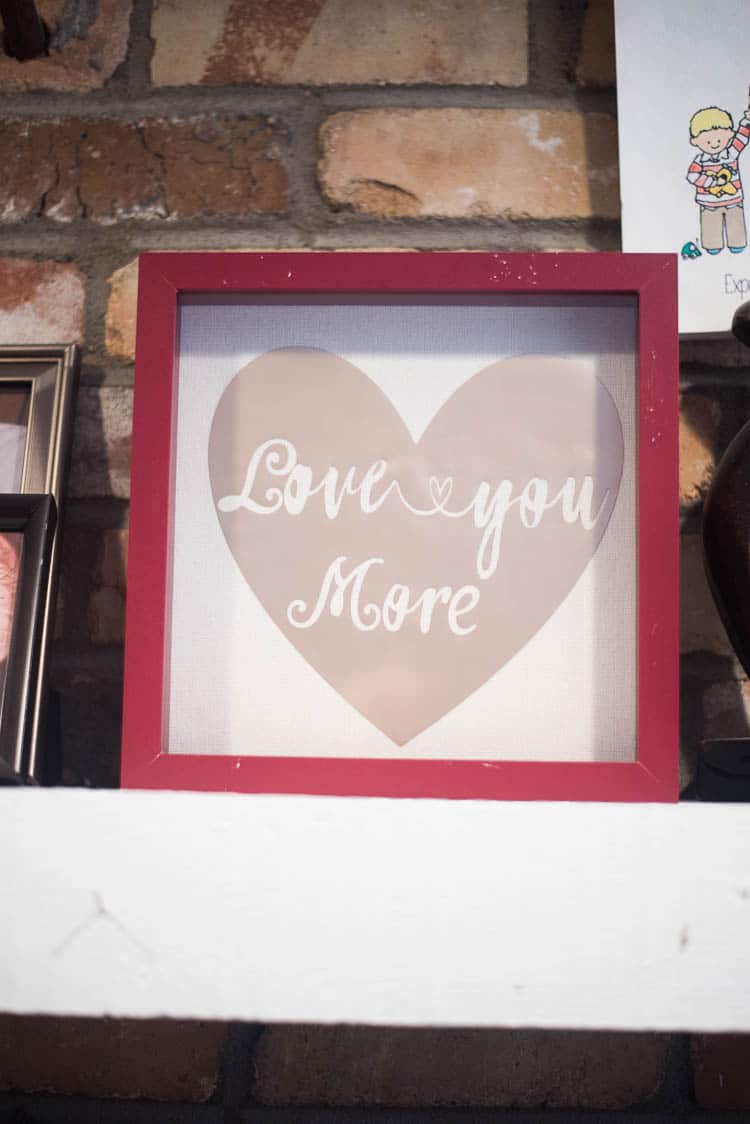
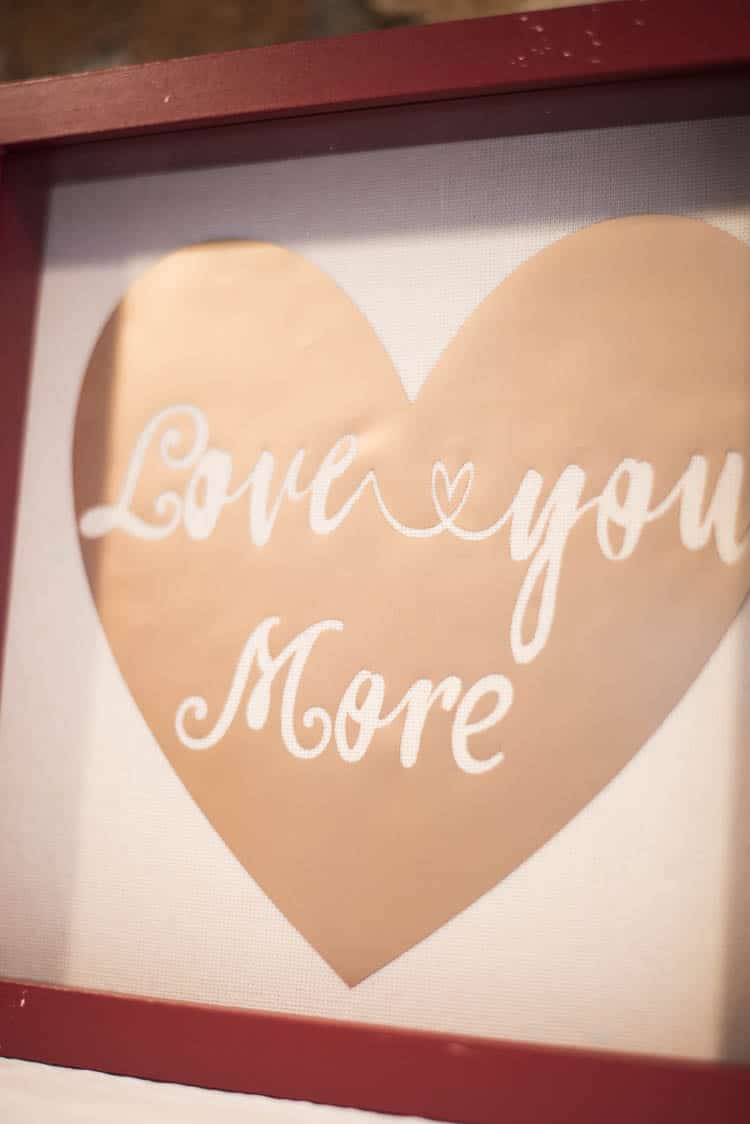
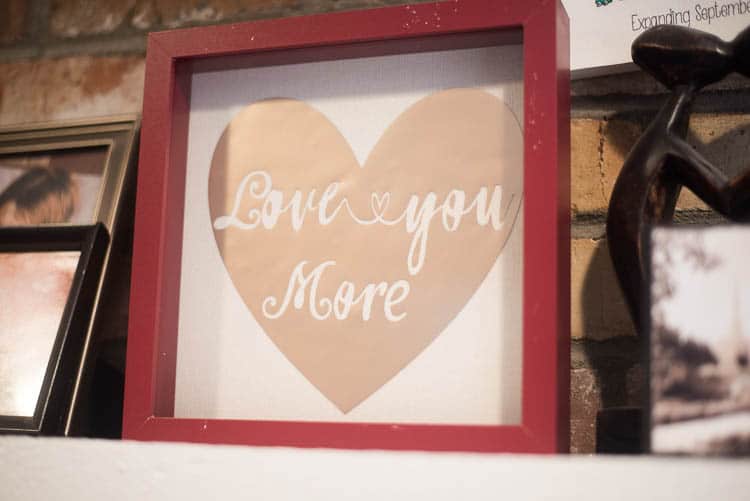
However, this one was so easy to do, and I thought it turned out pretty cute…so I’m excited to have something to share with you all today (though please ignore the chips in the paint. I don’t know how that happened!)
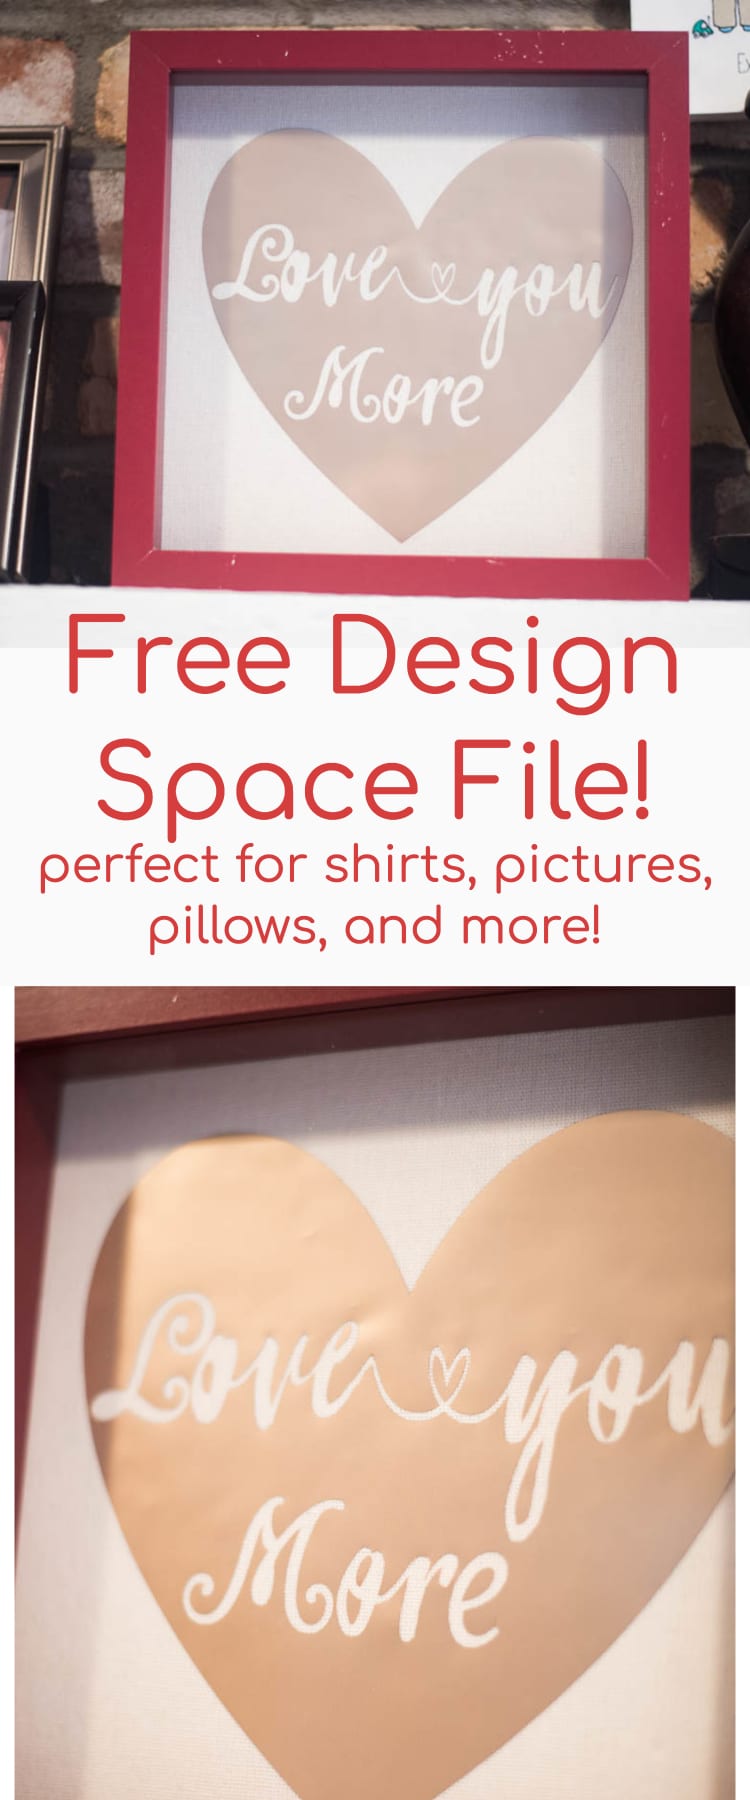
I used the slicing technique to get all the letters in the heart (you can see a tutorial on slicing here), but overall, it was a pretty simple project.
If you like this, all you have to do is click on this Design Space Tutorial, and you will be able to check it out! I’ll give a brief tutorial below on how I made this and what materials I used! You can definitely use this on whatever canvas you want (I think it would make for a super cute shirt!)
MATERIALS:
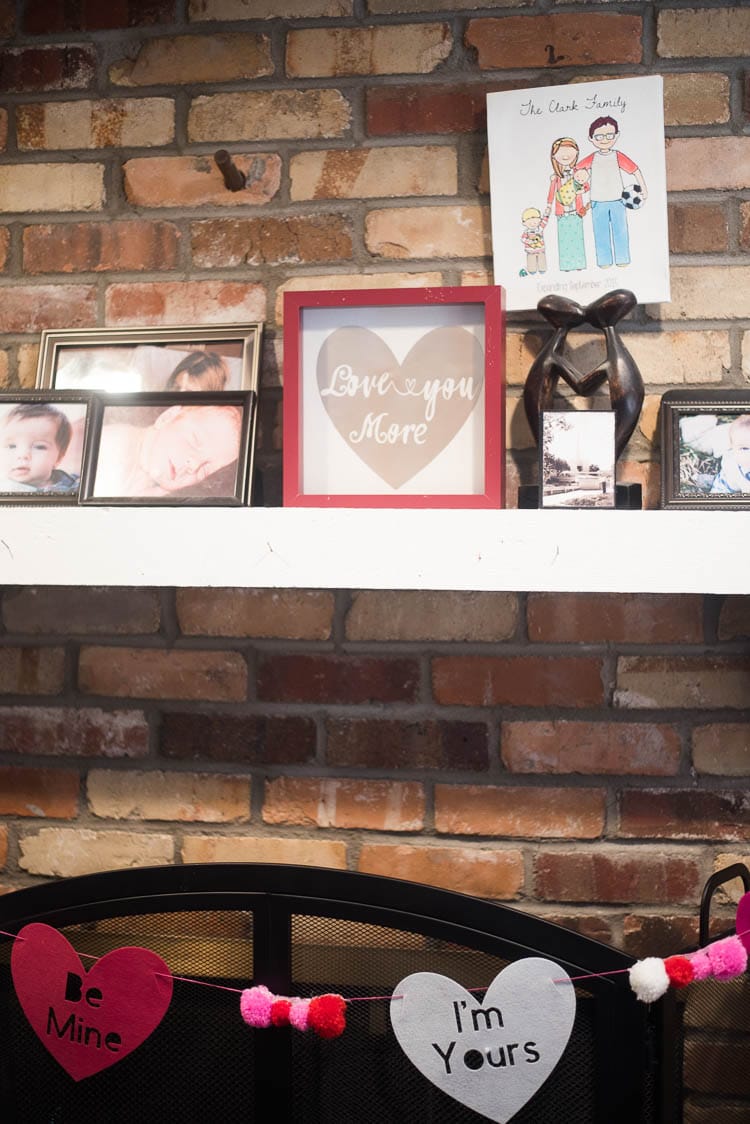
9×9 Shadow Box – I got this one from Michael’s with a coupon. I think the red is a seasonal color, because I can’t find it on their website! However, white or black would look nice (or you can paint a white one red!)
Cricut Maker or Cricut Explore Air 1 or 2
StandardGrip Mat (Green)
Instructions:
Step One:
Open this file in Design Space. While I did upload my own fonts, since I sliced everything out, you *shouldn’t* need the specific fonts. It is currently sized to fit perfectly in the 9×9 shadow box, but if you decide to use it on a different type of canvas, feel free to resize.
Step Two:
Place your adhesive foil (pretty side up) on to a MediumGrip cutting mat.
Step Three:
Send the file to cut – you may want to test the settings first before you cut. I originally used the adhesive foil setting, but I had to change it to the matte adhesive foil and selected “more pressure” before I started cutting.
Step Four:
Press go and cut your material.
Step Five:
Carefully weed out the words from inside the heart.
Step Six:
Transfer the heart carefully to your canvas. I tried using transfer tape, and it didn’t work very well, so I just removed it from the plastic and put it on myself 🙂
Enjoy!
If you liked this post, be sure to pin it for later. If you are on Instagram, take a picture and tag katie_clarkscondensed. I’d love to see your take on this!
Other Cricut Posts You May Enjoy:
- How to Use Cricut Foil Iron On: And a Few Things NOT to do!
- DIY Custom Window Cling
- How to Make Magnets with Cricut

Katie is a Colorado-native, BYU graduated, and most importantly, wife to one and mother to three beautiful boys. She is passionate about sharing her experiences with others – especially about pregnancy, breastfeeding, cooking, and crafts. She is an International Board Certified Lactation Consultant. She loves spending time with her family and helping others find joy in family life.
Leave a Reply